In some cases, you may want to use your own package repository (container registry) instead of Monofor’s default registry at cr.monofor.com.
Monofor’s container registry hosts all product images required for installation. Since all Monofor products are container-based, you can install them on any platform that supports containers—such as Kubernetes, OpenShift, Docker, Docker Swarm, or Podman.
If you prefer to keep these images in your own registry, you can use various third-party repositories, for example:
For example;
-
Harbor (containers only)
-
JFrog Artifactory
-
AWS CodeArtifact
-
Cloudsmith
-
Google Artifact Registry
-
GitLab Package Registry
-
…and many more
In this guide, we’ll use JFrog as an example.
Step 1: Create a Docker Repository in JFrog (Optional)
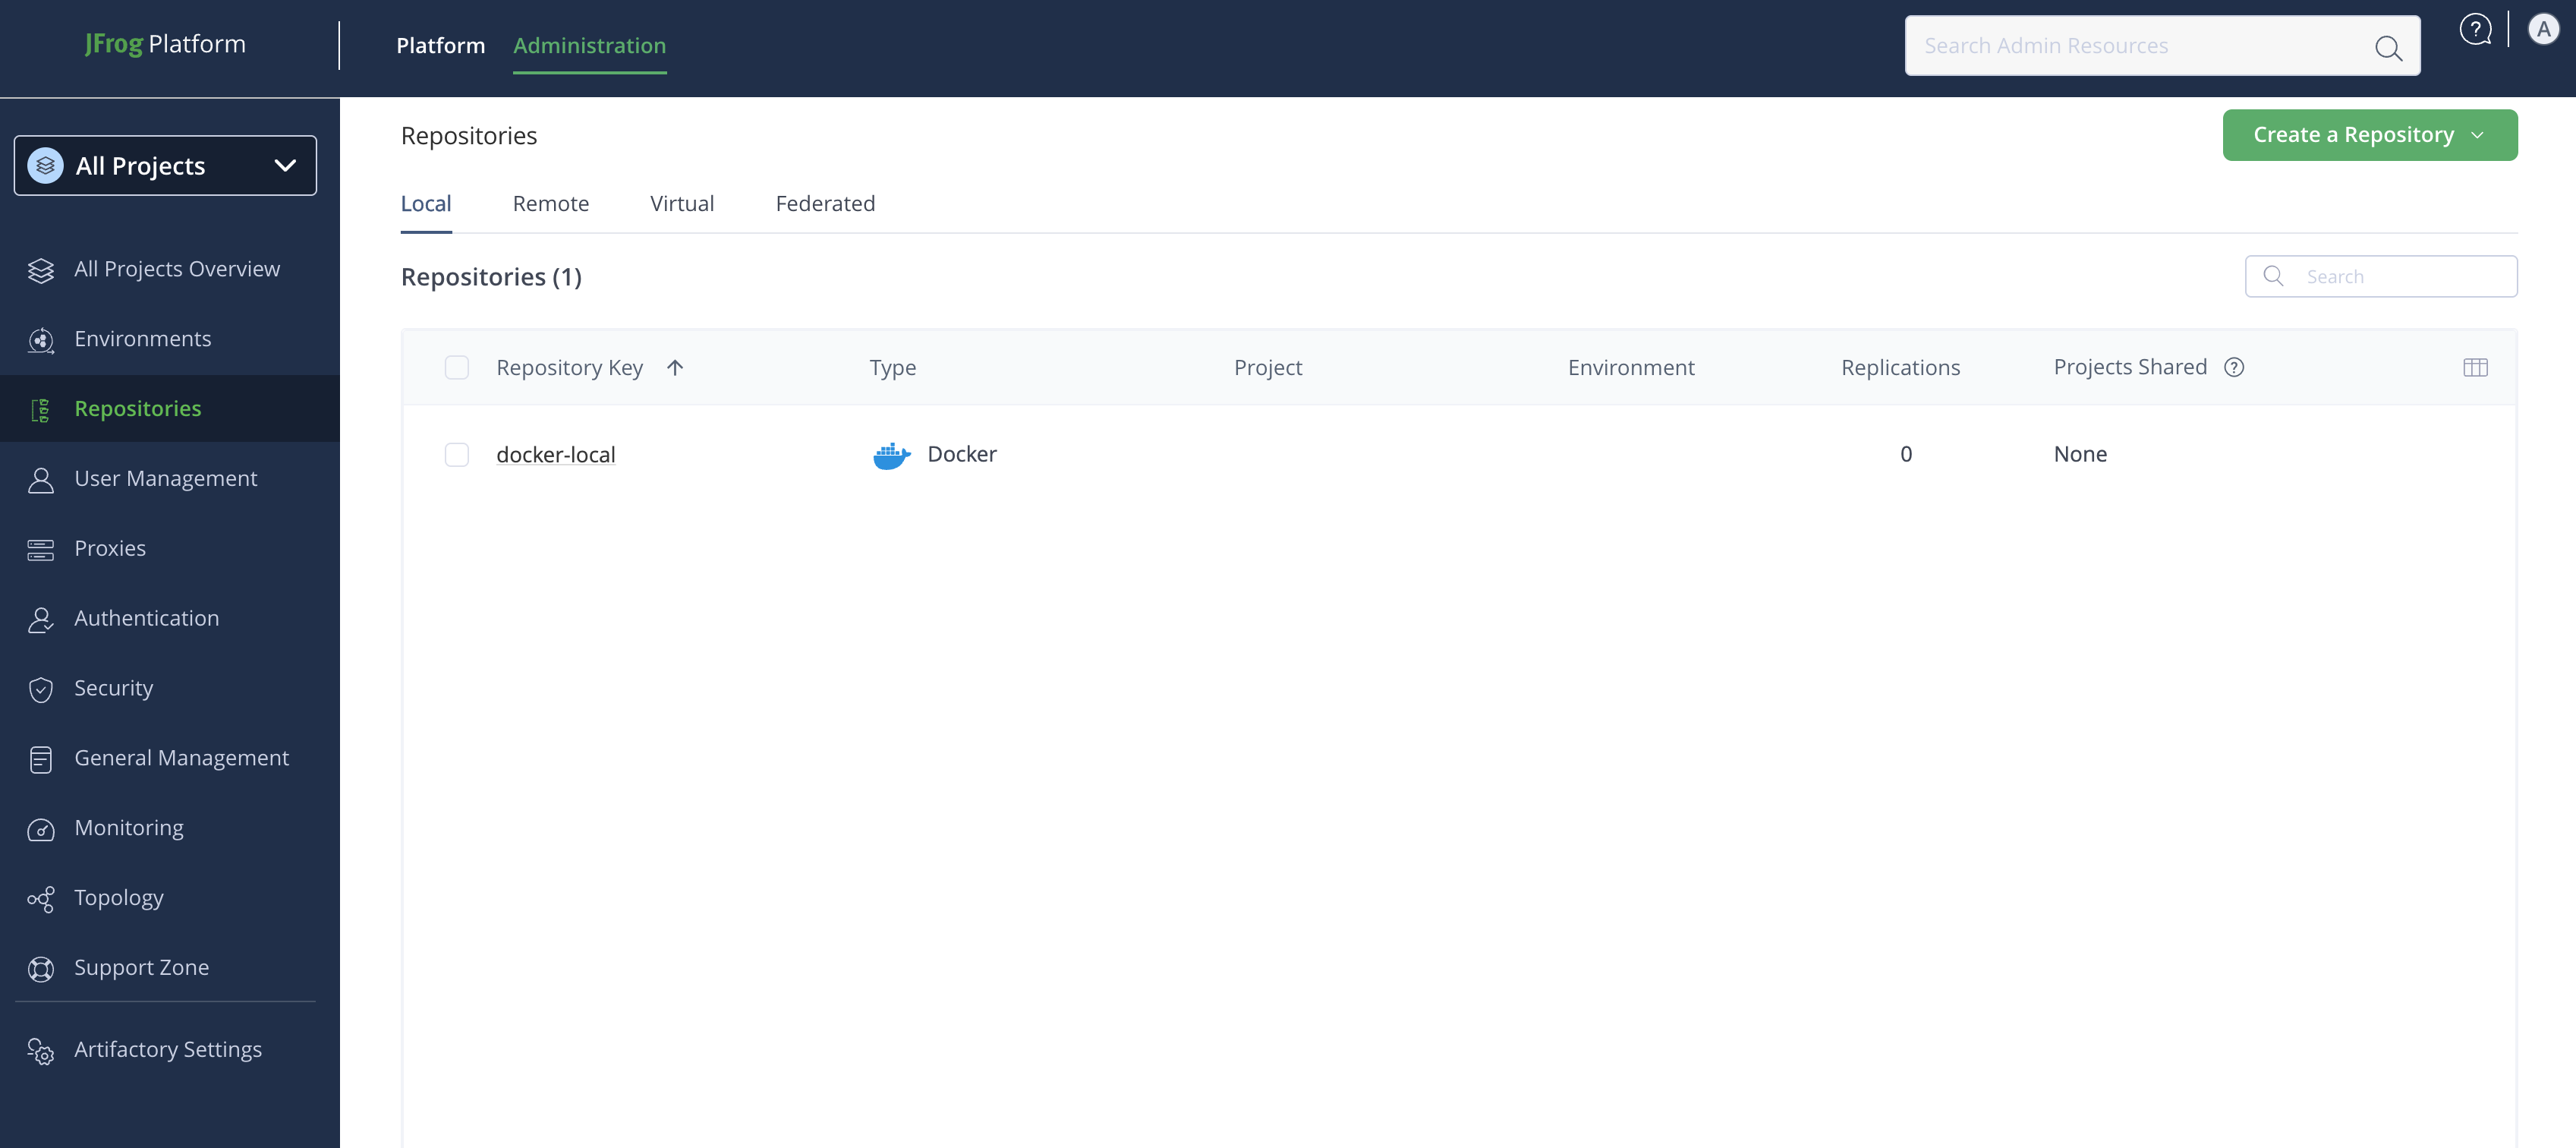
If you already have a Docker repository, you can skip this step.
-
Go to your JFrog dashboard.
-
Click Create a Repository → Local.
-
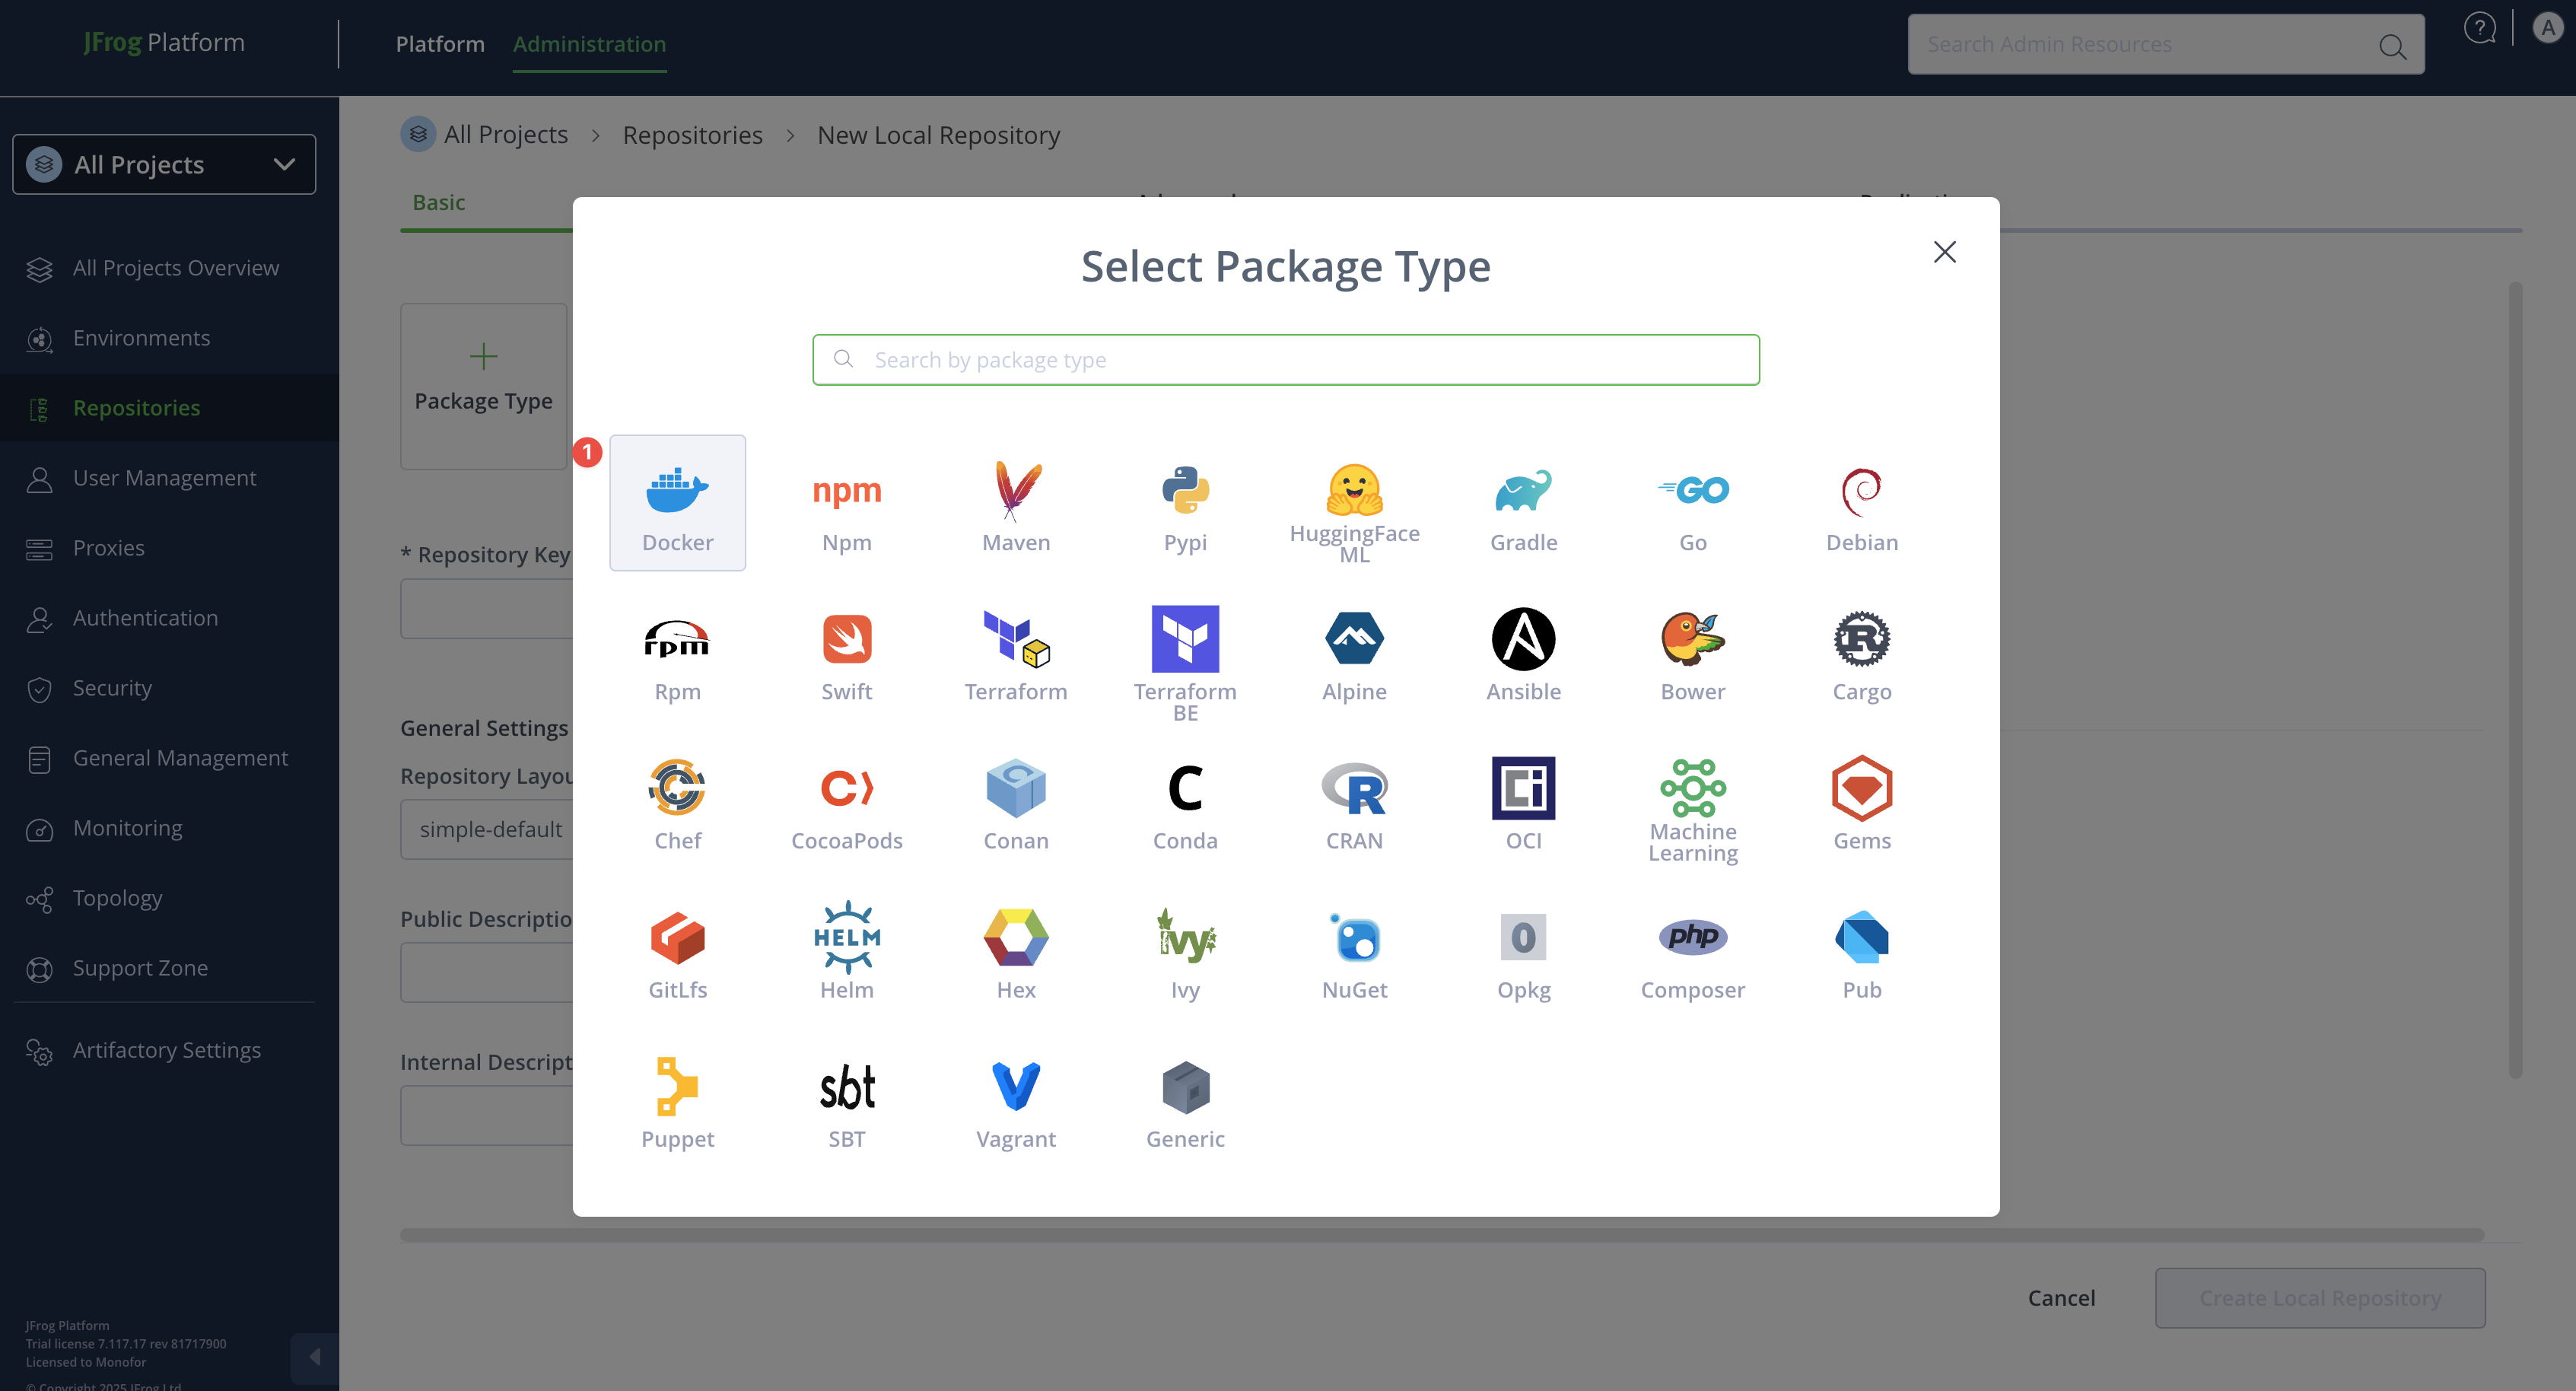
Select Docker as the package type.
-
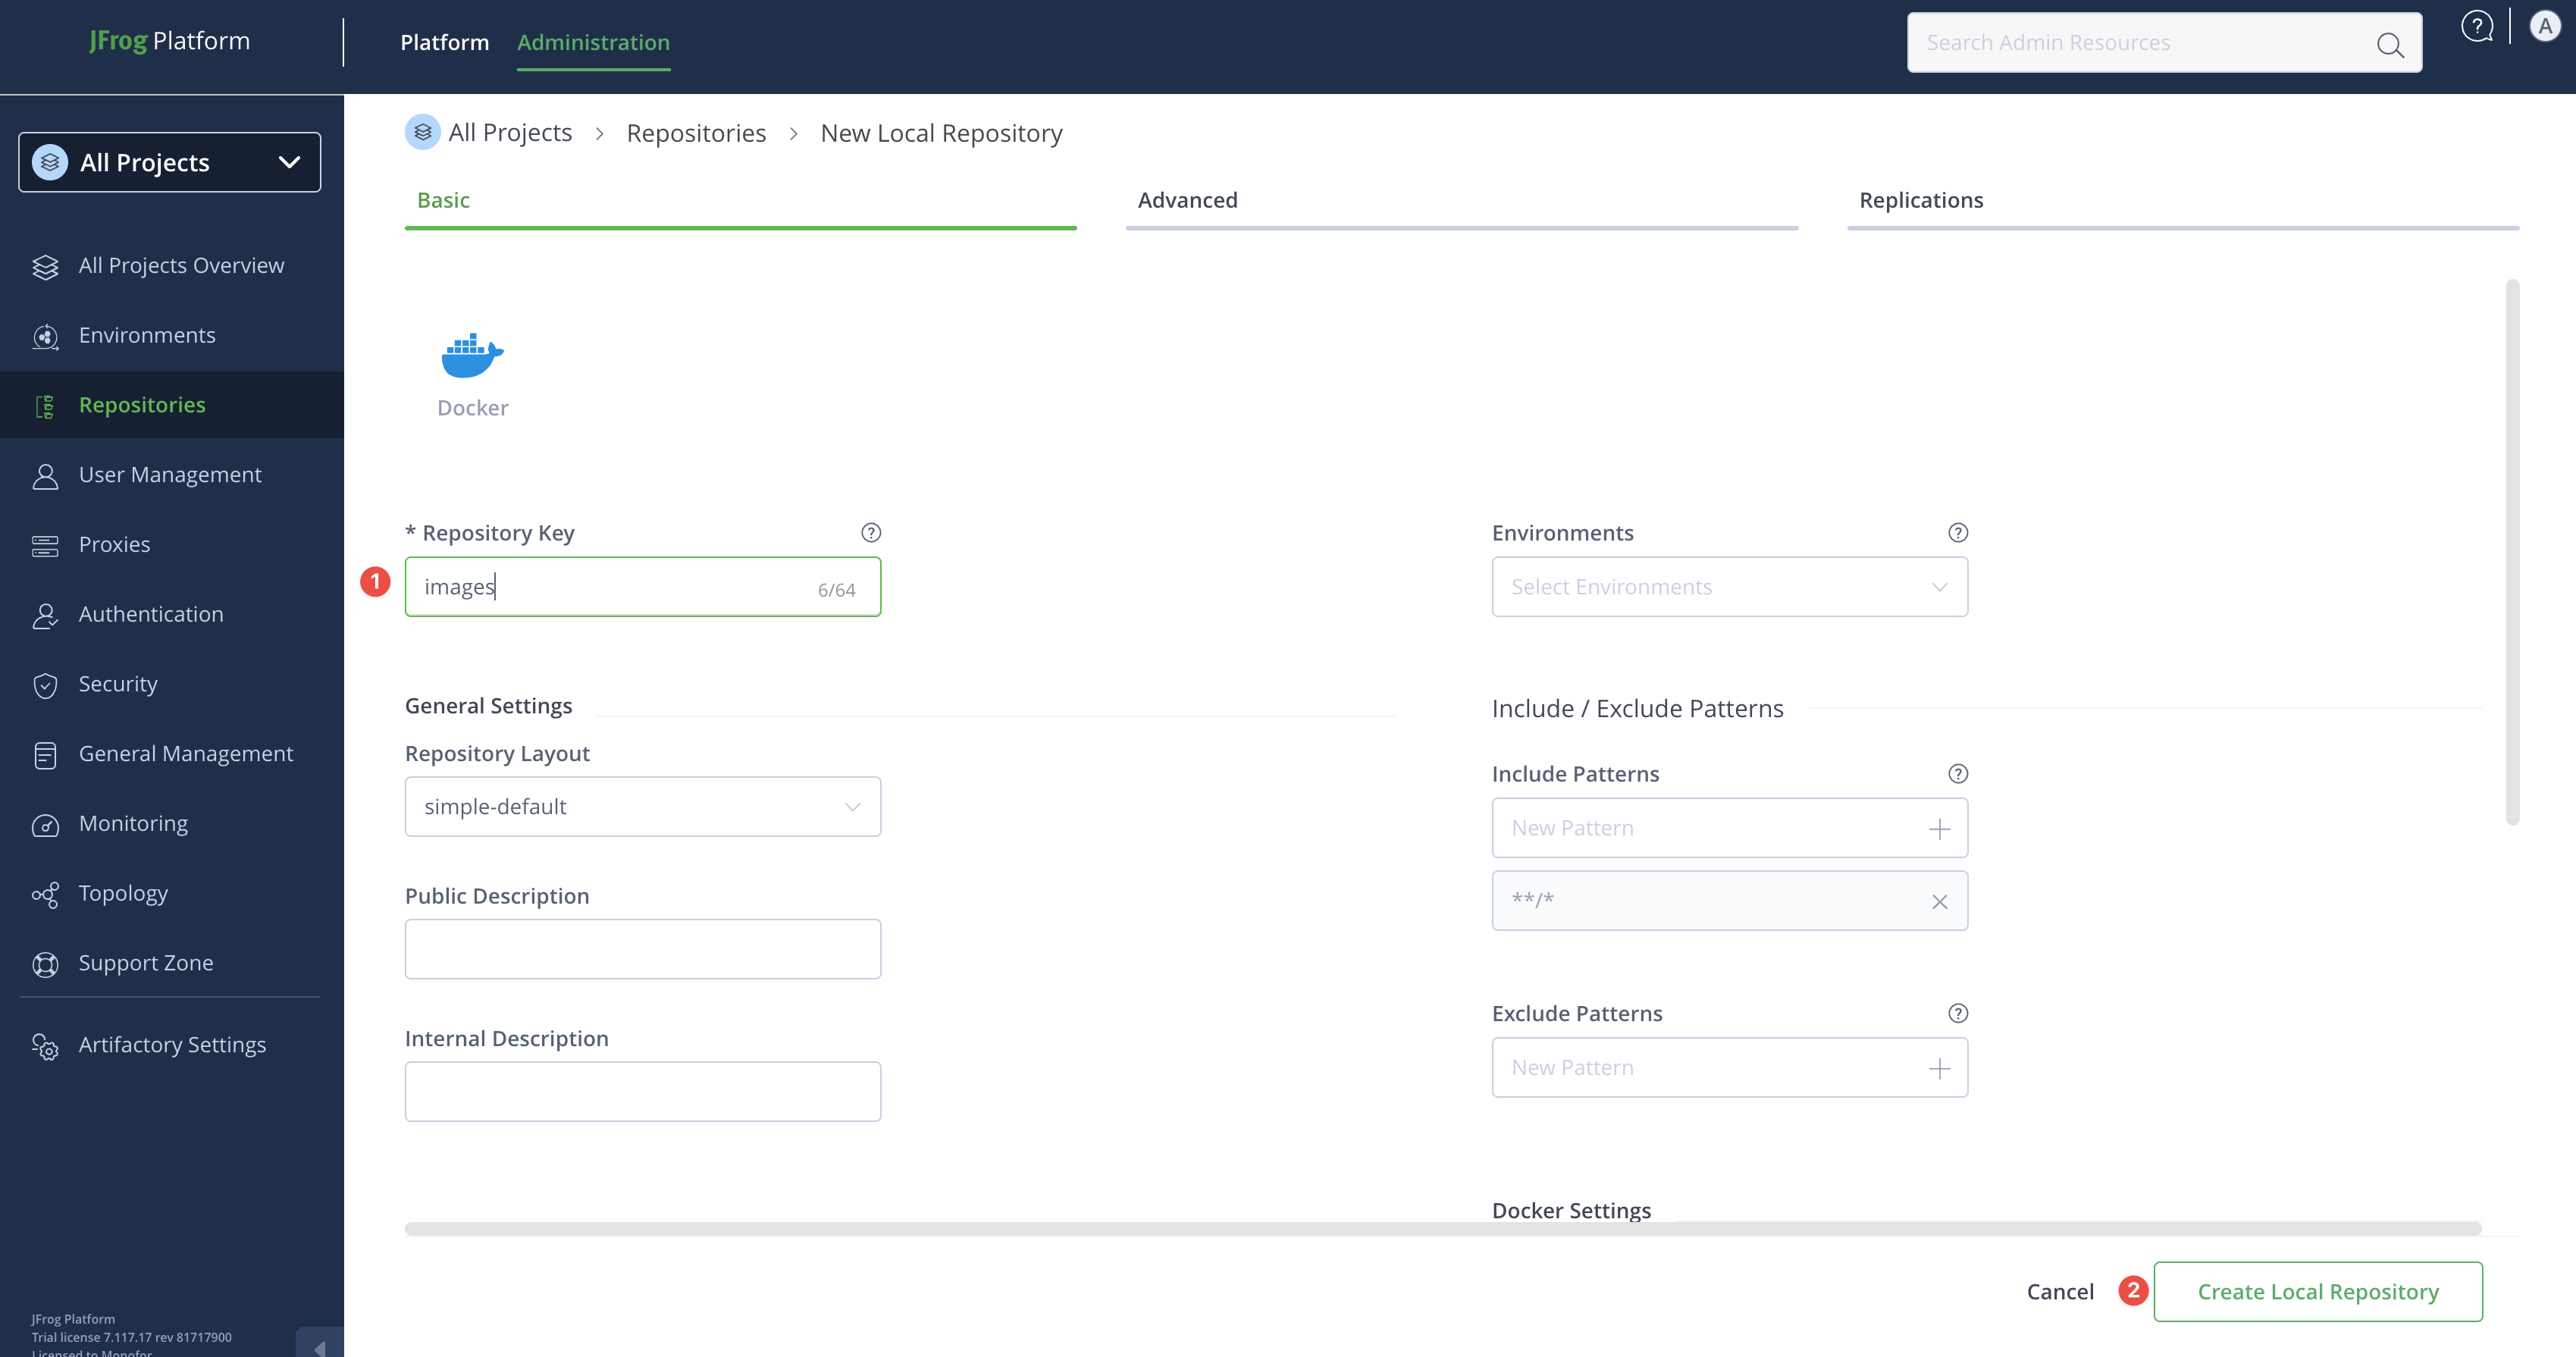
Enter a repository key (for example: images) and click Create Local Repository.
Now you need to keep your docker repository url for upcoming examples.
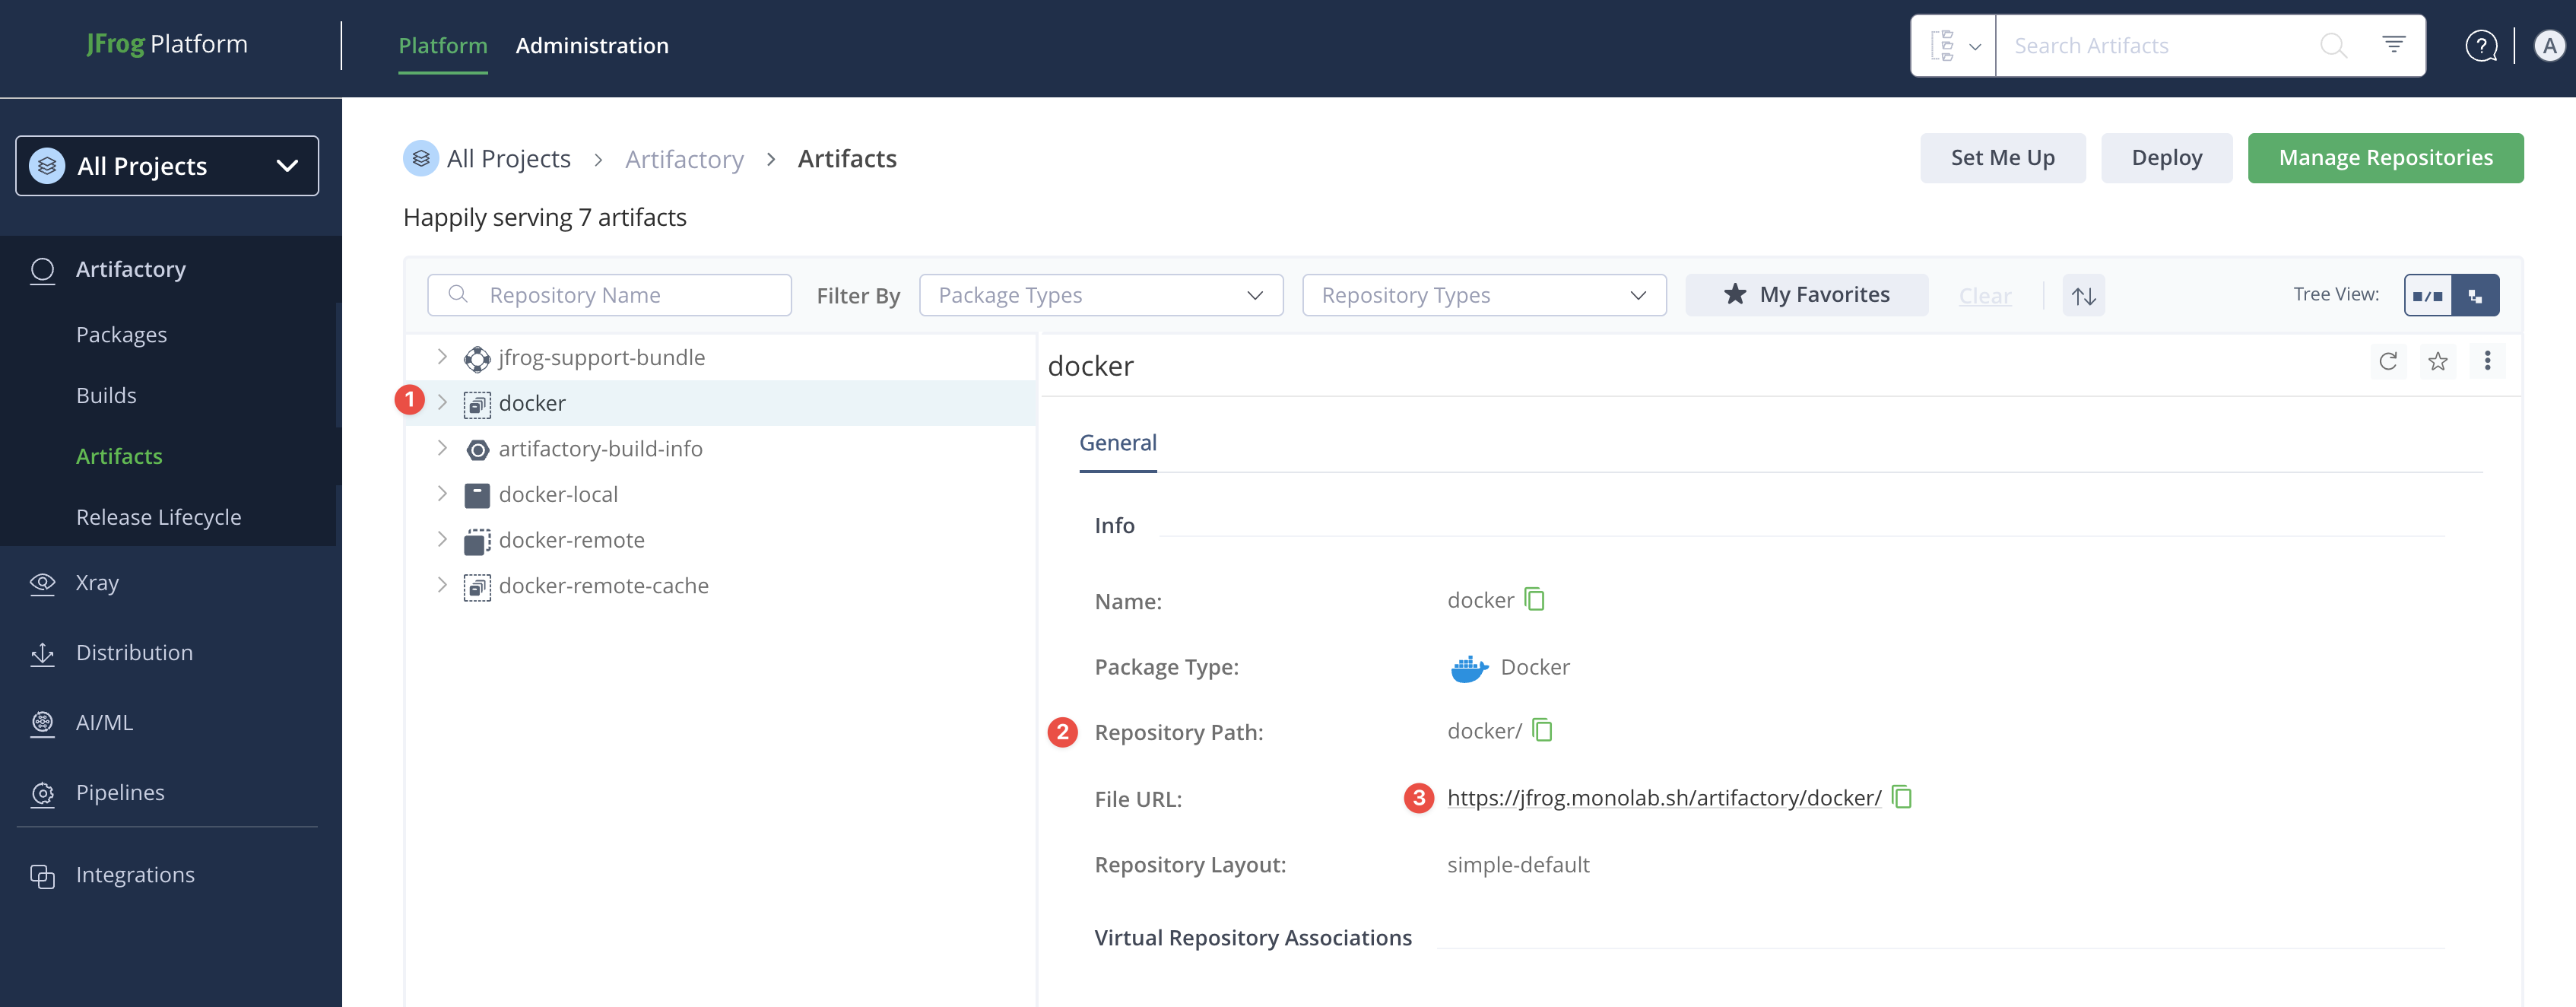
docker repository path is docker and my base url is jfrog.monolab.sh.
Repository Path: docker
Base URL: jfrog.monolab.sh

Full Path: jfrog.monolab.sh/docker
Keep this information handy—we’ll use it in the next steps.
Step 2: Pull Images from Monofor’s Container Registry
First, log in to Monofor’s registry using the credentials provided by our Professional Services team.
If you are using docker cli, you can use the following.
docker login cr.monofor.com
Username: mfc_customer
Password: ************
Login Succeeded
Or you can also use it almost same command with podman.
podman login cr.monofor.com                                                        Fri Sep 26 19:53:14 2025
Username: mfc_customer
Password: ************
Login Succeeded!
After you have successfully logged in, you can now pull all images from the container registry. Let’s do it with one example.
# Execute only the first line
docker pull cr.monofor.com/monofor/db:latest

# --- Example Result ---
# latest: Pulling from monofor/db
# Digest: sha256:1d6aeddf5cb0a7e121e4b7dbb8b3e12528b0c5696fda6d909620e67545b00245
# Status: Downloaded newer image for cr.monofor.com/monofor/db:latest
# cr.monofor.com/monofor/db:latest
This command will pull the latest image of the monofor/db image on our container registry.
To pull a specific version instead of latest:
docker pull cr.monofor.com/monofor/db:v2025-09
You can also use the same command podman pull, podman push, podman tag for upcoming examples.
Now we have the image of monofor/db and latest version of it.
Let’s prepare it for our environment.
Step 3: Tag Images for Your JFrog Repository
Now we have our docker path in our JFrog. Which is jfrog.monolab.sh/docker.
To send images to our own JFrog Repository we need to tell to the image it’s new path and push it to the environment.
As you know we have pulled monofor/db:latest. Our full path was cr.monofor.com/monofor/db:latest. Now we will add a new path to that. We are gonna use the following command.
docker tag cr.monofor.com/monofor/db:latest jfrog.monolab.sh/docker/monofor/db:latest
Pretty easy, right? We are not ready to push it to our JFrog.
Step 4: Push Images to Your JFrog Environment
Now we need to login to our JFrog Environment. Like we did it for Monofor’s container registry.
docker login jfrog.monolab.sh                                                                     Fri Sep 26 20:11:46 2025
Username: yourusername
Password: ************
Login Succeeded
Now we are ready to push it. Let’s use the following command.
docker push jfrog.monolab.sh/docker/monofor/db:latest
# Example Result
The push refers to repository [jfrog.monolab.sh/docker/monofor/db]
5b21501bed01: Pushed
a2c0e2b7ab30: Pushed
a7123cd9f356: Pushed
fe216961f214: Pushed
d7a5ebc6841c: Pushed
ed4c933cd88b: Pushed
f99f4f35ab9f: Pushed
38a8310d387e: Pushed
f75a4b03c1ee: Pushed
d66a800d2b4f: Pushed
latest: digest: sha256:1d6aeddf5cb0a7e121e4b7d...... size: 2403
As you as a result, we have pushed our image to our JFrog environment.
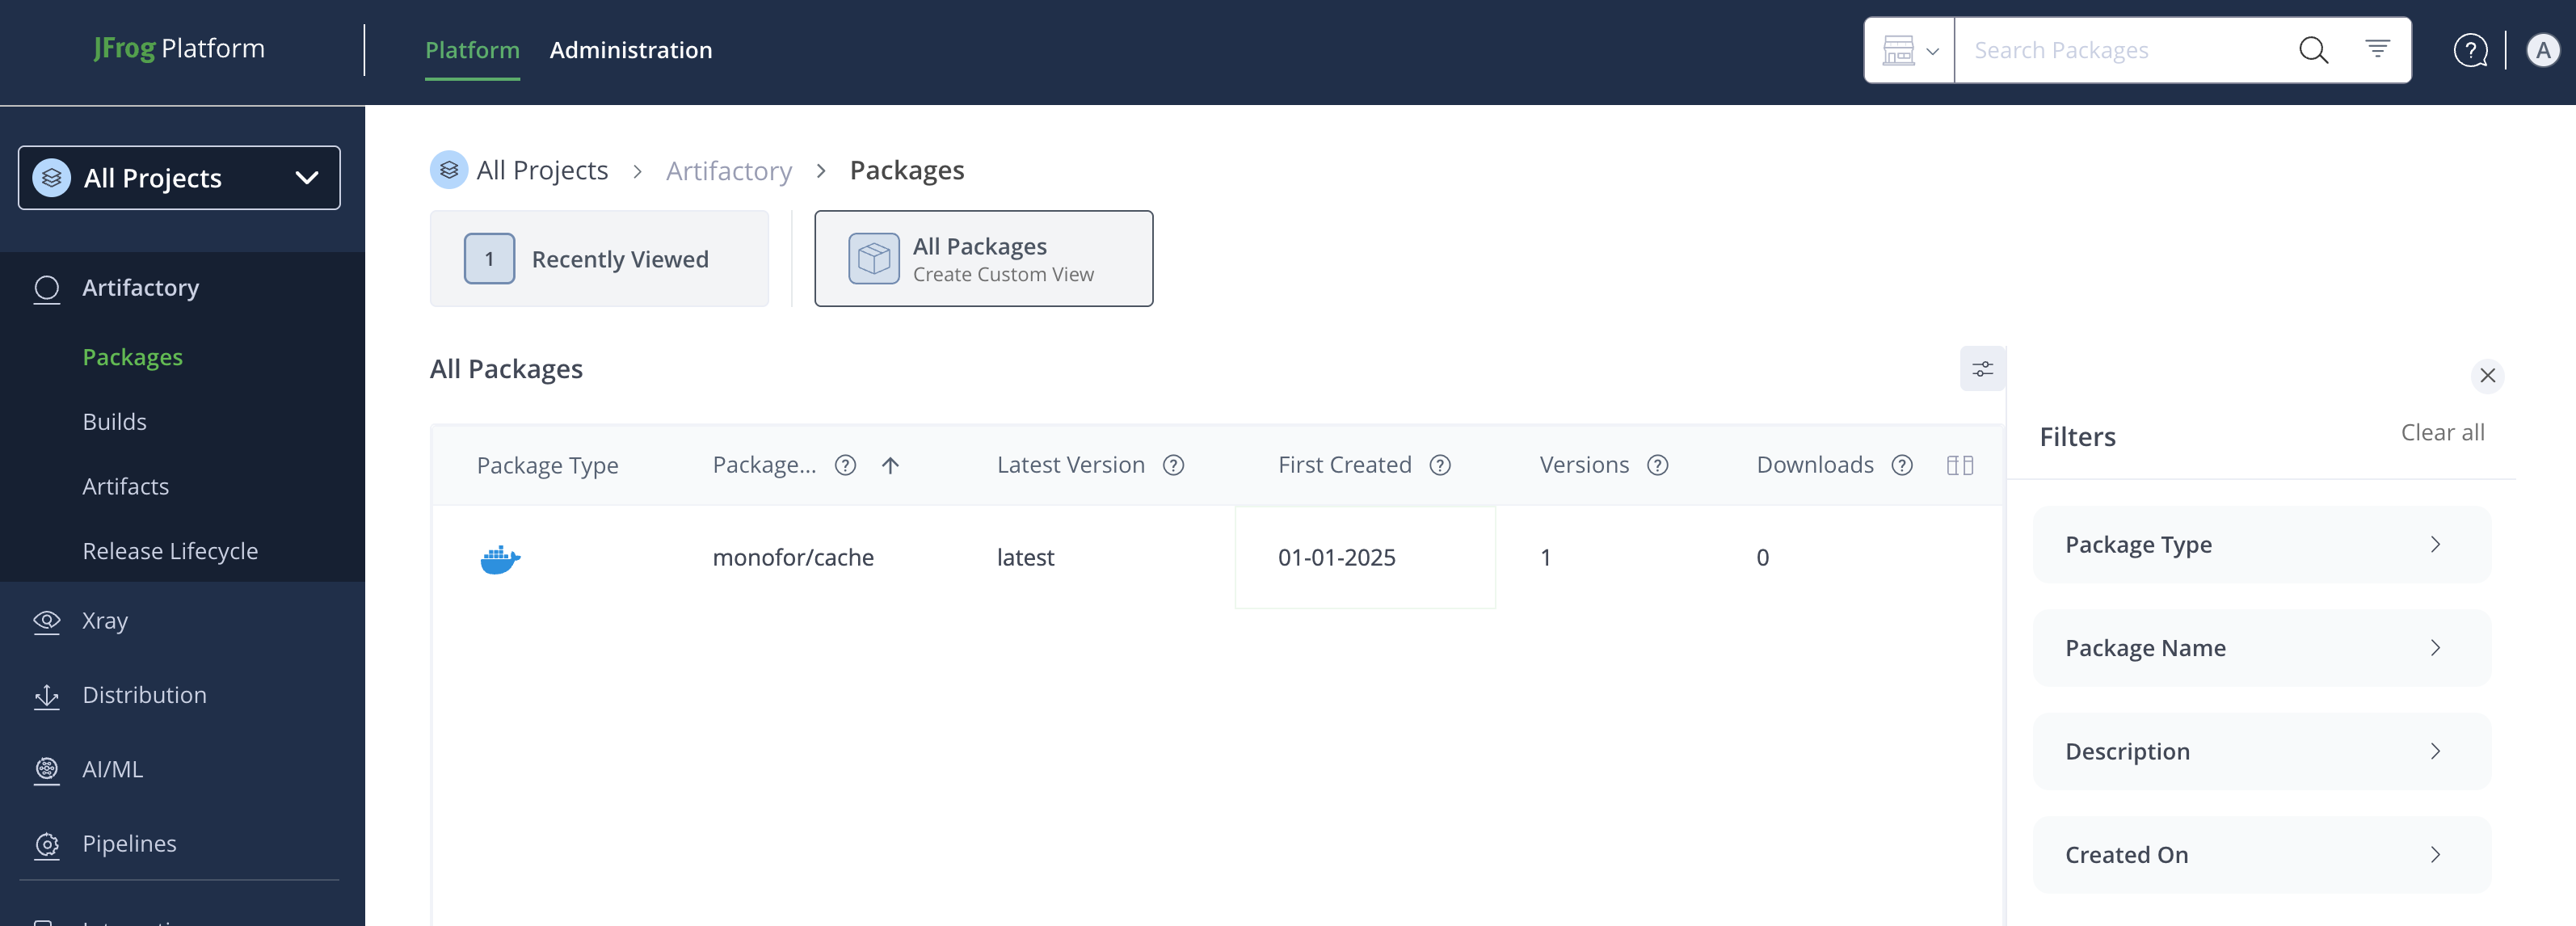
Now, you can change your deployment files image target to pull images from your own JFrog Repository (Container Registry).
As we mentioned before, you can use podman commands instead of docker commands if you have podman cli instead docker.