This document explains how to implement MonoSign with AWS. It covers Single Sign-On. Before you continue, it is better to start with AWS’s Single Sign-On implementation page.
View AWS SSO Metadata
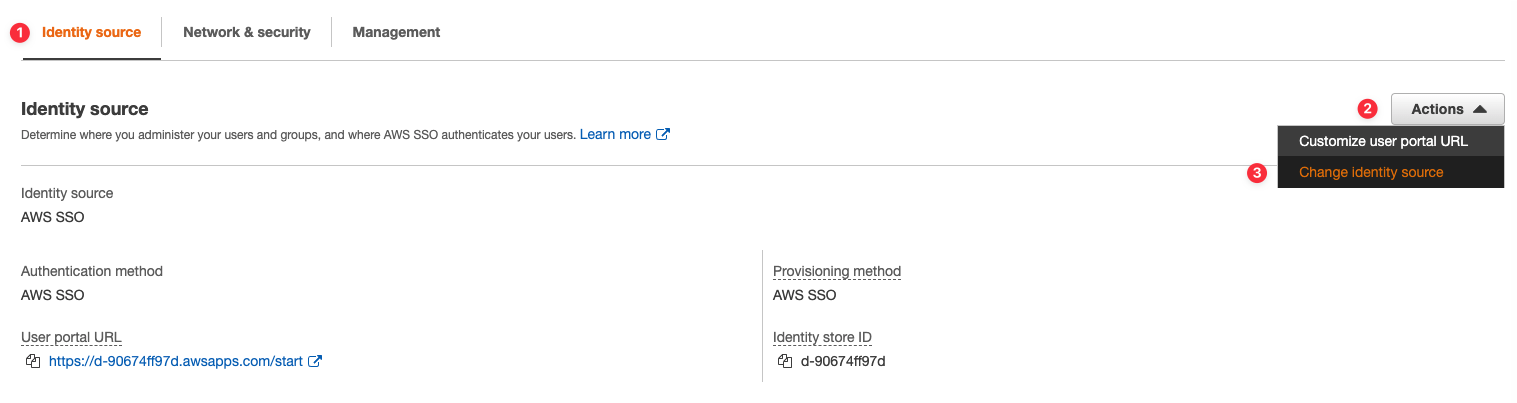
In order to configure the SAML key on MonoSign for AWS SSO, you need to have various information provided by AWS. First, navigate to Services > Security, Identity, & Compliance > AWS Single Sign On and click Settings from the sidebar. In the Identity Source tab, click Actions > Change Identity Source.
Choose External Identity Provider and click Next. You will see Service provider metadata like in the image below.
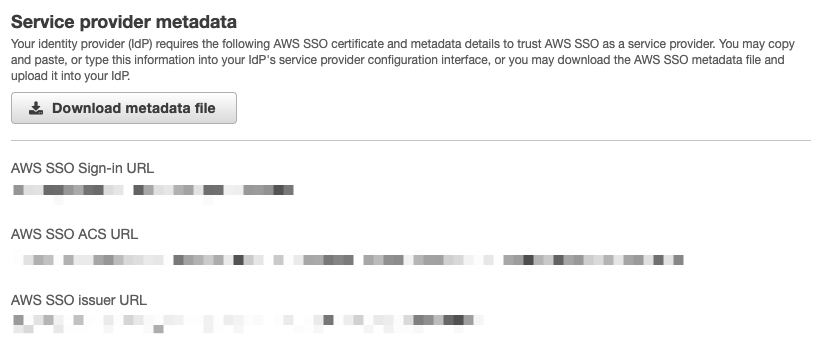
For now, we will stop here on the AWS side and create a MonoSign application and related SAML key by using the information provided by AWS.
Creating an Application and Access Key on MonoSign
Create your application on MonoSign and make sure you typed AWS SSO Sign-in URL to URL input.

Once you created the application and navigated to the detail page, click Keys and Add New Key to create a SAML access key.
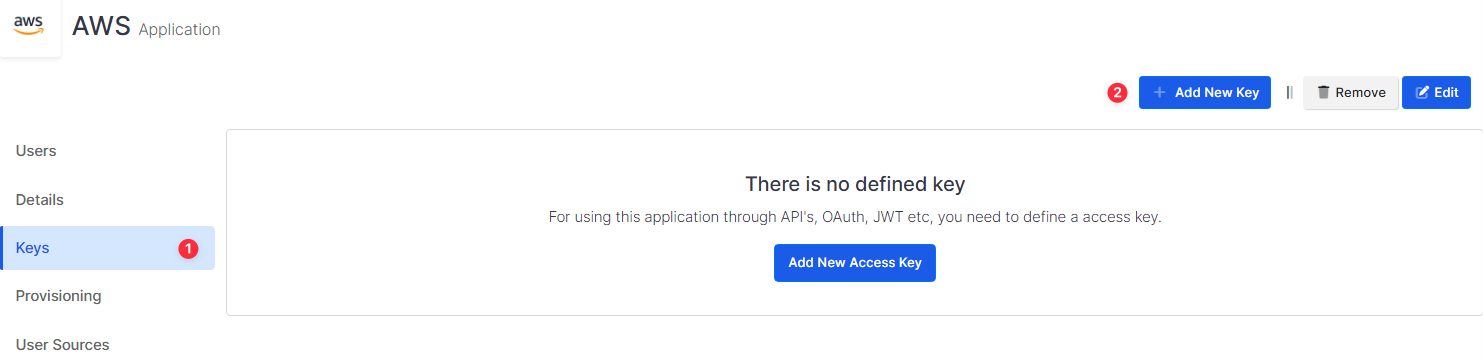
In the opened modal, choose SAML as Key Type and switch to SAML2 Settings. Fill in the necessary fields according to the information provided by AWS. Correspondings of the fields are as below.
|
Field |
Value |
|---|---|
|
Assertion Consumer Url |
AWS SSO ACS URL from Service provider metadata |
|
Entity Id |
AWS SSO Issuer URL from Service provider metadata |
|
NameId Format |
urn:oasis:names:tc:SAML:1.1:nameid-format:emailAddress |
|
Name Id |
|
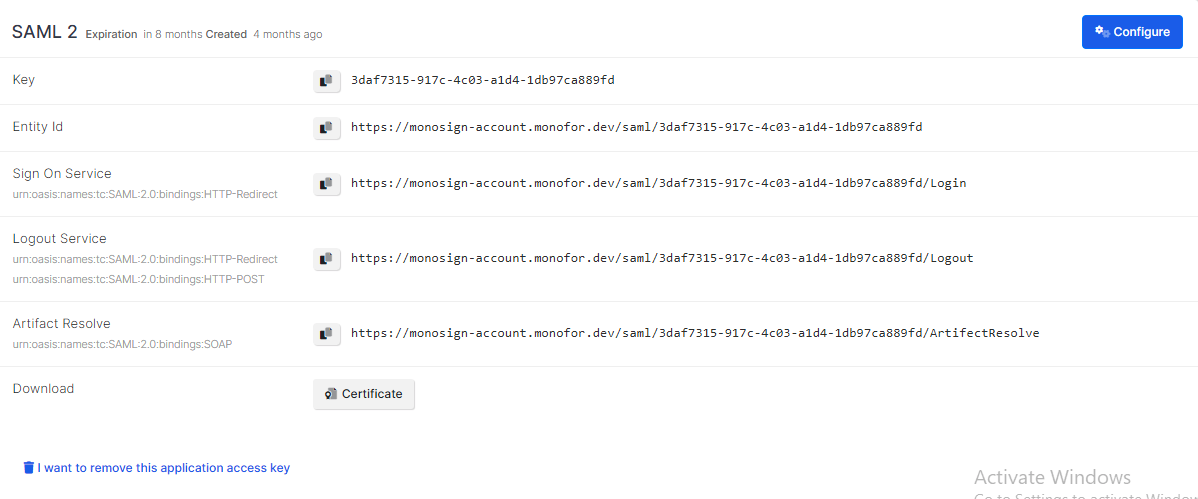
Click Save and you are gonna see your configuration for your access key as follows;
Configuration Single Sign-On for AWS
We are gonna move on to where we left off on the AWS Identity Source Change page which is mentioned in the first chapter. Under the Service provider metadata, There is an Identity provider metadata form.
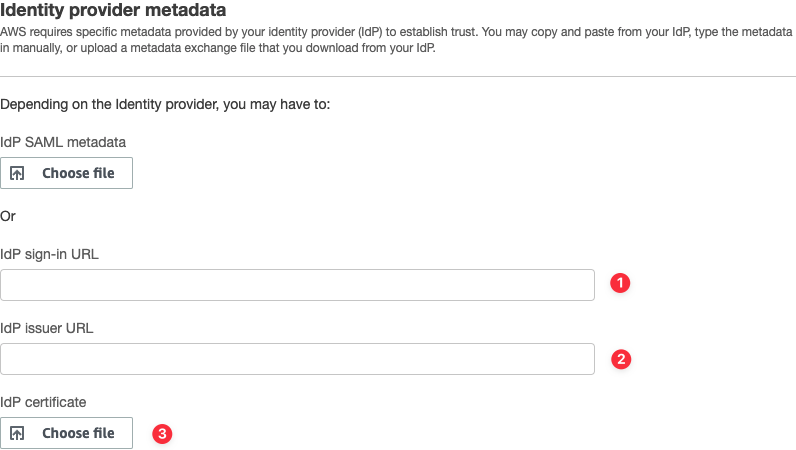
Fill in the necessary fields according to the access key created on MonoSign. Correspondings of the fields are as below.
|
Field |
Value |
|---|---|
|
IdP sign-in URL |
Sign On Service from the application SAML key |
|
IdP issuer URL |
Entity Id from the application SAML key |
|
IdP certificate |
The certificate issued to access key - can be downloadable from the key detail. |
Click Next. Review the information in the last step and click Change identity source. If no error occurs while processing, you will be redirected to the settings page.
For external identity providers, provisioning method turns in to Manual. Which means you need to have smiliar users assigned to desired AWS accounts.
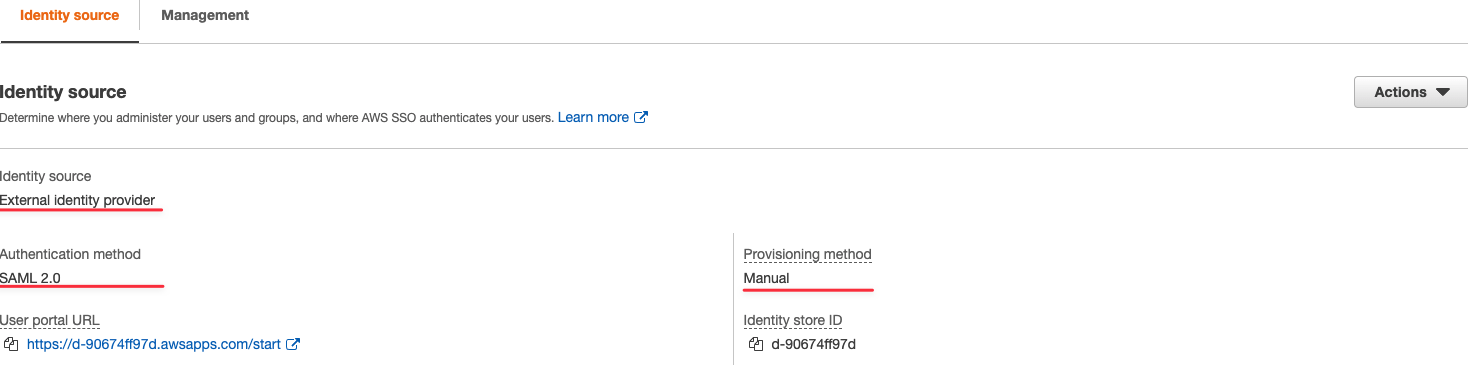
You can check the identity provider and authentication protocol. If any error occurs while processing, please contact support.