This document explains how to implement Monosign with Checkmarx. It covers Single Sign-On. Before you continue, starting with the Checkmarx Single Sign-On implementation page is better.
Creating an Application on Monosign
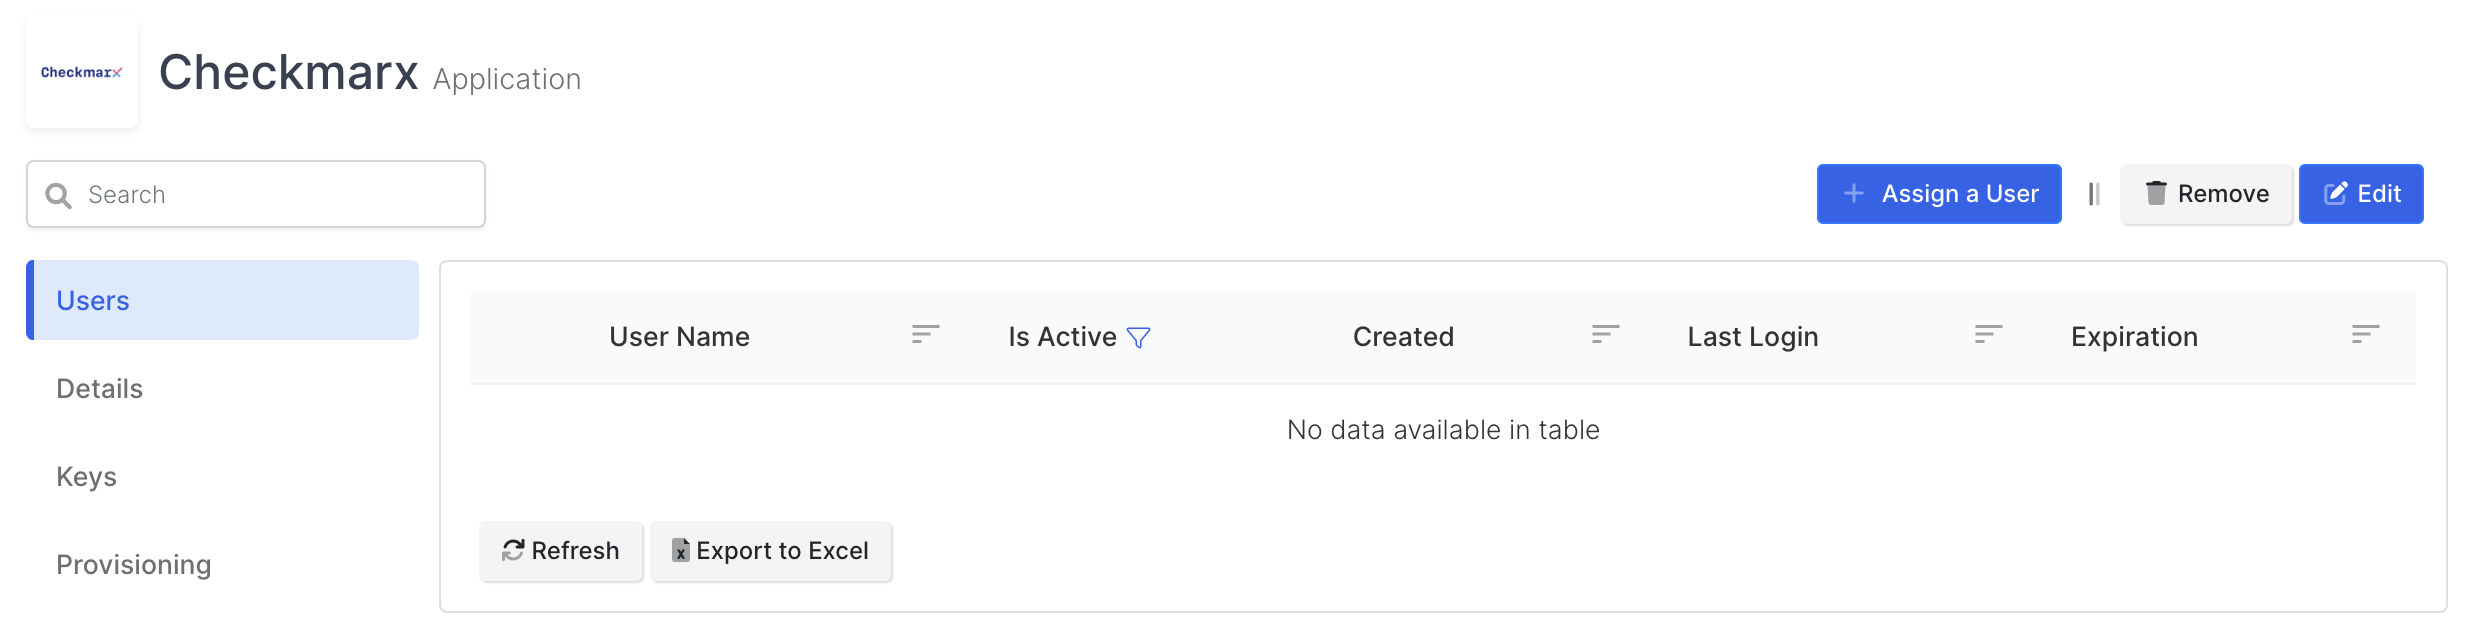
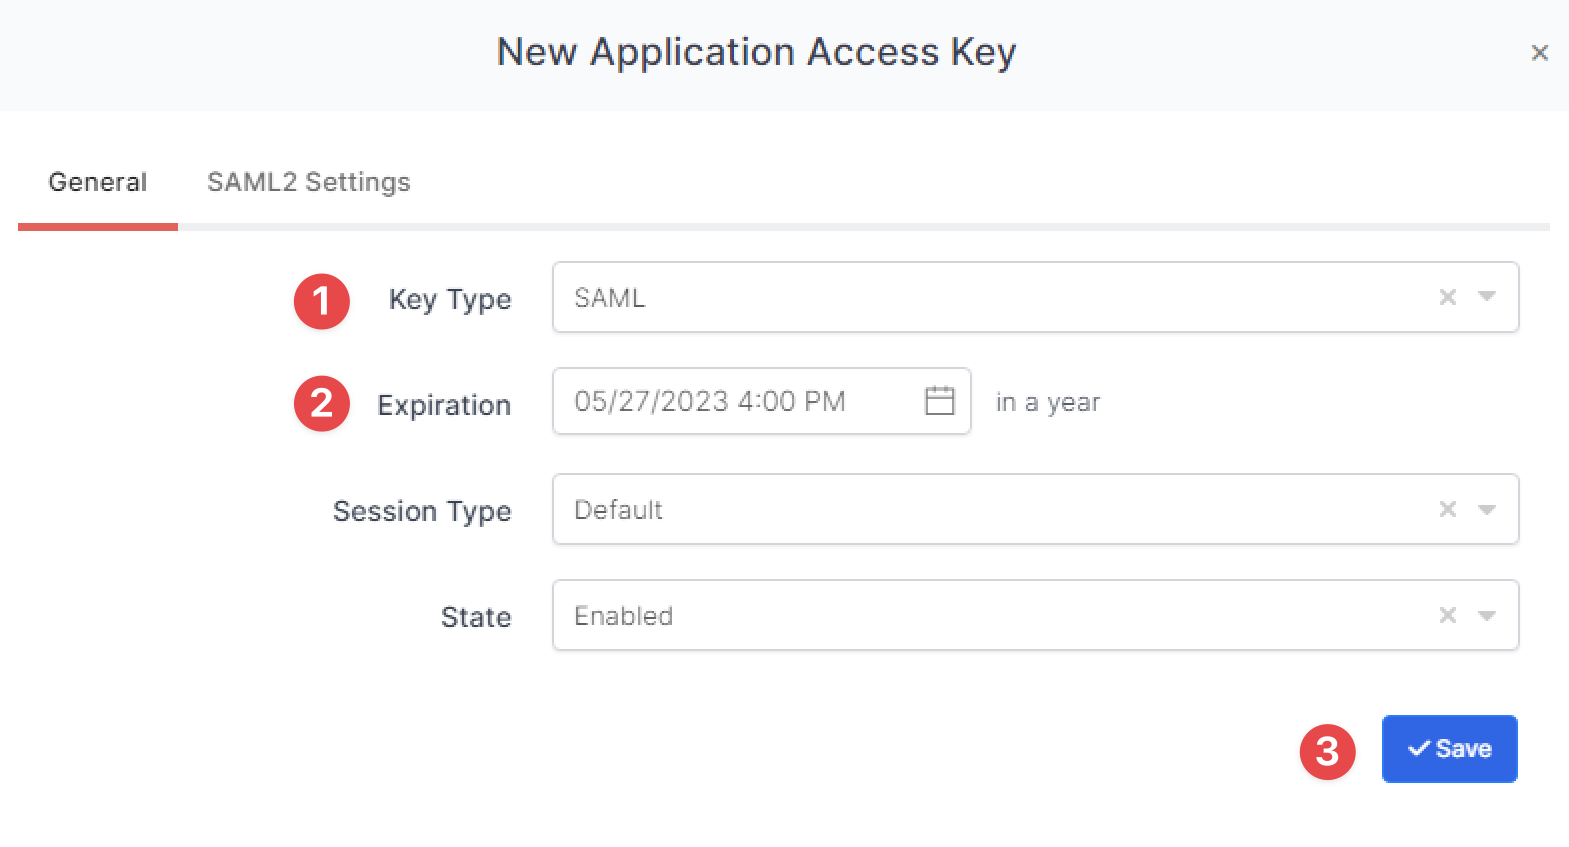
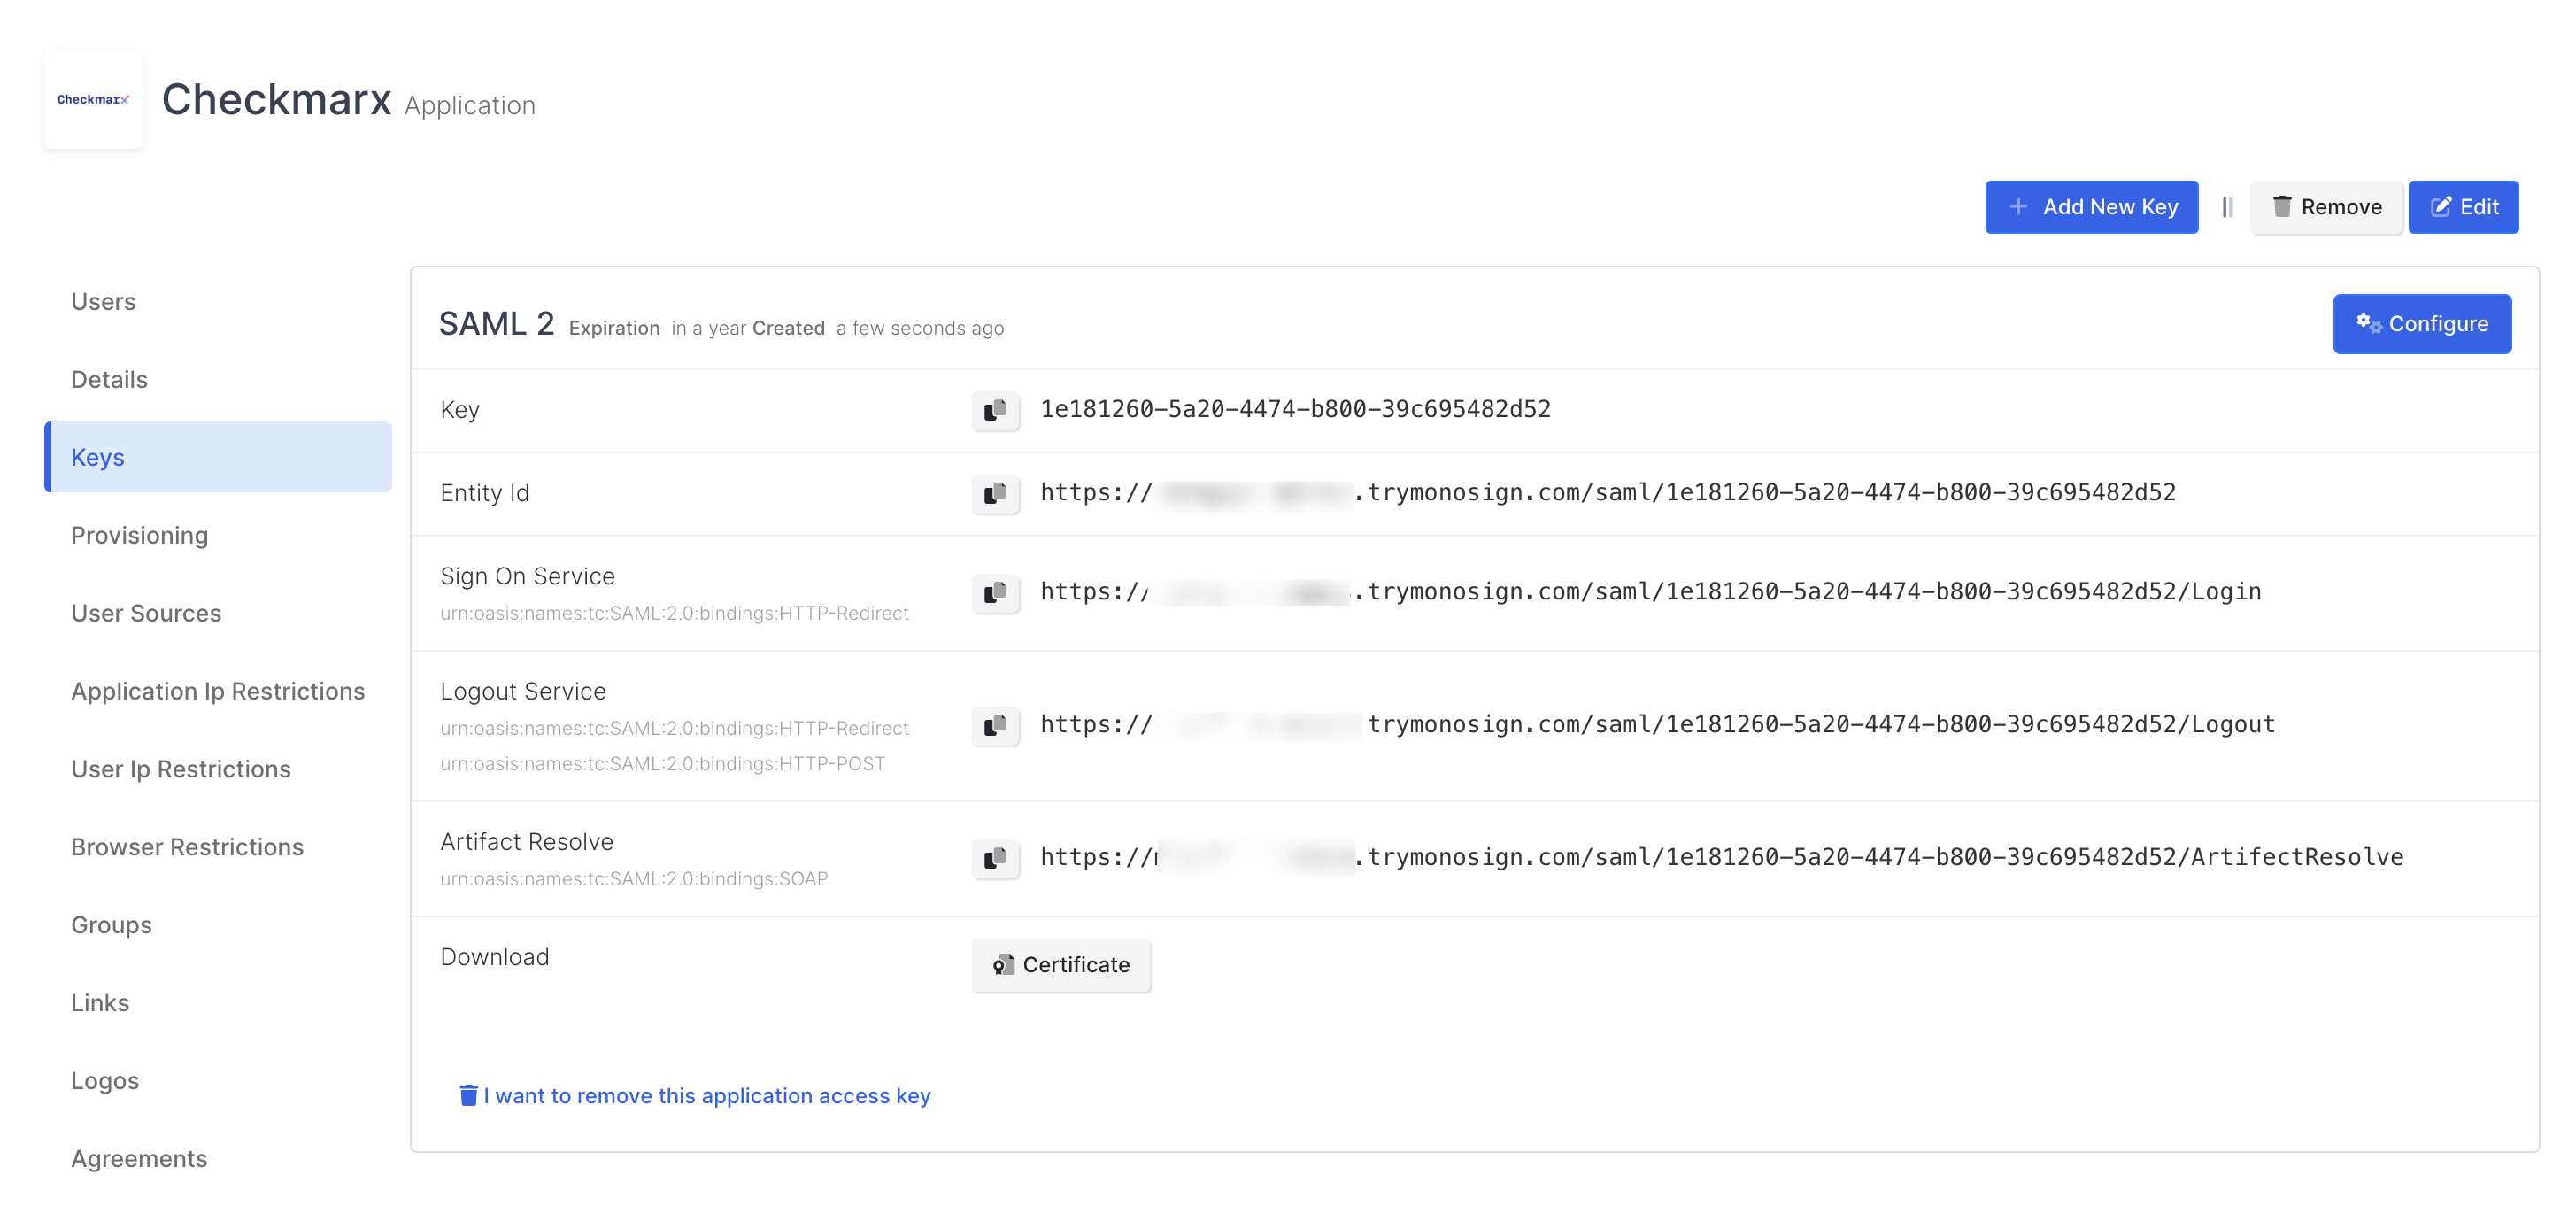
Create your application on Monosign and configure your access policy. Once you create, click “Keys” and add a new Access Key for SAML Key for access.
You are gonna see your configuration for your Checkmarx app as follows;
Configuration Single Sign-On for Checkmarx
Navigate Access Control of your Checkmarx. To do that, click your account or type your Checkmarx domain to your address bar and add the following to the URL “/CxRestAPI/auth/#/teams”. And click Settings, and click SAML. You are gonna see the following page.
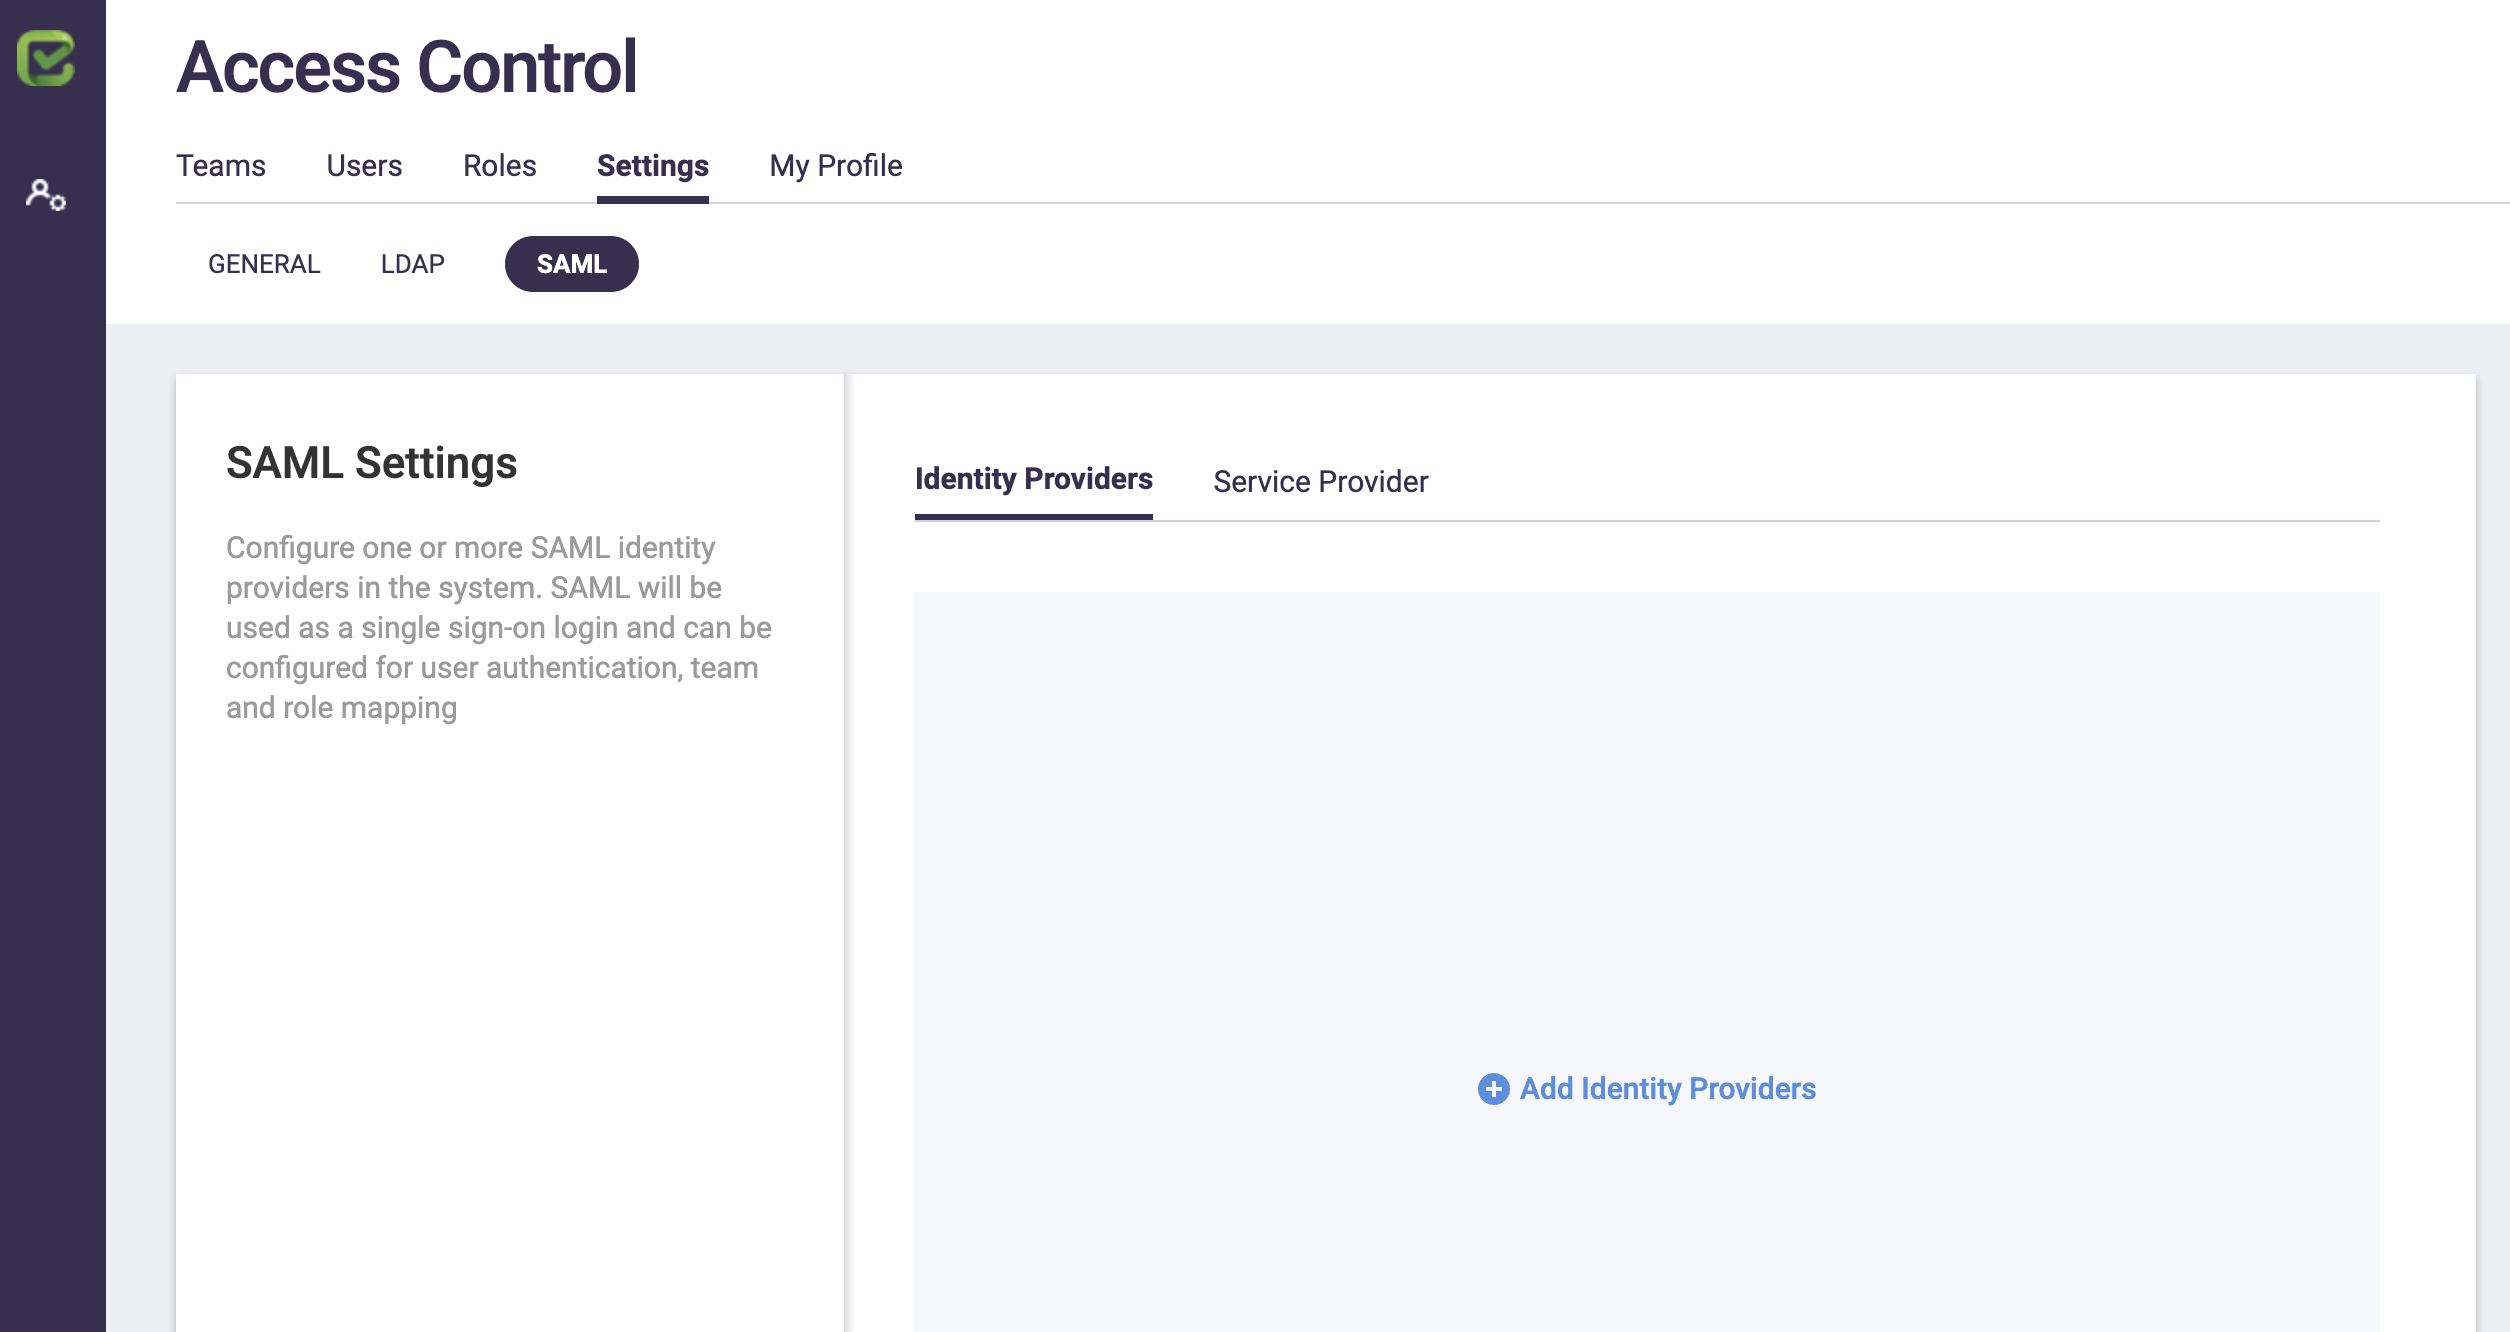
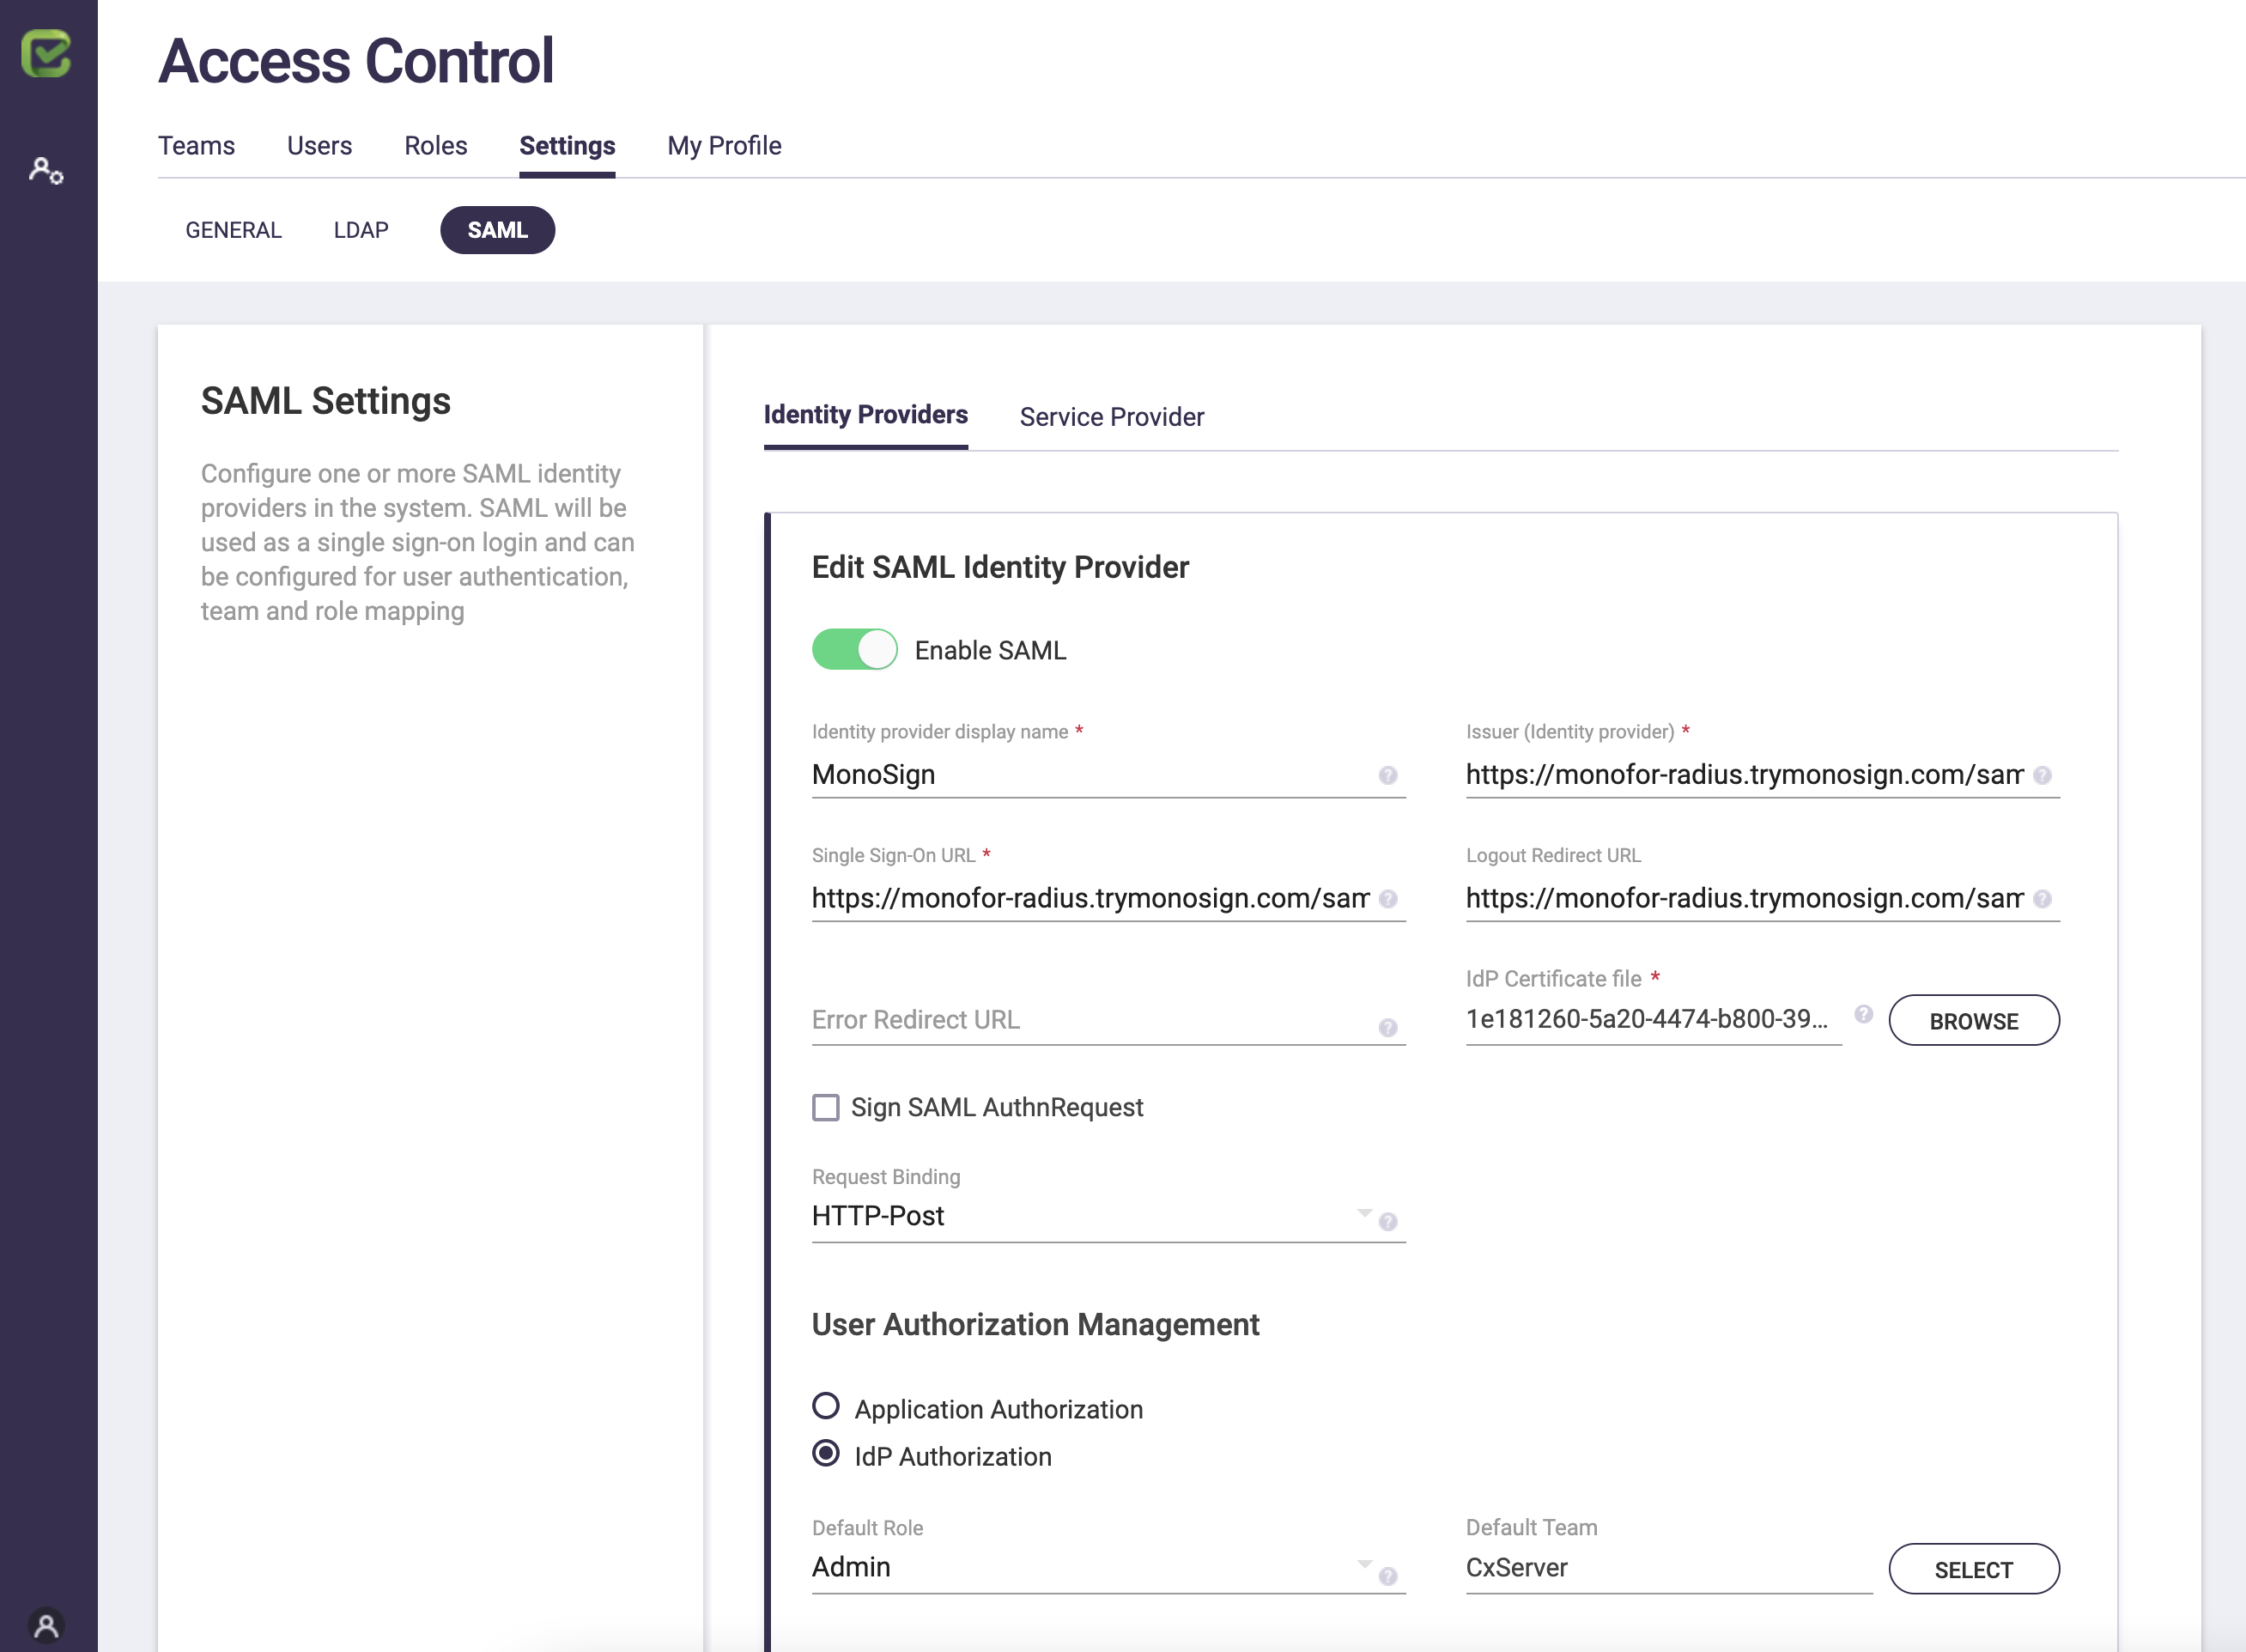
Click “Add Identity Providers”. Type your settings and click “Save”.
|
Setting |
Monosign |
Checkmarx |
|---|---|---|
|
Identity provider display name |
|
Monosign This is your “Button label”. You can type anything you want. |
|
Issuer |
Entity Id |
Issuer (Identity Provider) |
|
Single Sign-On URL |
Sign On Service |
Single Sign-On URL |
|
Logout Redirect URL |
Logout Service |
Logout Redirect URL |
|
IdP Certificate file |
Download from the page |
IdP Certificate file (Upload) |
|
Request Binding |
|
HTTP-Post |
|
User Authorization Management (Recommended) |
|
Select your default Role |
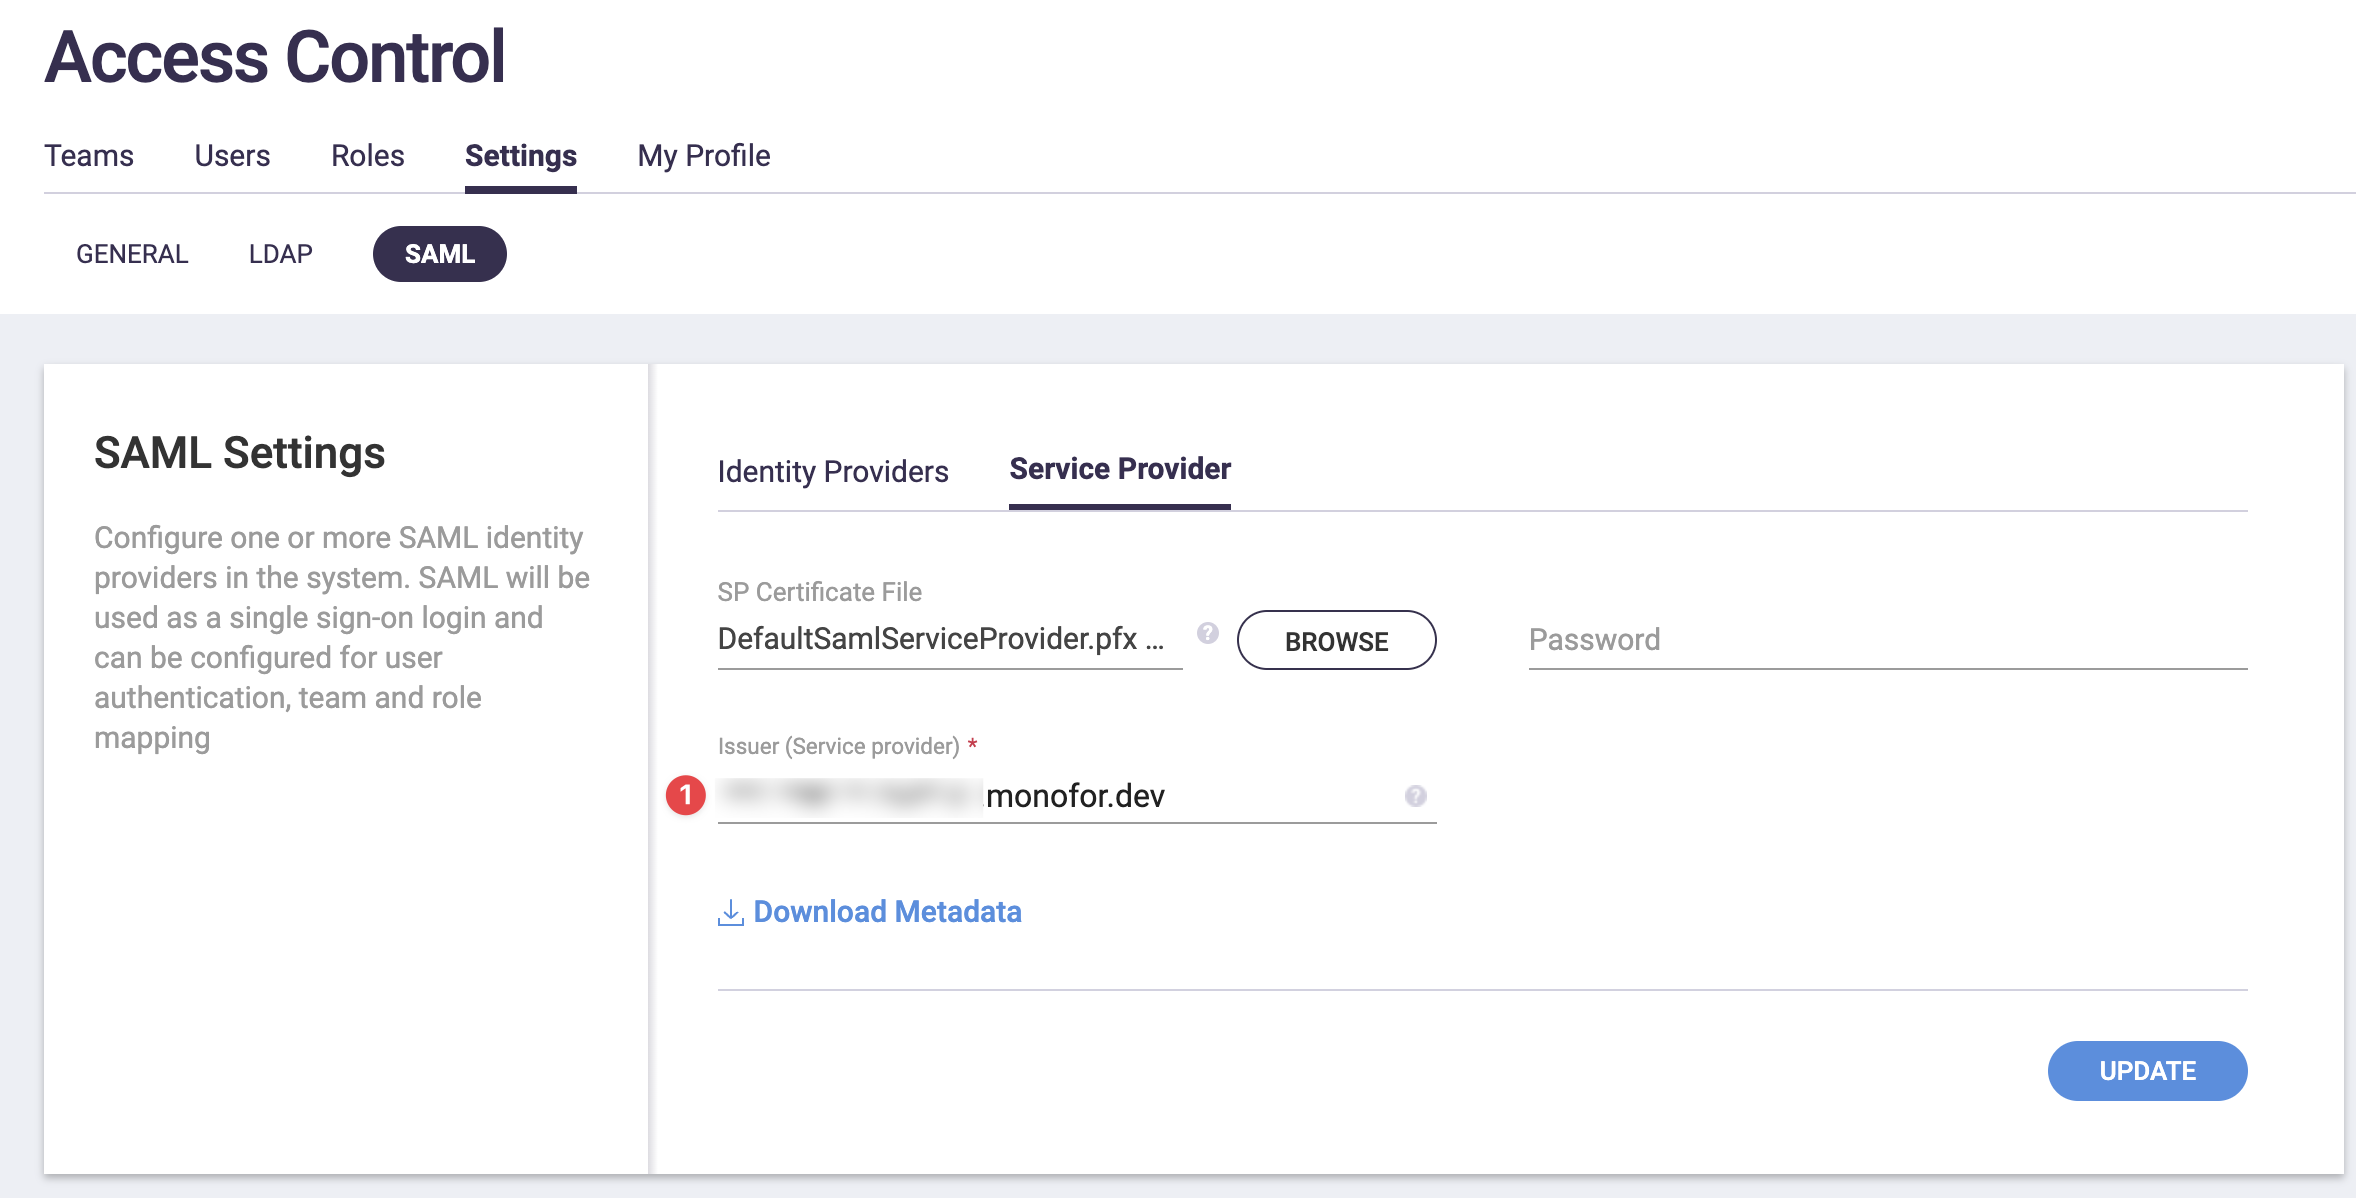
If you have a different domain name or address, you need to update it with the correct one. Click Service Provider and update your domain name. This is important for redirection.
Enable IdP Initiated Login
Go to the Monosign Admin Panel, click “Checkmarx” application, then click “Edit”.
Click “Login” and select Login Method as SAML2.

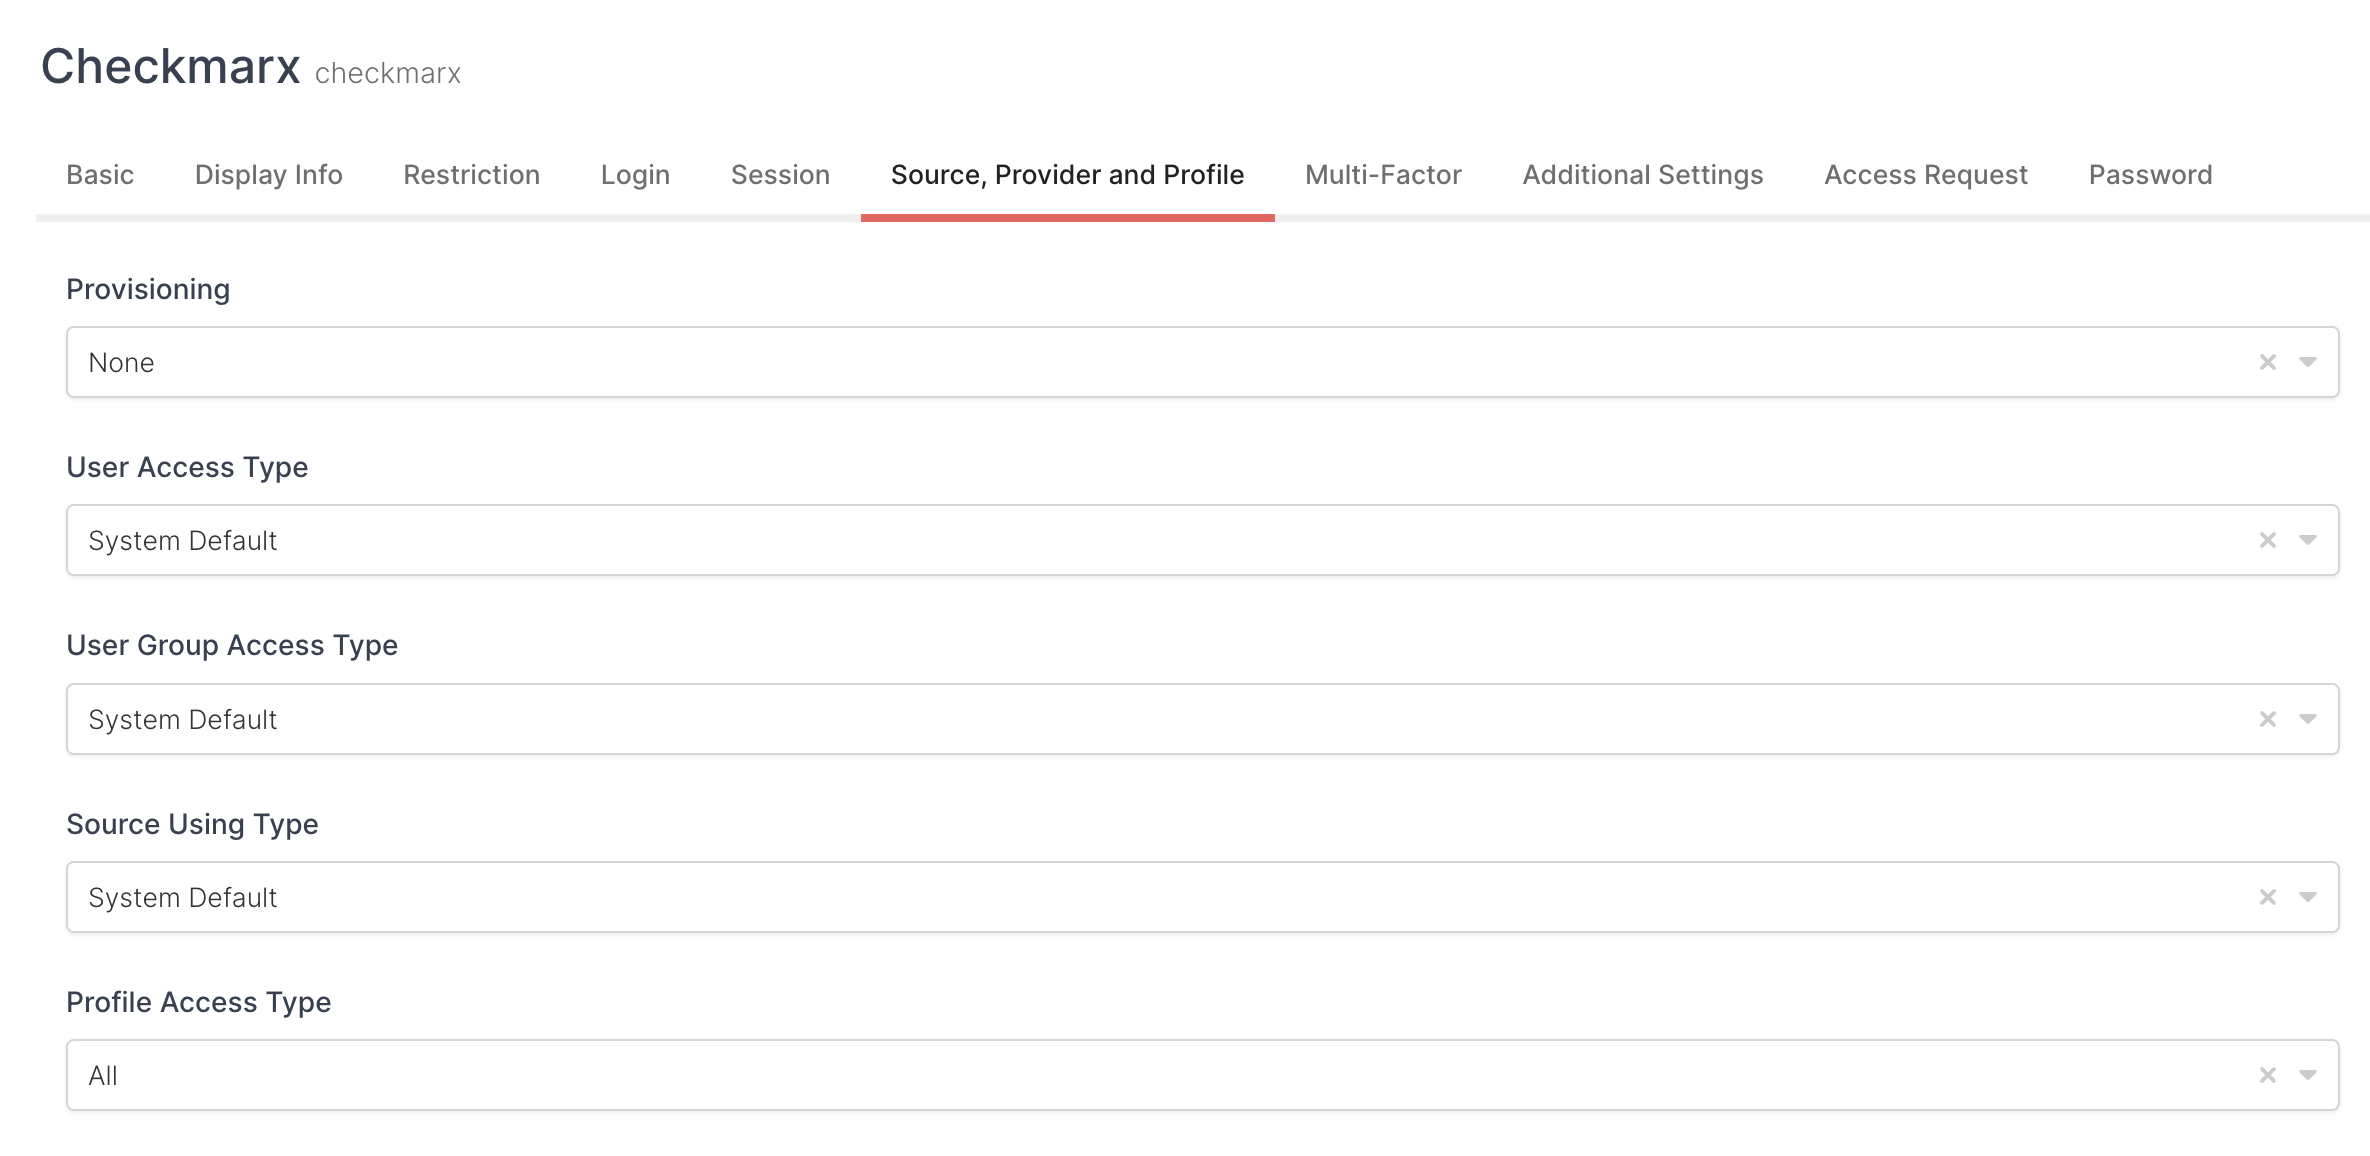
Click “Source, Provider and Profile” and select “Profile Access Type” as “All”.
Save your settings and go back to your Application page. Click “Keys” and click “Configure” then click the SAML Settings tab.
Update your Assertion Consumer Url like the following;
https://your-checkmarx-domain-address/CxRestAPI/auth/identity/samlAcs

And scroll to the “Extra Attributes” section and fill the setting as follows;
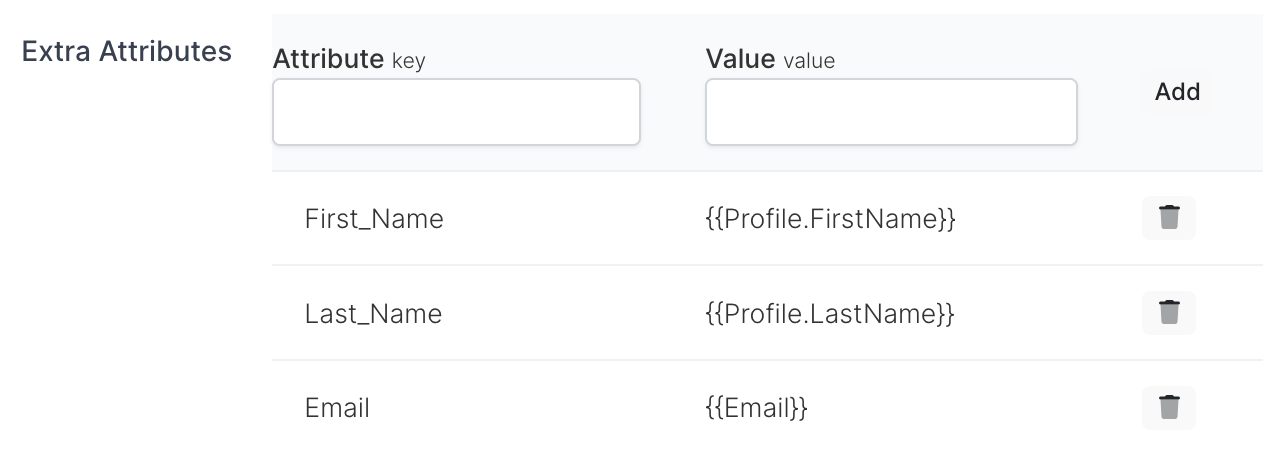
|
Attribute |
Value |
|---|---|
|
First_Name |
{{Profile.FirstName}} |
|
Last_Name |
{{Profile.LastName}} |
|
|
{{Email}} |
Save your settings.
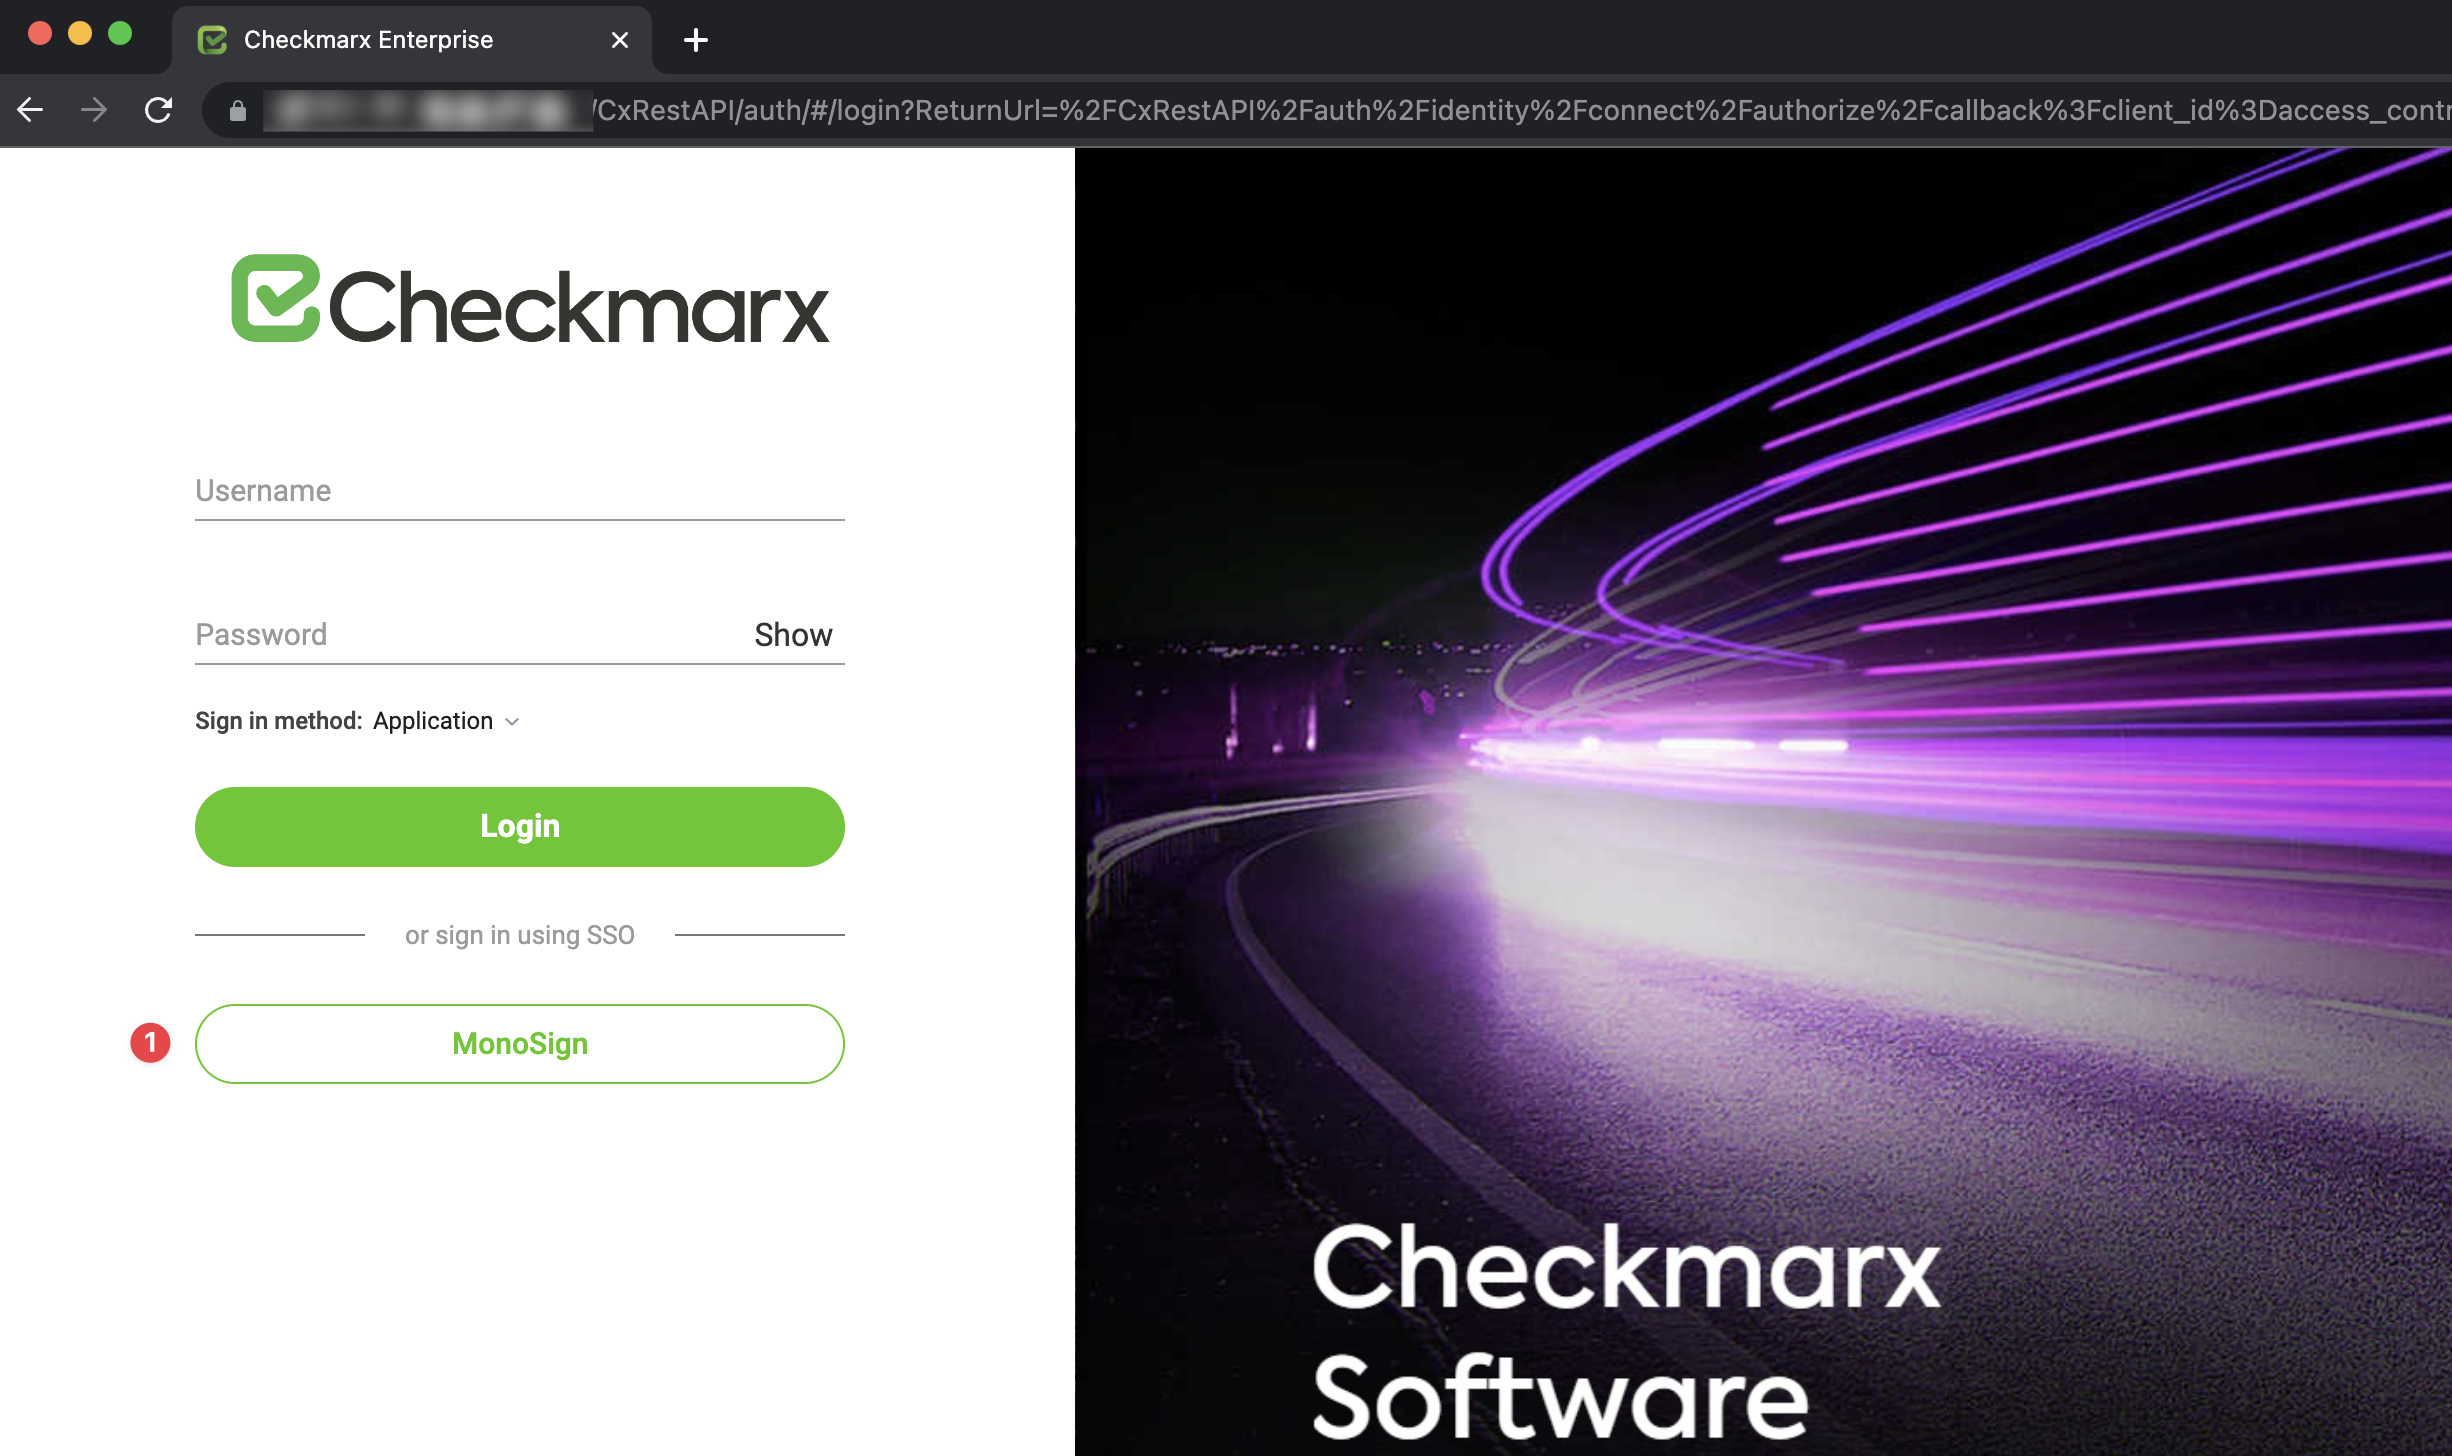
You can now type your Checkmarx address and you will see a second option like the following. Click it and you will be logged in.