Active Directory Certificate Services (AD CS) is leveraged to perform certificate-based login, i.e., smart card login post completing Monofor Identity mobile application.
The configuration required at the Domain Controller (DC) is divided into three steps to use a Passwordless logon.
-
Create a user on Active Directory to give “Enroll” permission for a certificate.
-
Configure the Enrollment Agent Certificate Template
-
Configure the User Certificate Template
-
Enabling both Enrollment Agent and User Certificate templates in CA
-
Configure Certificate Enrollment User on Monosign
1. Create a User on Active Directory
We will need a dedicated user account in Active Directory specifically for certificate enrollment purposes. This account should be used exclusively for the enrollment process. Avoid using a general-purpose or shared user account, as this goes against the principles of separation of duties and security best practices.
In our example, we are gonna use monosign_certeu as Certificate Enrollment user.
2. Configure the Enrollment Agent Certificate Template
Navigate to Microsoft Management Console (MMC). Run → mmc (To launch Console Root)
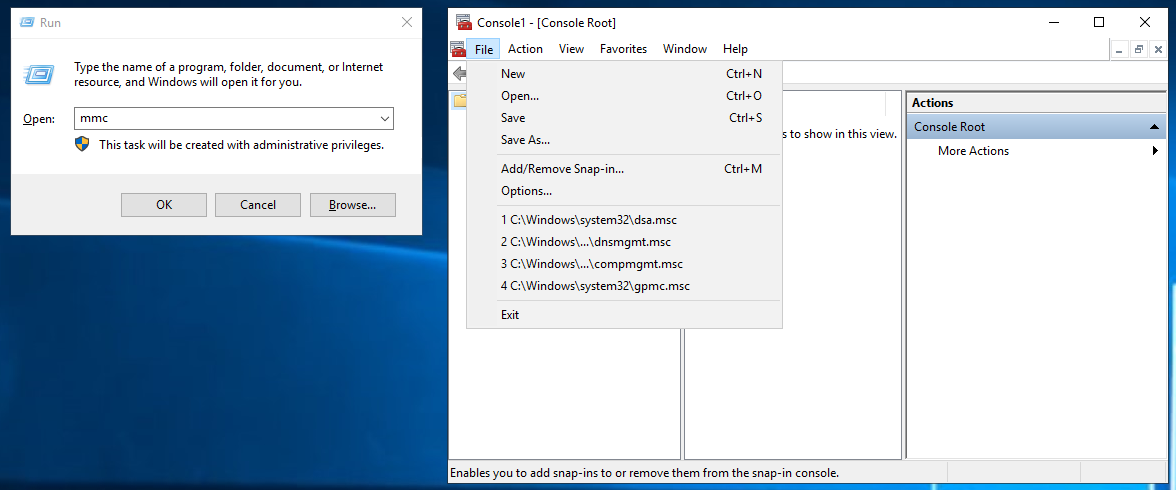
Click File and, click Add/Remove Snap-in.
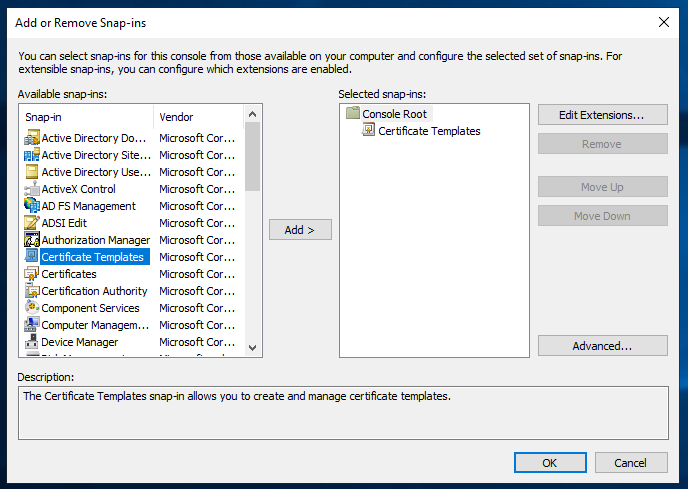
After that, select “Certificate Templates” and, “Add” button. Click OK.
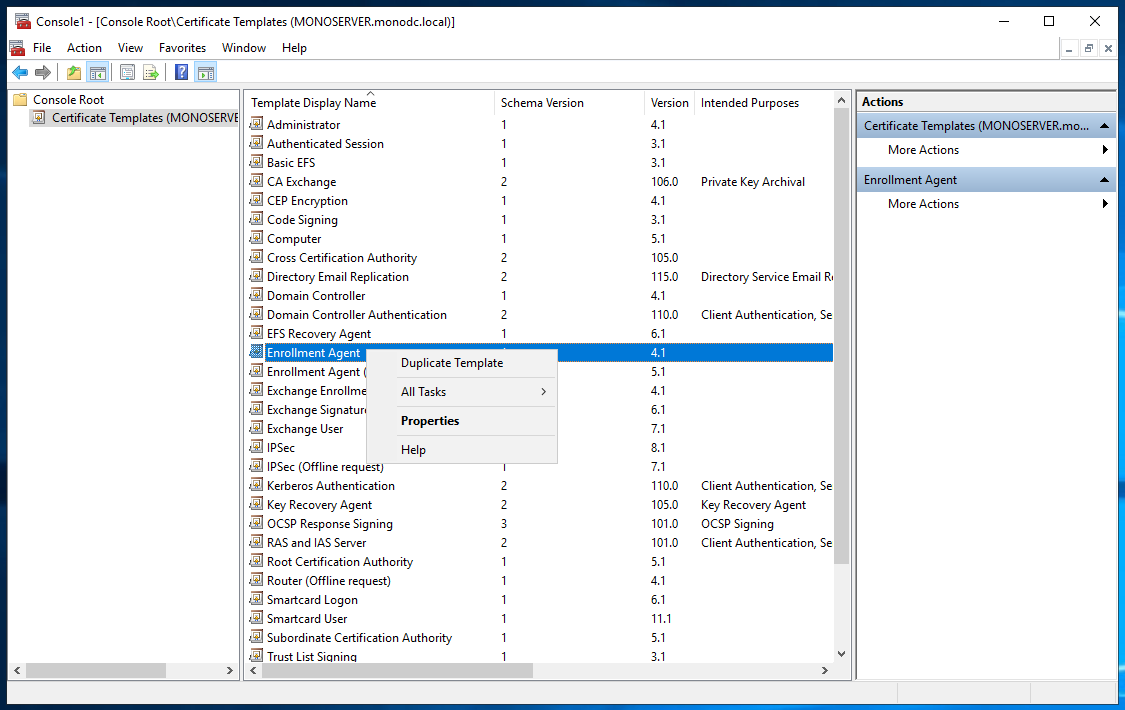
This will help you to see all Certificate Templates on your Directory Server. Expand Certificate Templates, find “Enrollment Agent” and right-click. Select Duplicate Template.
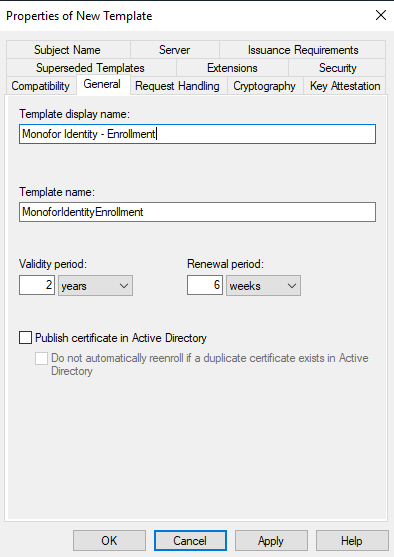
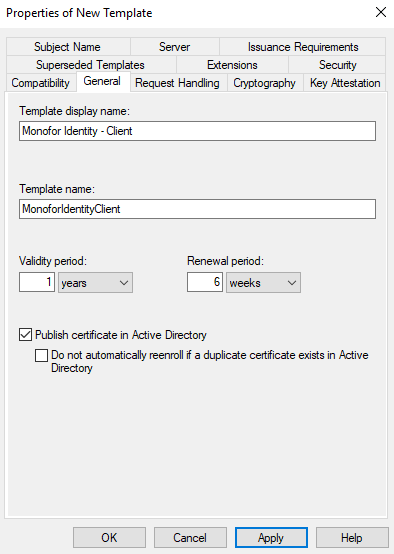
In “General” tab, give a following Template display name and Template name. This is very important, please act carefully.
|
Field |
Value |
|---|---|
|
Template display name |
|
|
Template name |
|
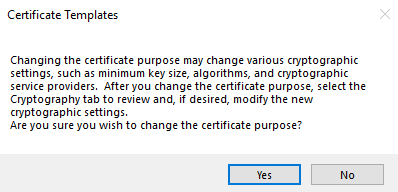
Select Purpose as “Signature and smartcard logon”, and click “Yes” on the warning screen.

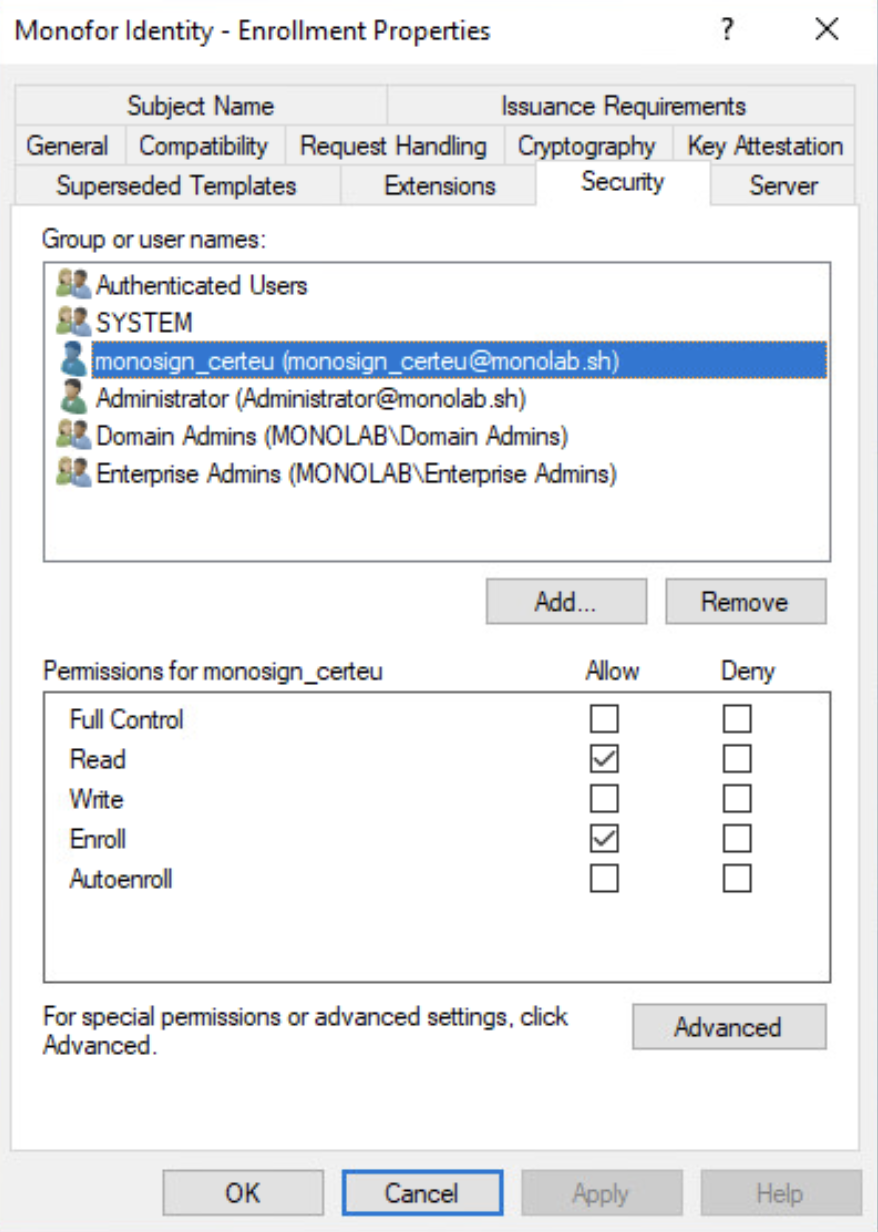
On the list, find and select “Authenticated Users” and “SYSTEM” for only “Read” permission.
And now, add your service user (which is monosign_certeu in our example) and give permission “Read” and “Enroll” as “Allow”.
You can now click OK.
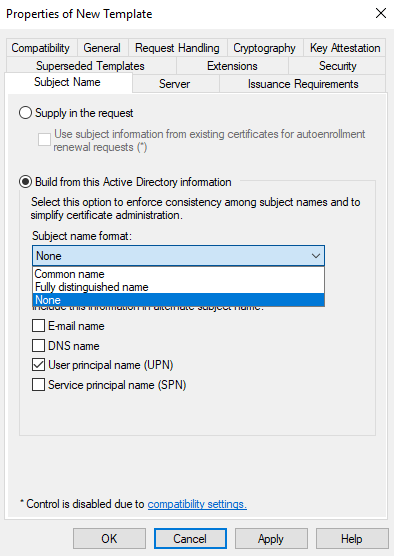
One last thing on this UI. We need to go to the “Subject Name” tab and select Subject name format as “None”.
And we can click Apply button.
3. Configure the User Certificate Template
Right now, we need a User certificate. Find the “User” certificate template on the list and right-click, Duplicate Template.

Like we did before, in “General” tab, give a following Template display name and Template name. This is very important, please act carefully. This time, we are giving a different name.
|
Field |
Value |
|---|---|
|
Template display name |
|
|
Template name |
|
Once again, click “Security” tab. On the list, find and select “Authenticated Users” and “SYSTEM” for only “Read” permission. And now, add your service user (which is monosign_certeu in our example) and give permission “Read” and “Enroll” as “Allow”. You can now click OK.
Final result should like following.
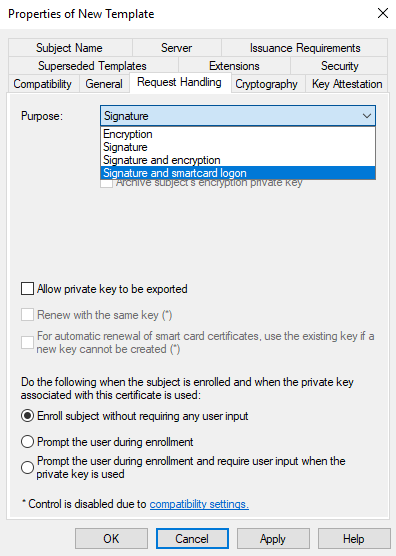
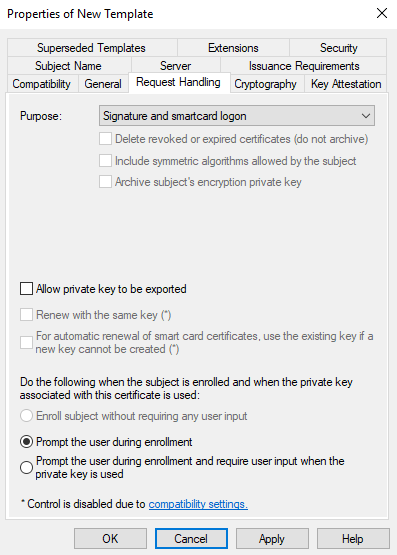
Click “Request Handling” tab. Once again, select purpose as “Signature and smartcard logon”. Click “Yes” when you see the warning.
You can see the final result on the “Request Handling” tab.
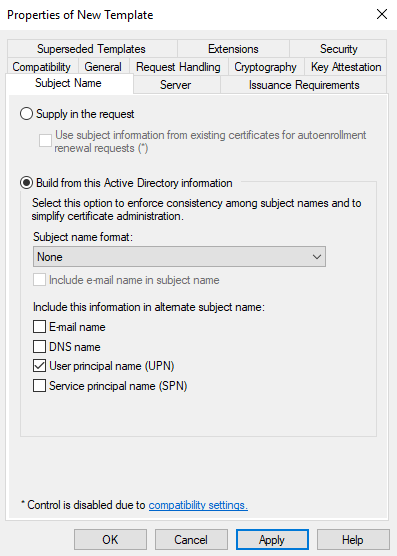
Click “Subject Name” tab.
Select “Subject name format” as “None” again.
And uncheck “E-mail name” from the “Include this information in alternate subject name” section.
You can see the final result on the right.
Now, you can click “Issuance Requirements”.
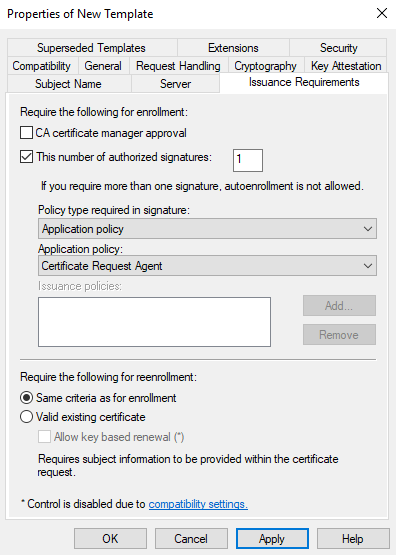
This is our last section for Certificate Templates.
Check “This number of authorized signatures”. Value should be 1.
In Application policy section, we need to select Certificate Request Agent from the list.
Please check the final result on the left.
And now, we can click Apply.
4. Enabling both Enrollment Agent and User Certificate Templates in Certificate Authority (CA)
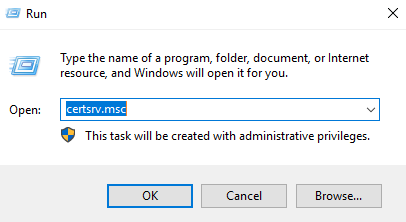
Use Win+R shortcut or click Start and Run application. Type certsrv.msc and OK.
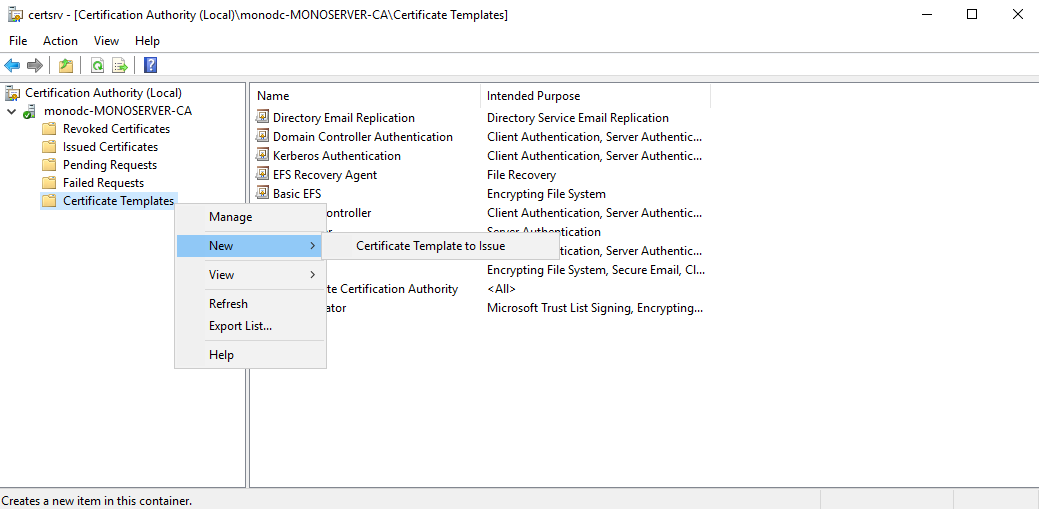
On the UI, right-click to “Certificate Templates”, select New and “Certificate Template to Issue”.
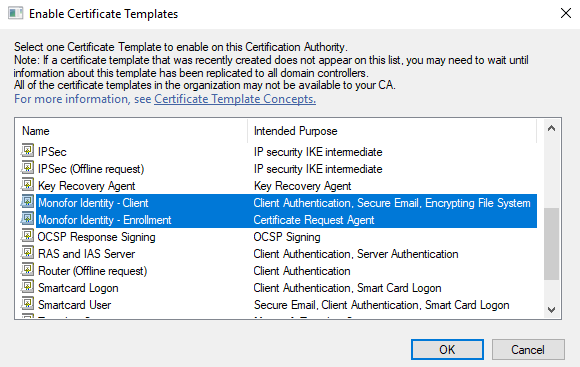
Find and select both “Monofor Identity - Client“ and “Monofor Identity - Enrollment“ on the list and click OK. You can use Shift key on the keyboard for select multiple.
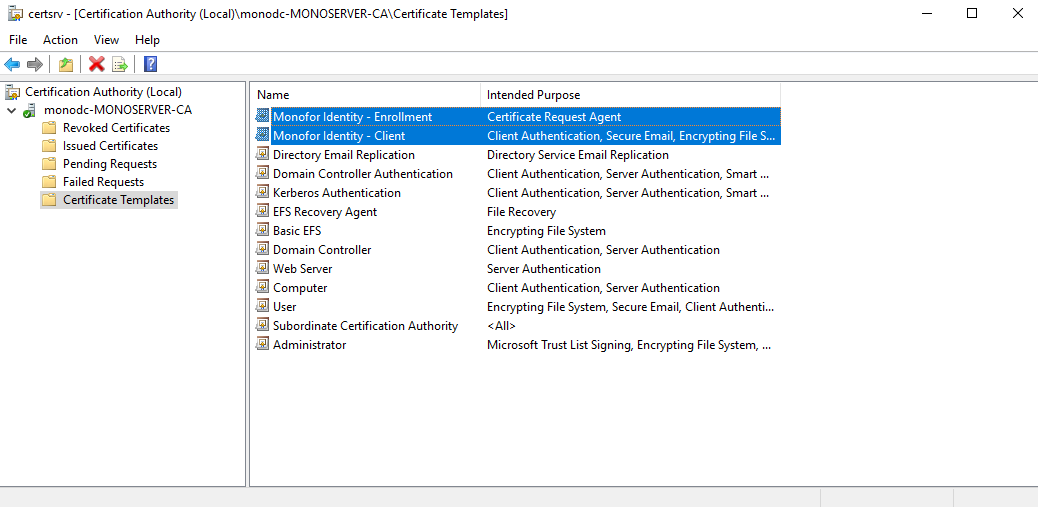
You will see them on the list when you click OK.
5. Configure Certificate Enrollment User on Monosign
Navigate to the Monosign Management Portal. Click Users, and Sources. Click Settings on your User Source and click Certificate Enrollment tab.
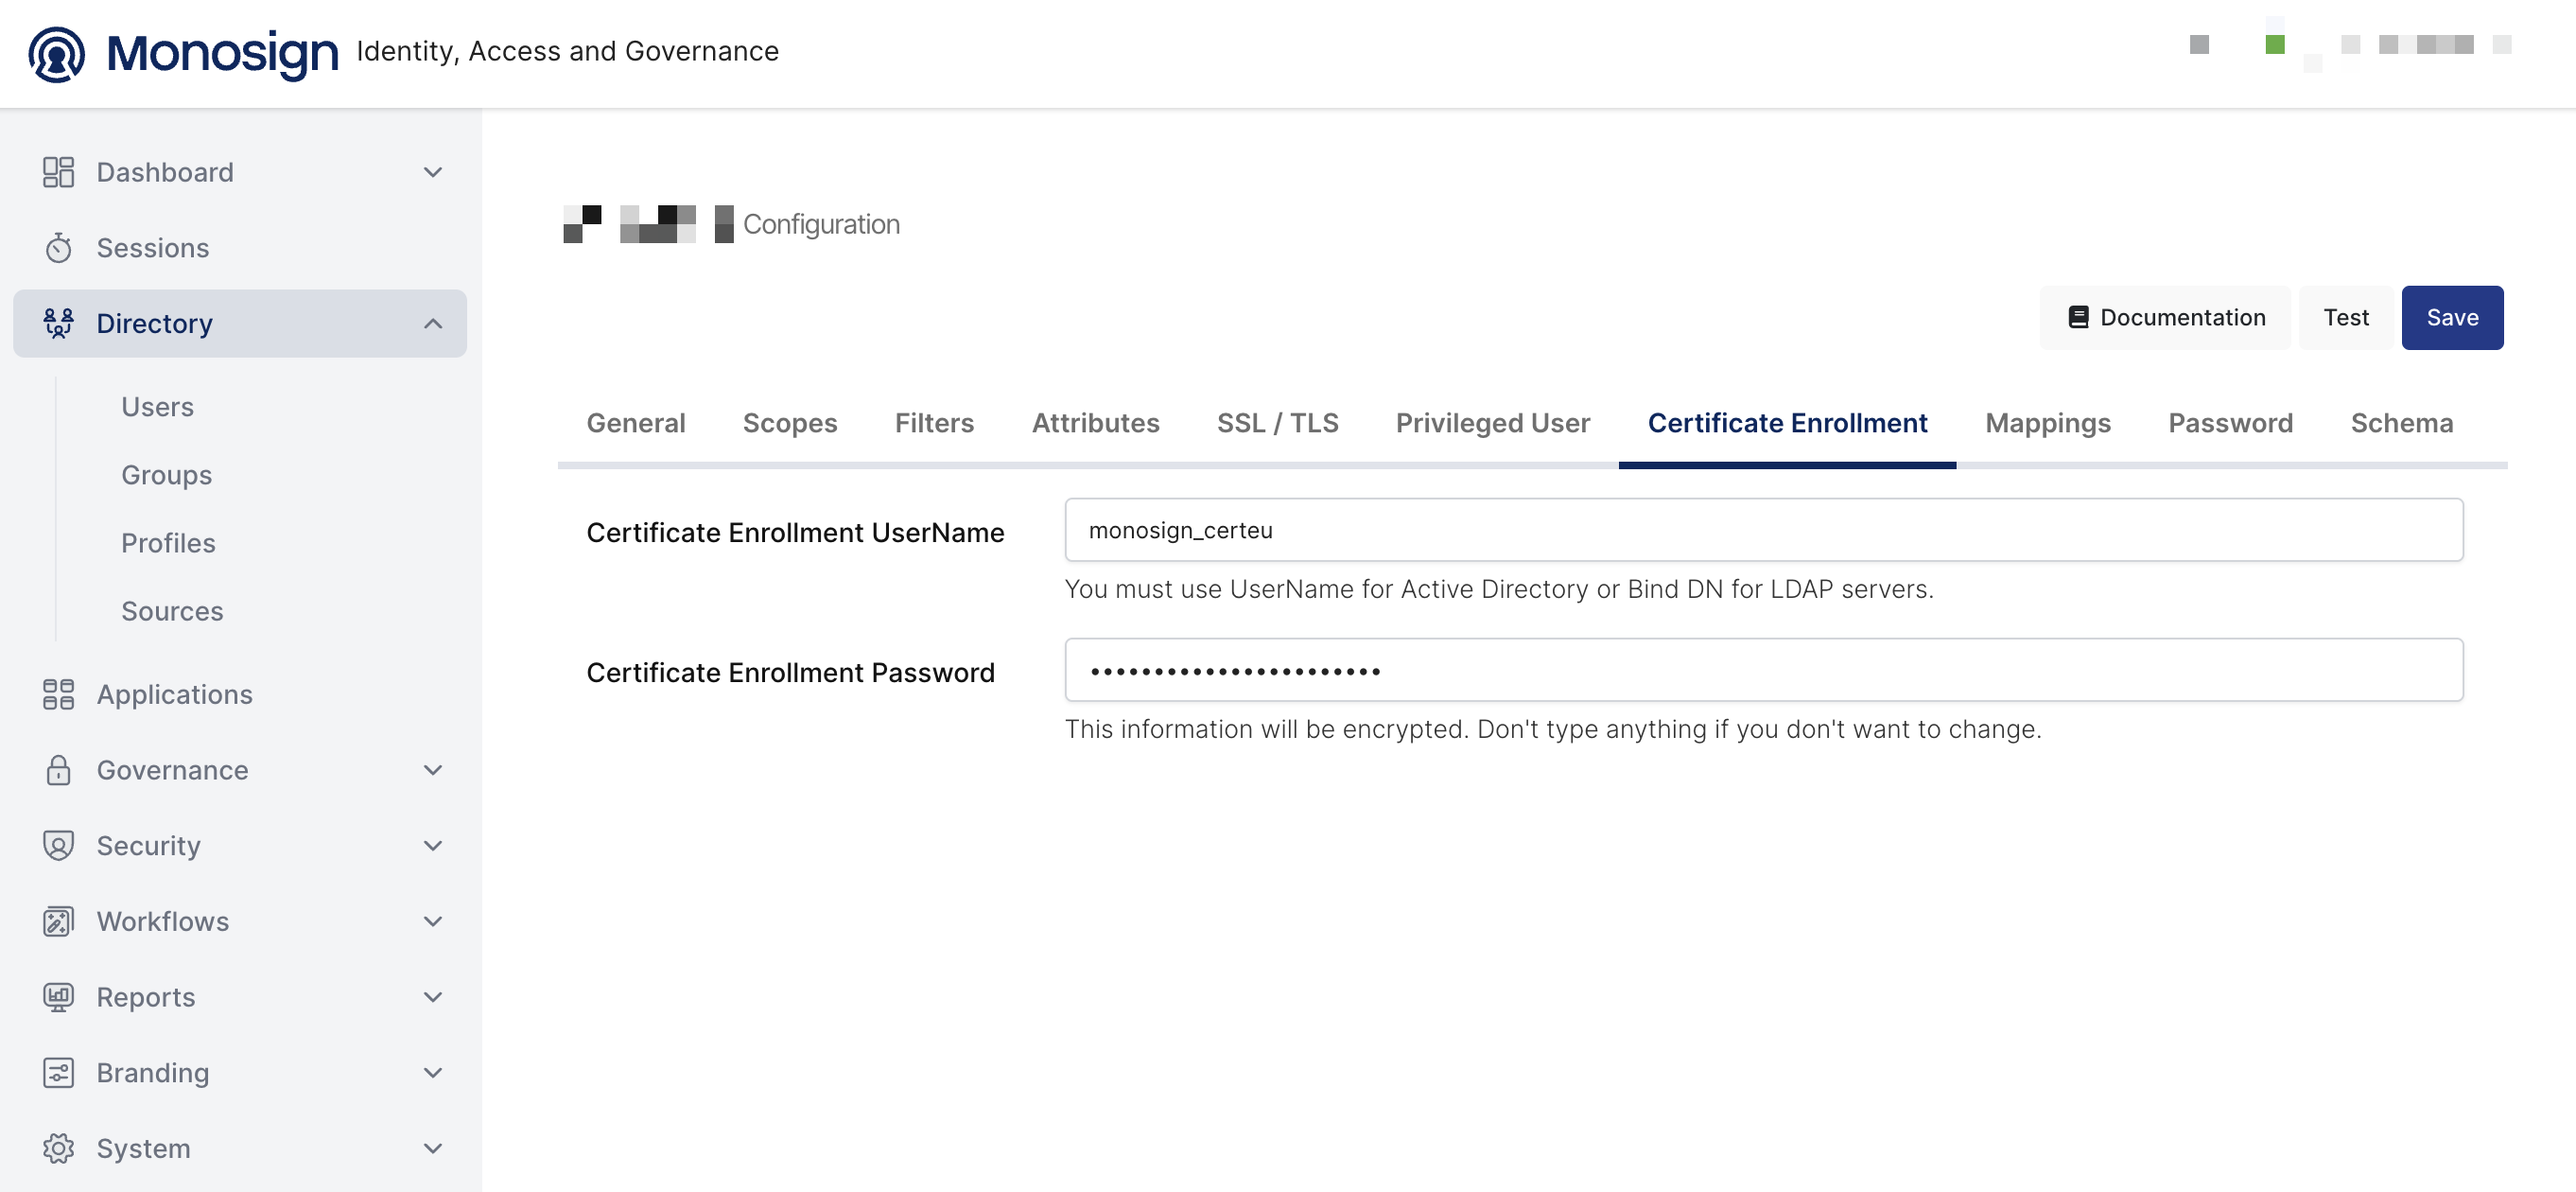
That’s it. We are good to go.