Facebook Browser Extension Integration
This document explains how to implement Monosign with Facebook. It covers Single Sign-On through MonoSign Browser Extension. The browser extension is useful in case there is no other method supported by the desired application. For more information, you may check this article.
📑 Instructions
This documentation contains 4 main steps for integration.
Creating an Application on Monosign
Assign a user to the Facebook app
Sign In Test
1- Creating an Application on Monosign
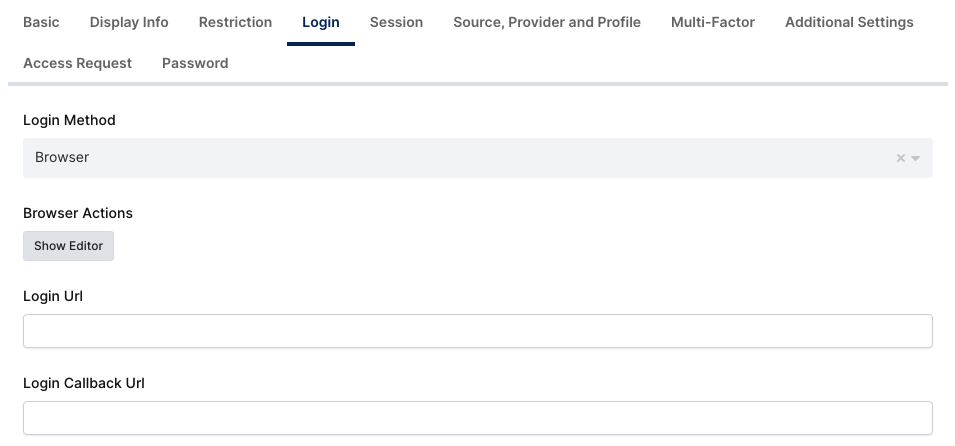
Create a Facebook application on Monosign and configure your access policy. Once you create, click the Edit button and switch to the Login tab. Select Browser as Login Method and click Show Editor to edit the authentication process.

The code below demonstrates an example of Browser Actions for signing in to Facebook.
browserEvent.SignInUrl = "https://www.facebook.com/login";
browserEvent.SuccessUrl = "https://www.facebook.com/";

browserEvent.UserNameSelector = "[name='email']";
browserEvent.PasswordSelector = "[name='pass']";
browserEvent.SubmitSelector = "[type='submit']";
2- Assign a user to the Facebook app
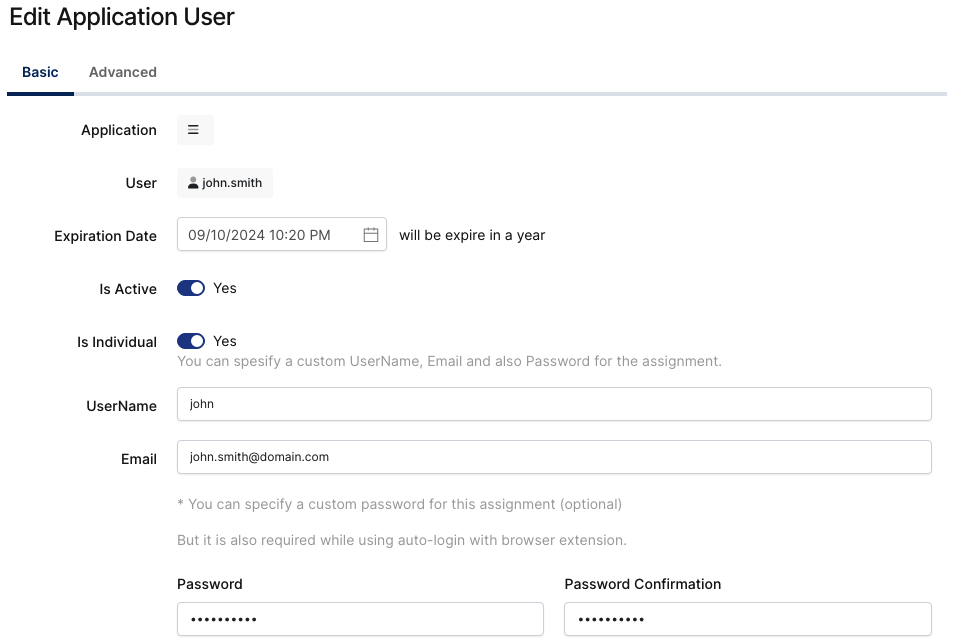
Click the Assign a User button, and select the User intended to be able access to the application. Fill out how long the assignment is valid in the Expiration Date.

Enable Is Individual switch. Fill out the form according to the Facebook account that is desired to authenticate. The account information is necessary and will be available while editing the authentication process.

By filling out the form, the MonoSign user will be bound to the Facebook user. Whenever the user signs in to Facebook via MonoSign, the specified Facebook account will be used to complete the authentication process.

3- Sign In Test
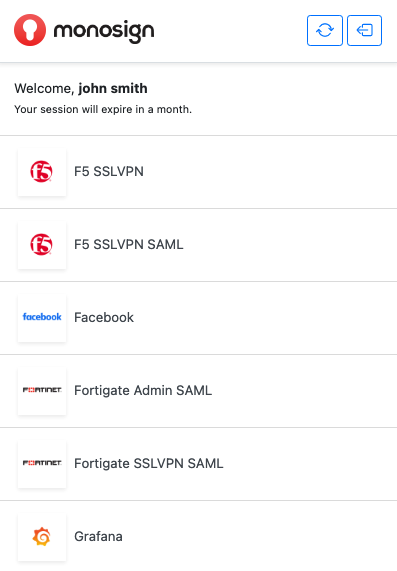
Open the MonoSign extension on the browser and click Facebook.

The extension will redirect to the Facebook login page and perform the steps as edited in the Code Editor.
