📑 Instructions
This document explains how to implement Monosign with Harbor. It covers Single Sign-On. Before you continue, it is better to start with Harbor's Single Sign-On in this page.
This documentation contains 4 main steps for integration.
-
Creating an Application on Monosign
-
Configuration Single Sign-On for Harbor
-
Assign a user to the Harbor application
-
Sign In Test
1- Creating an Application on Monosign
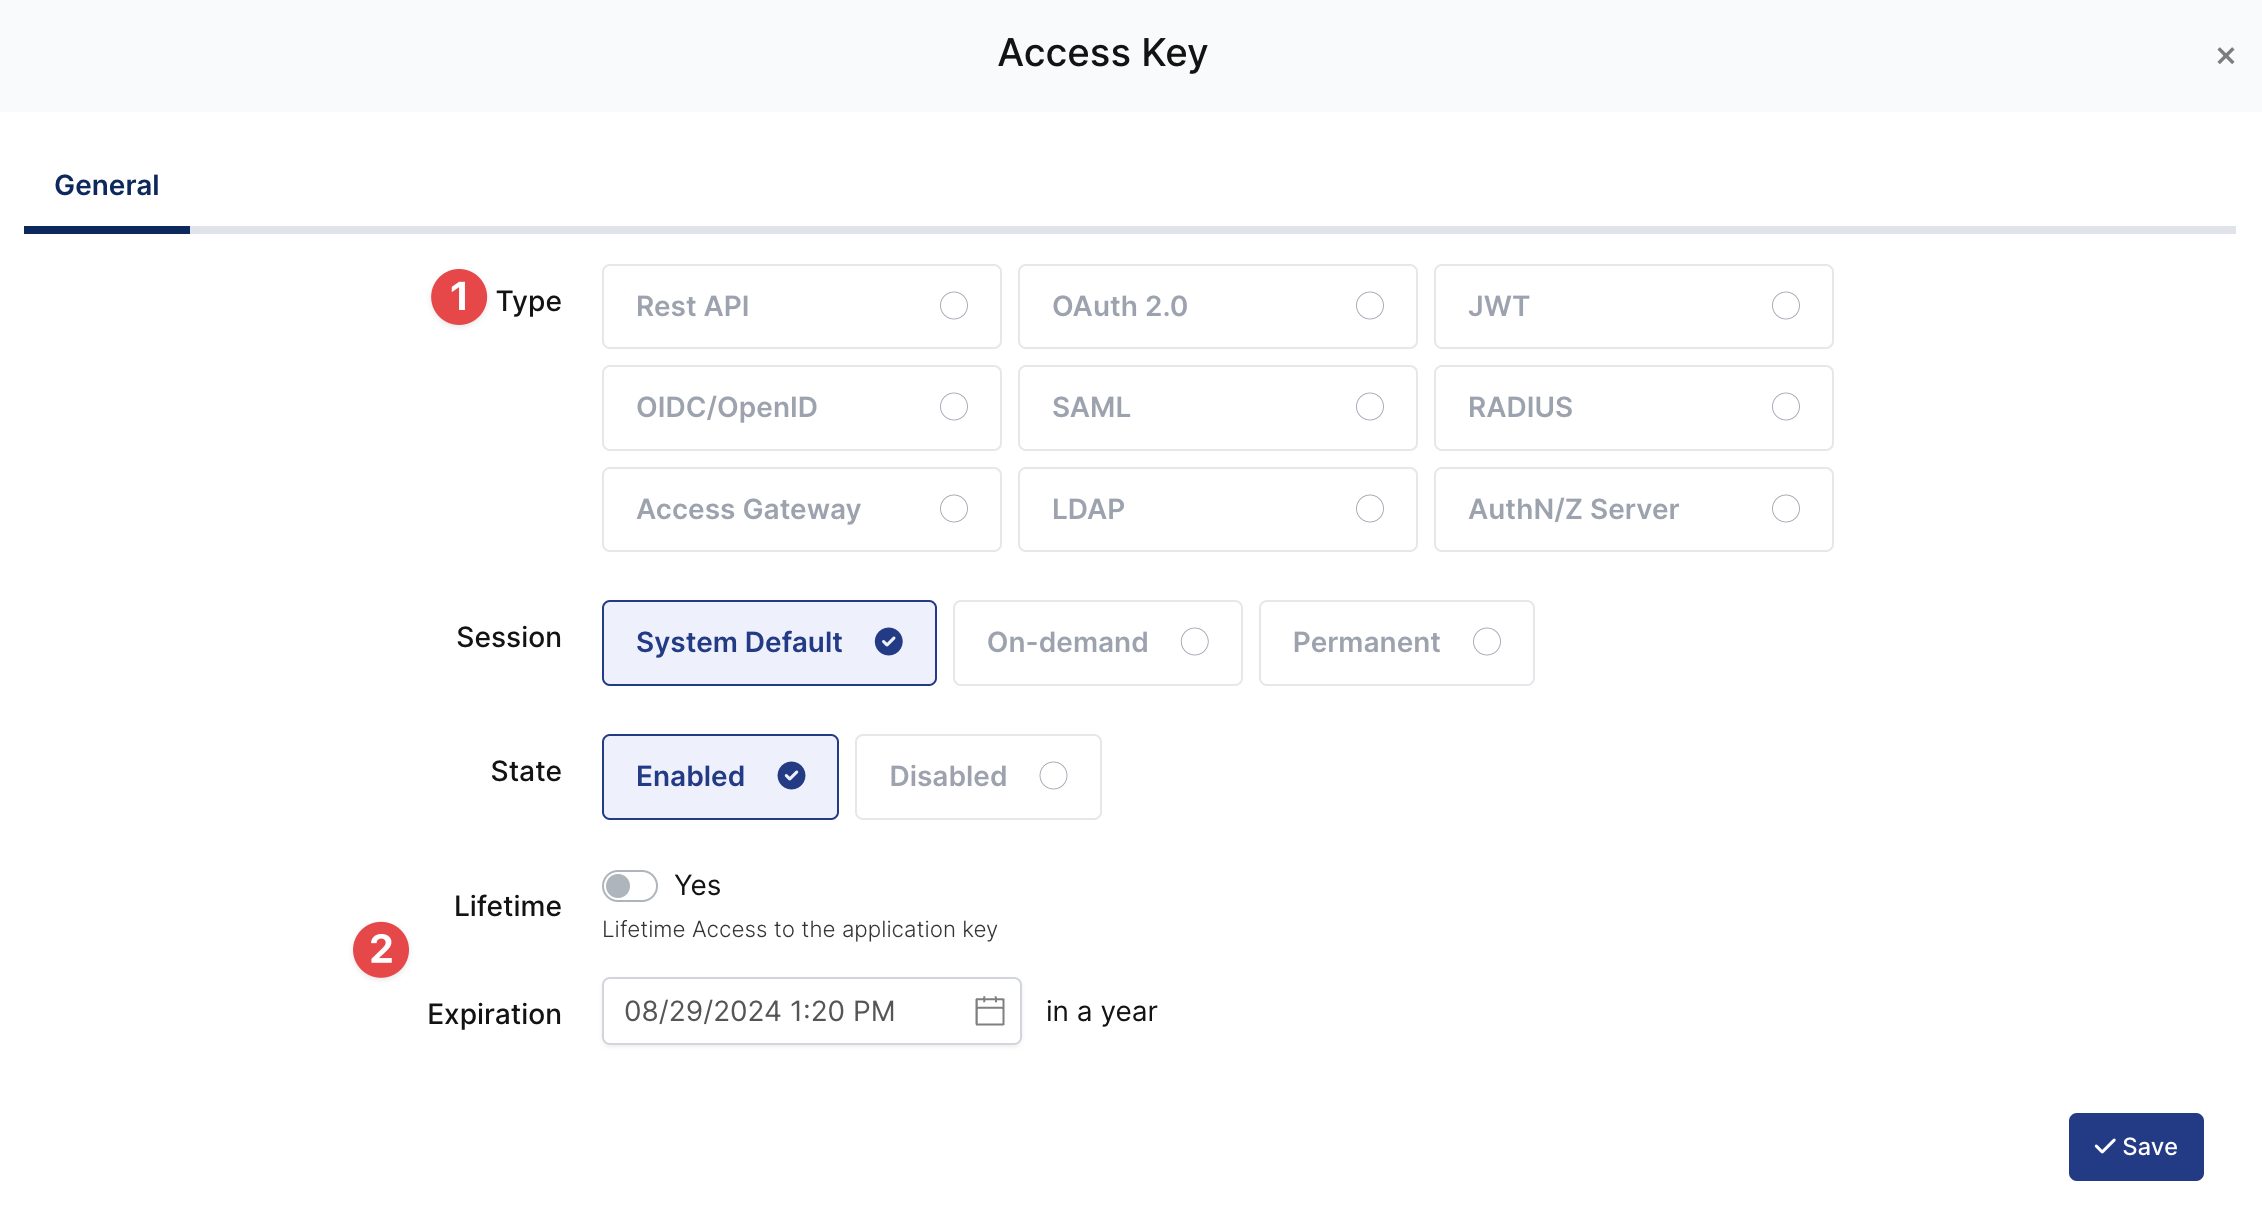
Create application on Monosign and configure your access policy. Once you create, click “Keys” and add a new Access Key for OIDC/OpenID Key for access.
This information will be necessary during the configuration of the application.

|
Property |
Value |
Options |
|---|---|---|
|
Key Type |
OIDC/OpenID |
Rest API, OAuth 2.0, JWT, OIDC/OpenID, SAML, RADIUS, Access Gateway, LDAP, AuthN/Z Server |
|
Expiration |
Lifetime |
Lifetime or Specific Date/Time - By Default Lifetime is Enabled. |
Configuration details for the Harbor application are provided as follows:
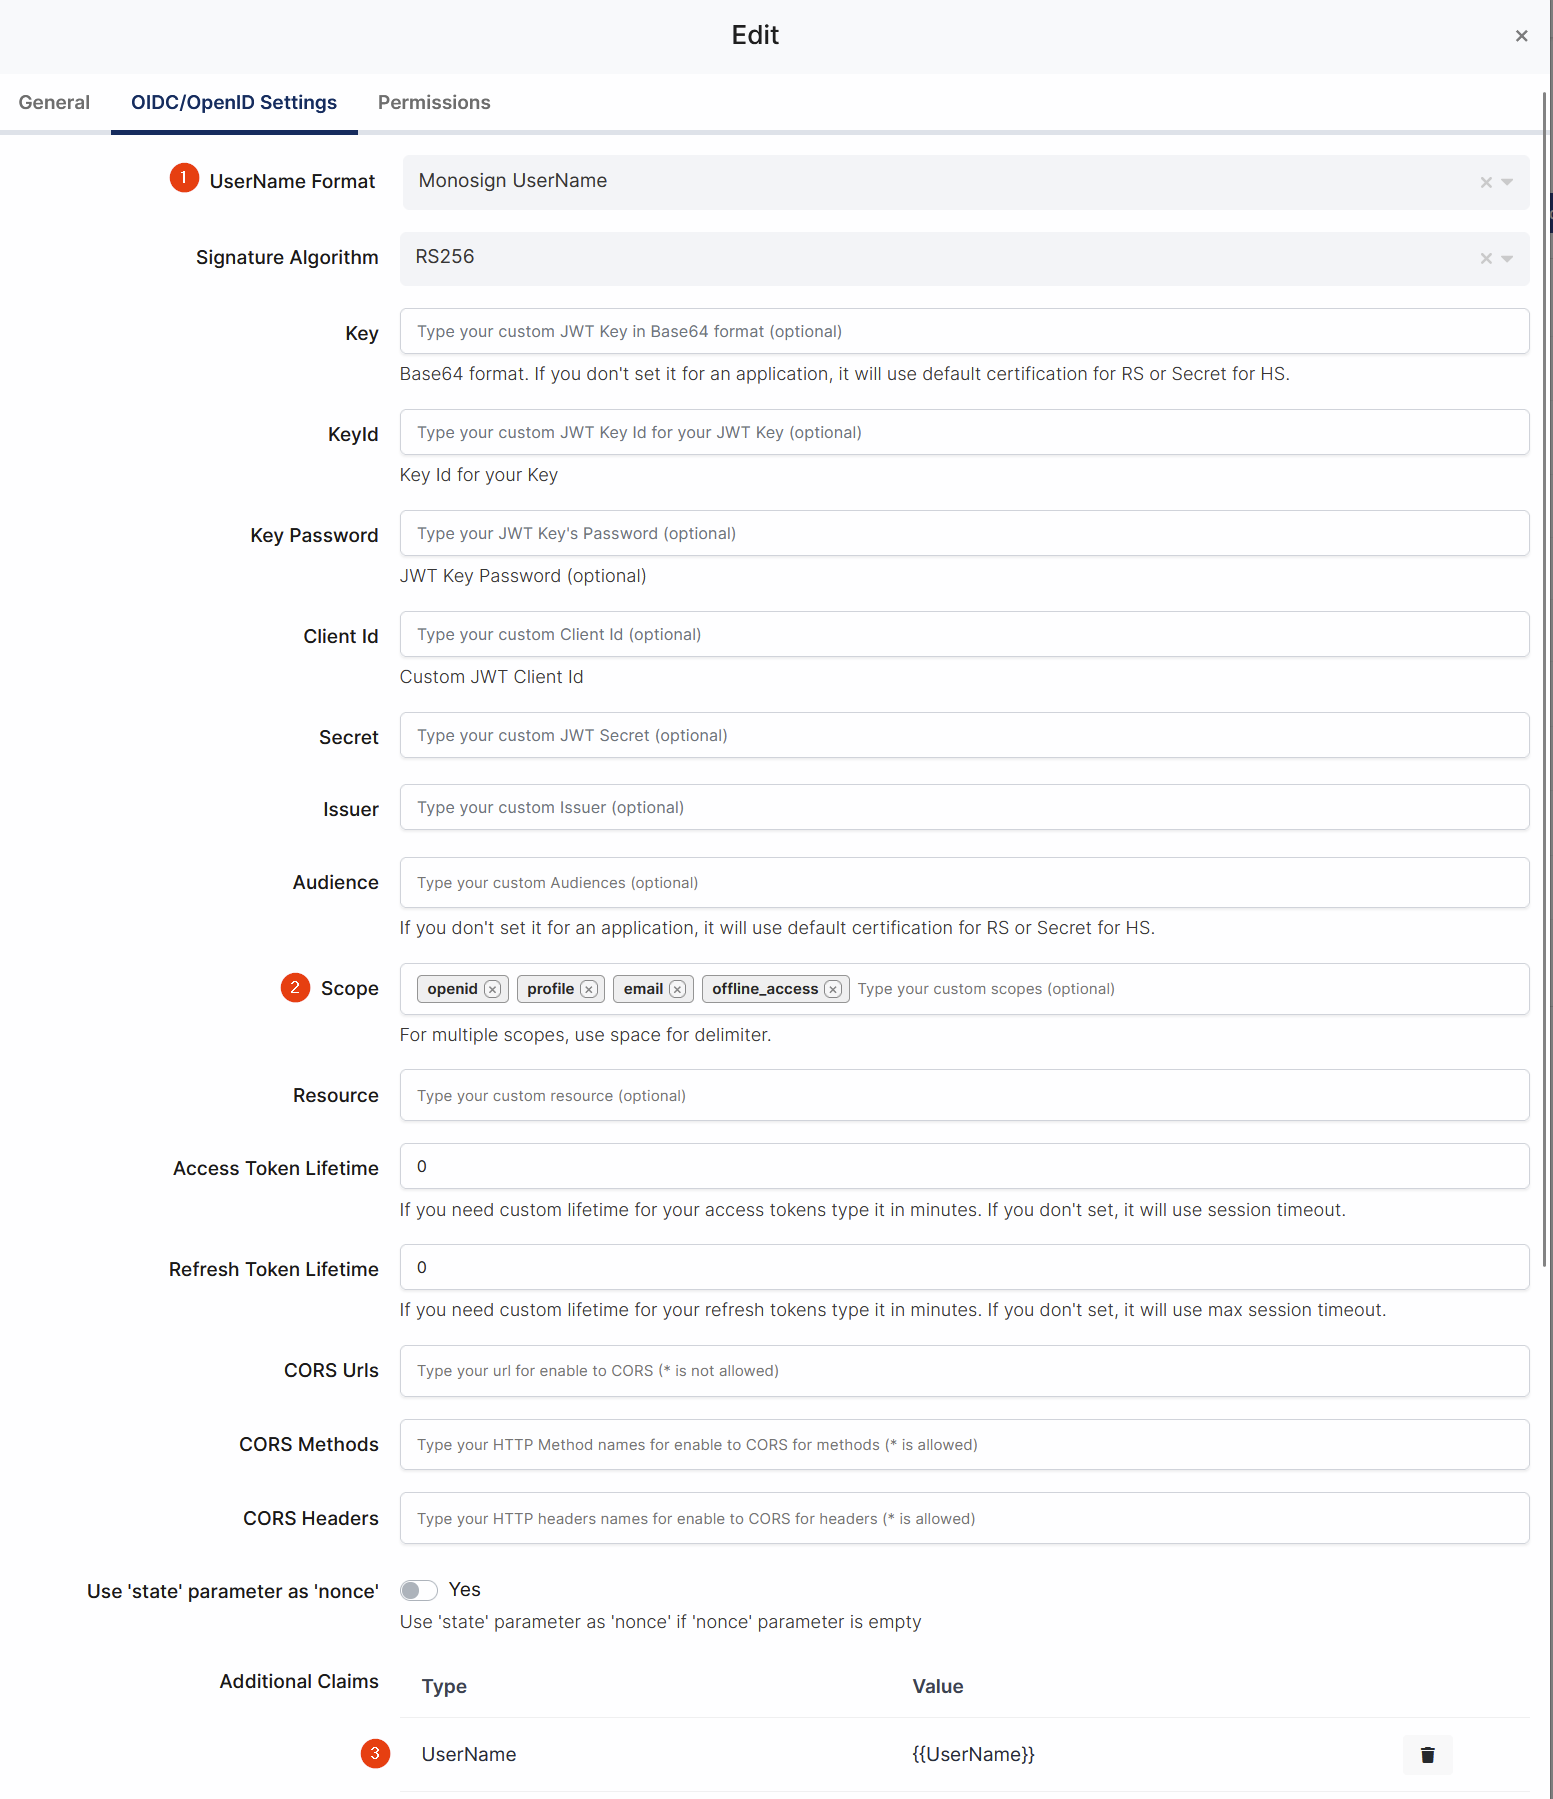
Change or add below values in the properties.
|
Property |
Value |
|---|---|
|
UserName Format |
|
|
Scope |
|
|
Additional Claims - UserName |
|
|
Enable Group Mapping |
|
|
Group Mapping Attribute |
|
|
Group Mapping Format |
|
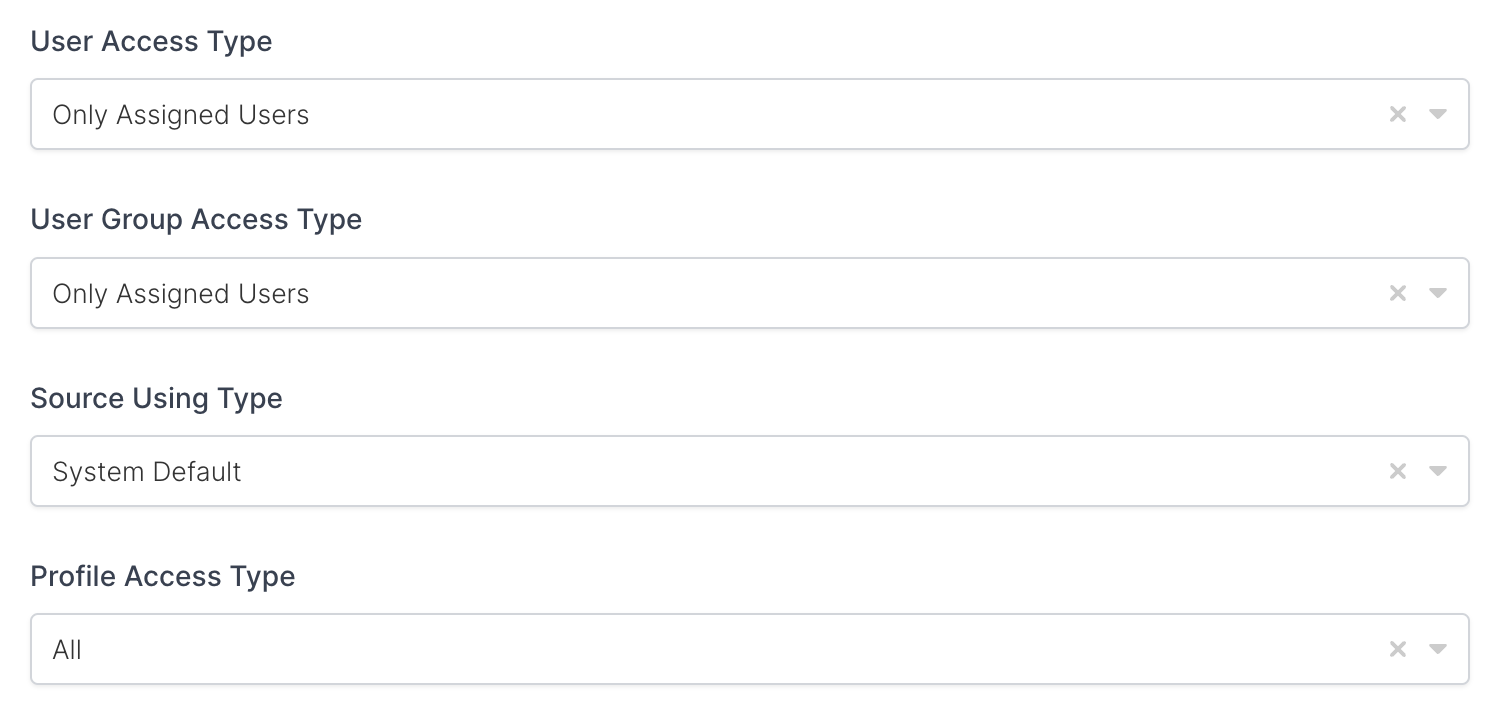
To ensure that the application has access to user groups, follow these steps:
-
If the application hasn't been configured yet, click the “Edit” option for the application.
-
In the application settings, navigate to the “Source, Provider, and Profile” tab.
-
Configure the “User Access Type“ and “User Group Access Type” as “Only Assigned Users.”
Configuring this setting will allow the application to access by user groups when users sign in.
|
Property |
Description |
Options |
|---|---|---|
|
User Access Type |
Defines which Users will access to this application. |
Only Assigned Users
|
|
User Group Access Type |
Defines application’s user group access |
Only Assigned Users
|
|
Profile Access Type |
Defines Application’s user’s profile access |
Restricted - Only restricted user profile attributes
|
2- Configuration Single Sign-On for Harbor
As it highlighted at the beginning of document, please check out the Harbor’s SSO configuration page first.
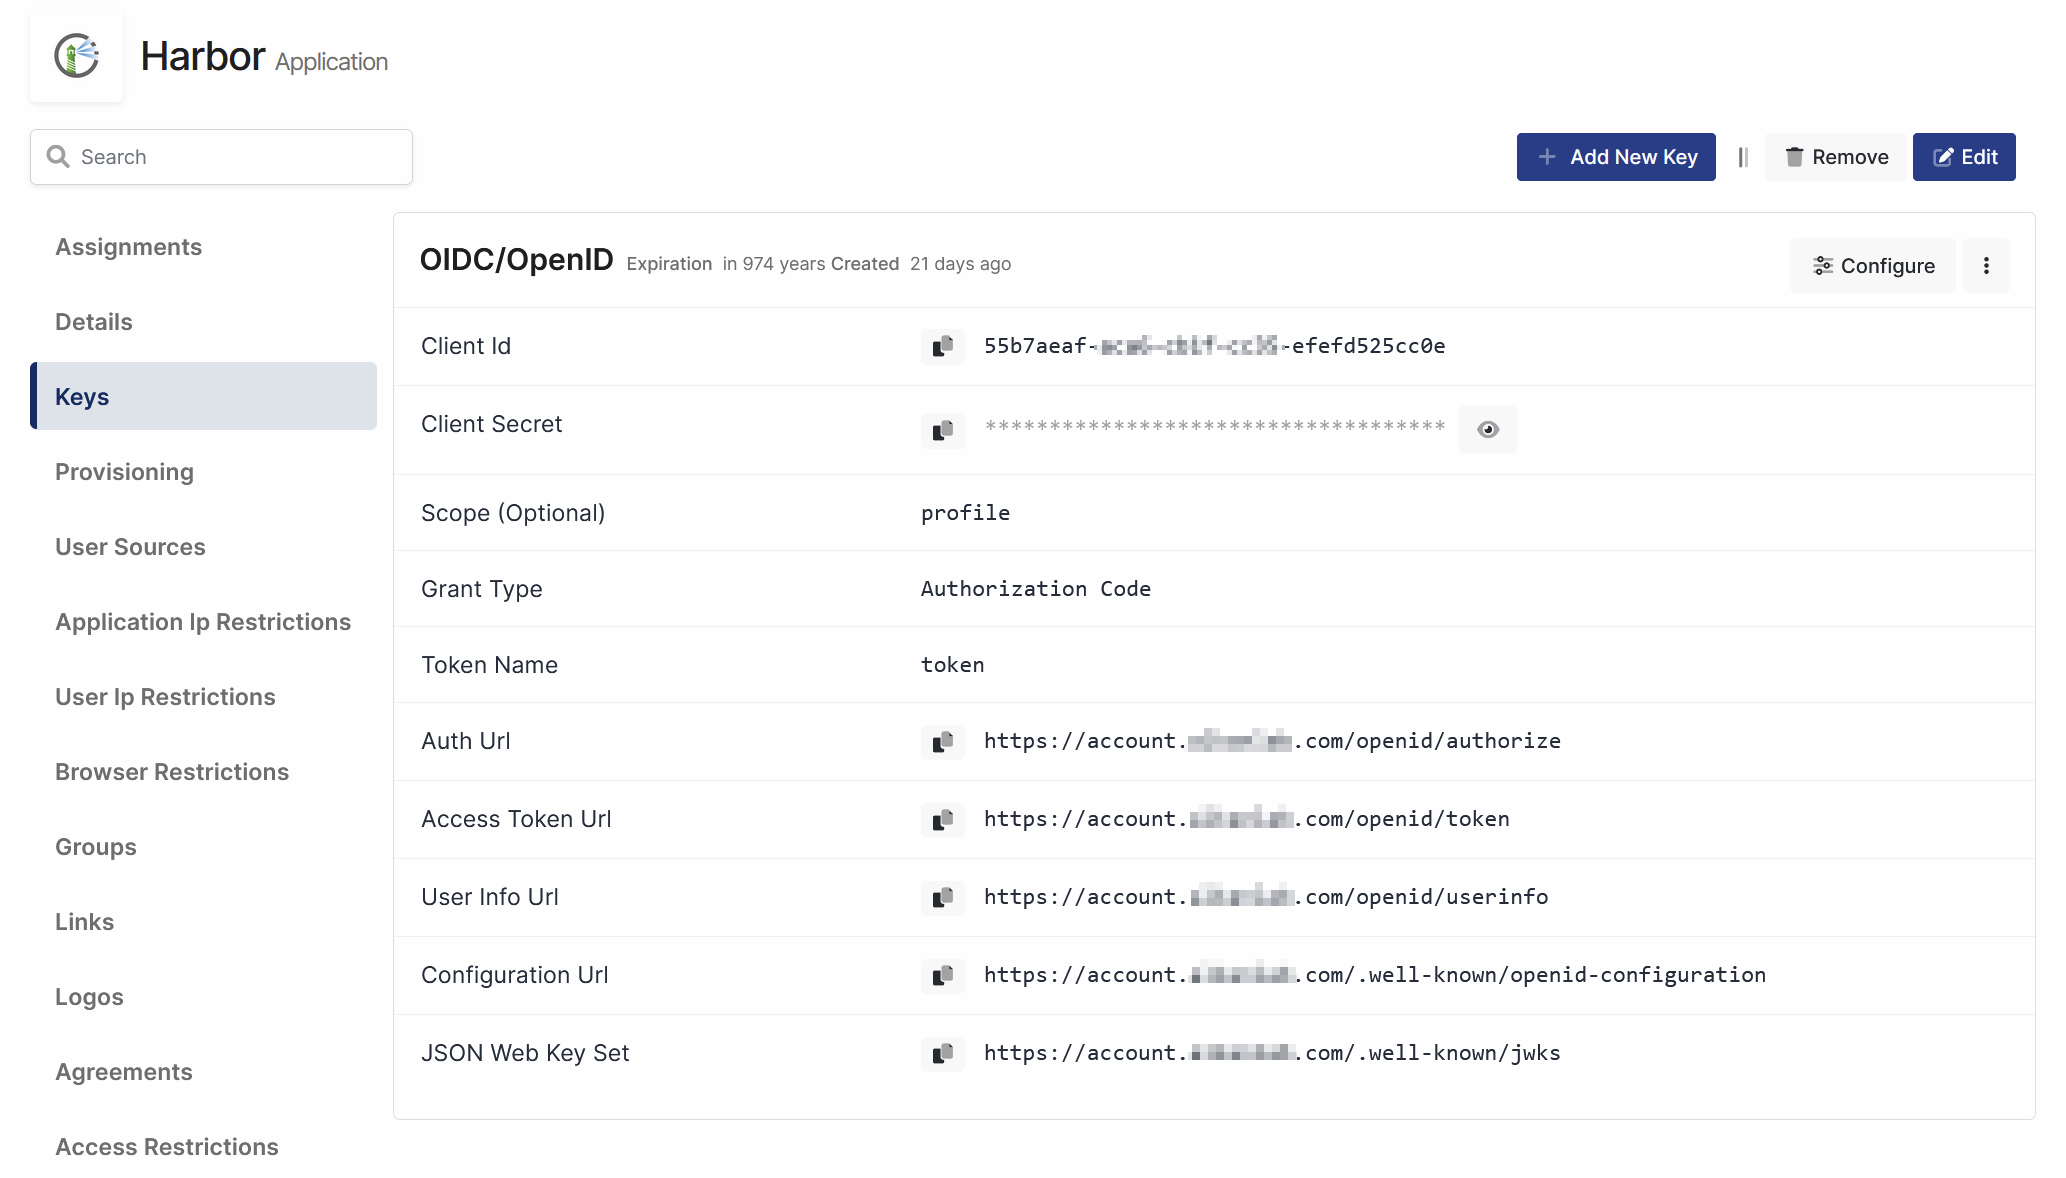
Please add your OIDC/OAuth2.0 settings to the application. The following information is needed for your configuration.
Go to Harbor Admin page. Open Configuration → Authentication and Choose OIDC
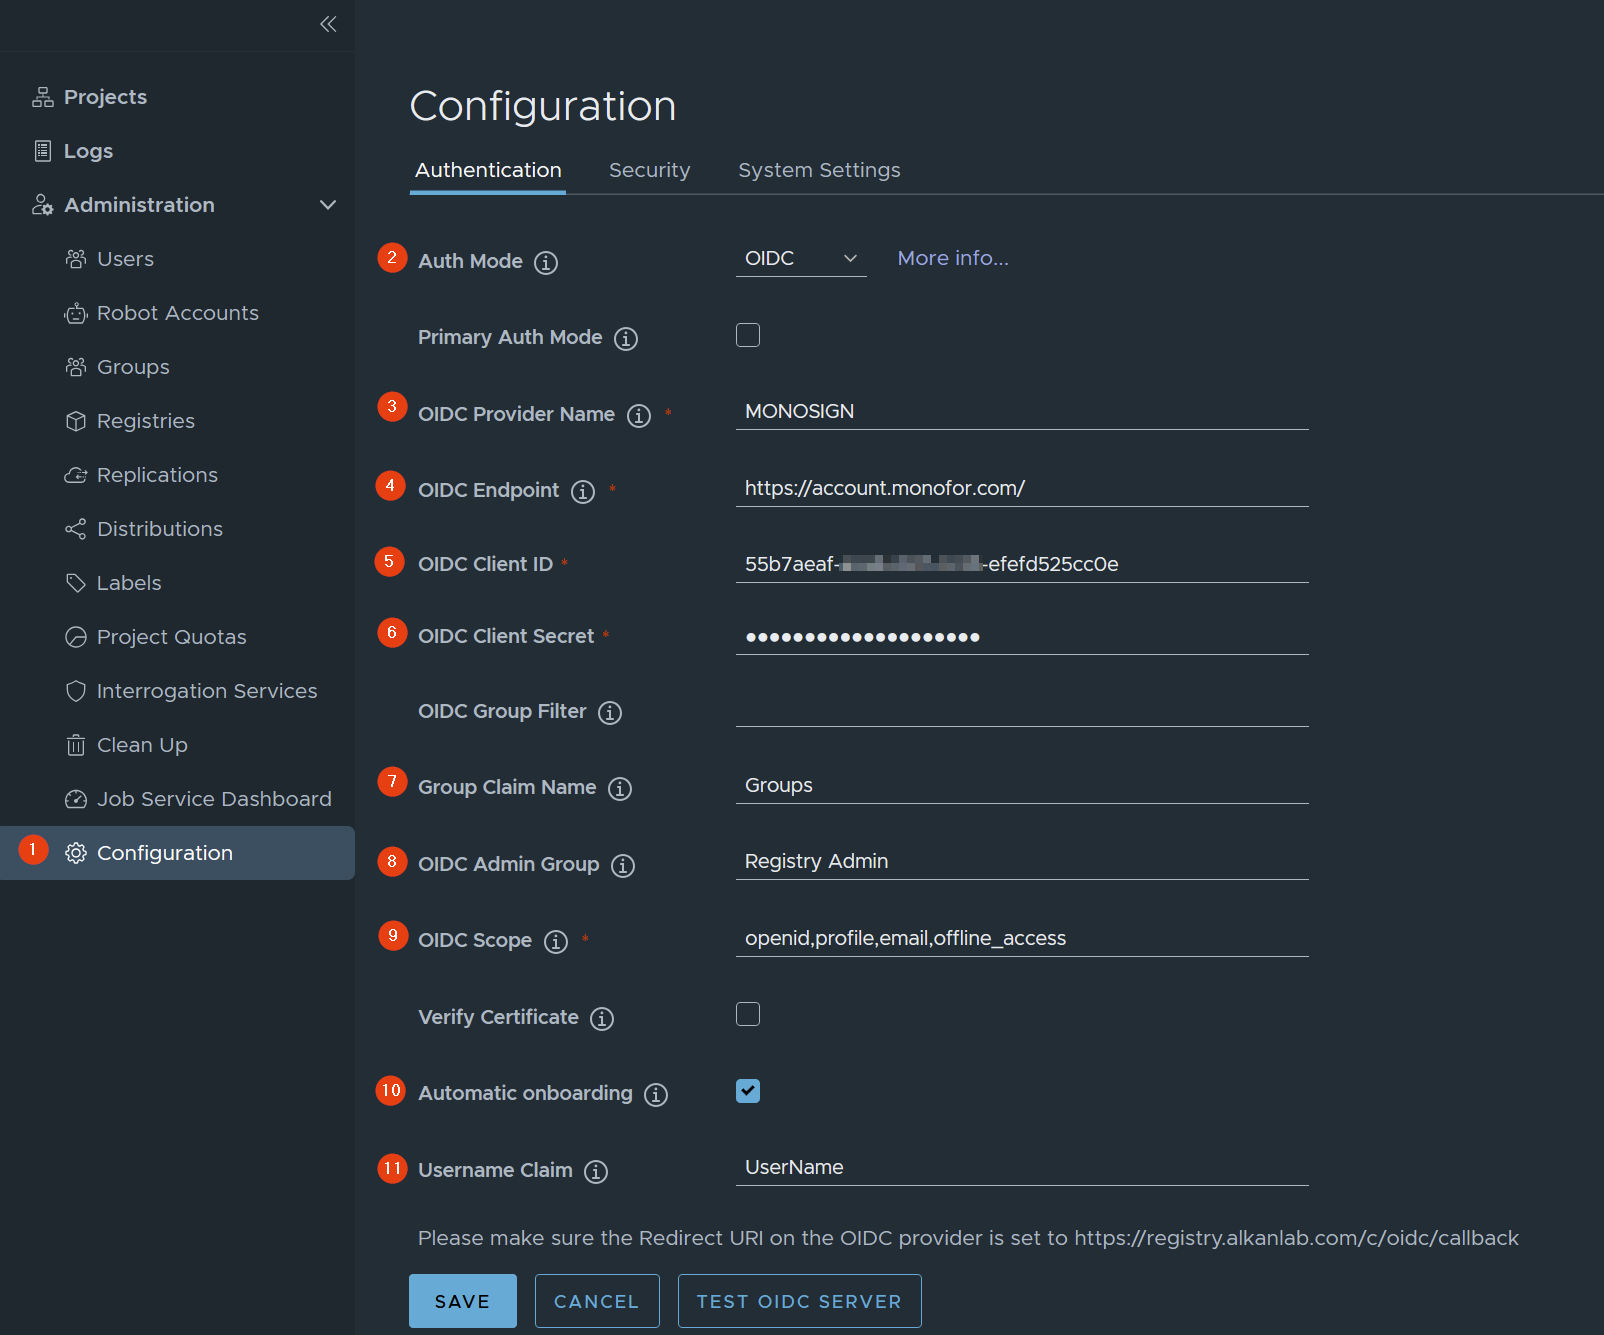
add below values in the properties.
|
Property |
Value |
|---|---|
|
|
|
|
|
|
|
|
|
|
|
|
|
|
|
|
|
|
|
|
|
|
|
|
|
|
|
Click SAVE to apply OIDC configuration on Harbor then click TEST OIDC SERVER. If configuration successful it will show below message.

Now, go back to Monosign and give access to your users and try login.
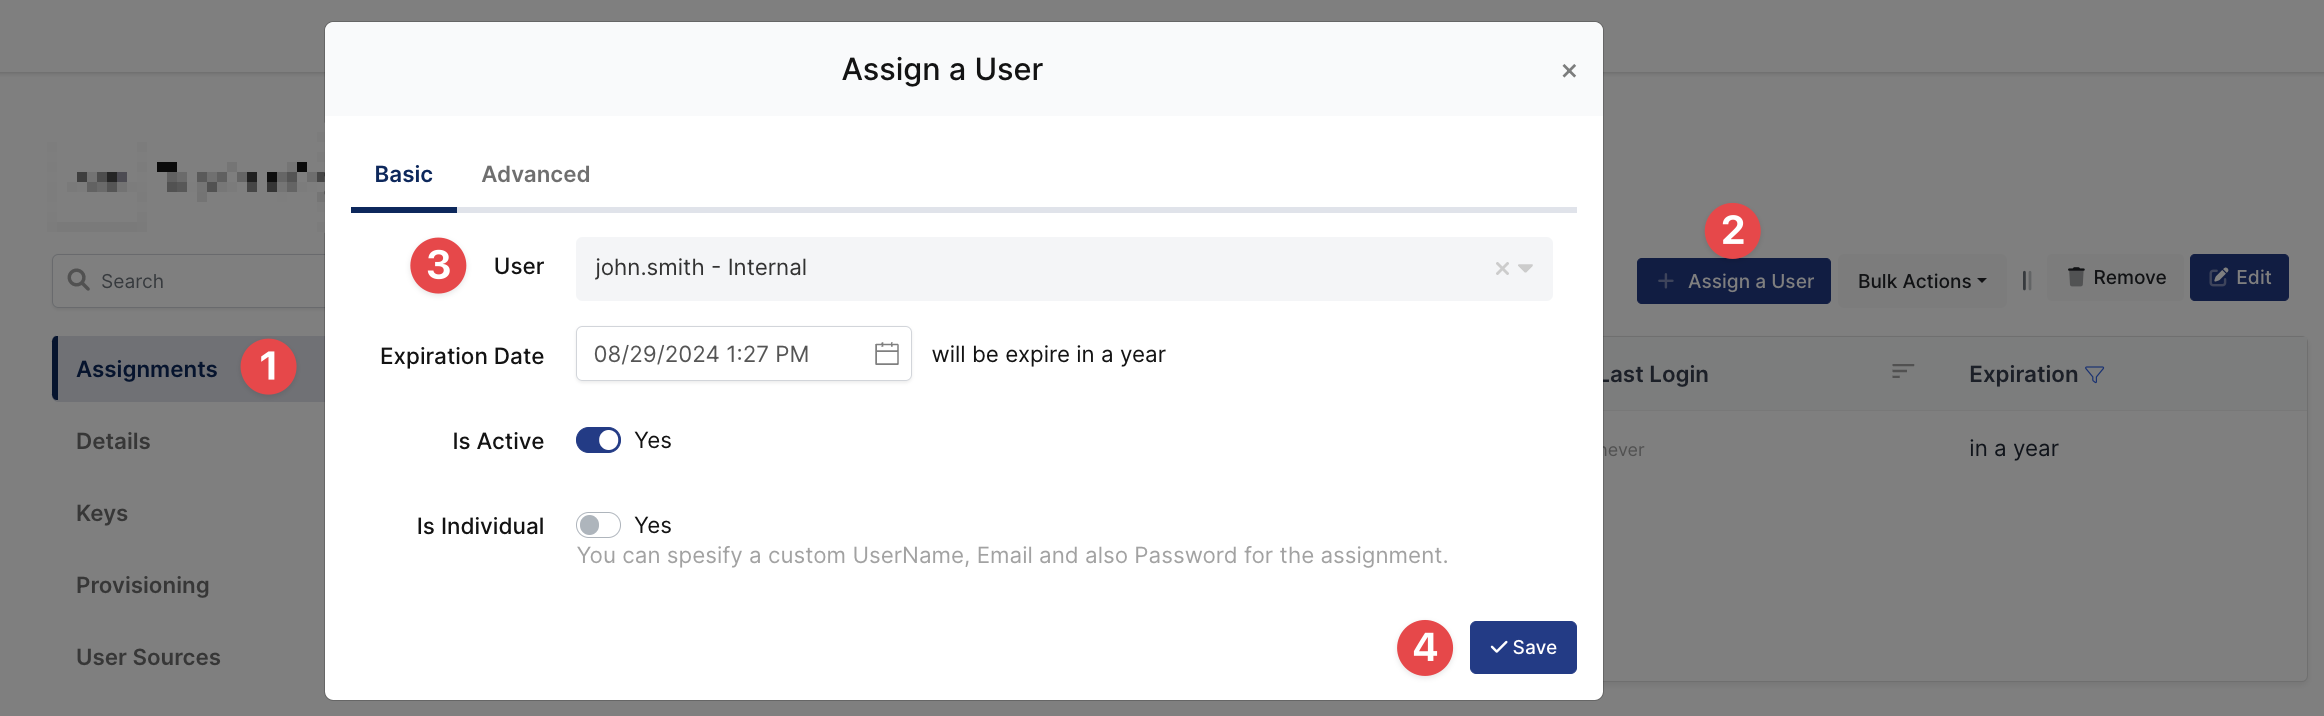
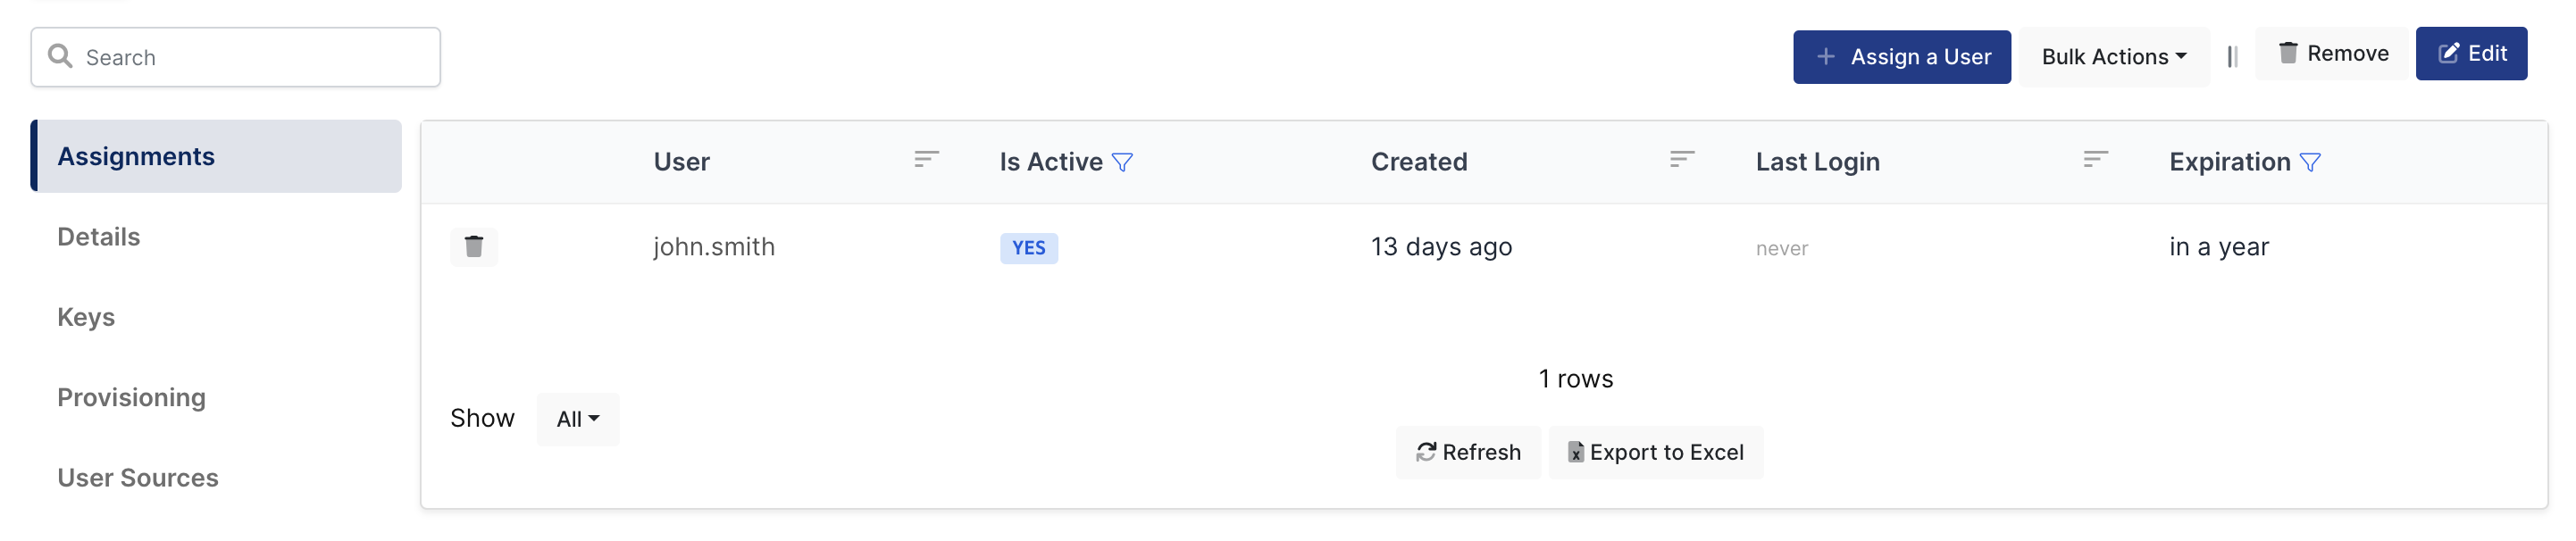
3- Assign a user to the Harbor application
Please follow below instructions on how to assign a user to the Harbor application. In this example john.smith will assign to the application access.
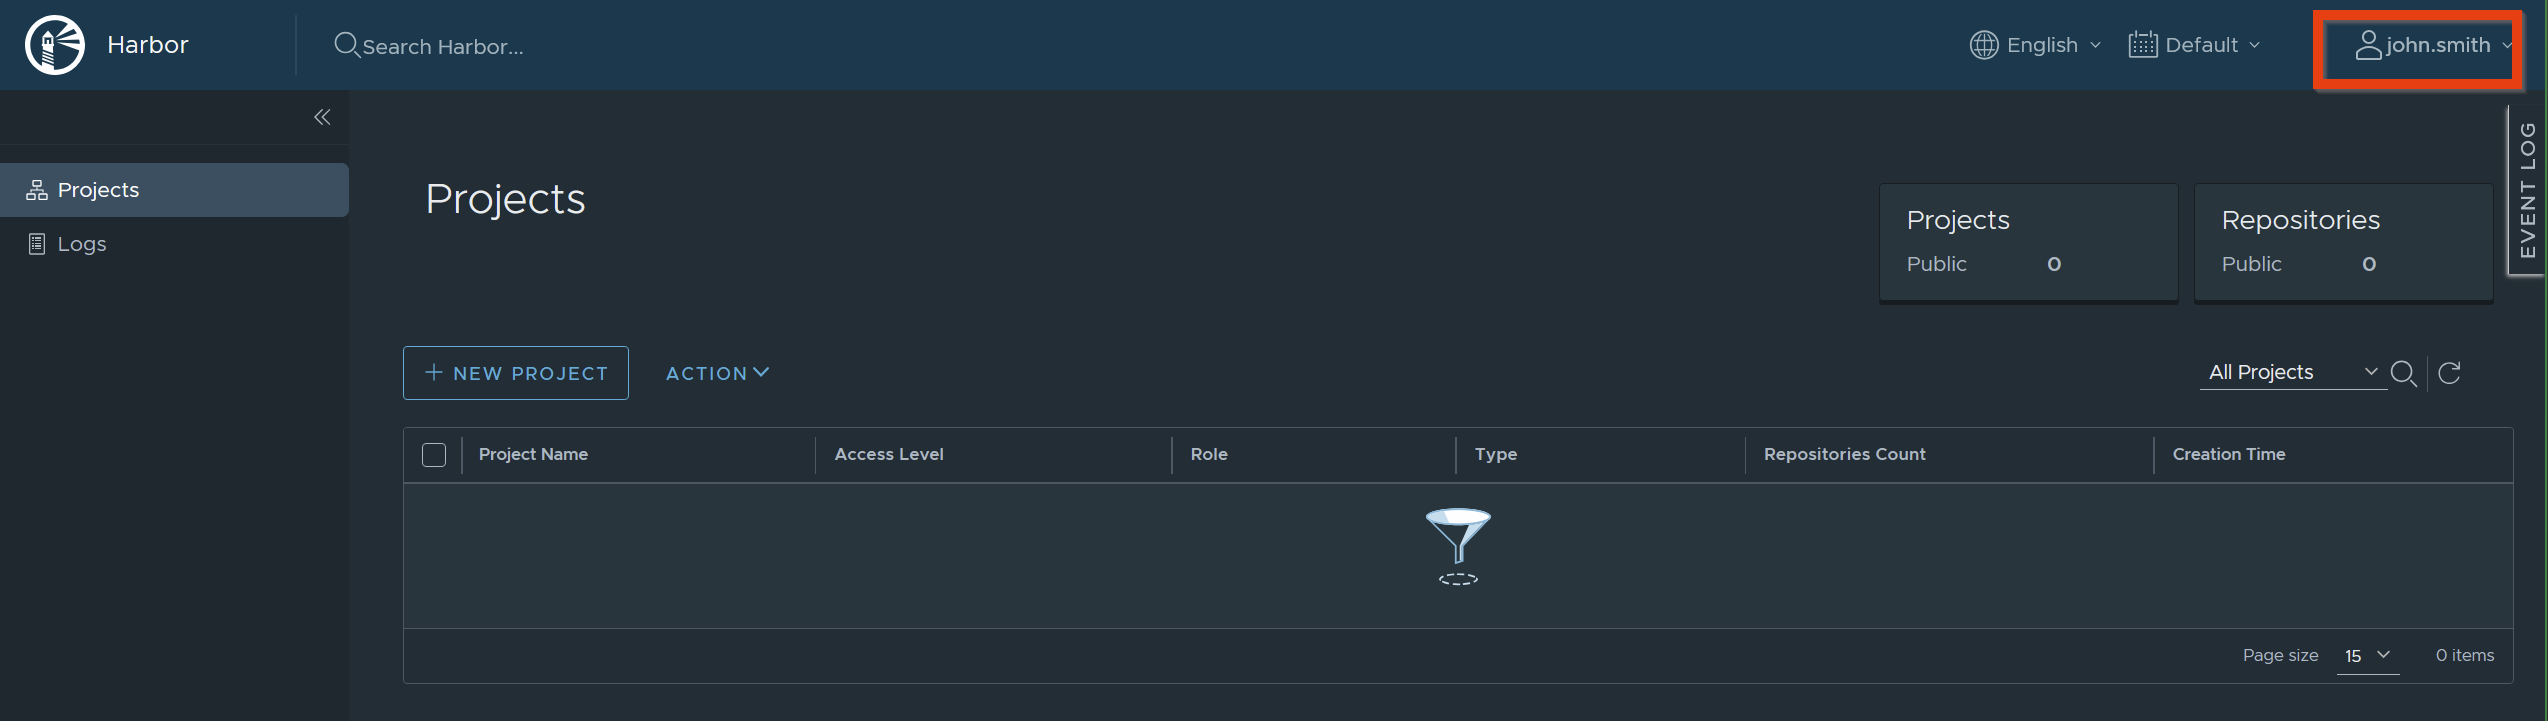
4- Sign In Test
Now try login. Navigate to the Harbor application login page.
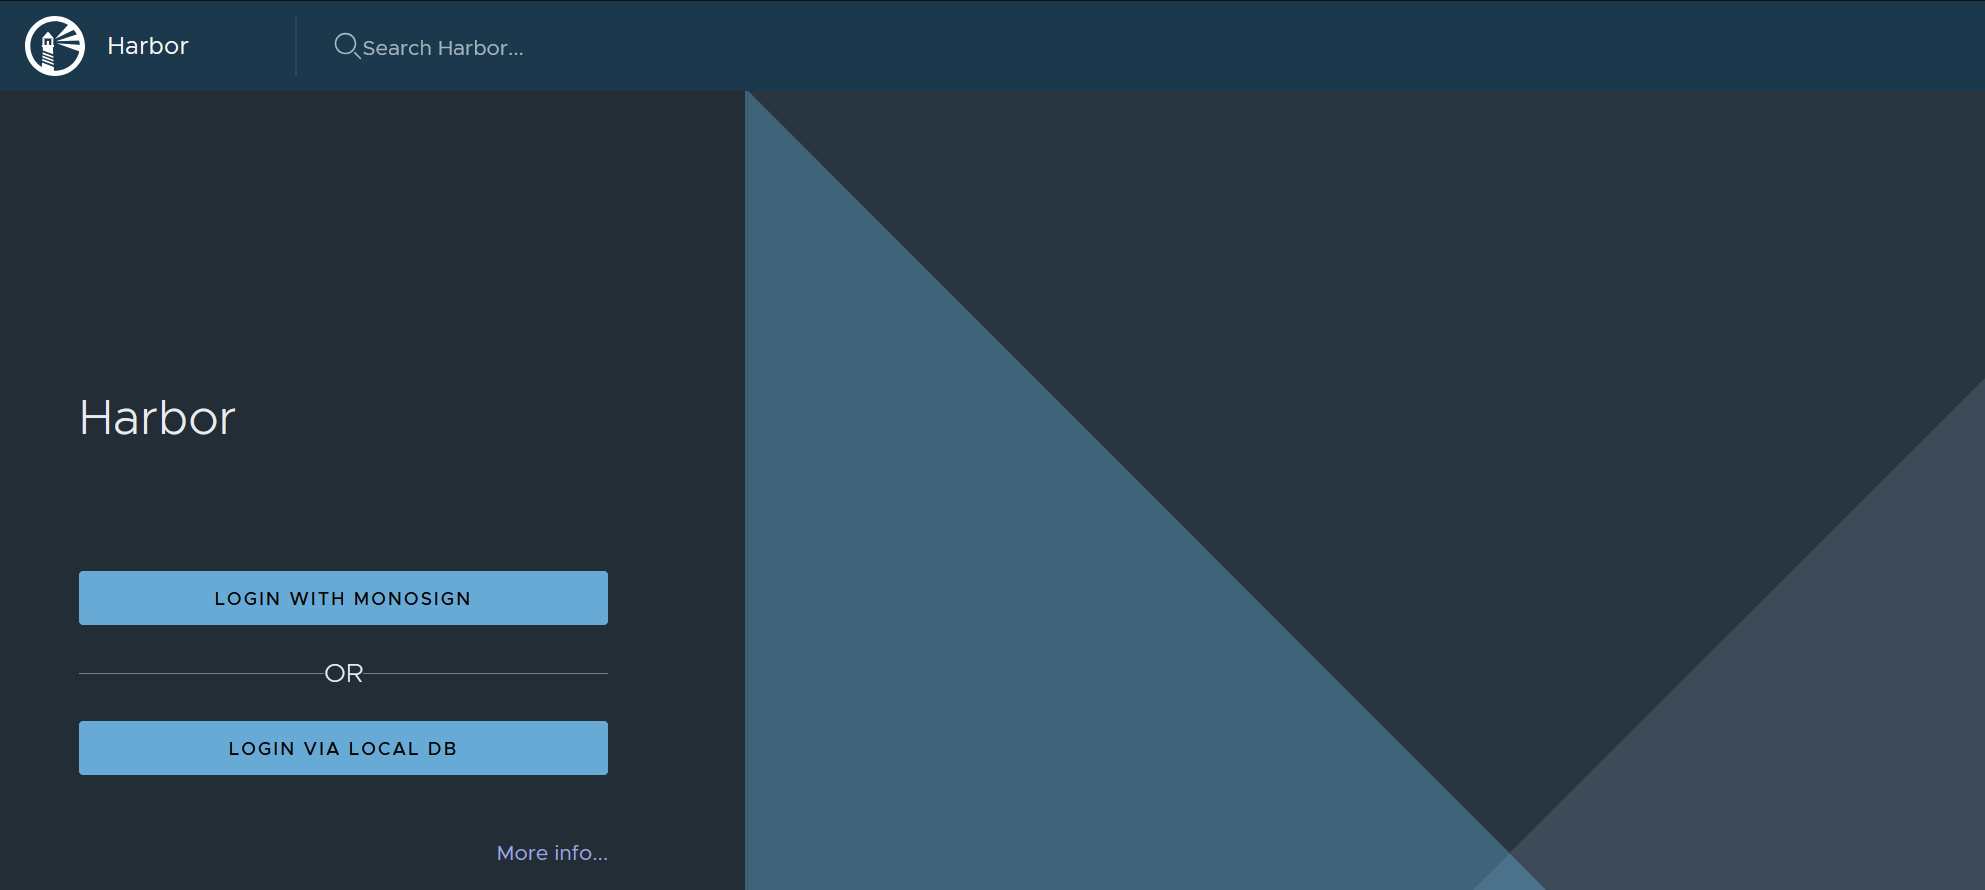
Click LOGIN WITH MONOSIGN button.
If everything is well configured, the page will be redirected to Monosign’s login page. It can be log in passwordless with QR code or type username and password.
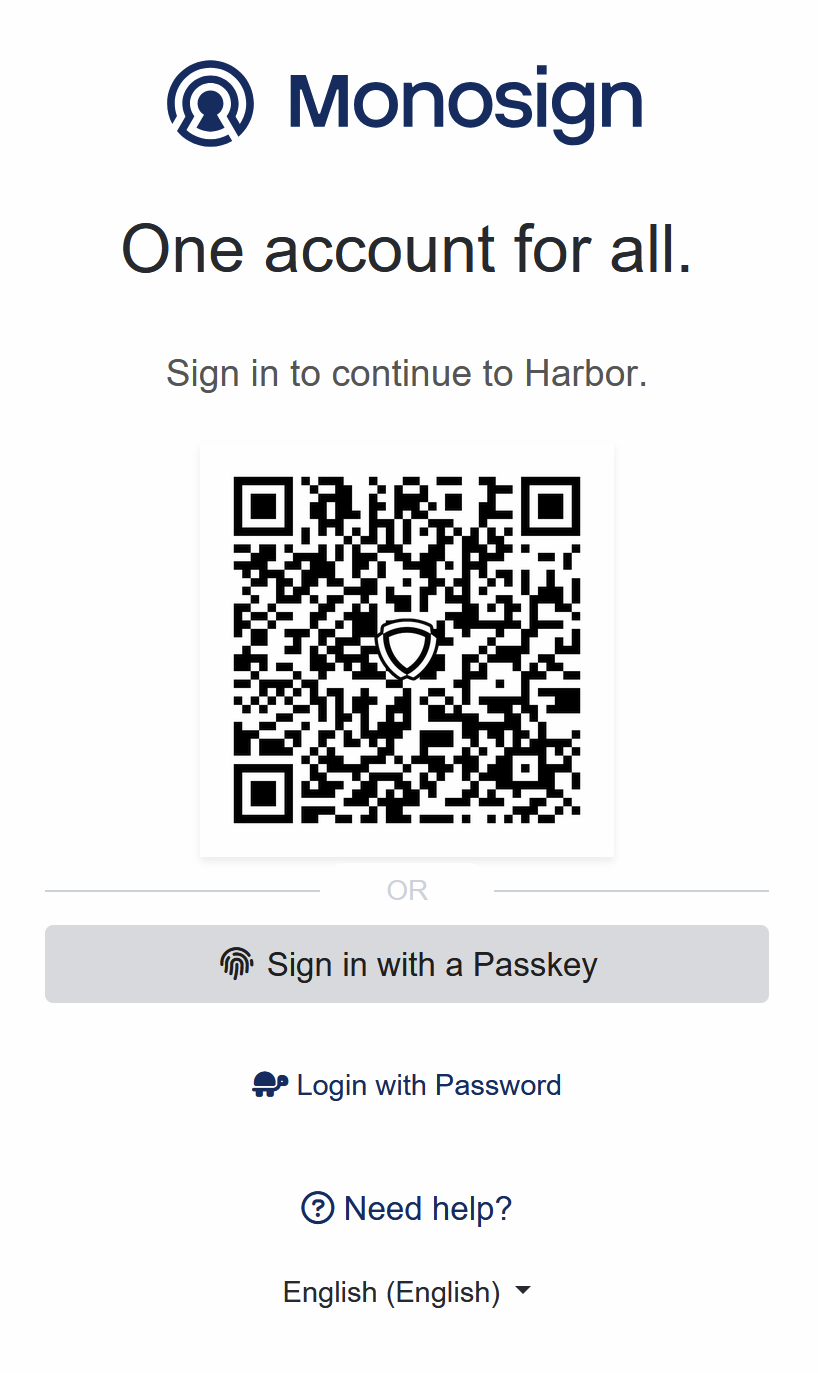
When the user logged in, the page will be redirected to the Harbor page.