Keepnet Labs SAML Integration
This document explains how to implement MonoSign with Keepnet Labs It covers Single Sign-On. Before you continue, it is better to start with Keepnet Labs’s Single Sign-On implementation page.
View Keepnet Labs SAML Metadata
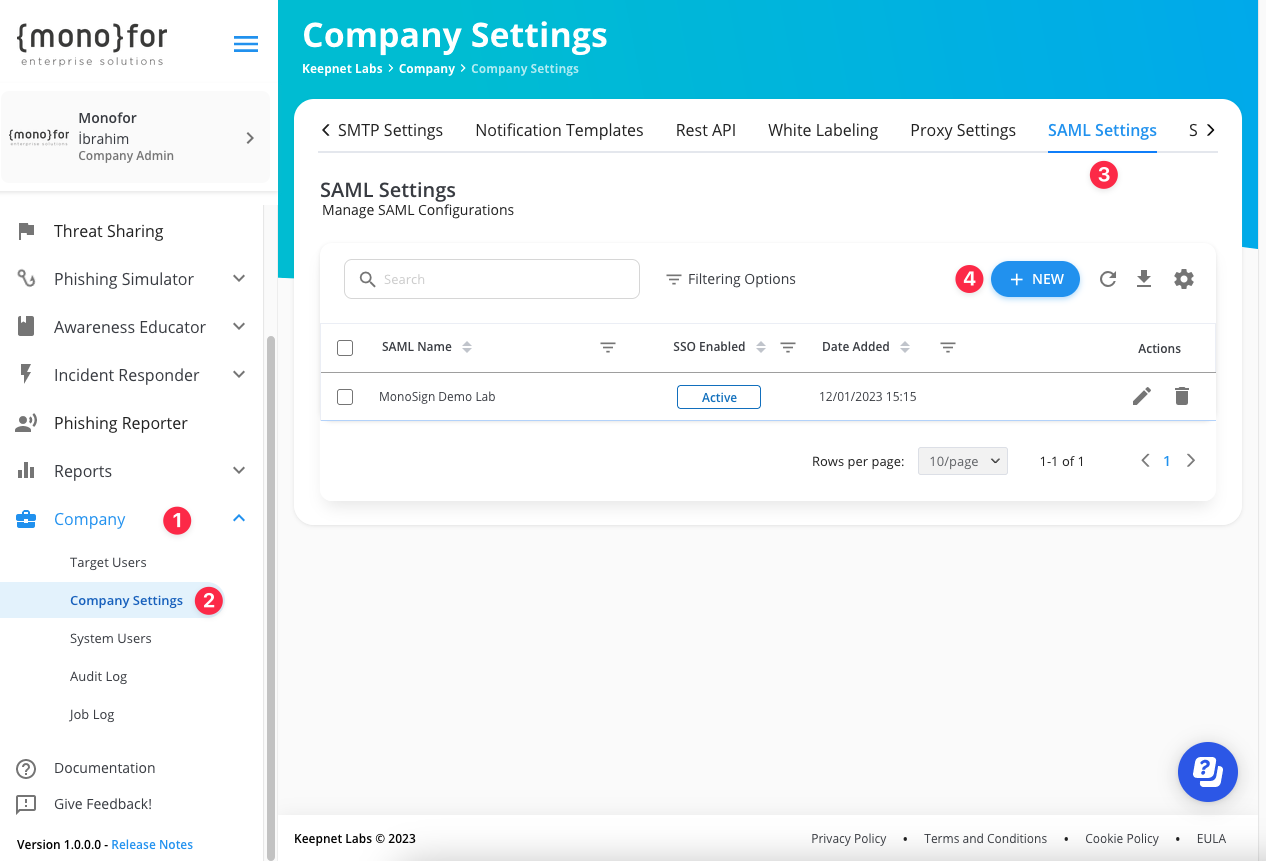
In order to configure the SAML key on MonoSign for Keepnet Labs SSO, you need to have various information provided by Keepnet Labs. First, navigate to Company > Company Settings from the sidebar then go to SAML tab and click New button.
At the bottom of the opened page, you will view Keepnet Labs SAML metadata.
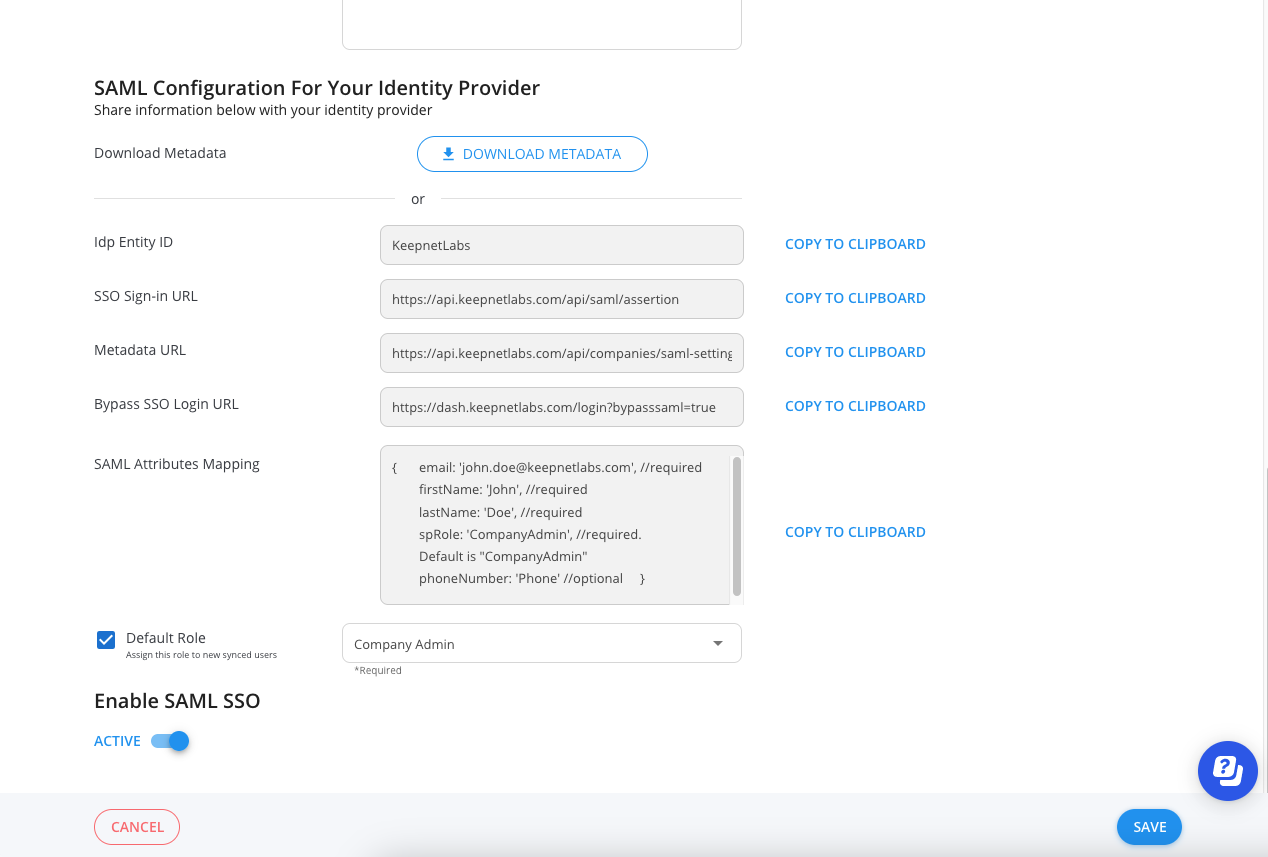
For now, we will stop here on the Keepnet Labs side and create a MonoSign application and related SAML key by using the information provided by Keepnet Labs.
Creating an Application and Access Key on MonoSign
Create your application on MonoSign and configure your access policy.
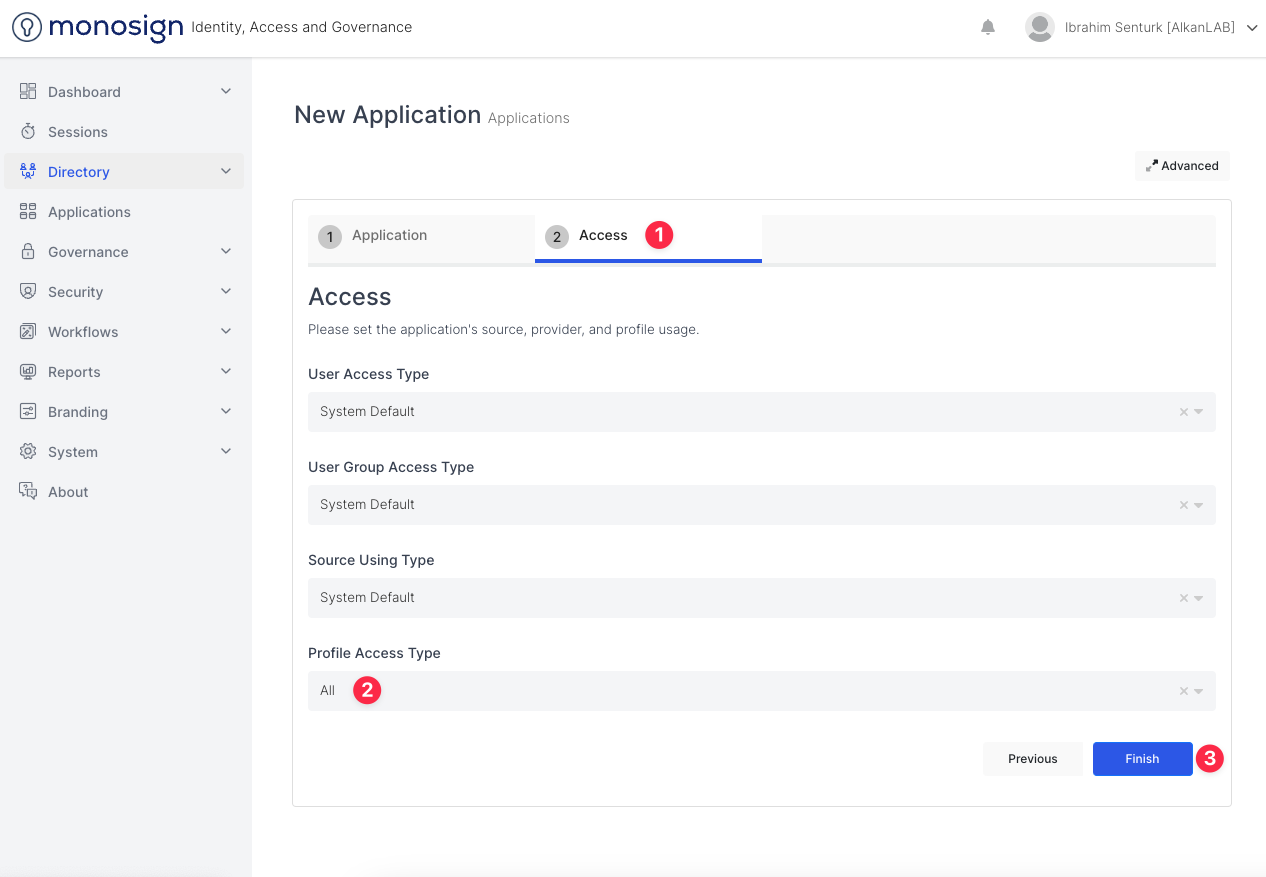
Due creating the application, go to the Access tab and specify to Profile Access Type as All and click Finish.
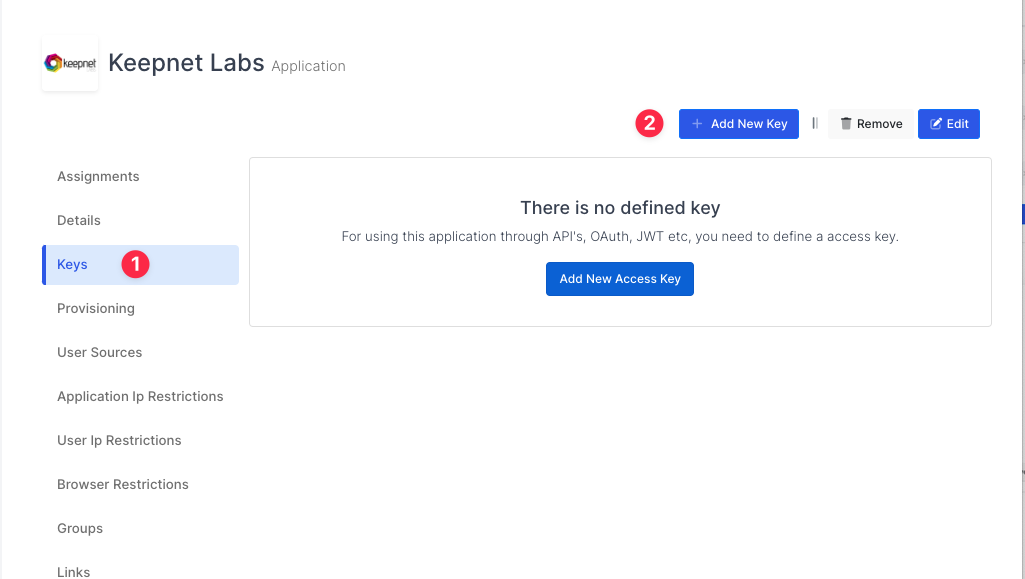
Once you create, click Keys and Add New Key to create a SAML access key.
In the opened modal, choose SAML as Key Type and switch to SAML2 Settings. Fill in the necessary fields according to the information provided by Keepnet Labs. Correspondings of the fields are as below.
Field | Value |
|---|---|
Assertion Consumer Url | https://api.keepnetlabs.com/api/saml/assertion |
Entity Id | KeepnetLabs |
NameId Format | System Default |
Name Id |
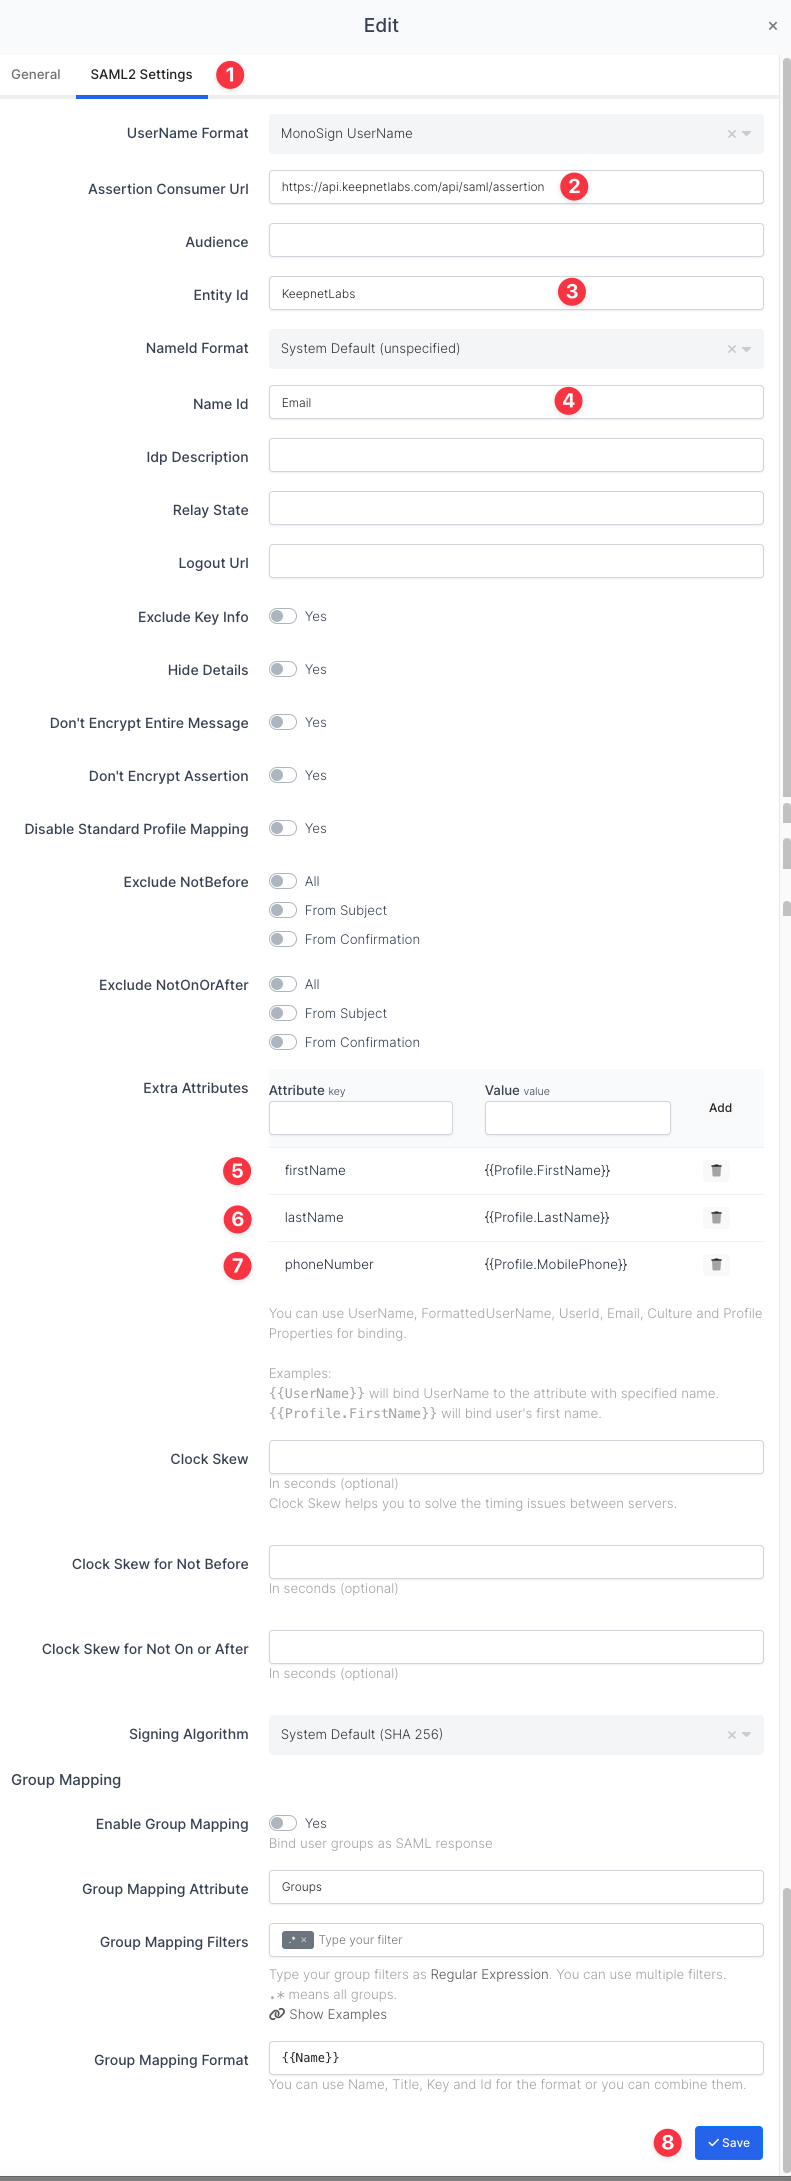
And Add some Extra Attributes
Attribute Key | Value |
|---|---|
firstName | {{Profile.FirstName}} |
lastName | {{Profile.LastName}} |
phoneNumber | {{Profile.MobilePhone}} |
spRole | optional: Default is "CompanyAdmin" |
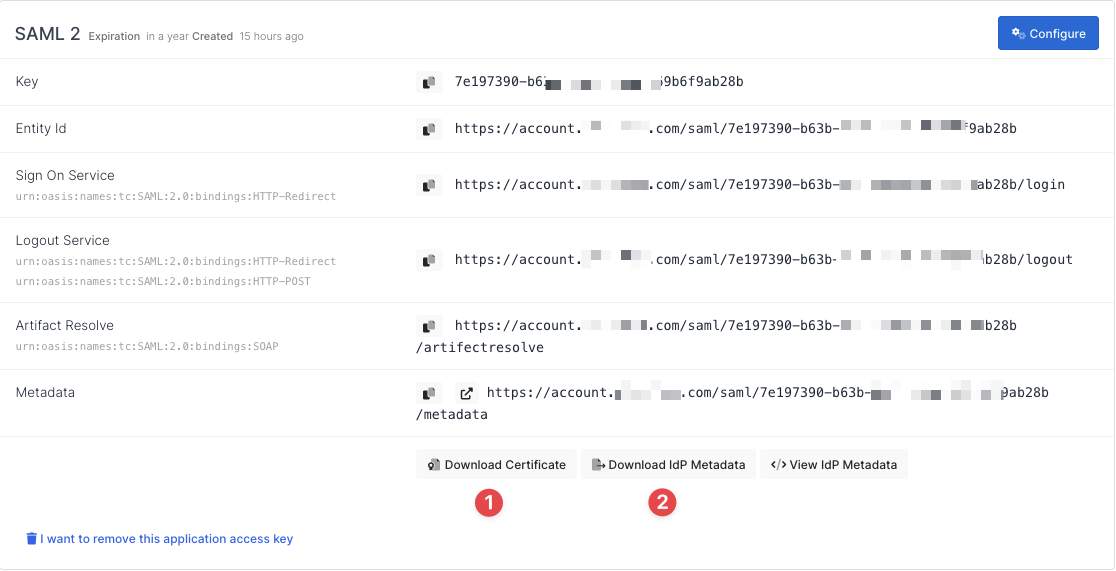
Click Save and you are gonna see your configuration for your access key as follows.
Click on the marked buttons to download Certificate and Metadata files.
Configuration Single Sign-On for Keepnet Labs
We are gonna move on to where we left off on the SAML Configuration page which is mentioned in the first chapter.
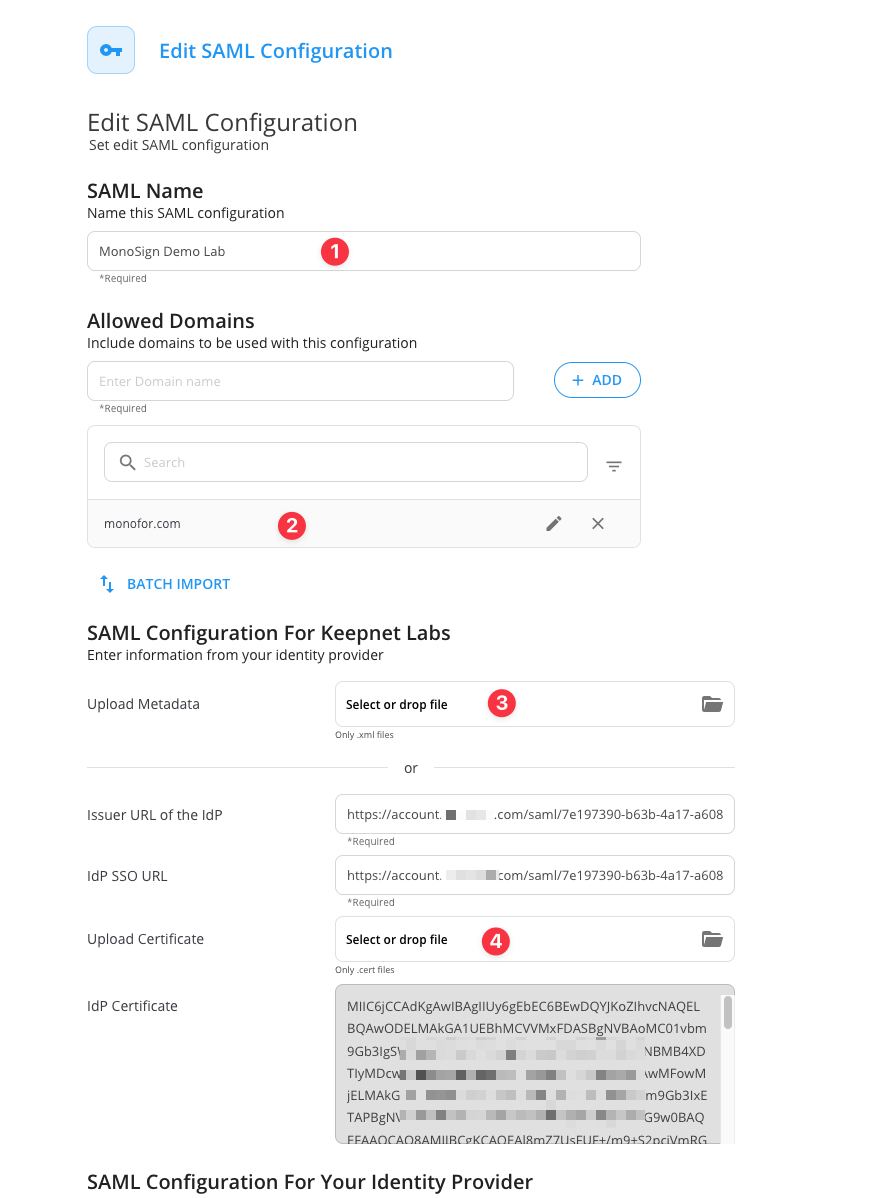
Fill in the necessary fields and upload files those download from MonoSign. Correspondings of the fields are as below.
Field | Value |
|---|---|
SAML Name | Name of the SAML configuration |
Allowed Domains | Allowed Email Domain names authorized for SSO use |
And upload Certificate File and Metadata File.
You need to change the certificate file extension from 'crt' to 'cert'.
Click Save.
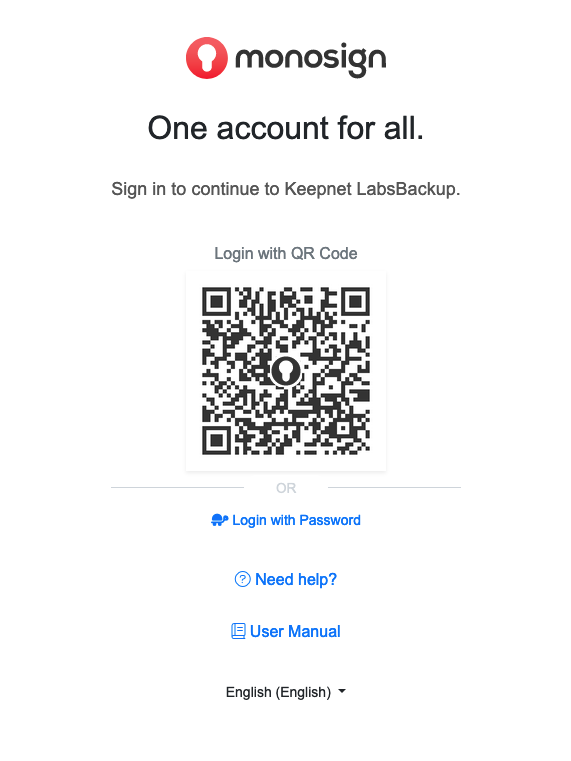
Now you can go to Keepnet Labs login page and test the SSO settings, Keepnet Labs will direct you to MonoSign login page like as below.
Do not forget to assign your MonoSign User to the Keepnet Labs application.
Keepnet Labs do not support real time provisioning therefore you need create System User with same Email Address in Keepnet Labs.
