This article assumes that MonoSign RADIUS Server is configured properly. If you have any issue with RADIUS server, you can check this article.
This document explains how to implement MonoSign RADIUS Server with Pulse Secure. Before you continue, it is better to start with Pulse Secure’s Single Sign-On implementation page.
Creating an Application and Access Key on MonoSign
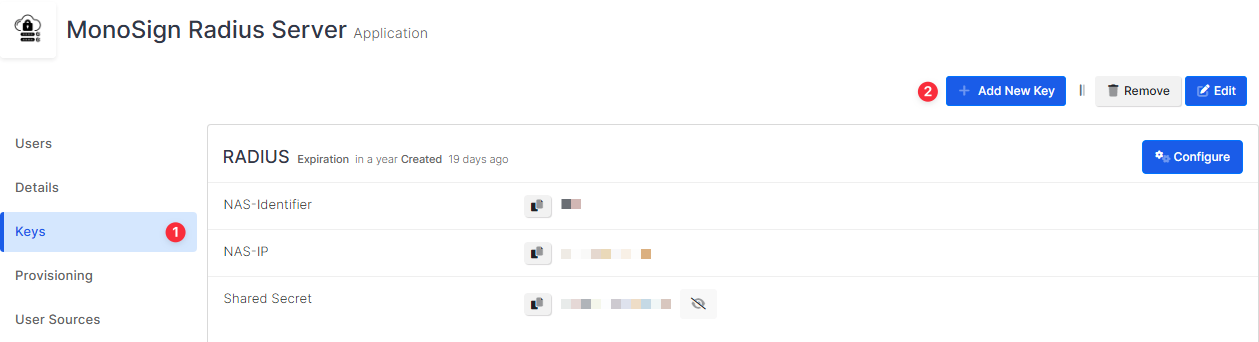
Navigate to the application dedicated to RADIUS Server. Once you navigate, click Keys and Add New Key to create a RADIUS access key.
In the opened modal, choose RADIUS as Key Type and switch to RADIUS Settings. Fill in the necessary fields according to the information provided by Pulse Secure. Correspondings of the fields are as below.
|
Field |
Value |
|---|---|
|
NAS-Identifier |
Name of the device dedicated to RADIUS |
|
NAS-IP |
Name or IP address of the RADIUS Server |
|
Shared Secret |
Shared Secret defined on the RADIUS Server |
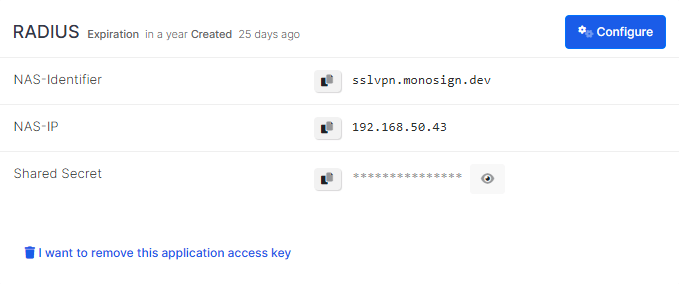
Click Save and you are gonna see your configuration for your access key as follows.
Configuration Single Sign-On for Pulse Secure
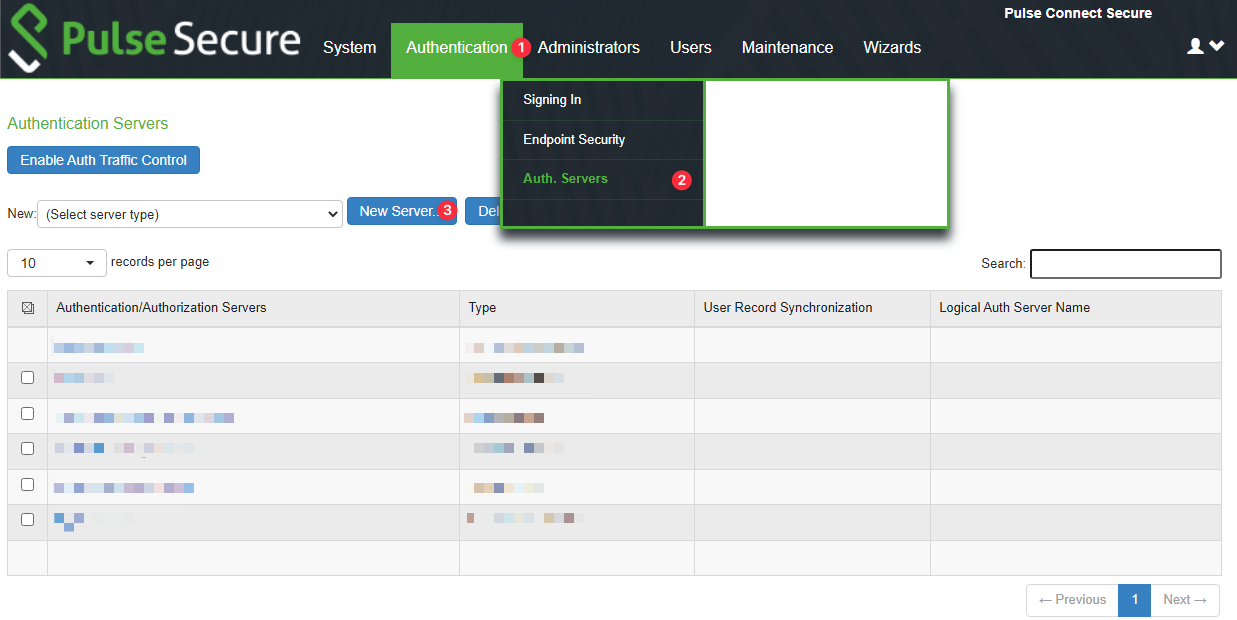
In order to configure the RADIUS Server on MonoSign for Pulse Secure SSO, create a RADIUS Server first. Navigate to Authentication > Auth. Servers. Choose Server Type as RADIUS Server and click New Server.
Fill in the necessary fields. Correspondings of the fields are as below.
|
Field |
Value |
|---|---|
|
Name |
Label for referencing the server |
|
NAS-Identifier |
Name of the device dedicated to RADIUS |
|
NAS IP |
Empty if NAS IP is not configured on RADIUS Server |
|
RADIUS Server |
Name or IP address of the RADIUS Server |
|
Shared Secret |
Shared secret defined on the RADIUS Server |
|
Accounting Port |
|
|
Timeout |
Recommended: 120 seconds |
Scroll down to the Custom RADIUS Rules section and create recommended rules as follows.

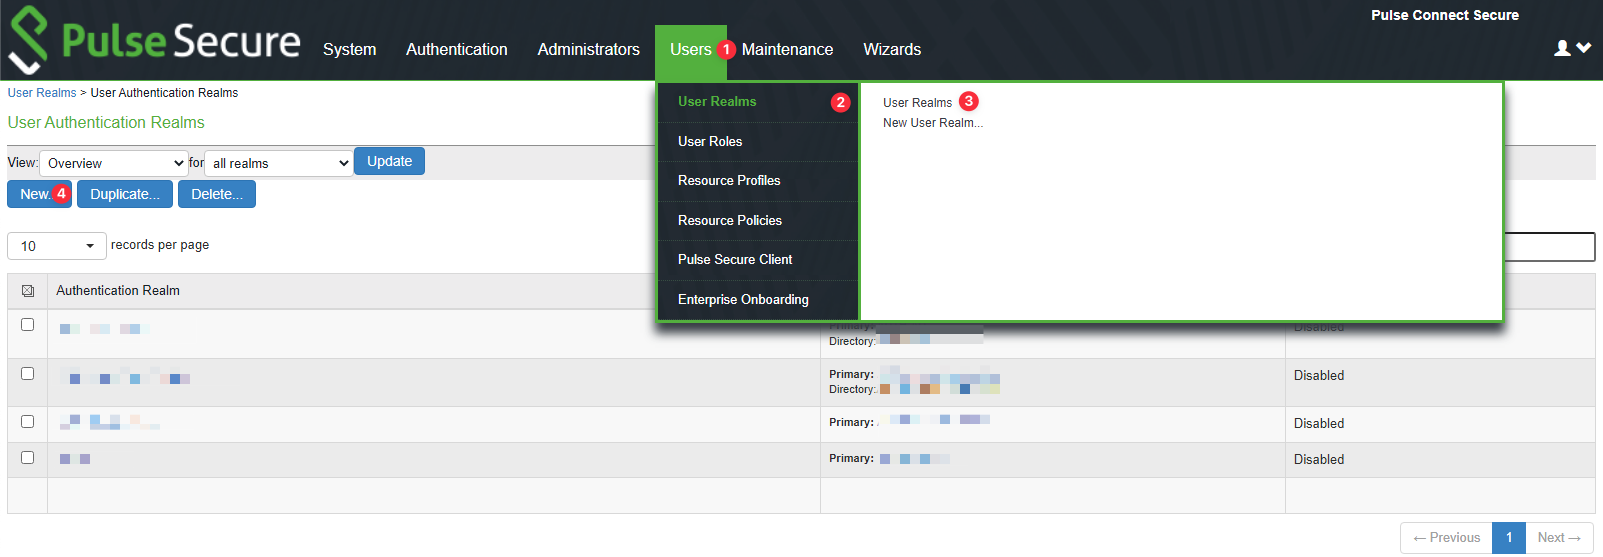
Next, create a new User Realm or edit an existing one. Navigate to Users > User Realms and click New….
Fill in the necessary fields. Correspondings of the fields are as below.
|
Field |
Value |
|---|---|
|
Name |
Label for referencing the realm |
|
Authentication |
Created RADIUS Authentication Server above |
|
User Directory/Attribute |
Same as above |
|
Accounting |
None |
|
Device Attributes |
None |
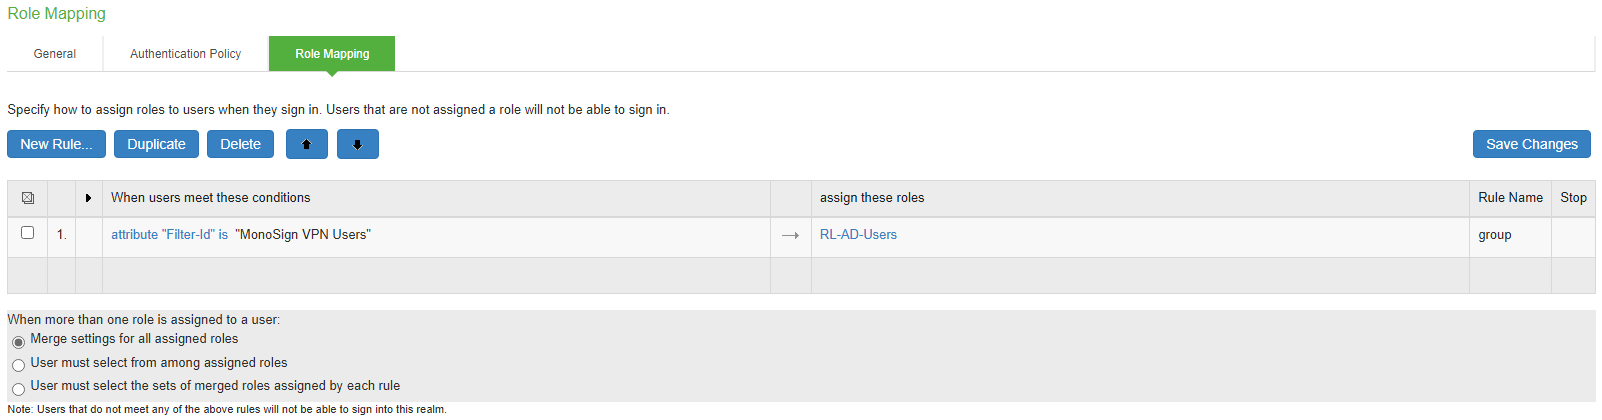
Optionally, MonoSign Roles/Groups can be mapped to Pulse Secure Roles in the Role Mappings tab. Example group mapping is as follows.
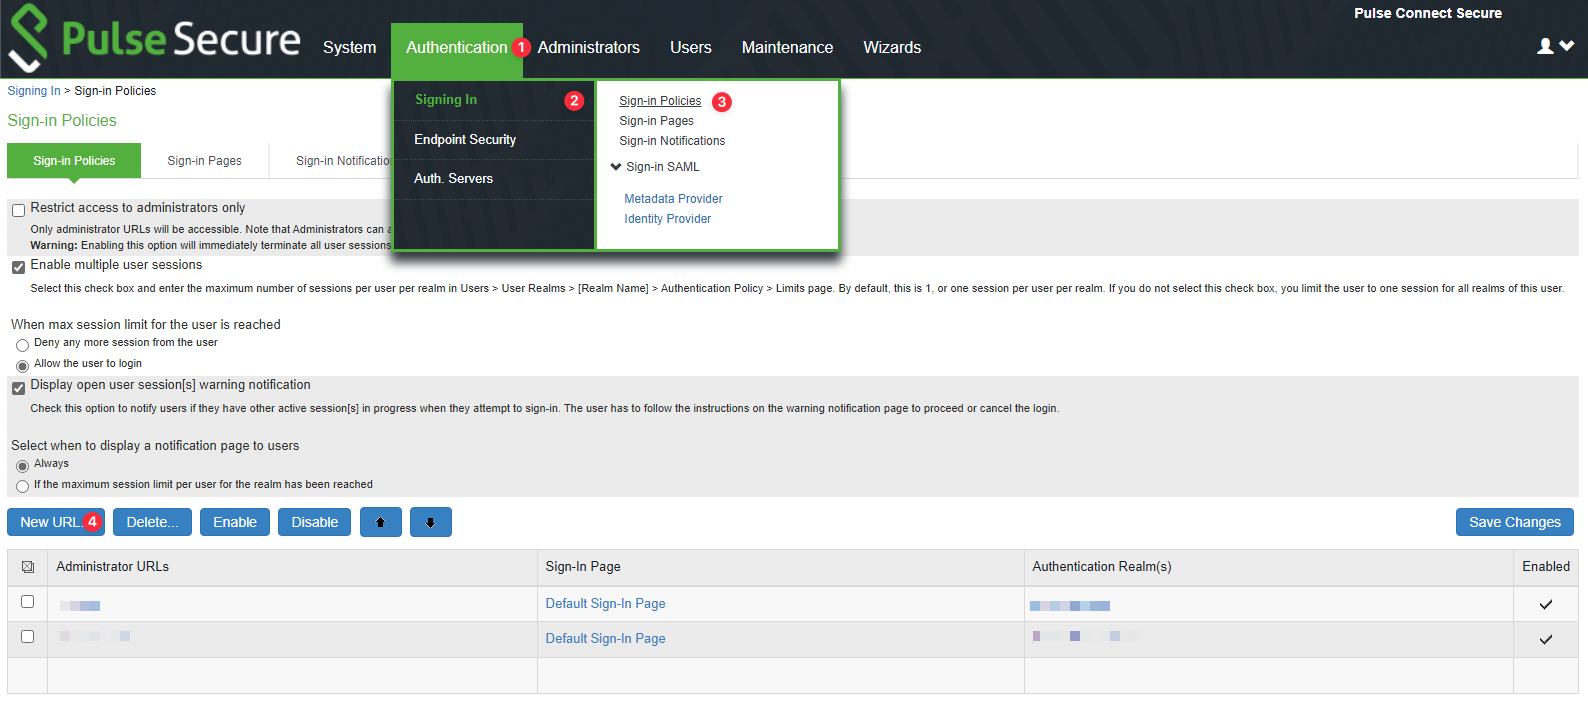
Next, create a new dedicated Policy or edit the existing policy to add the created realm as the Authentication Realm. Navigate to Authentication > Signing In > Sign-in Policies and click New Rule….
Fill in the necessary fields and scroll down to the Authentication realm section. Add the realm as follows. You can add multiple realms to the policy and make users able to choose one. However, adding only one realm will automatically redirect users to it.
Creating Policies dedicated to desired Authentication Realms is recommended. This way the Authentication Realms will not be exposed to outside.

VPN Connection
In order to establish a VPN connection using RADIUS, connect to the Policy URL associated with RADIUS Authentication Realm. Create a new or edit the existing connection and fill the necessary fields according to configurations made in chapter two. Correspondings of the fields are as below.
|
Field |
Value |
|---|---|
|
Type |
Policy Secure (UAC) or Connect Secure (VPN) |
|
Name |
Label for referencing the connection |
|
Server URL |
Url specified while creating policy |
If multiple Authentication Realms exist assigned to the Policy, a Realm selection dialog will appear.
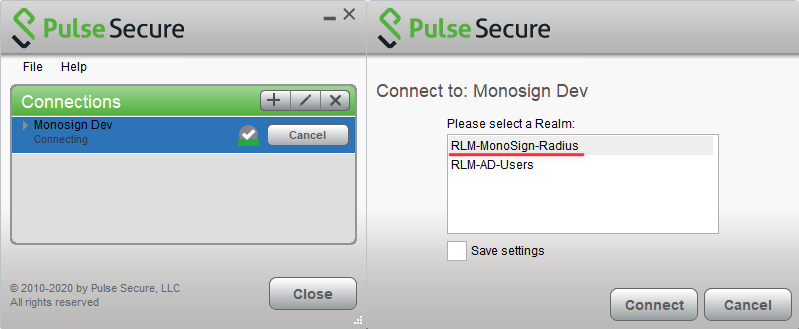
To connect, select RADIUS Authentication Realm and type your MonoSign credentials. the connection will start your MonoSign Authentication Flow.