This integration will help you connect users with your MonoSign IdP over the RADIUS protocol. However, before you continue, you must ensure you have a valid license and configuration on your Management Portal.
💡 Outcomes
This will help you add your IdP (your Identity Provider) to your Linux Servers and Desktops and secure them with Multi-Factor Authentication.
This is highly recommended for securing your access to your servers and desktops.
📘 Instructions
This documentation will contain 3 main steps and 1 optional step for integration.
-
Creating an Application on MonoSign for your Ubuntu Servers or Desktops.
-
Installing requirements to your Ubuntu Server or Desktop.
-
Configuration of your RADIUS PAM (Pluggable Authentication Module) installation on your Server or Desktop
-
Securing SSH login
-
Securing Desktop / GUI login
-
RADIUS implementation contains a secret: you need to treat it like a Password. This information should never be shared with anyone and should be protected carefully.
1. Creating an Application on MonoSign
Go to your Management Portal and click Applications on the left sidebar. Create a new application.
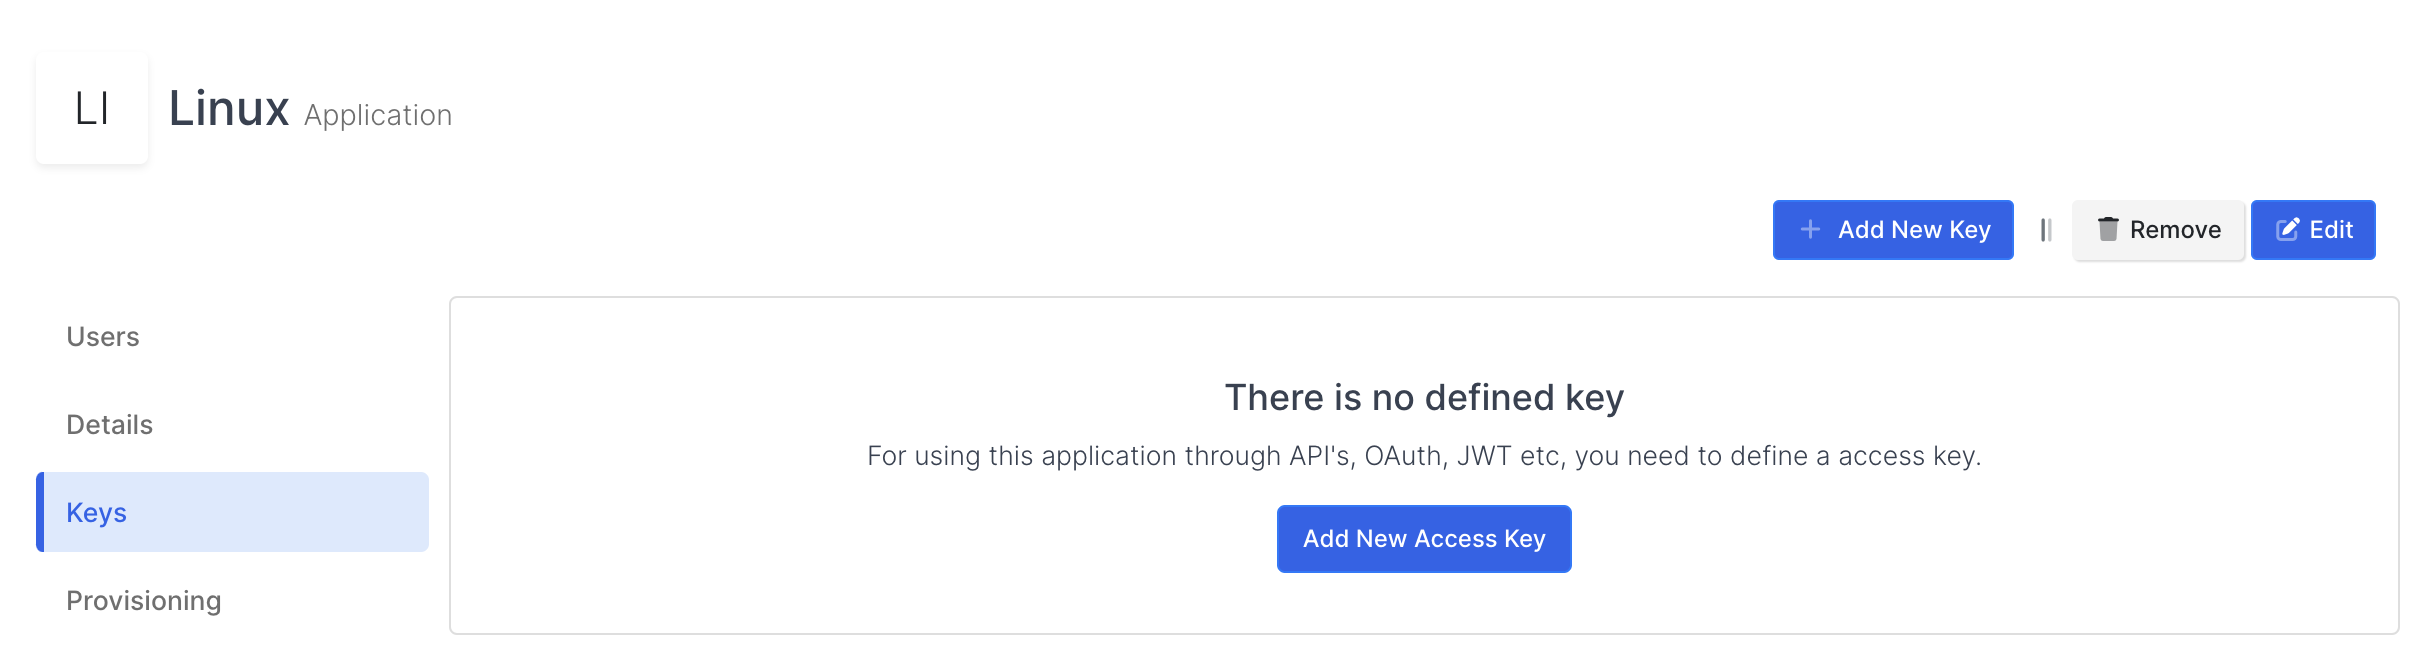
Click “Keys” and then “Add New Key”. Next, choose Key Type as RADIUS.
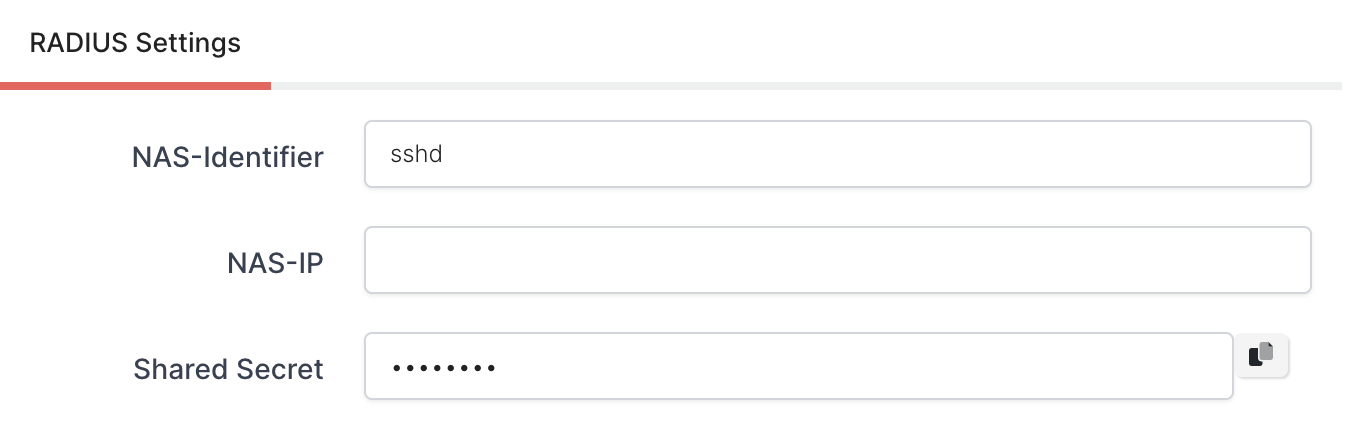
You need to configure NAS-Identifier and Secret. You will need this information while configuring your Ubuntu Desktop or Server.
Your Secret must be unique, and treat it like a password.
If you don’t know your NAS-Identifier (your RADIUS identifier that helps MonoSign understand which system they are authenticated to) you can keep it empty if you have just one RADIUS implementation.
You can save your configuration.
2. Installing requirements to your Ubuntu Server or Desktop
Now you need to install the PAM module on your Desktop or Server. Just open your Terminal and type the following command to install the package.
sudo apt update
sudo apt install libpam-radius-auth
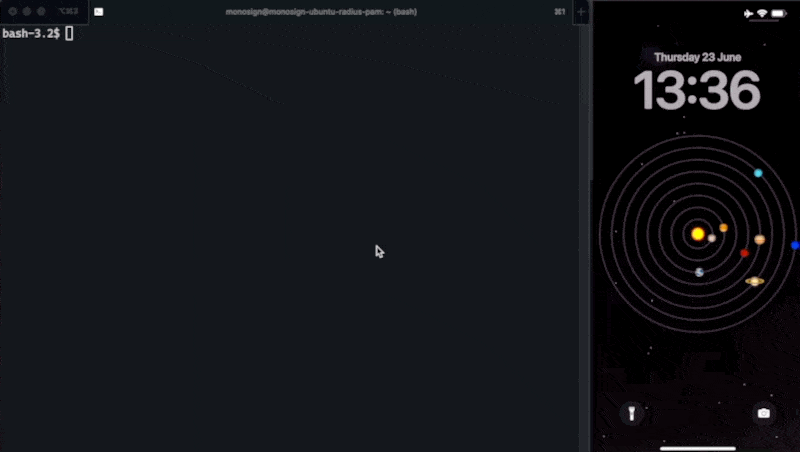
The version number should be “2.x” or above. You can check the installed version with the following command.
apt show libpam-radius-auth
After you execute it, you will see the following results or similar.

This installation will help us to handle authentication requests through the RADIUS protocol.
Now, you need to configure your “/etc/pam_radius_auth.conf” file. This file contains your RADIUS server information. Before editing this file, we recommend you back up this file. You can use the following command to back up your file to your home folder.
sudo cp /etc/pam_radius_auth.conf ~/pam_radius_auth.conf.backup
Now, we can edit the file.
sudo nano /etc/pam_radius_auth.conf
First, you should comment on all current settings.

And add the following information to the end of the file.
You can even remove all lines and keep your file simple.
#monosign-hostname-or-ip      #secret        #timeout
your-radius-ip-or-hostname    your-secret    120
We have configured the RADIUS on the Server. Let’s continue with the authentication methods.
3. Configuration of your RADIUS PAM (Pluggable Authentication Module) installation on your Server or Desktop
There are three ways to secure your authentication. There are SSH, Console (sudo) and Desktop login. We are going to use SSH and Desktop login for this demo. But the addition to that, we will also show you how you can secure your sudo and console login too.
a. Securing SSH login
We will not cover all the aspects of PAM, but it is recommended to learn it a little bit more to handle situations more effectively.
Another file we must edit is “/etc/ssh/sshd_config“. SSH configurations use this file. But a little bit more. We can do all the configuration for SSH connections. But we will just need to edit a couple of lines to tell, respect our configuration.
sudo nano /etc/ssh/sshd_config
Edit the following lines and remove the “#” letter if they have.
UsePAM yes
# This option will be there if you have 21.x or above
KbdInteractiveAuthentication yes
# This option will be there if you have 20.x or before
ChallengeResponseAuthentication yes
Save the file (You can use Ctrl+X and Y for shortcuts). We have finished our configuration with sshd_config. Let’s continue with another one.
In Linux systems, SSH logins use a file named “/etc/pam.d/sshd”. SSH logins use this file while users try to authenticate to the server or desktop. Let’s edit the file.
sudo nano /etc/pam.d/sshd
Add the following line to the start of the file.
auth sufficient pam_radius_auth.so
and comment out the following line @include common-auth to # @include common-auth.
# @include common-auth
It is done. You can test your SSH login.
You have secured your SSH logins 🔐
b. Securing Desktop / GUI login and sudo Login
We have covered most of the configuration with the first step. Additionally, we will modify another file named “common-auth”.
sudo nano /etc/pam.d/common-auth
Add the following line to the end of the file.
auth sufficient pam_radius_auth.so
That’s it. You have now secured the your console and GUI login too.