
This document explains how to implement MonoSign with Zendesk. It covers Single Sign-On. Before you continue, it is better to start with Zendesk’s Single Sign-On integration page;
https://support.zendesk.com/hc/en-us/articles/4408883587226-Single-sign-on-SSO-options-in-Zendesk
View Zendesk SSO Metadata
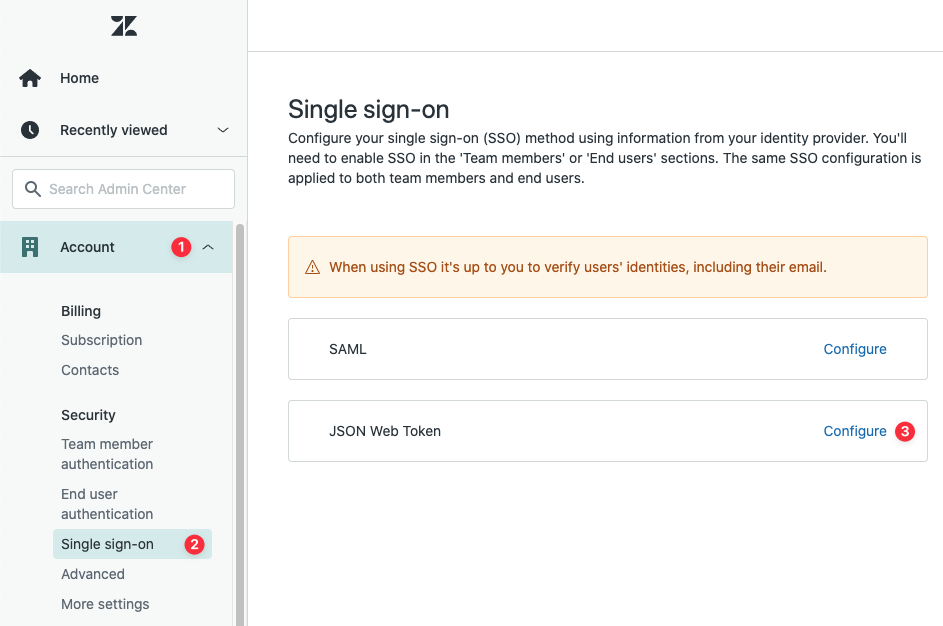
To configure the JSON Web Token key on MonoSign for Zendesk SSO, you need to have various information provided by Zendesk. First, navigate to Account > Single sign-on and click Configure next to the JSON Web Token section on the Admin Center.
You will see Shared Secret as follows.
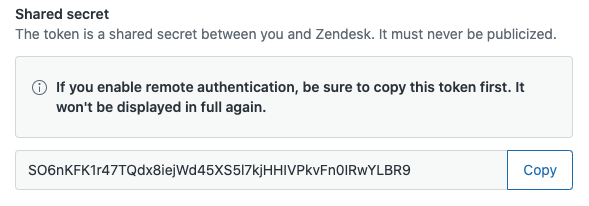
For now, stop here on the Zendesk side and create a MonoSign application and corresponding JWT key using the information provided by Zendesk.
Creating an Application and Access Key on MonoSign
Create the application on MonoSign and configure the access policy. Once it is created, click Keys and Add New Key to create an OpenID access key.
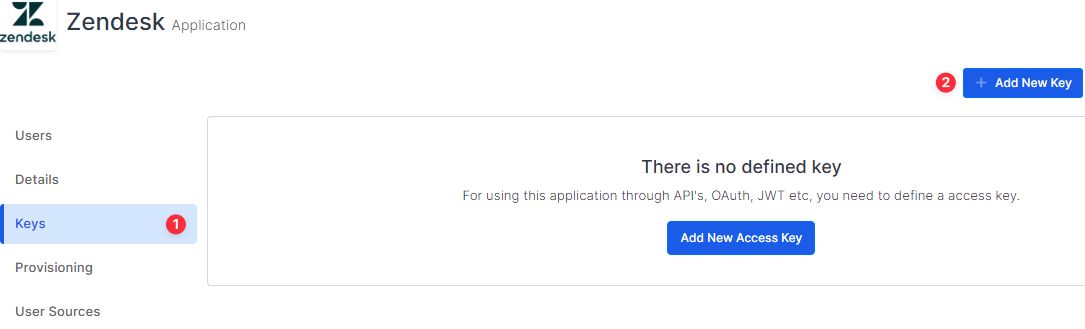
Choose OpenID as Key Type in the opened modal and switch to JWT Settings. Then, fill in the necessary fields according to the information provided by Zendesk.
|
Field |
Value |
|---|---|
|
Signature Algorithm |
HS256 |
|
Key |
Shared secret from JWT SSO configuration form. |
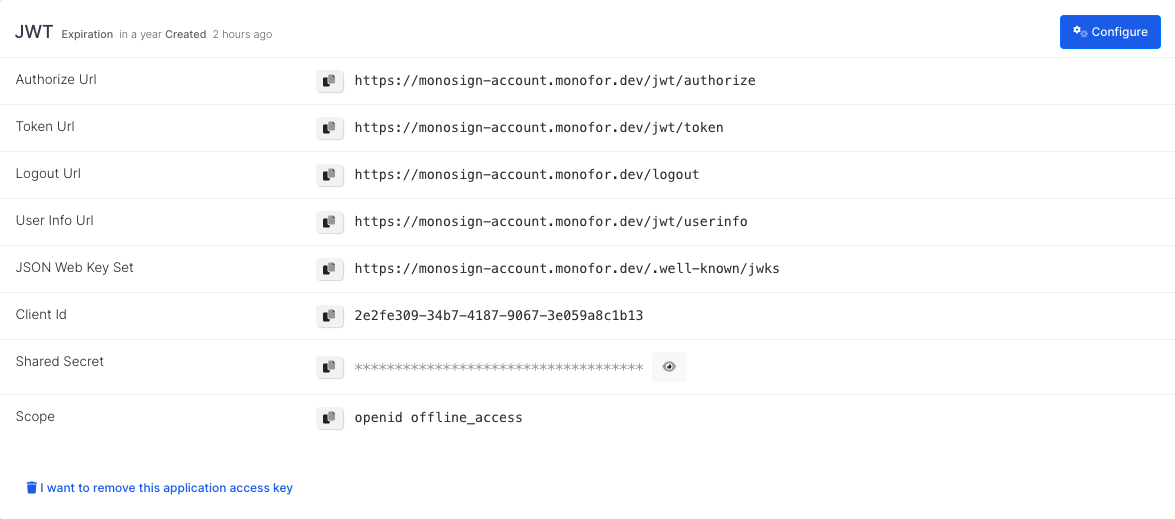
Click Save to see your configuration for your access key as follows.
Configuration Single Sign-On for Zendesk
We will move on to where we left off on the Zendesk Single Sign-On page mentioned in the first chapter. First, fill in the JSON Web Token configuration form according to the access key created on MonoSign. Correspondings of the fields are as below.
Fill in the JSON Web Token configuration form according to the access key created on MonoSign. Correspondings of the fields are as below.
|
Field |
Value |
|---|---|
|
Remote Login URL |
Authorize URL from the JWT access key |
|
Remote Logout URL |
Logout Url from the JWT access key |
Next, assign the SSO option to end users, team members, or both. Navigate to Account > Security > Team member authentication or Account > Security > End user authentication. Select External authentication to show the authentication options. Choose JSON Web Token as the Single sign-on (SSO) option in the External authentication section.
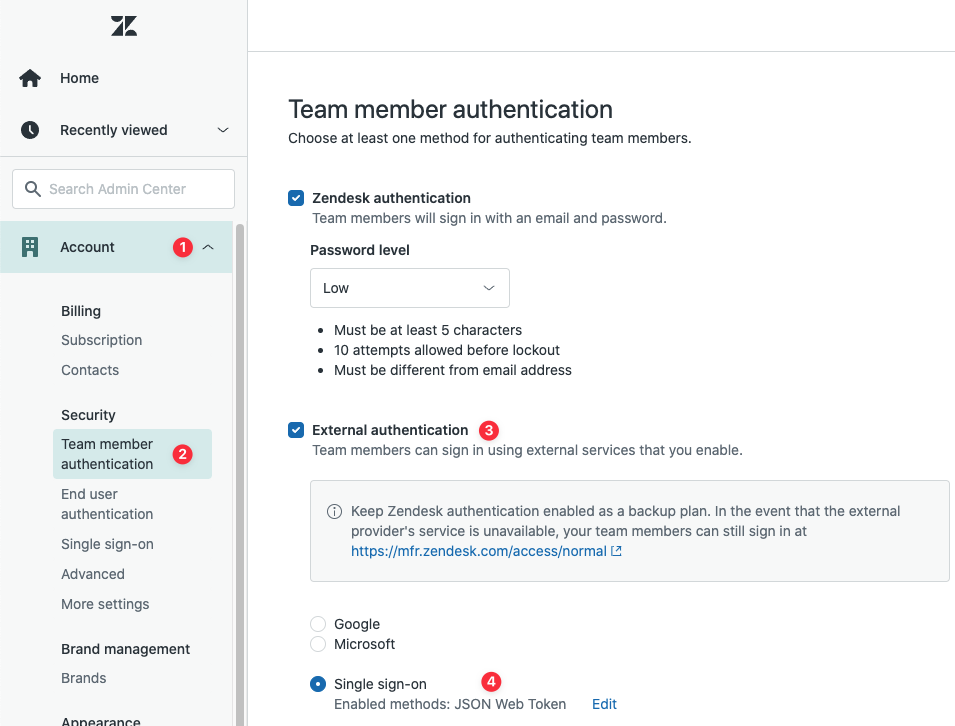
For team members, single sign-on might only cover some use cases so that you can keep both authentication methods. For example, a Zendesk password is required to access your Support account from many Zendesk integrations or to use the Zendesk API or Apps framework.
If you disabled Zendesk passwords, click Account > Advanced > Authentication and select an SSO bypass option. You can choose whether only the Account owner or all Admins (including the account owner) can be granted access to the account if the sign-in provider goes down.