This document explains how to implement Monosign with Zimbra Webclient It covers Single Sign-On. Before you continue, it is better to start with Zimbra’s Single Sign-On this page.
📑 Instructions
This documentation contains 4 main steps for integration.
-
Creating an Application on Monosign
-
Configuration Single Sign-On for Zimbra
-
Assign a user to the Zimbra application
-
Sign In Test
-
Optional Settings on Zimbra
1- Creating an Application on Monosign
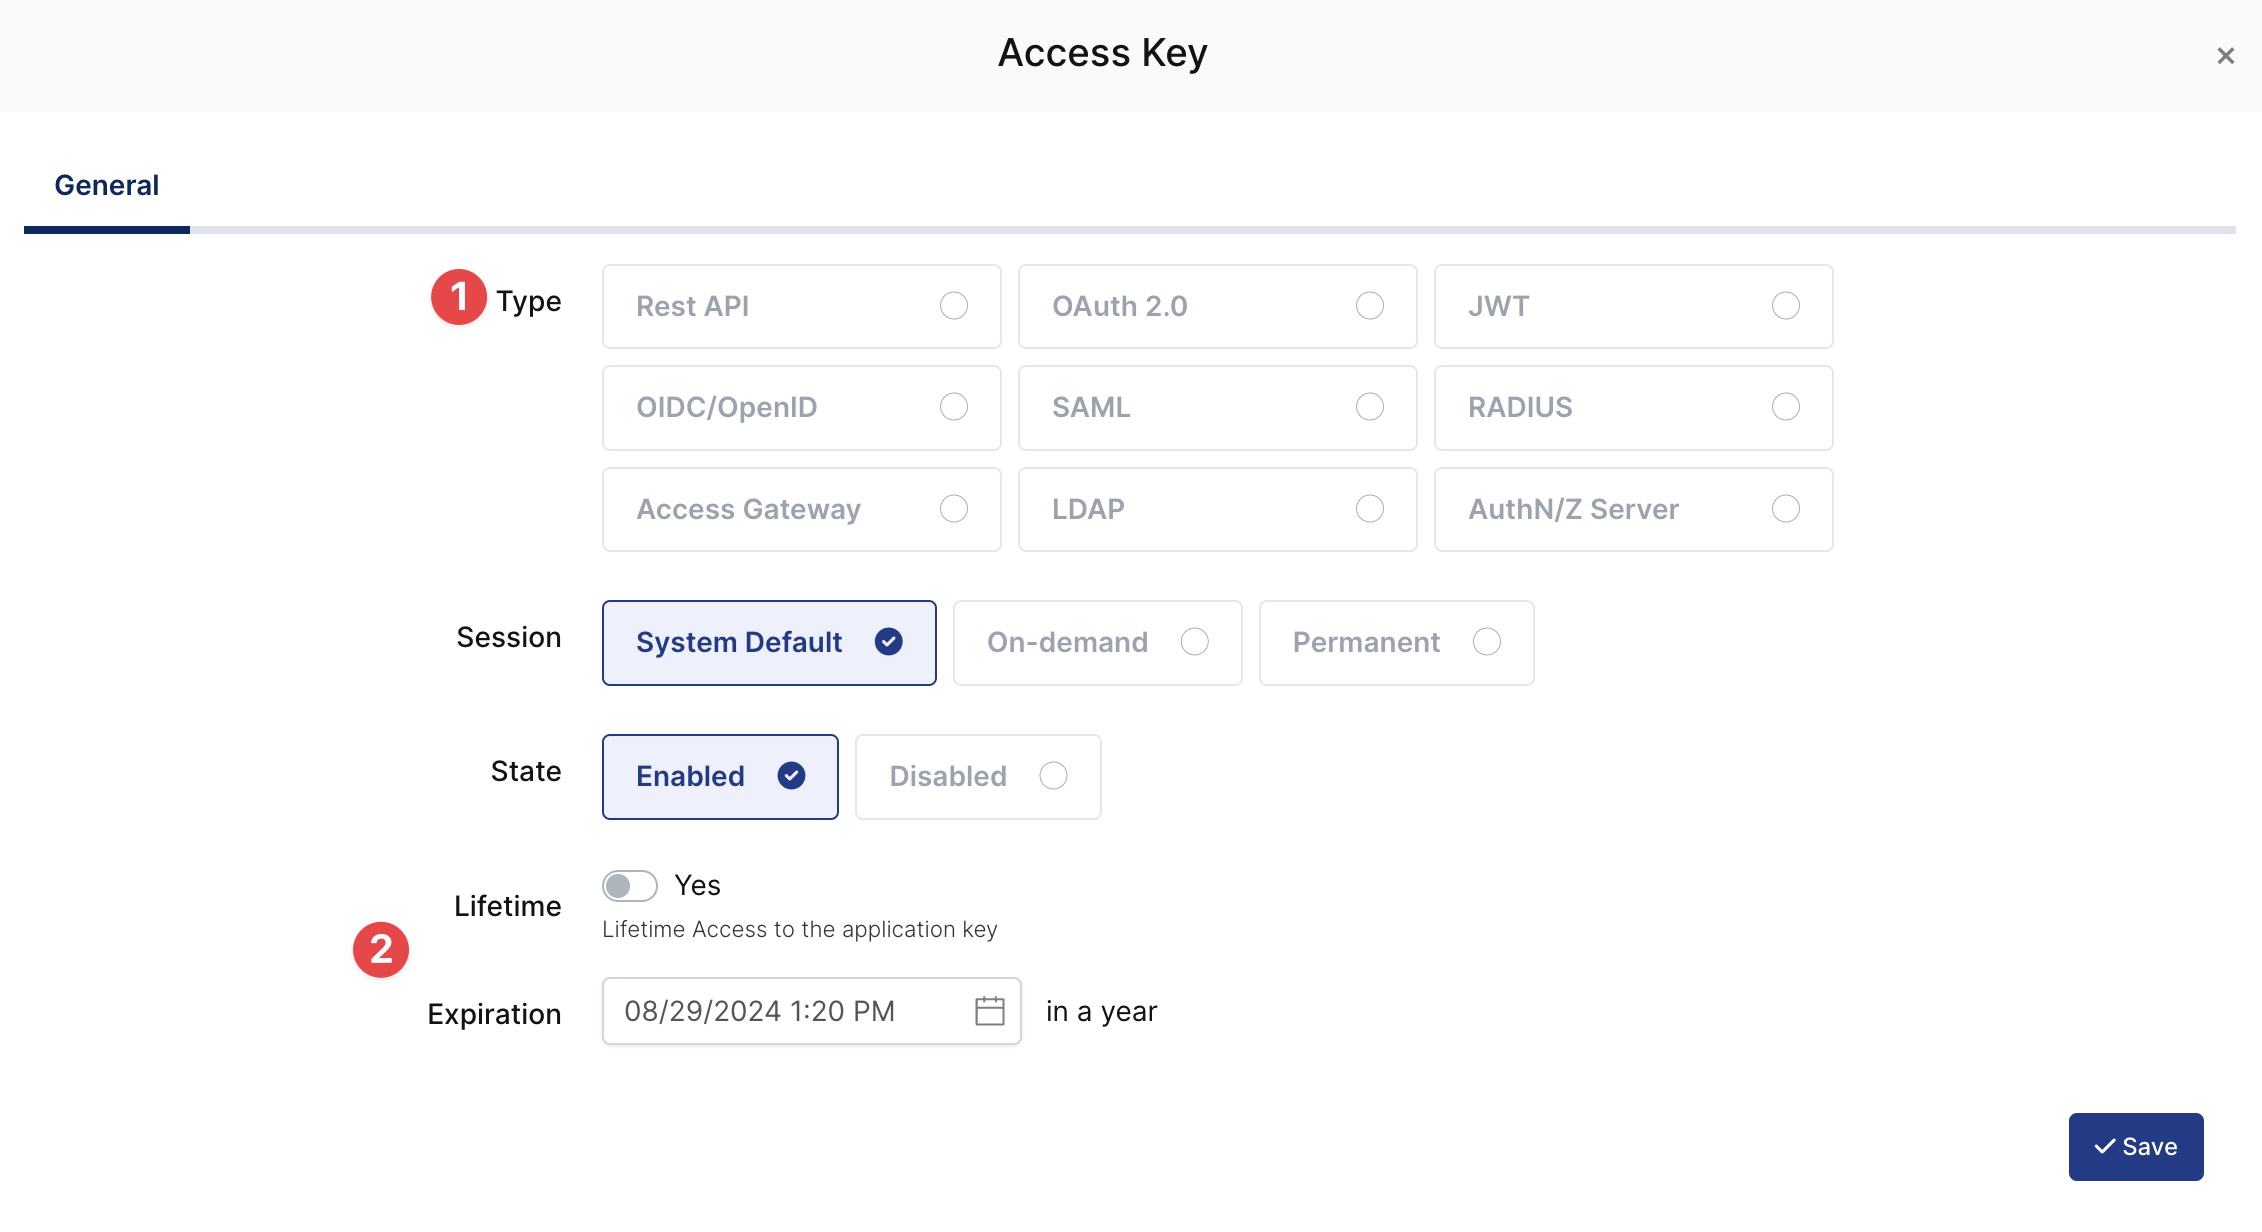
Create your application on Monosign and configure your access policy. Once you create, click “Keys” and add a new Access Key for SAML Key for access.
We will need this information while we configure the Zimbra application.

|
Property |
Value |
Options |
|---|---|---|
|
Key Type |
SAML |
Rest API, OAuth 2.0, JWT, OIDC/OpenID, SAML, RADIUS, Access Gateway, LDAP, AuthN/Z Server |
|
Expiration |
Lifetime |
Lifetime or Specific Date/Time - By Default Lifetime is Enabled. |
Configuration details for the Zimbra application are provided as follows:
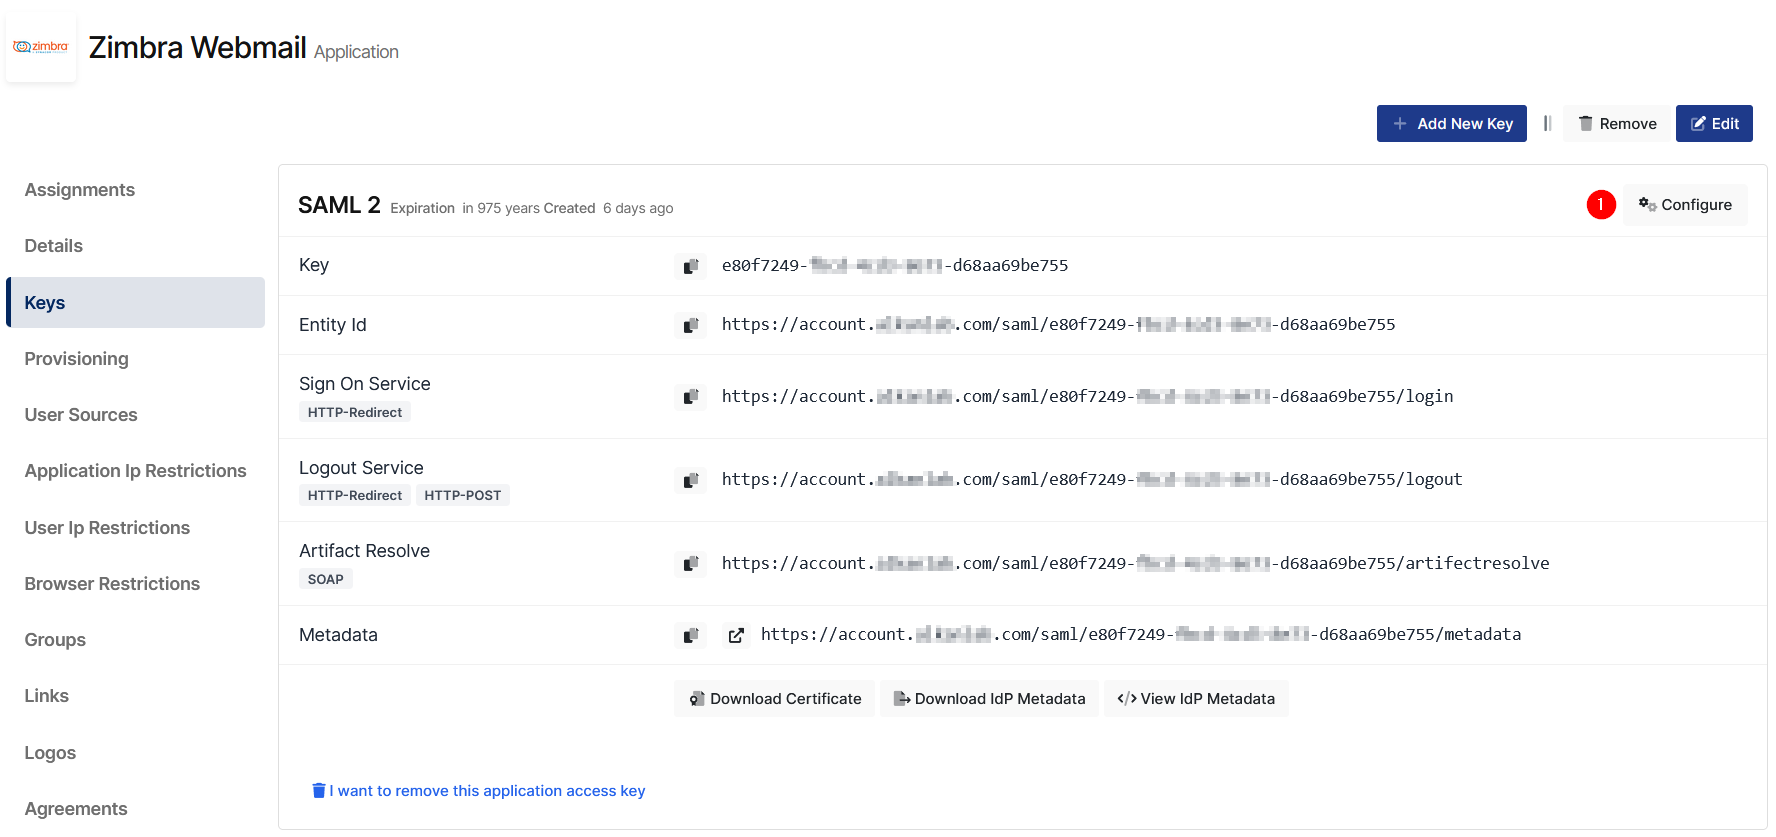
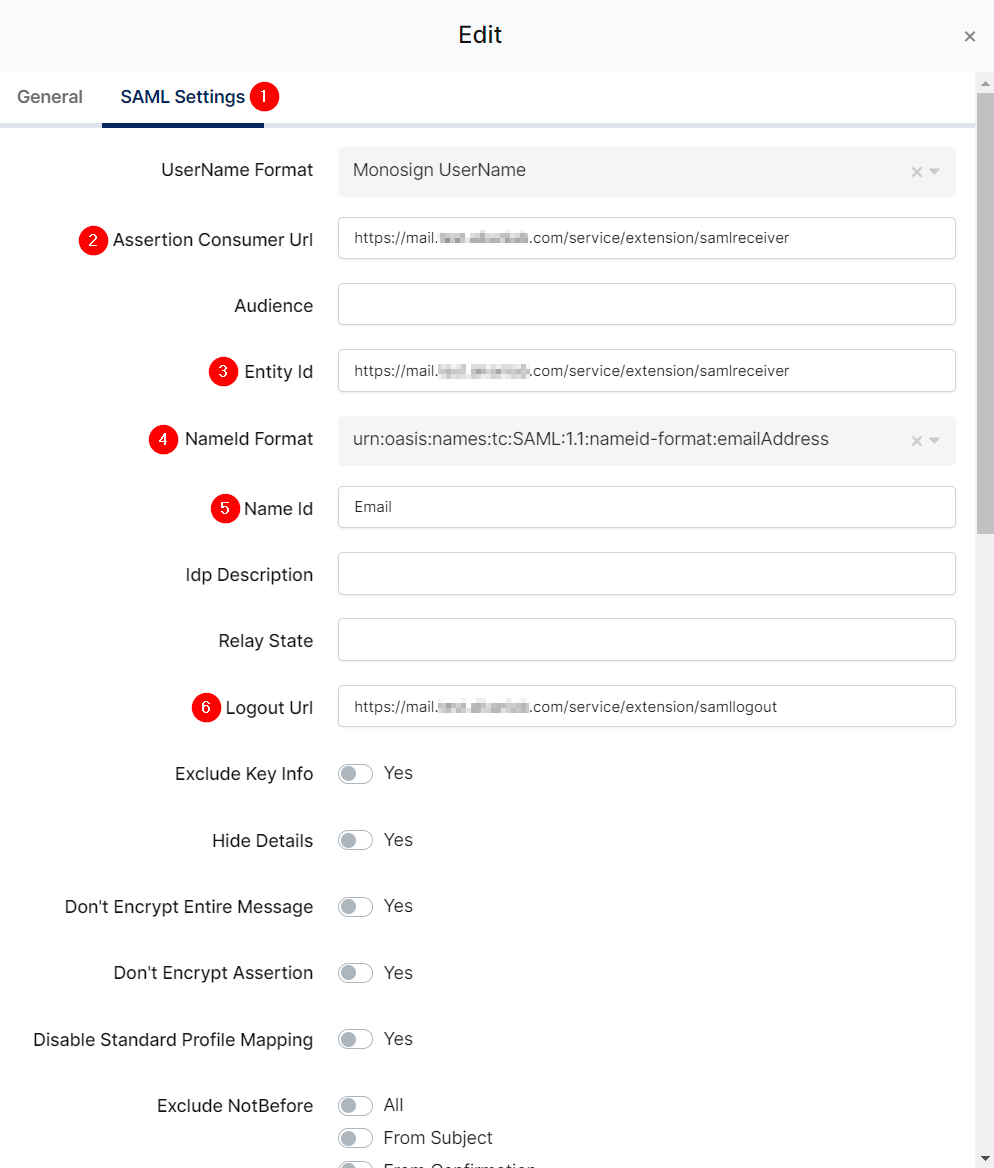
Change ACS(Assertion Consumer Url), Entity Id, NameId Format, Name Id and Logout Url.
|
Property |
Value |
|---|---|
|
Assertion Consumer Url |
|
|
Entity Id |
|
|
NameId Format |
|
|
Name Id |
|
|
Logout Url |
|
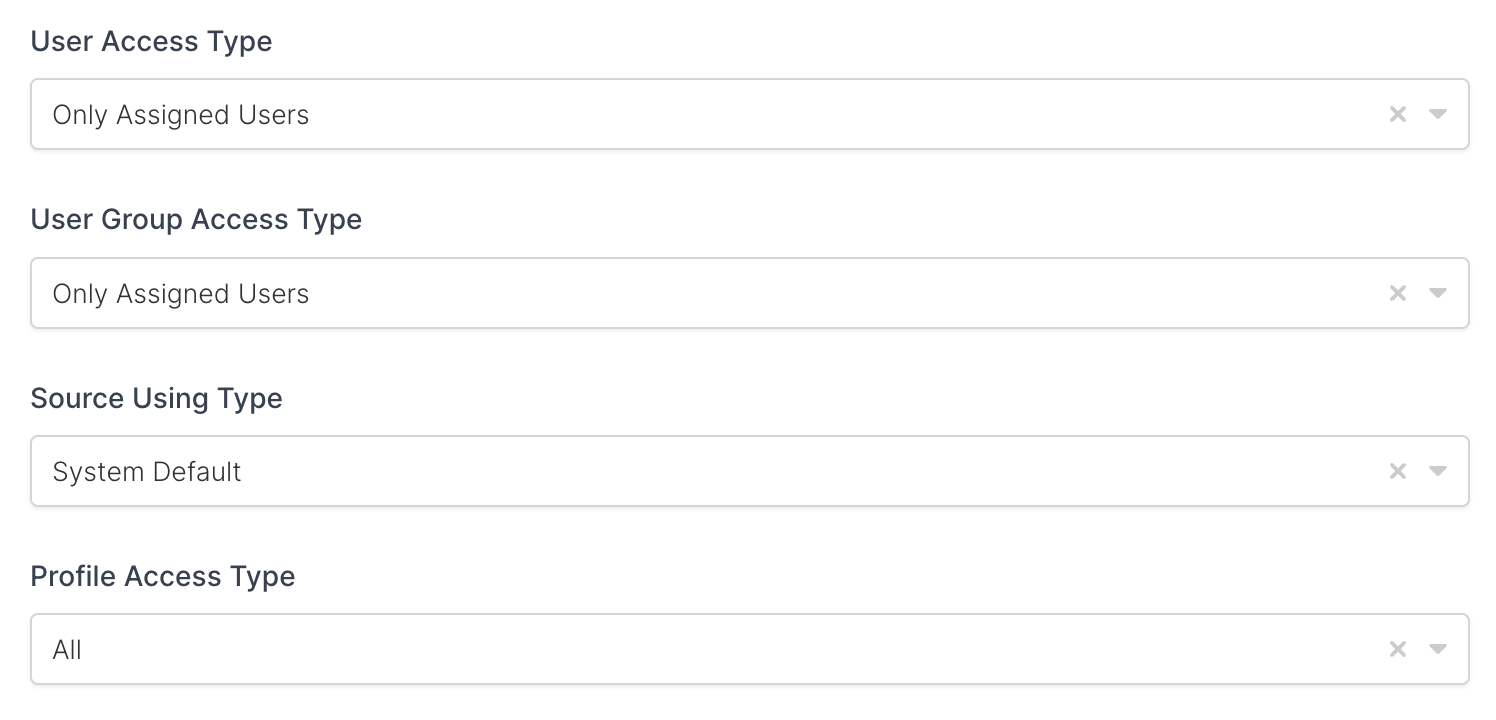
To ensure that the application has access to user groups, follow these steps:
-
If the application hasn't been configured yet, click the “Edit” option for the application.
-
In the application settings, navigate to the “Source, Provider, and Profile” tab.
-
Configure the “User Access Type“ and “User Group Access Type” as “Only Assigned Users.”
Configuring this setting will allow the application to access by user groups when users sign in.
|
Property |
Description |
Options |
|---|---|---|
|
User Access Type |
Defines which Users will access to this application. |
Only Assigned Users
|
|
User Group Access Type |
Defines application’s user group access |
Only Assigned Users
|
|
Profile Access Type |
Defines Application’s user’s profile access |
Restricted - Only restricted user profile attributes
|
2- Configuration Single Sign-On for Zimbra
As it highlighted at the beginning of document, please check out the Zimbra’s SSO configuration page first.
Please add your SAML settings to the application. The following information is needed for your configuration.
Connect Zimbra host server via ssh with root privileged's.
Create 2 directories /opt/zimbra/lib/ext/saml and /opt/zimbra/conf/saml/
mkdir -p /opt/zimbra/lib/ext/saml
mkdir -p /opt/zimbra/conf/saml/
Generate saml-config.properties file under /opt/zimbra/conf/saml/.
Please change only below properties in saml-config.properties file.
|
Property |
Value |
|---|---|
|
|
|
|
|
|
|
|
|
|
|
|
|
|
|
|
|
|
The file content will be as follows.
# Issuer
saml_sp_entity_id=https://mail.monofor.com/service/extension/samlreceiver
# Login receiver for the service provider
saml_acs=https://mail.monofor.com/service/extension/samlreceiver
# Name ID format for the IDP to use in the SAMLResponse
saml_name_id_format=urn:oasis:names:tc:SAML:1.1:nameid-format:emailAddress
# Date format for issue instant
saml_date_format_instant=yyyy-MM-dd'T'HH:mm:ss'Z'
# Identity provider login endpoint for redirect method
saml_redirect_login_destination=https://account.monofor.com/saml/3f98a9d6-cf28-4cfd-8427-f4506b33ffcb/login
# Identity provider login endpoint for POST method
saml_post_login_destination=https://account.monofor.com/saml/3f98a9d6-cf28-4cfd-8427-f4506b33ffcb/login
# Identity provider logout endpoint for redirect method
saml_redirect_logout_destination=https://account.monofor.com/saml/3f98a9d6-cf28-4cfd-8427-f4506b33ffcb/logout
# Identity provider logout endpoint for POST method
saml_post_logout_destination=https://account.monofor.com/saml/3f98a9d6-cf28-4cfd-8427-f4506b33ffcb/logout
# Logout redirect page if we are the landing page logout endpoint
saml_landing_logout_redirect_url=/
# Disable the audience path check
saml_skip_audience_restriction=true
# URL to send the user with error_code, error_msg query params. Default results in HTTP error code pages.
saml_error_redirect_url=
# The SAML logout document encoding, and SAML login receiver parameter encoding.
saml_document_encoding=ASCII
# Set to true to disable the audience path check.
saml_skip_audience_restriction=false
# The redirect location to send the user if their Zimbra account is not active.
saml_inactive_account_redirect_url
# The redirect location to send the user if webclient login for their Zimbra account is disabled.
saml_webclient_disabled_account_redirect_url
From the command line as user root copy the samlextn.jar file and set up the IdP certificate;
cp /opt/zimbra/extensions-network-extra/saml/samlextn.jar /opt/zimbra/lib/ext/saml/
Download IdP certificate as shown in the below picture
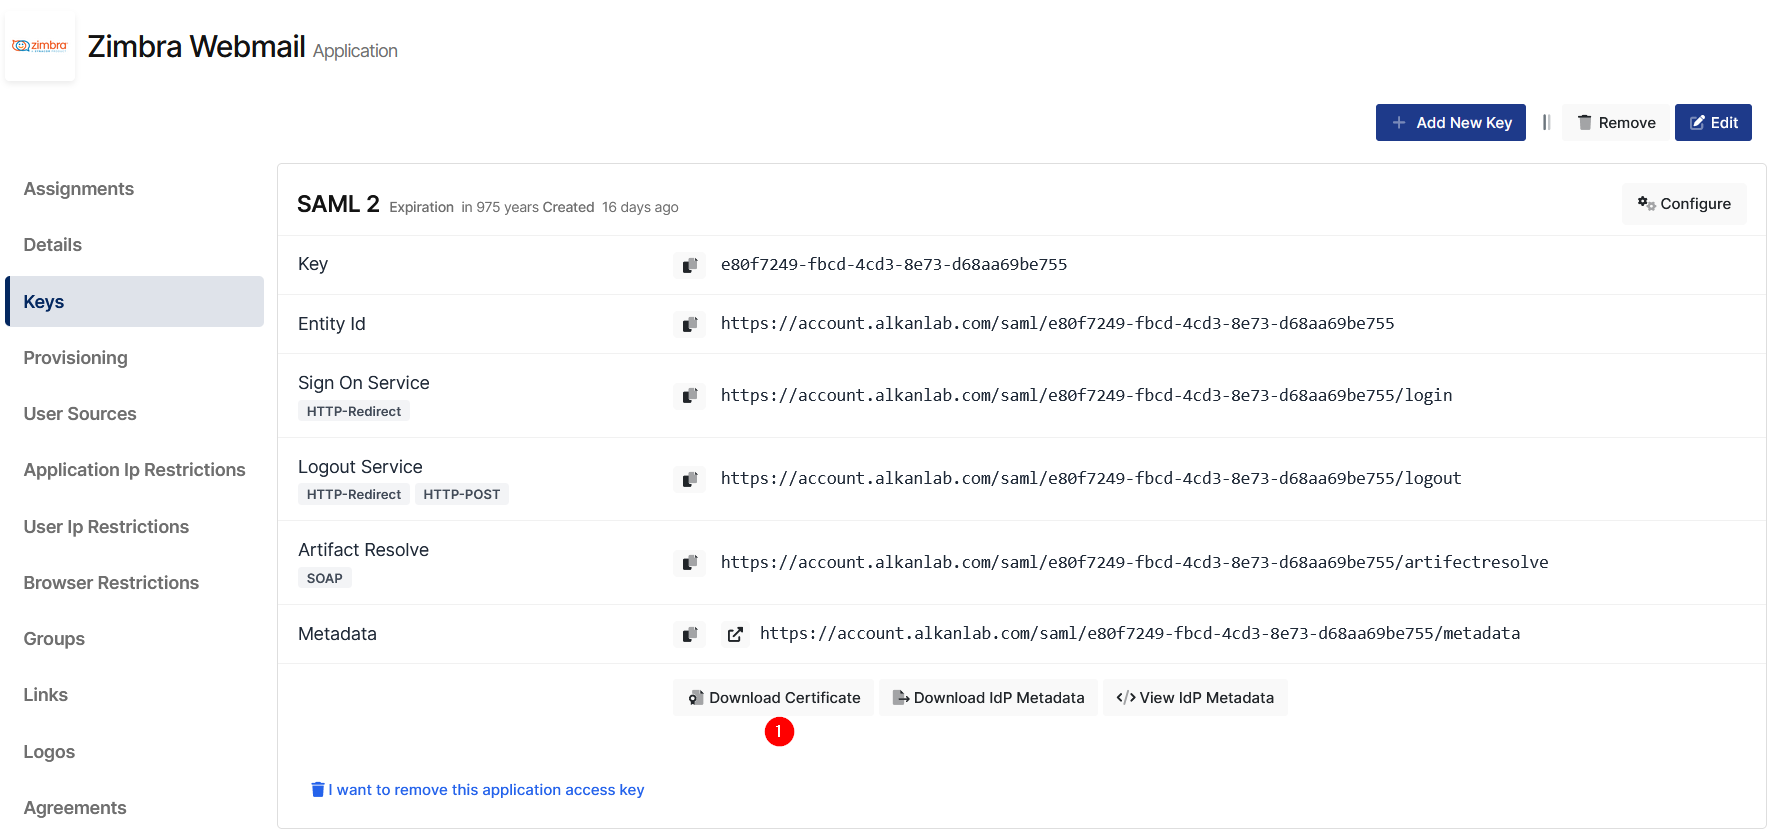
Copy this certificate under /tmp/monosign.pem.
Run below command. Please replace <DOMAIN_NAME_on_ZIMBRA> with actual domain information on Zimbra.
The next steps will be carried out with a zimbra user.
su zimbra
cat /tmp/monosign.pem |xargs -0 zmprov md <DOMAIN_NAME_on_ZIMBRA> zimbraMyoneloginSamlSigningCert
Add Monosign url as CSRF Allowed Referrer host
zmprov mcf zimbraCsrfAllowedRefererHosts account.monofor.com
Since Zimbra 9.0.0 patch 25 it is required to set zimbraVirtualHostName. Please replace <DOMAIN_NAME_on_ZIMBRA> and <VIRTUAL_HOSTNAME>
zmprov md <DOMAIN_NAME_on_ZIMBRA> zimbraVirtualHostName <VIRTUAL_HOSTNAME>
Disable SameSite cookie Settings
/opt/zimbra/bin/zmlocalconfig -e zimbra_same_site_cookie=""
Before restart Zimbra services please verify previous setting applied correctly
zmprov gd <DOMAIN_NAME_on_ZIMBRA> zimbraVirtualHostName
zmlocalconfig -i zimbra_same_site_cookie
zmprov gcf zimbraCsrfAllowedRefererHosts
If the values are correct, Zimbra services would be restart.
zmmailboxdctl restart
Now, go back to Monosign and give access to your users and try login.
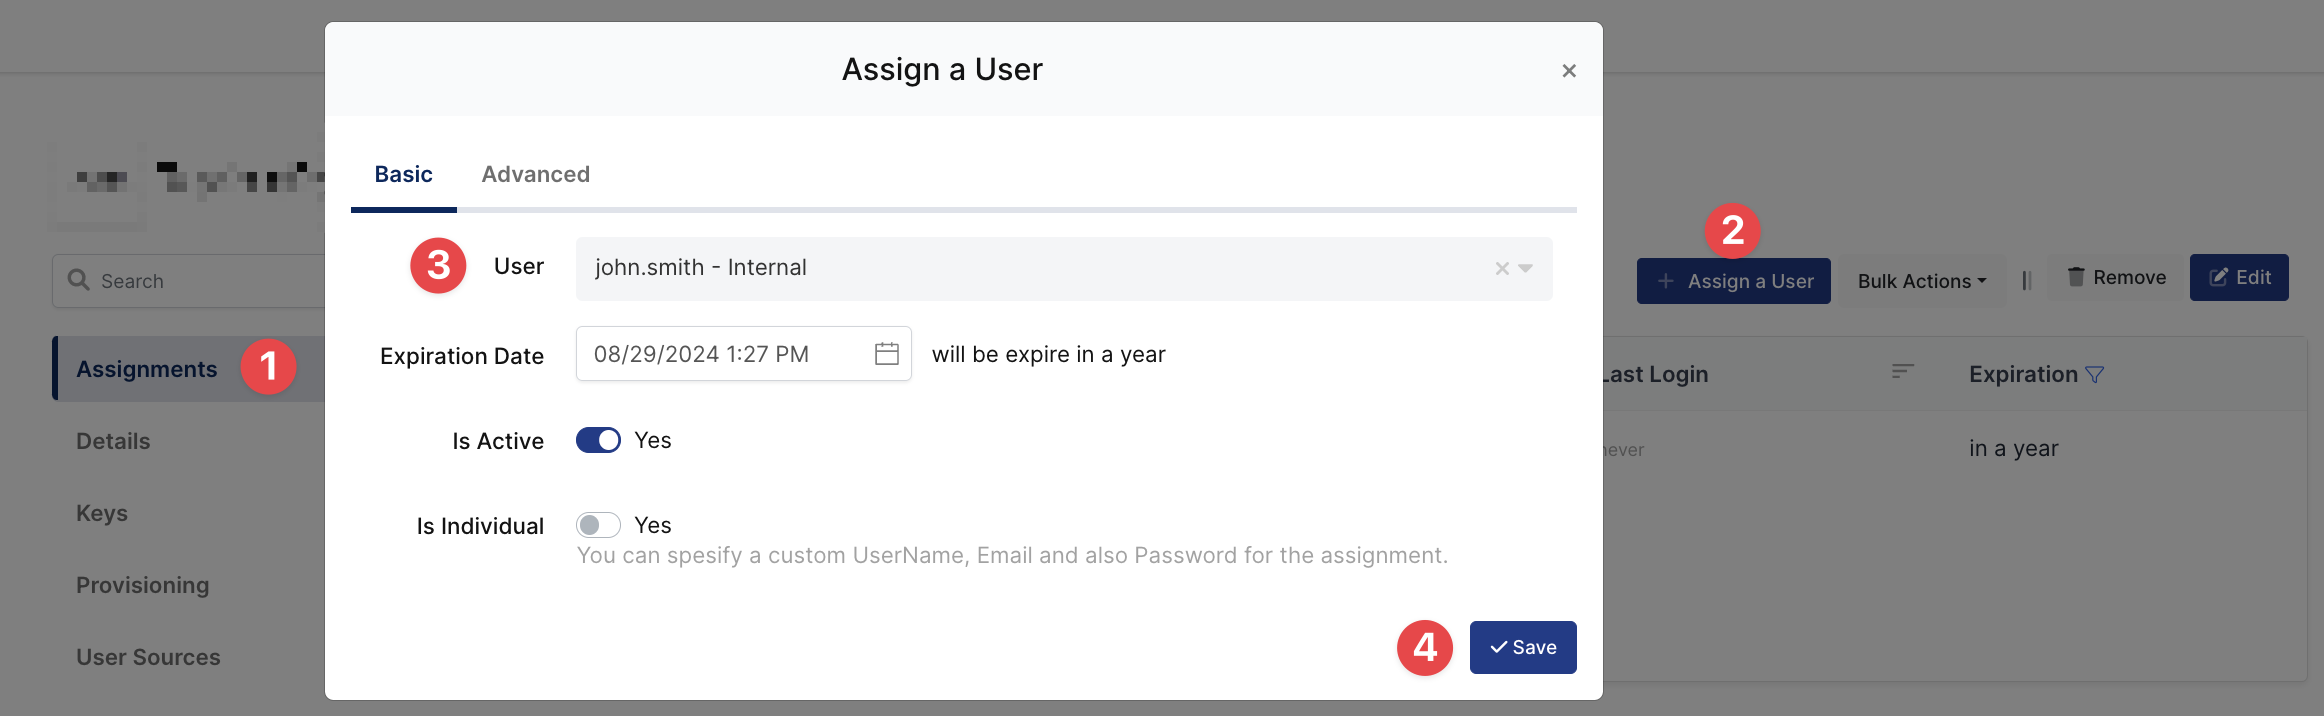
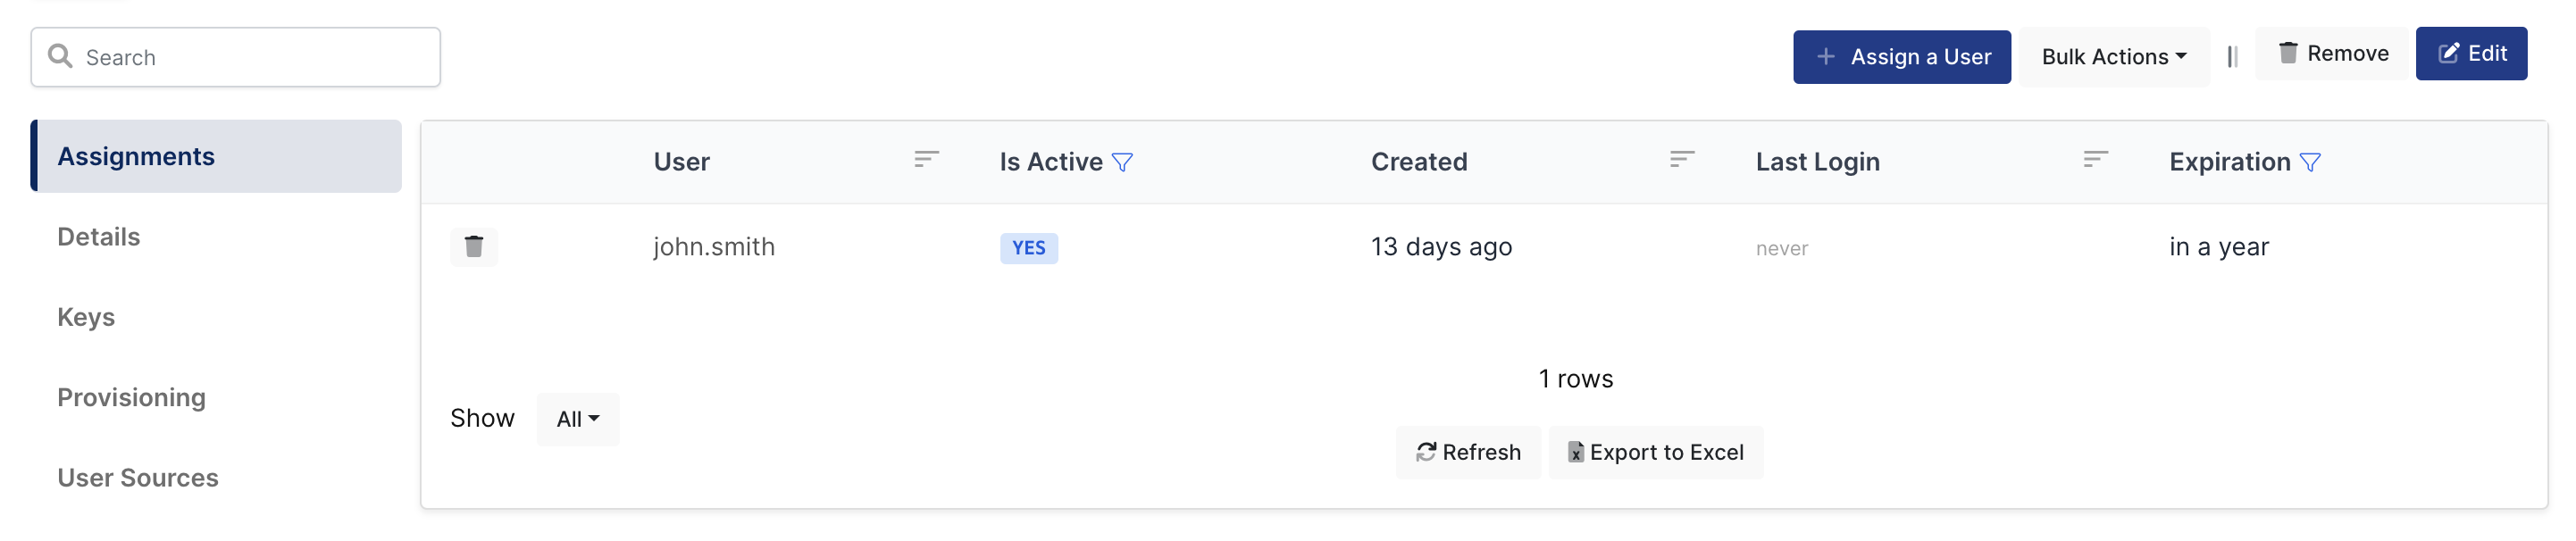
3- Assign a user to the Zimbra application
Please follow below instructions on how to assign a user to the Zimbra application. In this example john.smith will assign to the application access.
4- Sign In Test
Now try to login Monosign Account. Navigate to the User Account page and click Zimbra Webmail application.
Example : https://account.monofor.com
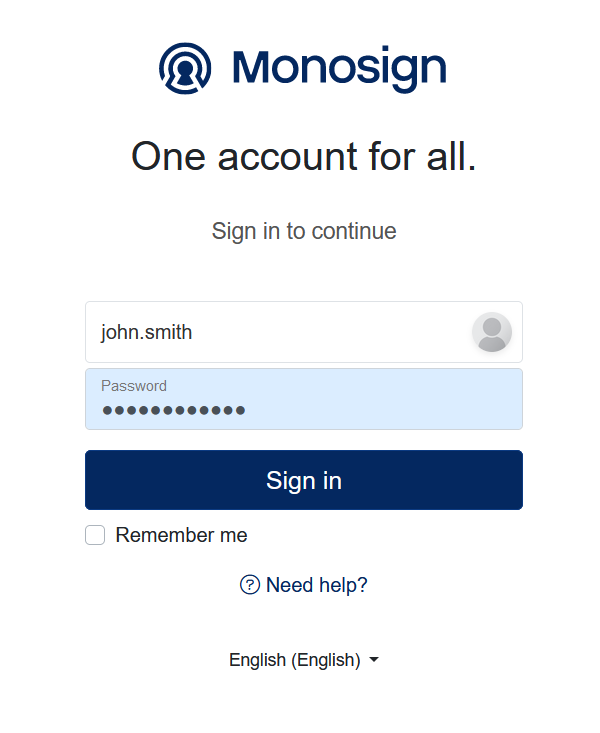
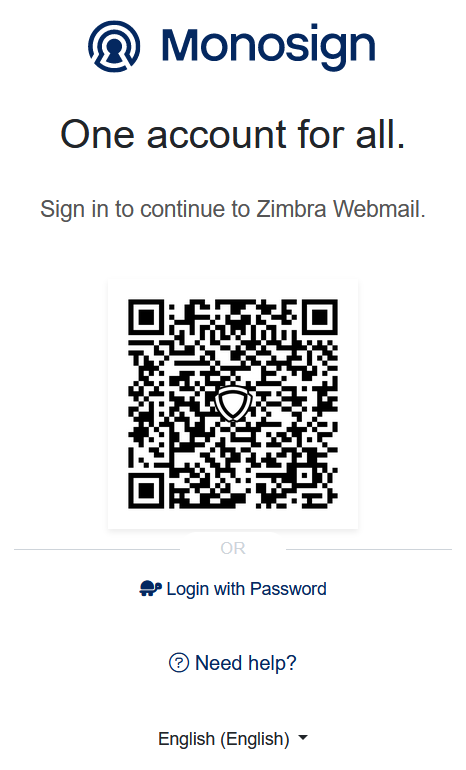
If everything is well configured, you will be see the Monosign’s login page. You can log in passwordless with your QR code or you can type your user name and password.
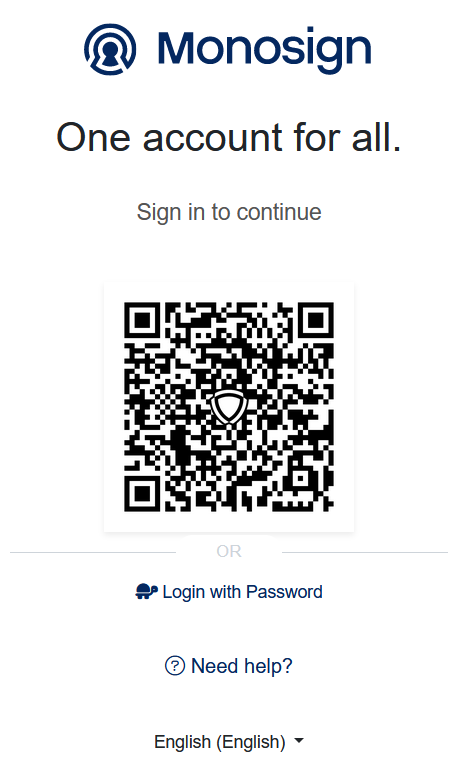
Click Login with password and type username and password.
Zimbra Webmail application logo can be found in the below.
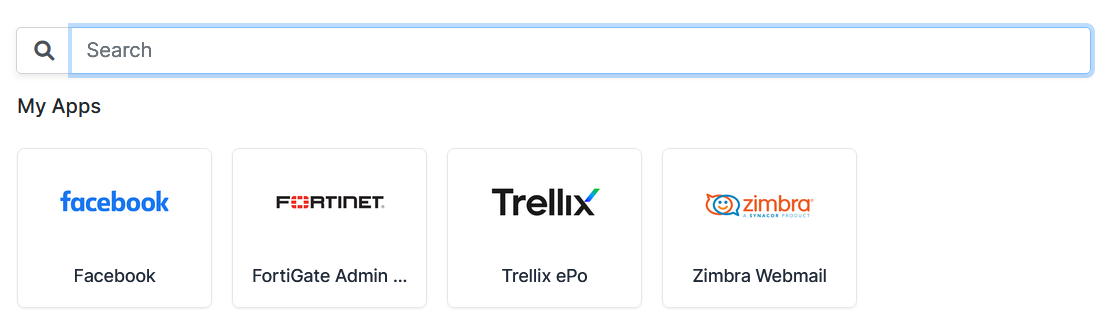
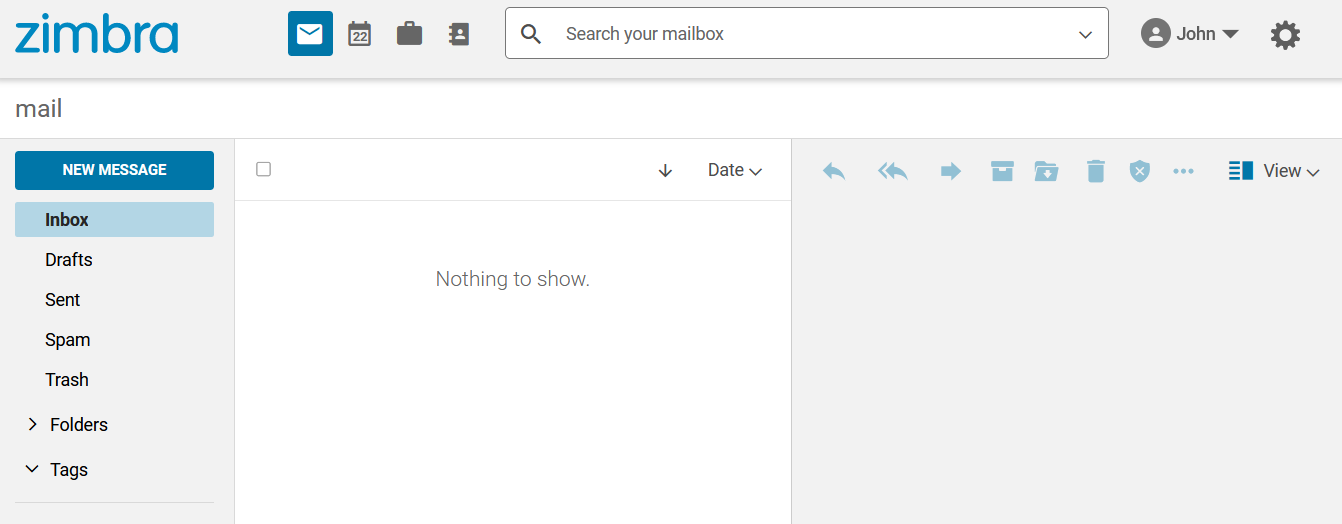
Click Zimbra Webmail icon and now the page will redirect to Zimbra Webmail.
5- Optional Settings on Zimbra
Up to this point, despite the changes made, the Zimbra Webclient local login page is still accessible. If you want to close the local login page, configuration can be changed by following the steps below.
SSH to Zimbra server and run the below command
Globally :
su zimbra

zmprov mcf zimbraWebClientLoginURL https://account.monofor.com/saml/3f98a9d6-cf28-4cfd-8427-f4506b33ffcb/login
zmprov mcf zimbraWebClientLogoutURL https://account.monofor.com/saml/3f98a9d6-cf28-4cfd-8427-f4506b33ffcb/logout
Verify Changes :
zmprov gcf zimbraWebClientLoginURL
zmprov gcf zimbraWebClientLogoutURL
Than restart Zimbra services
zmmailboxdctl restart
Now open browser and type your Zimbra webmail address and Monosign login page will open directly.
Example : https://mail.monofor.com
Login to Zimbra Webmail with Monosign Passwordless login or username/password option.