Monosync first needs a helper API to communicate with SAP. This API has been developed by Monofor and has a structure that can communicate directly over the SAP service.
Monosync SAP API serves only in the IIS environment on Windows due to SAP communication restrictions.
The service needs the service user defined on SAP to run. This service’s user’s permissions should contain READ if it only reads objects. If it does both reading and writing, permissions should contain READ and WRITE together. These criteria should be considered when defining the service user.
User, Group and Role Management requirement.
|
Functions |
Tables |
|
|---|---|---|
|
AUTHORITY_CHECK |
USERLIST |
|
|
BAPI_USER_ACTGROUPS_ASSIGN |
AGR_DEFINE |
|
|
BAPI_USER_ACTGROUPS_DELETE |
AGR_USERS |
|
|
BAPI_USER_CHANGE |
ACTIVITYGROUPS |
|
|
BAPI_USER_CLONE |
AGR_TCODES |
|
|
BAPI_USER_CREATE1 |
|
|
|
BAPI_USER_DELETE |
|
|
|
BAPI_USER_EXISTENCE_CHECK |
|
|
|
BAPI_USER_GETLIST |
|
|
|
BAPI_USER_GET_DETAIL |
|
|
|
BAPI_USER_LOCACTGROUPS_ASSIGN |
|
|
|
BAPI_USER_LOCACTGROUPS_DELETE |
|
|
|
BAPI_USER_LOCACTGROUPS_READ |
|
|
|
BAPI_USER_LOCK |
|
|
|
BAPI_USER_LOCPROFILES_ASSIGN |
|
|
|
BAPI_USER_LOCPROFILES_DELETE |
|
|
|
BAPI_USER_LOCPROFILES_READ |
|
|
|
BAPI_USER_PROFILES_ASSIGN |
|
|
|
BAPI_USER_PROFILES_DELETE |
|
|
|
BAPI_USER_SYSTEM_ASSIGN |
|
|
|
BAPI_USER_UNLOCK |
|
|
|
SUSR_USERGROUP_CREATE |
|
|
|
SUSR_USERGROUP_DELETE |
|
|
|
SUSR_USER_CHECK_EXISTENCE |
|
|
|
SUSR_ZBV_CHECK_IF_ACTIVE |
|
|
📘 Instructions
Deploy Monosync SAP API to the IIS (Internet Information Services).
-
Create a directory on your disk and extract the files into it.
-
Ctrl+R and type “inetmgr.exe”. Click OK to run.
-
After you see the following window, follow the steps to create an application.
-
Configure your Application Config settings
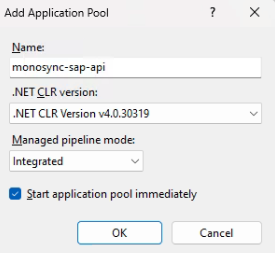
Before you create an application, we need to create an application pool for it. Double-click your computer name, and right-click on your Application Pools. Click Add Application Pool.
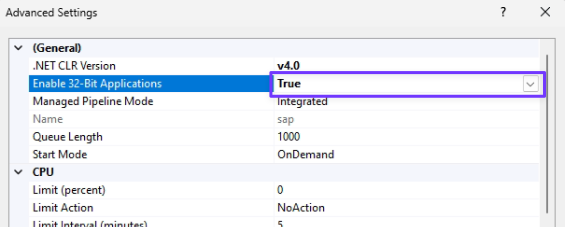
When you click OK, you also need to change some of the settings of the Application Pool. For that, right-click on your Application Pool and click Advanced Settings.
You need to set Enable 32-Bit Applications as True.
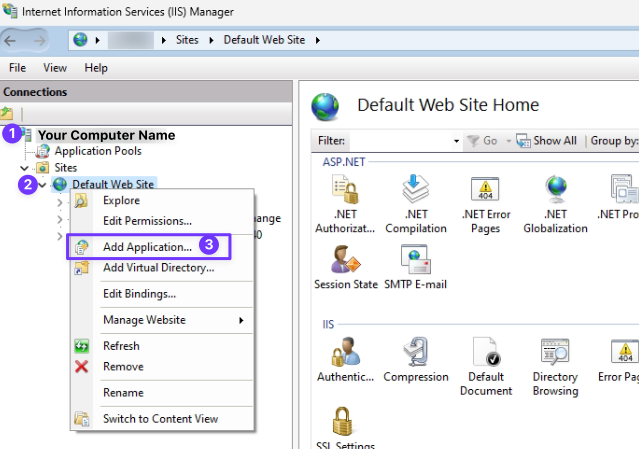
Now, we can create our application. Double-click on your Computer Name, expand Sites, Right-click Default Web Site, and click “Add Application…”.
Type the following settings. Application Pool must be selected as we created.
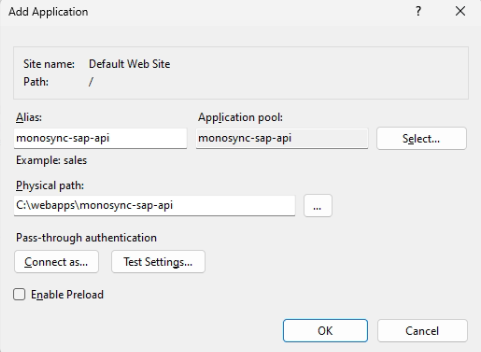
Give a name to your application. This part is critical. We will use this name after we have created the application. For my example, monosync-sap-api is my application name. The physical path should be the application path that your extracted files. Click OK.
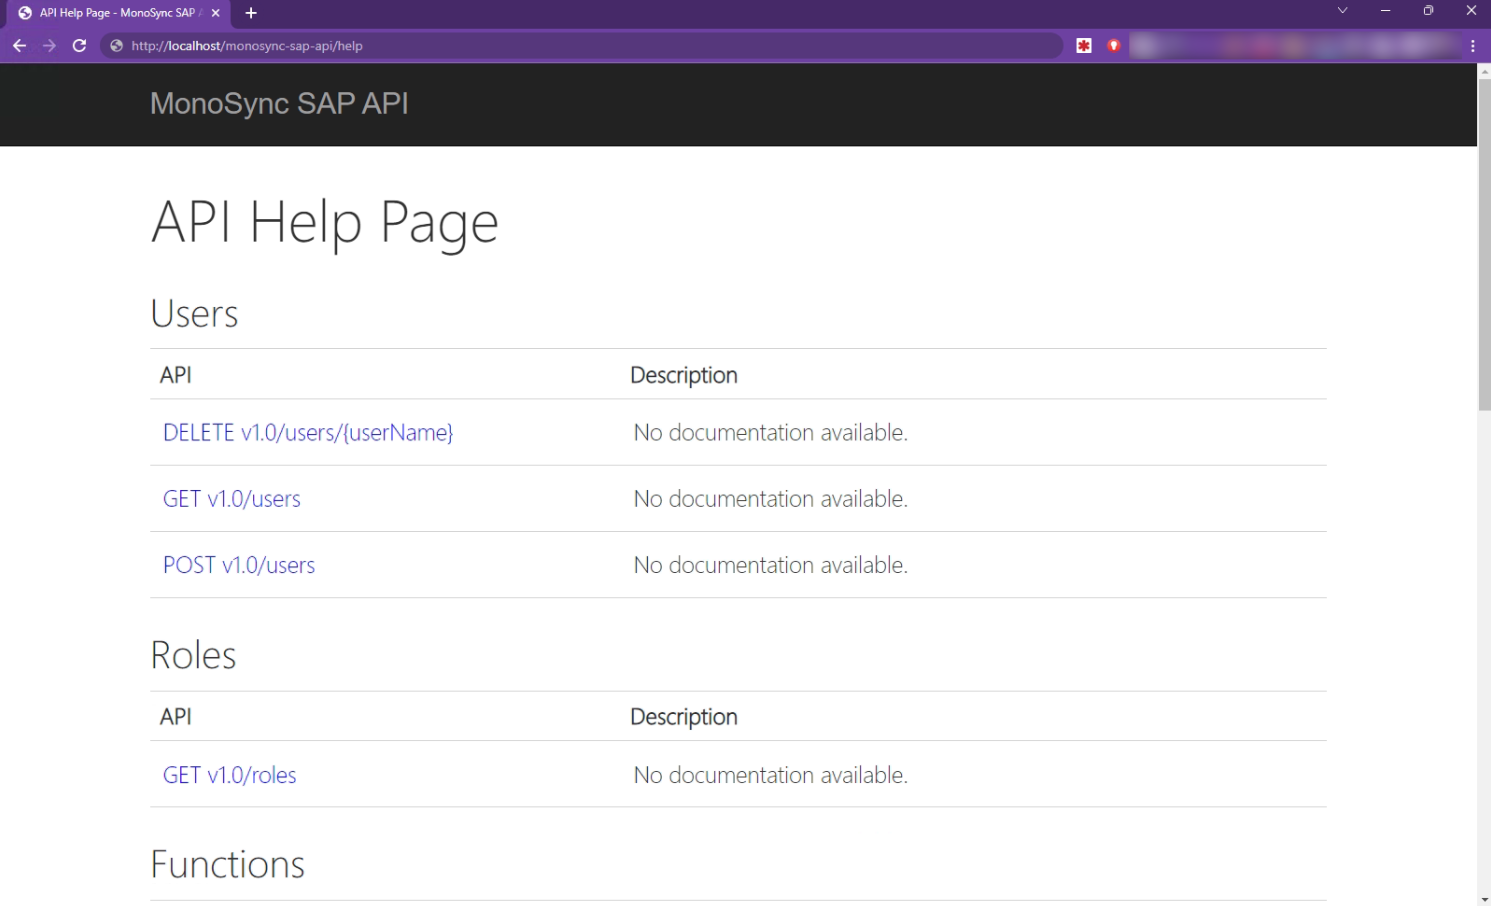
After OK, your application will be created, and now, you can use the following address to see if your application is up and running;
http://localhost/monosync-sap-api/
You can only access this address from your local machine, which is your application server. But if you type http://your-machine-host-name/monosync-sap-api instead of your localhost address, you can access it from the same network.
If deployed correctly, you must see the following page when you visit the URL;
Configure your web.config file in your Application Directory
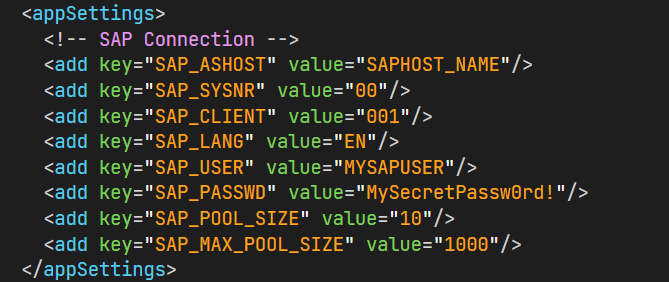
In web.config file, we need to change / add lines to configure connection of SAP.
<add key="SAP_ASHOST" value="TYPE-YOUR-HOST-NAME"/>
<add key="SAP_SYSNR" value="00"/>
<add key="SAP_CLIENT" value="001"/>
<add key="SAP_LANG" value="EN"/>
<add key="SAP_USER" value="TYPE-YOUR-USERNAME"/>
<add key="SAP_PASSWD" value="TYPE-YOUR-PASSWORD"/>
<add key="SAP_POOL_SIZE" value="10"/>
<add key="SAP_MAX_POOL_SIZE" value="1000"/>
Example configuration is like following;
The following file also contains Monosync Settings that have SAP Schemas. You can import to your environment to set up your SAP to Monosync and Monosync to Monosign Integrations.
Download the following Exported Settings File.
monosync-settings-sap-2023-02-24-22-02-19.json