
MFA (Multifactor Authentication) provides security as a multi-factor layer for users to access/login into Monosign and other applications integrated with Monosign. Users can activate MFA on their mobile phones/tablets by following the steps below.
📑 Instructions
1. Downloading the Monofor Identity
Download the Monosign Authenticator to your mobile device.
-
For Apple/iOS Devices
-
Go to App Store and Search “Monofor Identity” or click the below link to download
-
-
For Android Devices
-
Go to Google Play Store and search “Monofor Identity” or click the below link to download
-
2. Configuring MFA Settings on your Profile
-
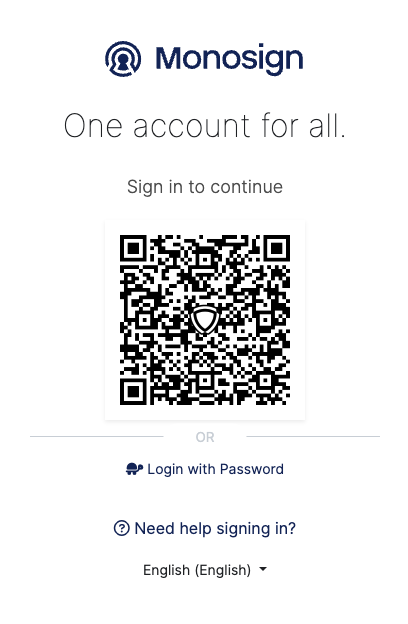
Open the browser on your PC and type your account portal URL/website.
Example: https://account.monofor.com
-
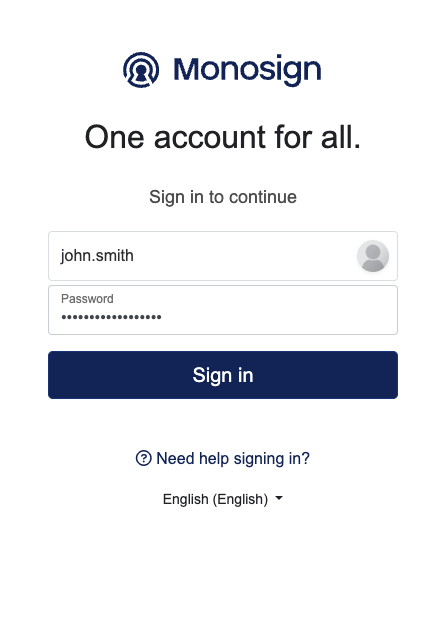
Click the “Login with Password” button, then type the Active Directory Username/Password and click Sign In
If the system is configured to force users to use MFA, follow Section 1; if not, you can follow Section 2.
1. Users Forced to Use MFA
-
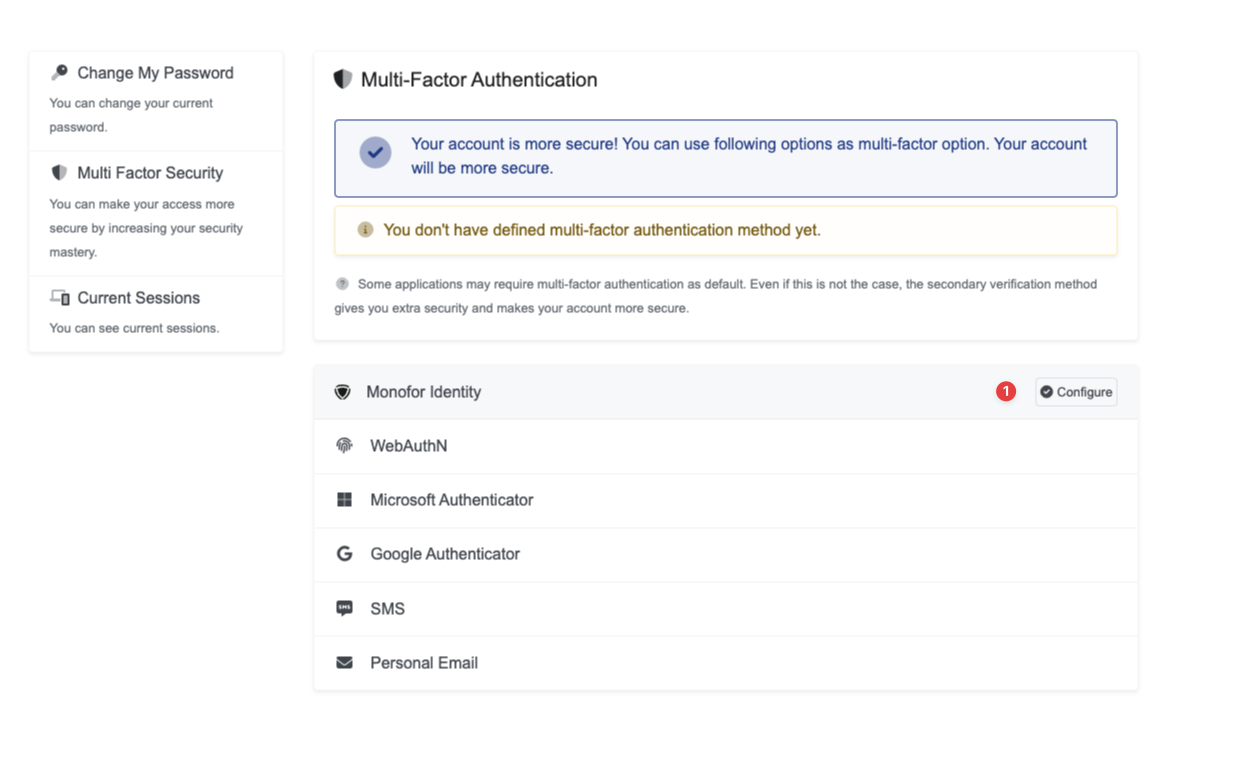
After signing in to Monosign, the user will be redirected to the page to configure Monofor Identity.
-
Click the Configure button on Monofor Identity
-
That’s it, now you can pass to the next step.
2. Users Not Forced to Use MFA
-
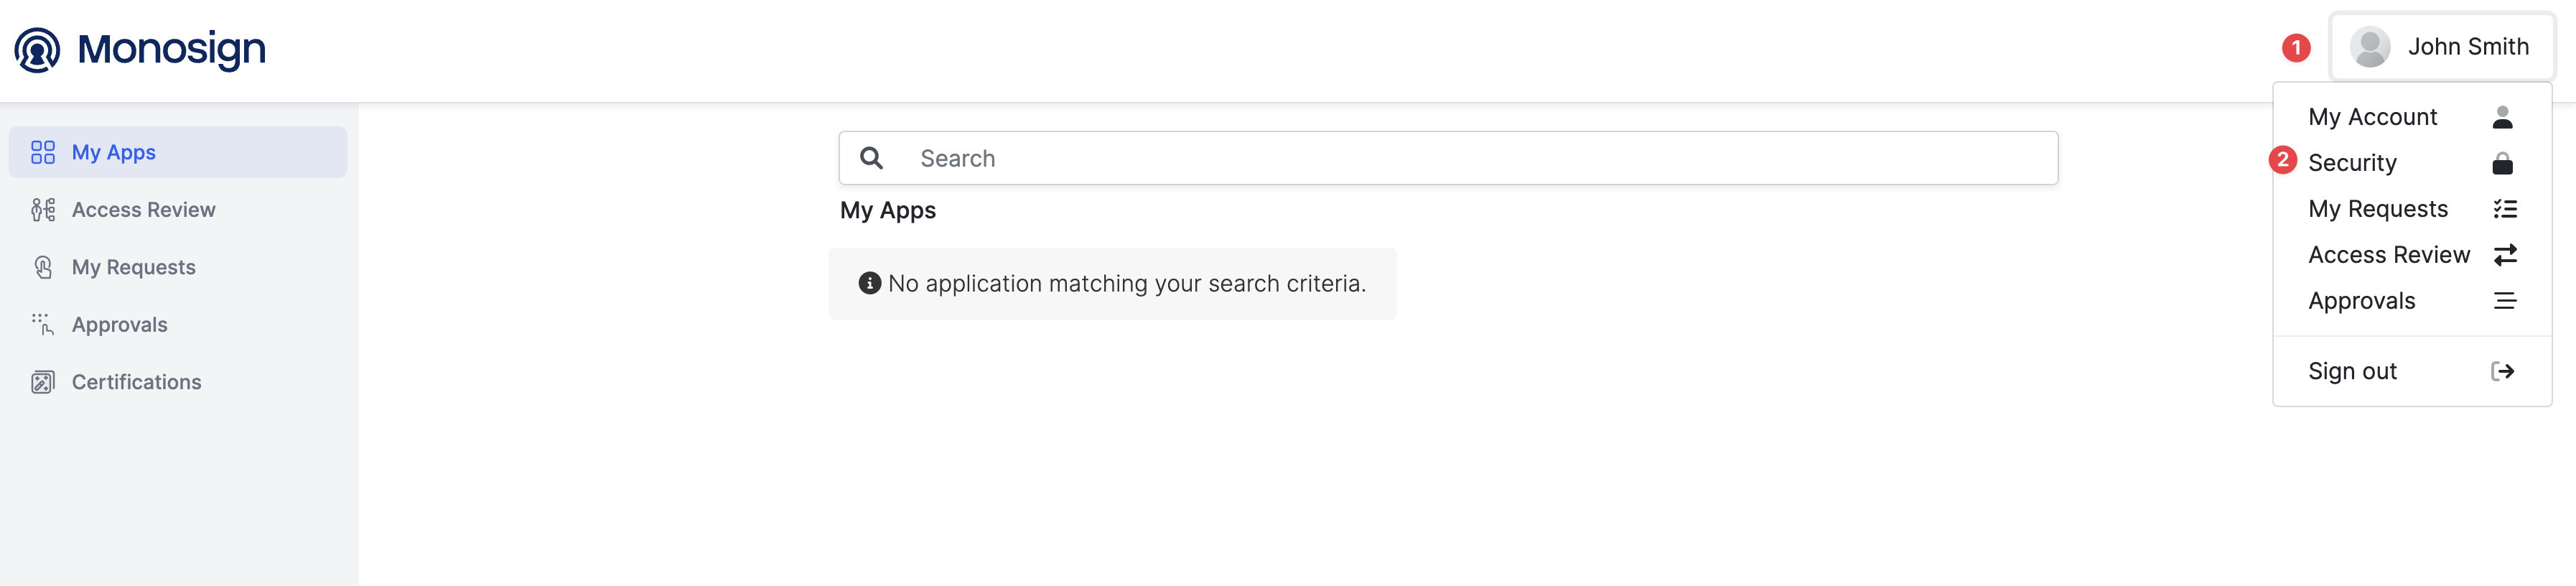
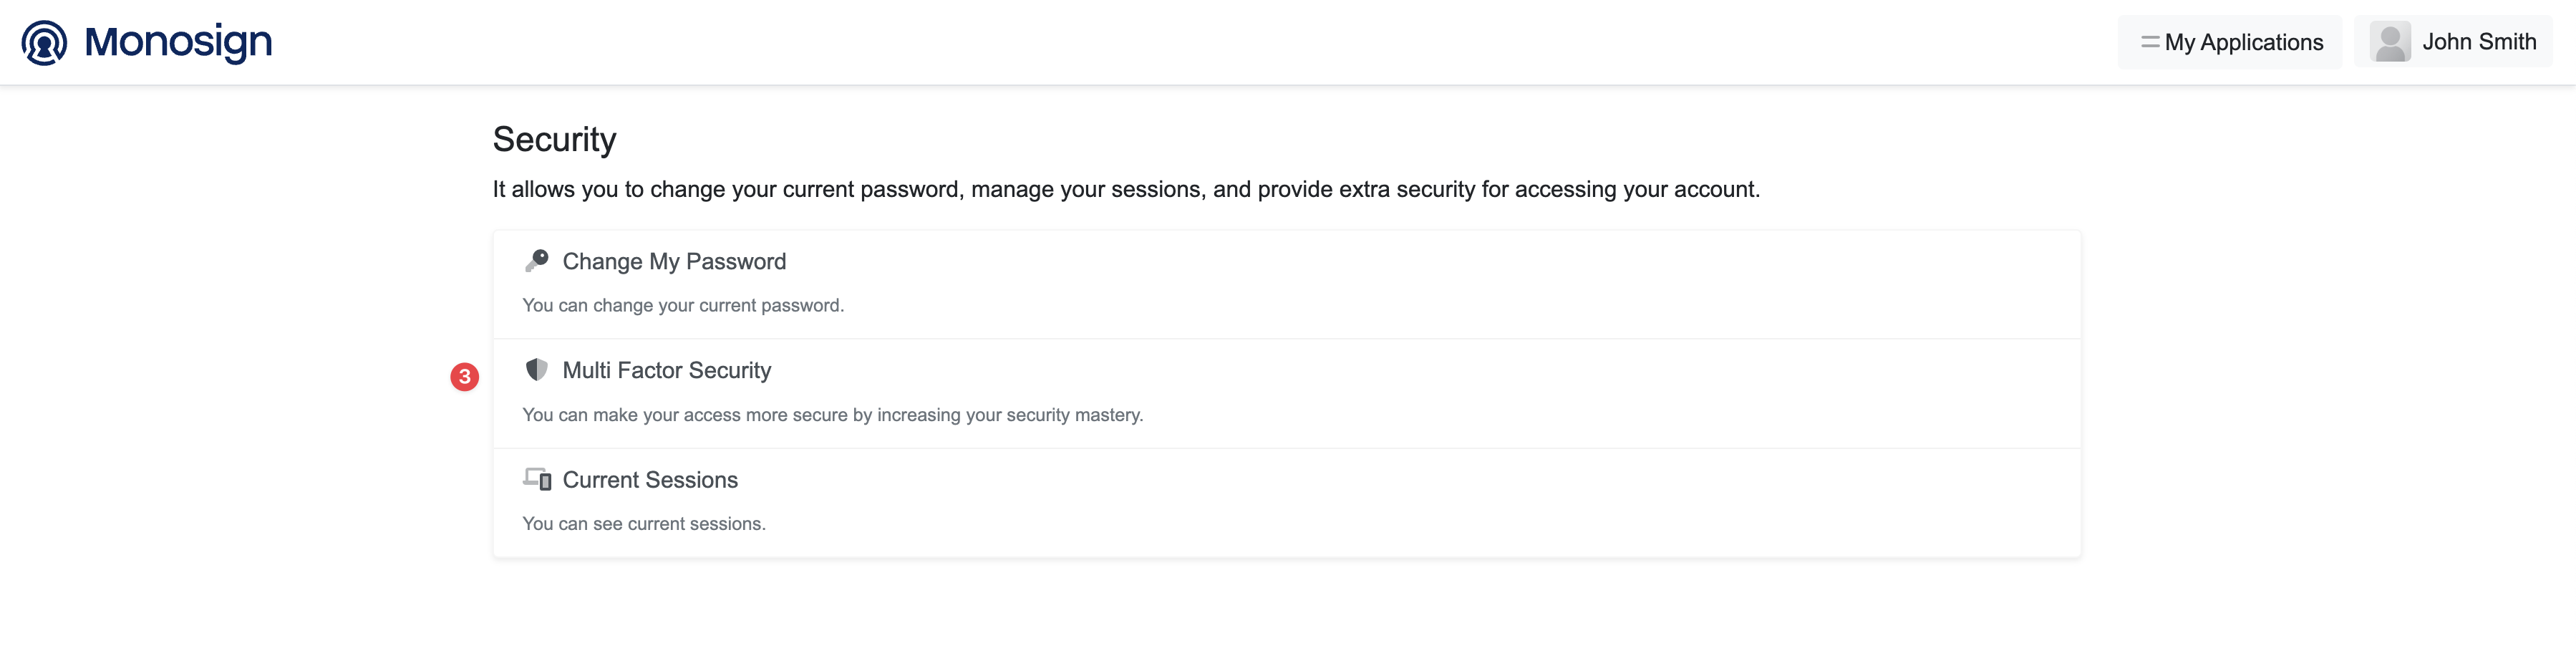
After signing in to MonoSign, click on the username on the right top of the page, and go to Security
-
Click Multi-Factor Security
-
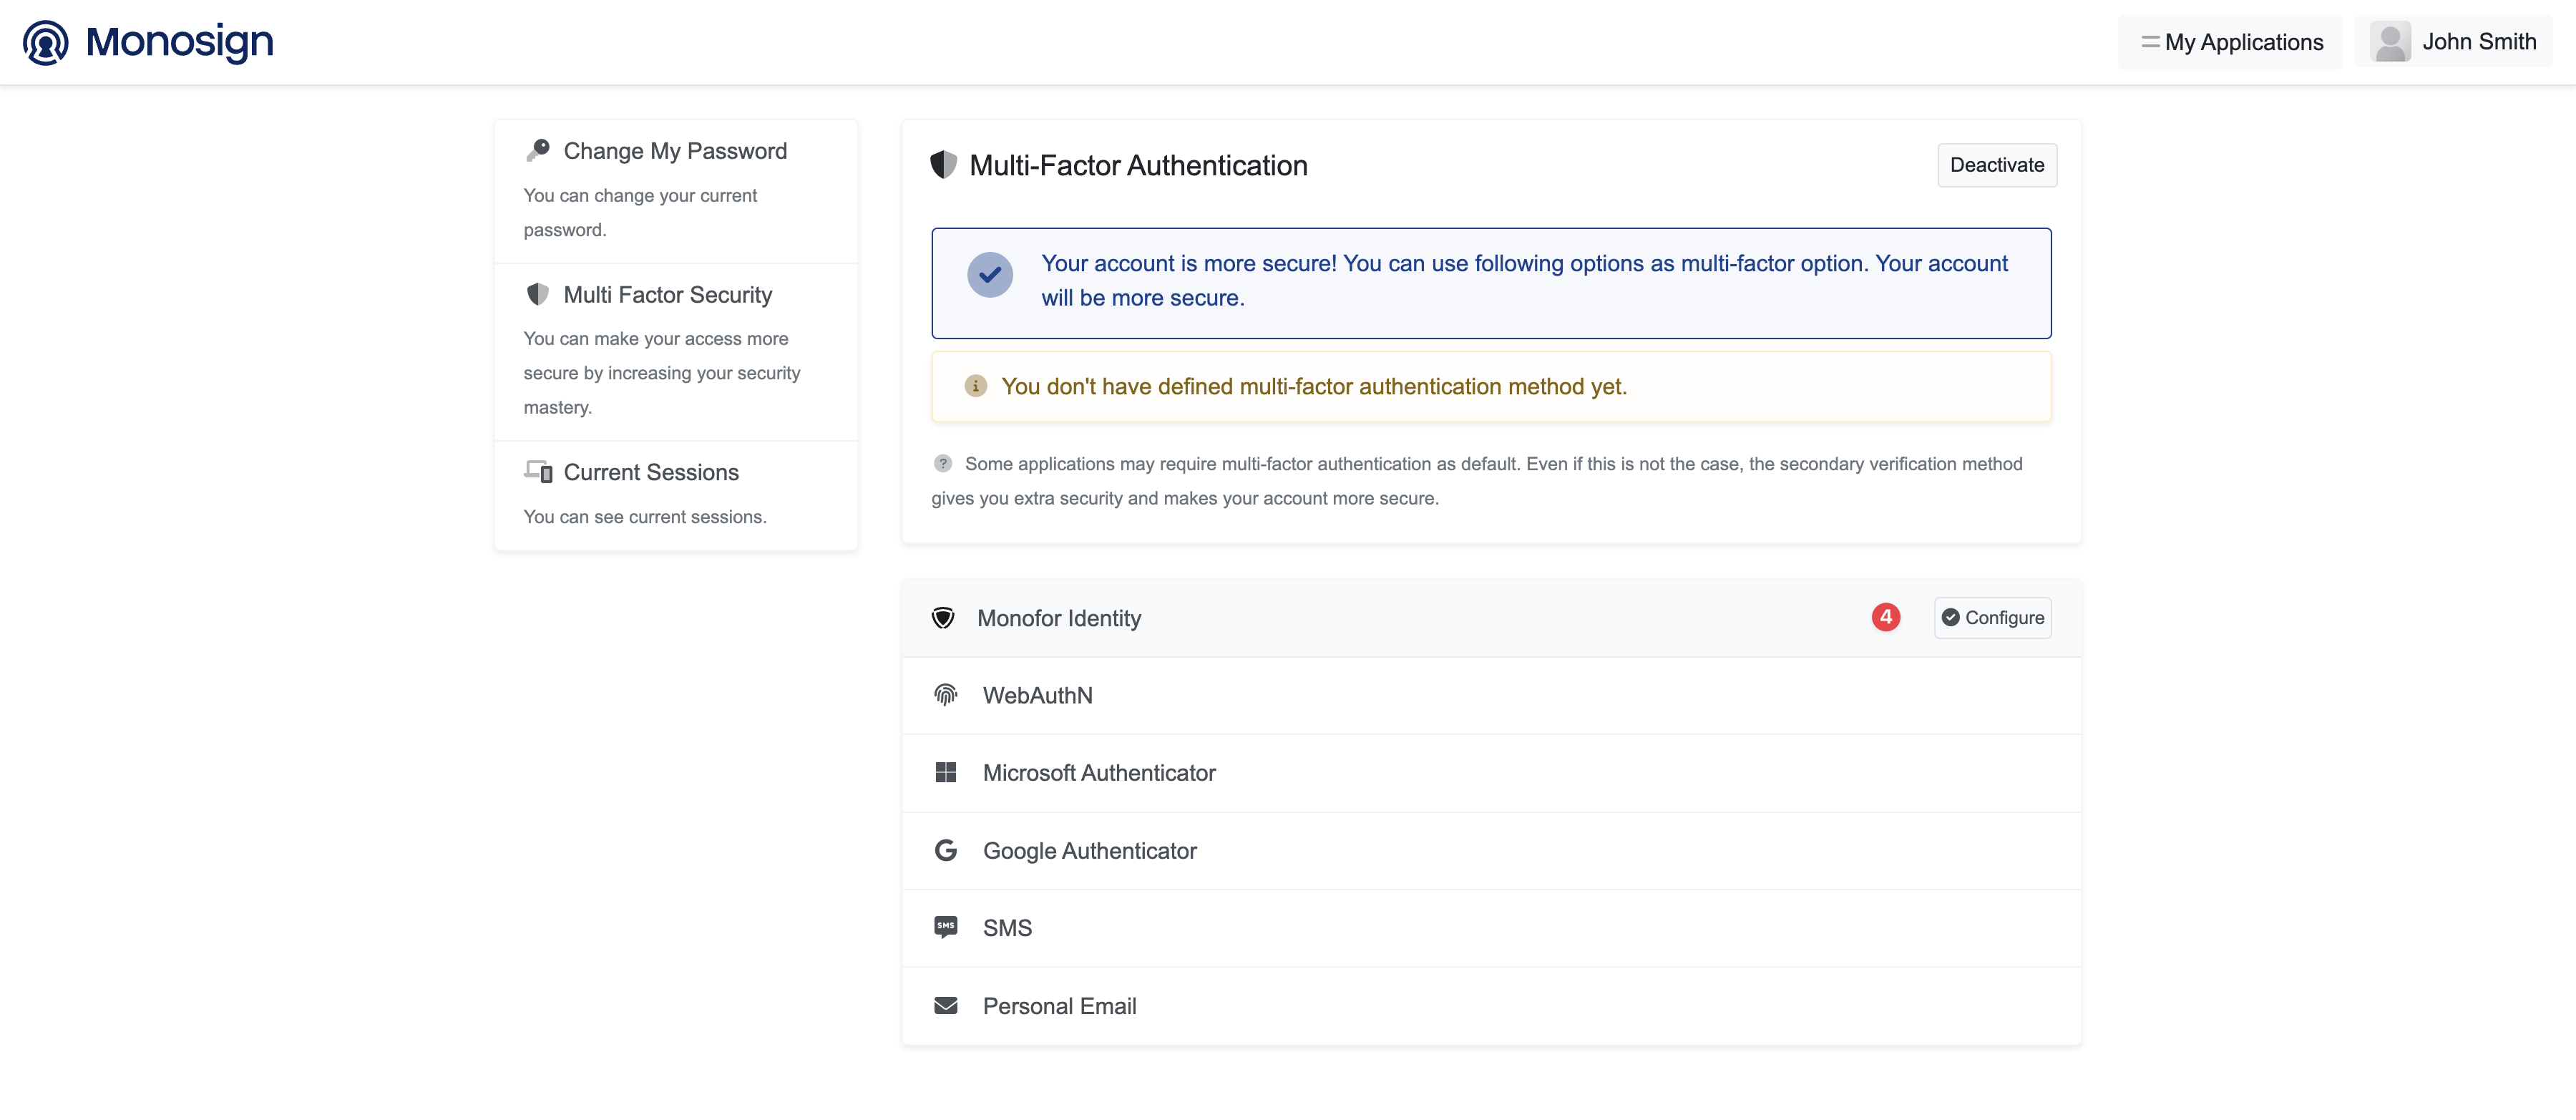
Click the Configure button on Monofor Identity
-
That’s it, now you can pass to the next step.
3. Configuring MFA Settings on the Monofor Identity
-
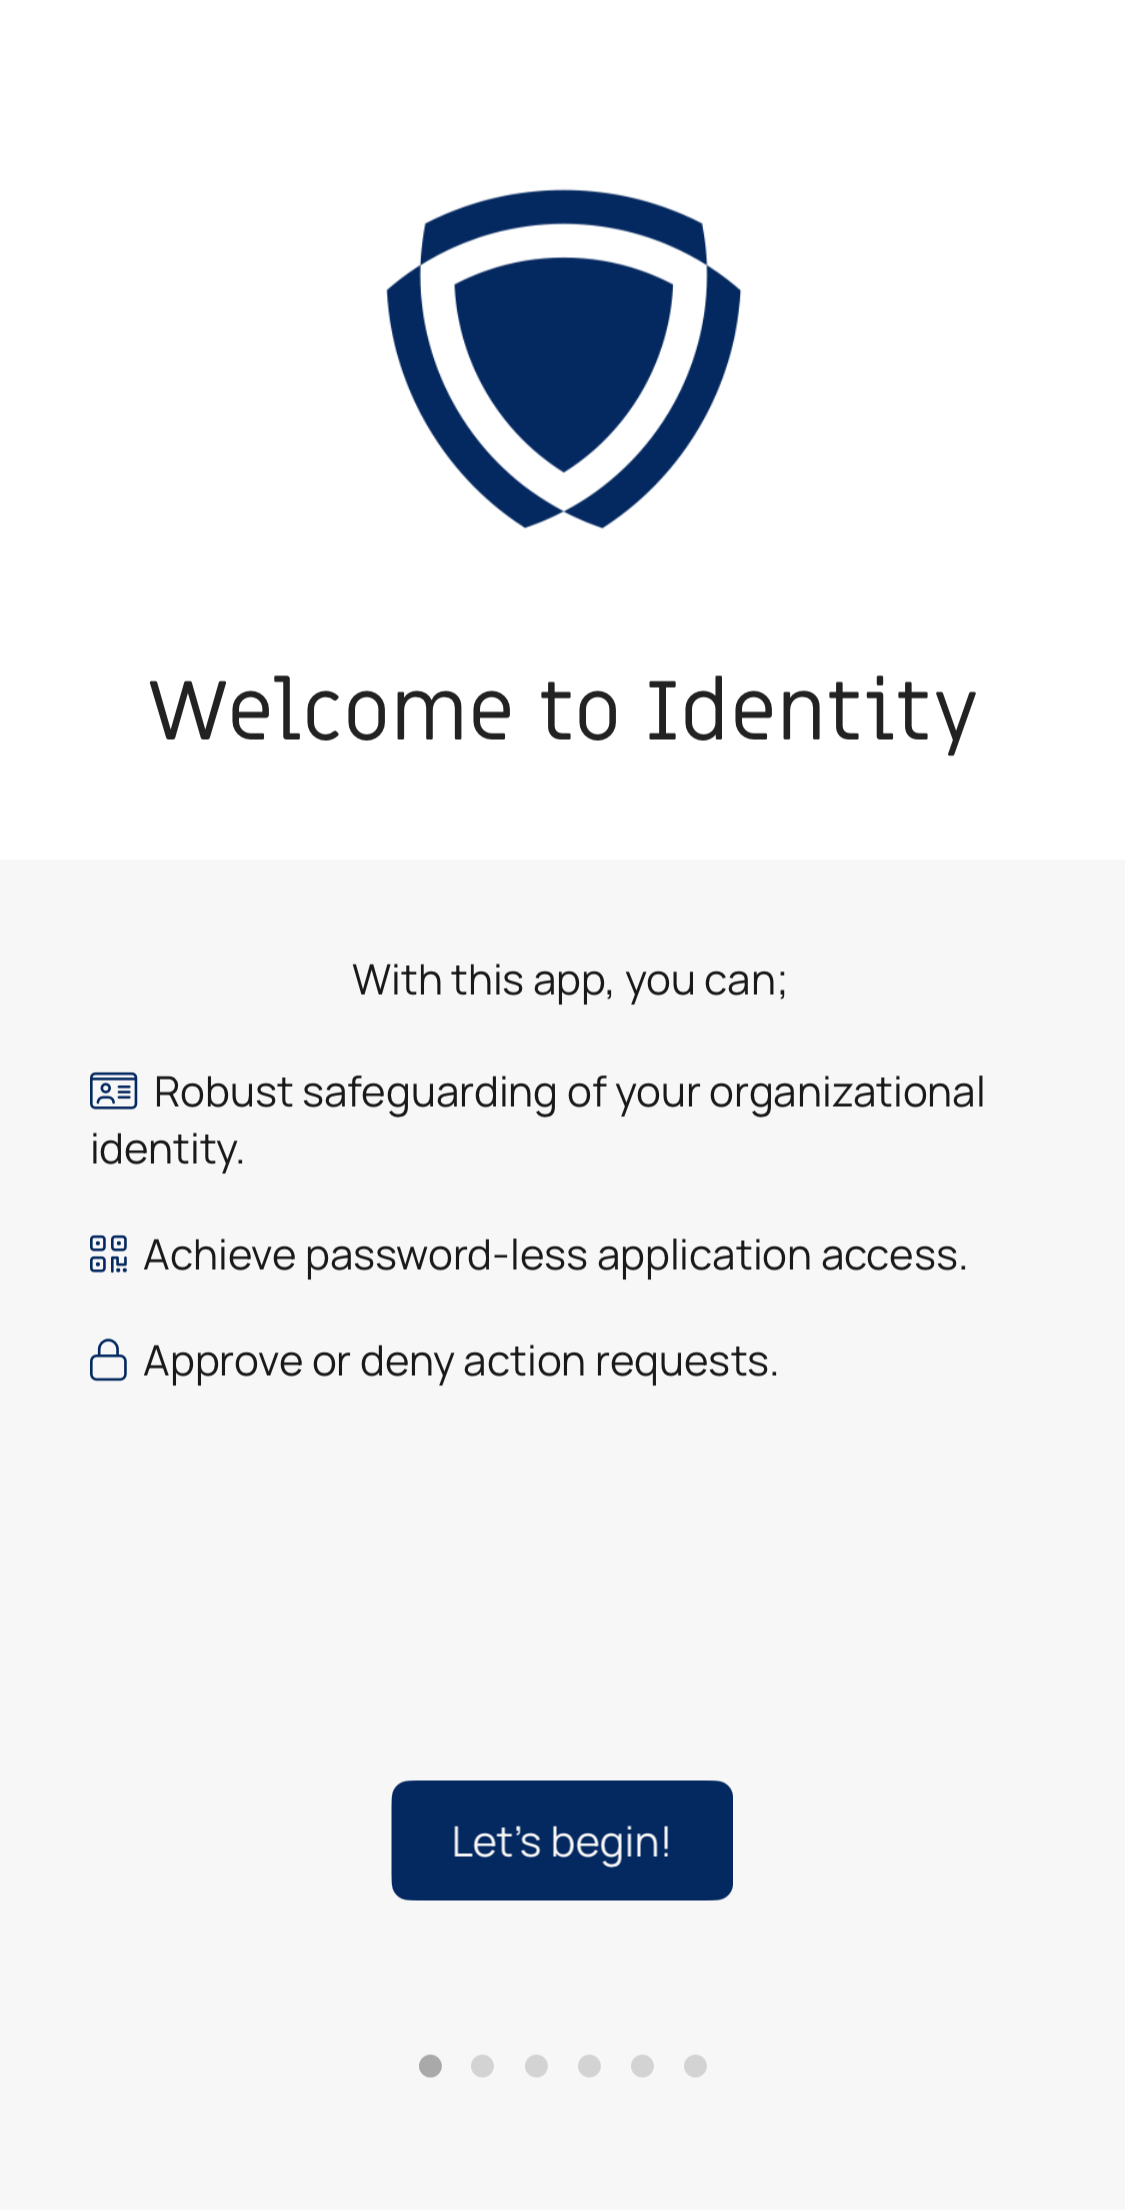
Open the Monofor Identity on your mobile device.
-
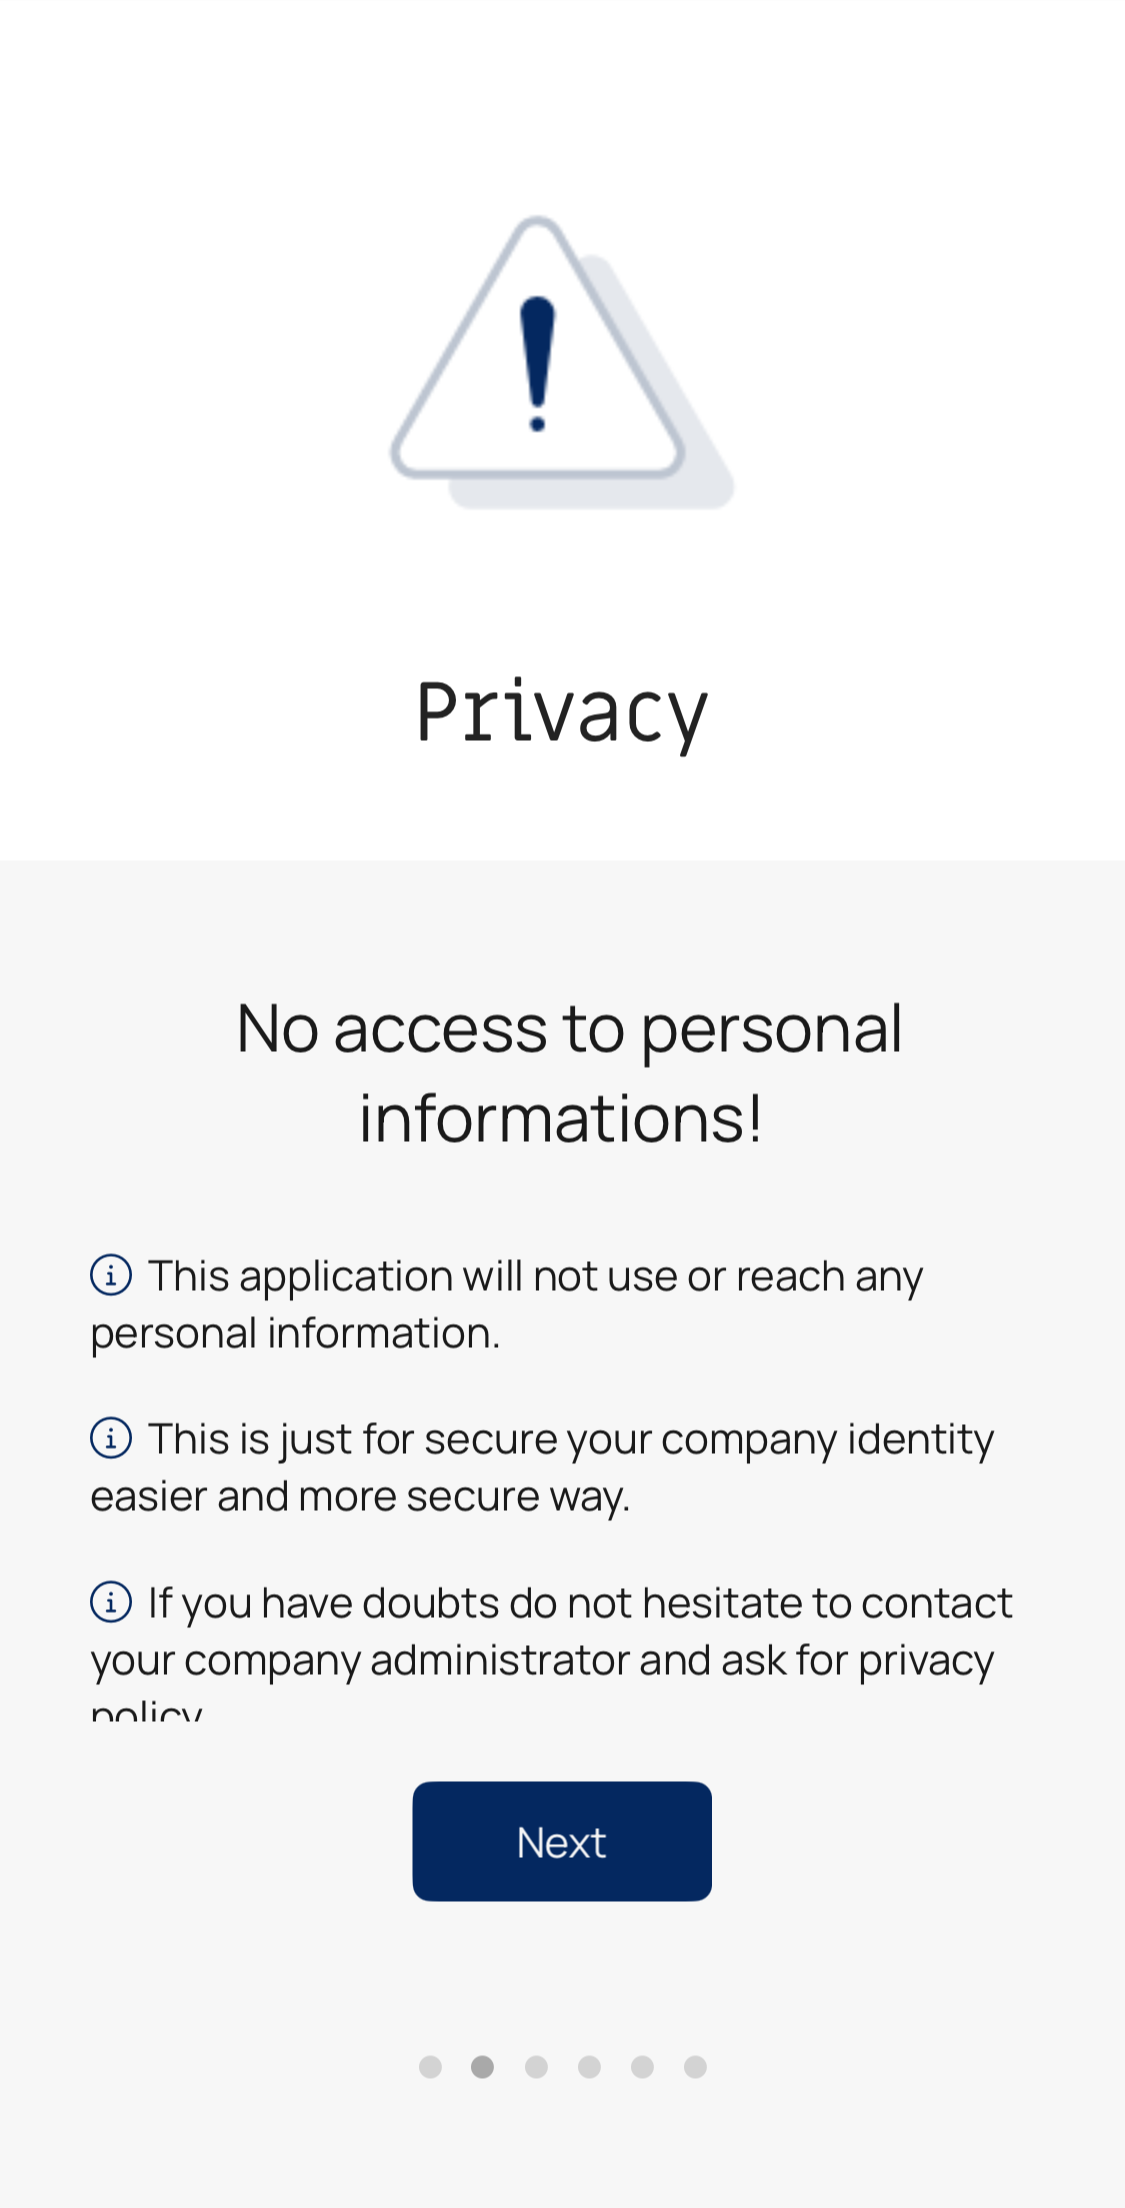
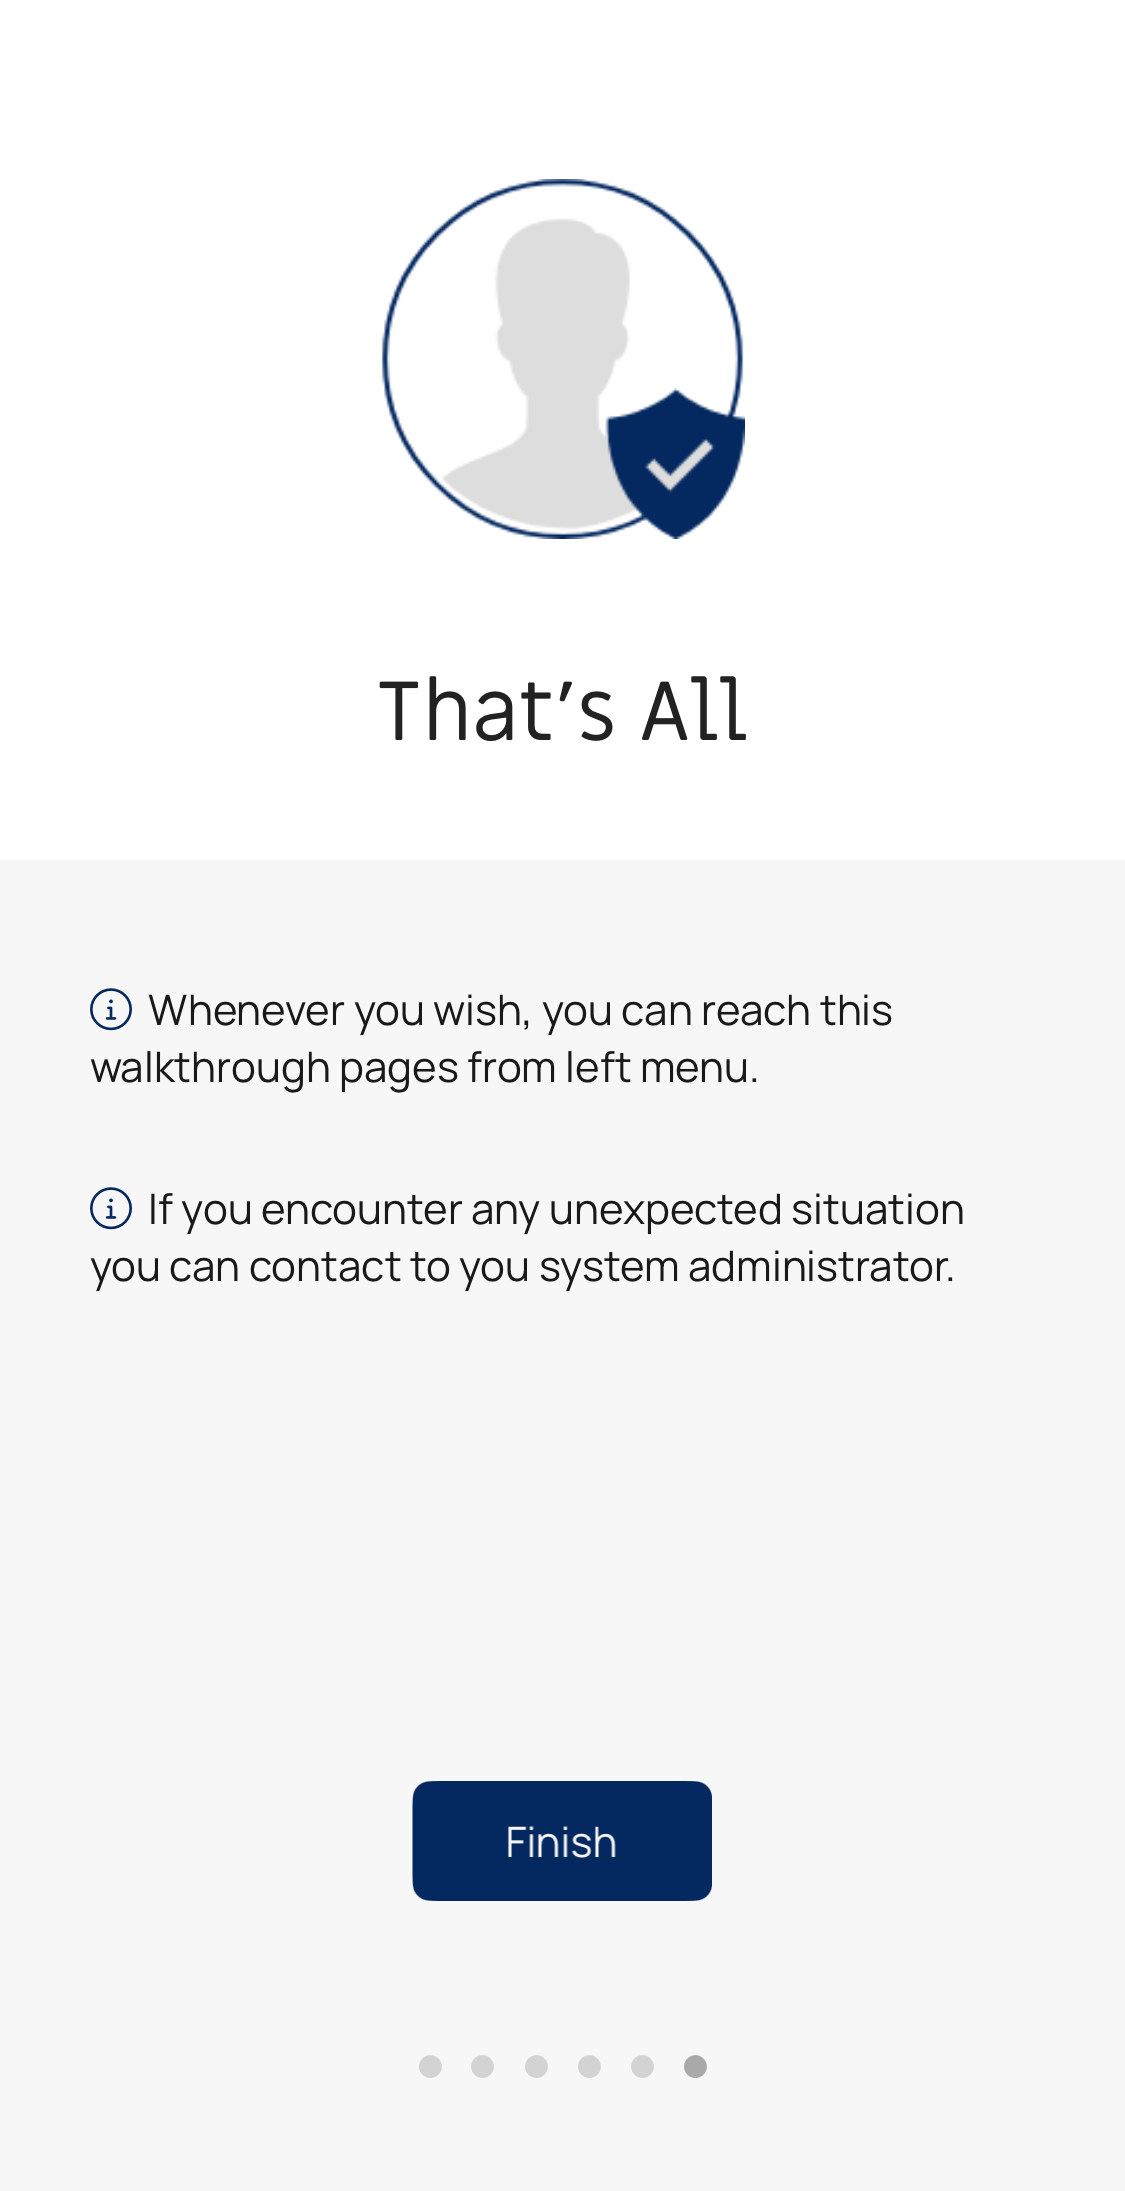
Please don’t click “Skip All.”
-
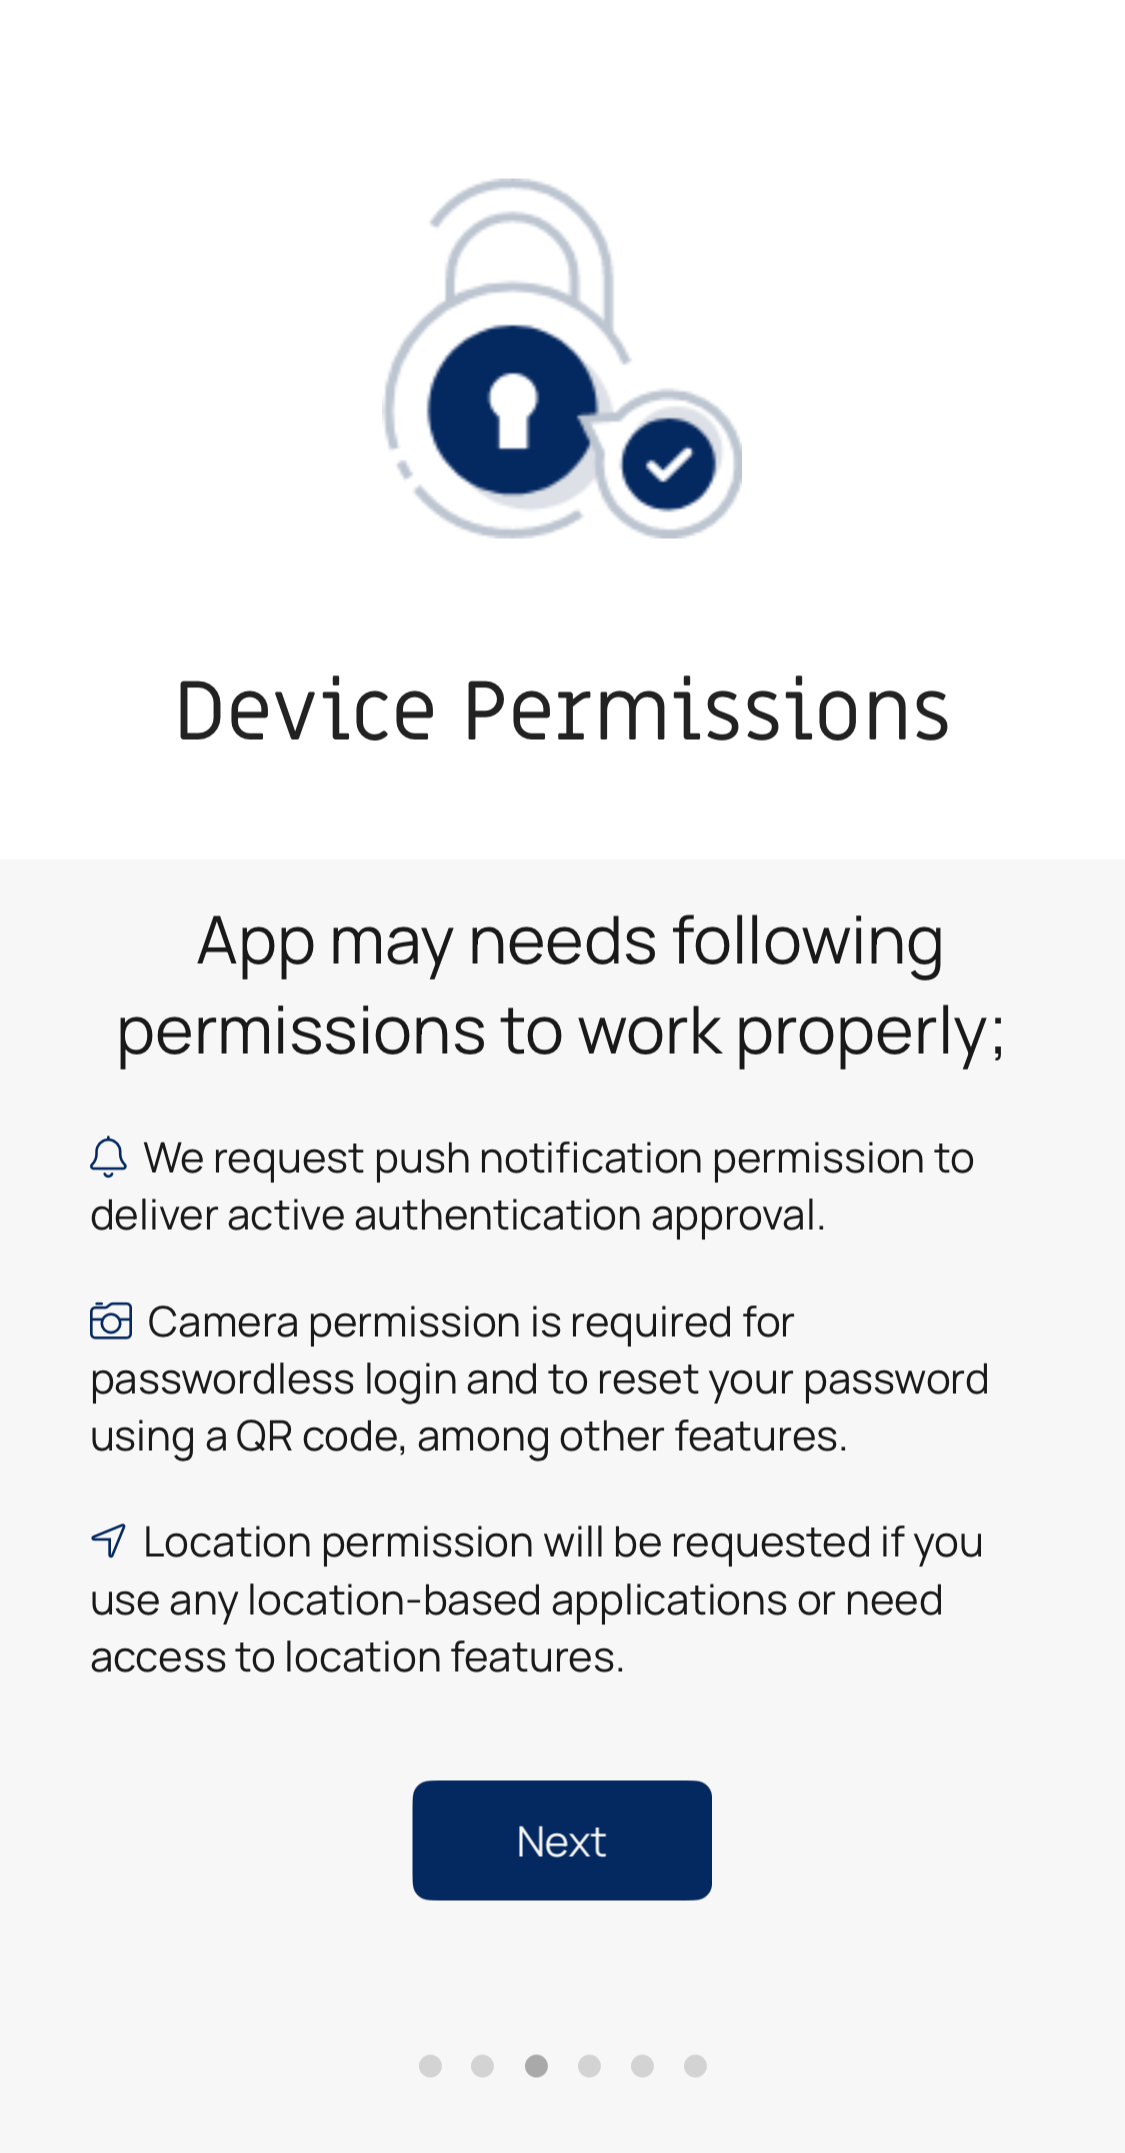
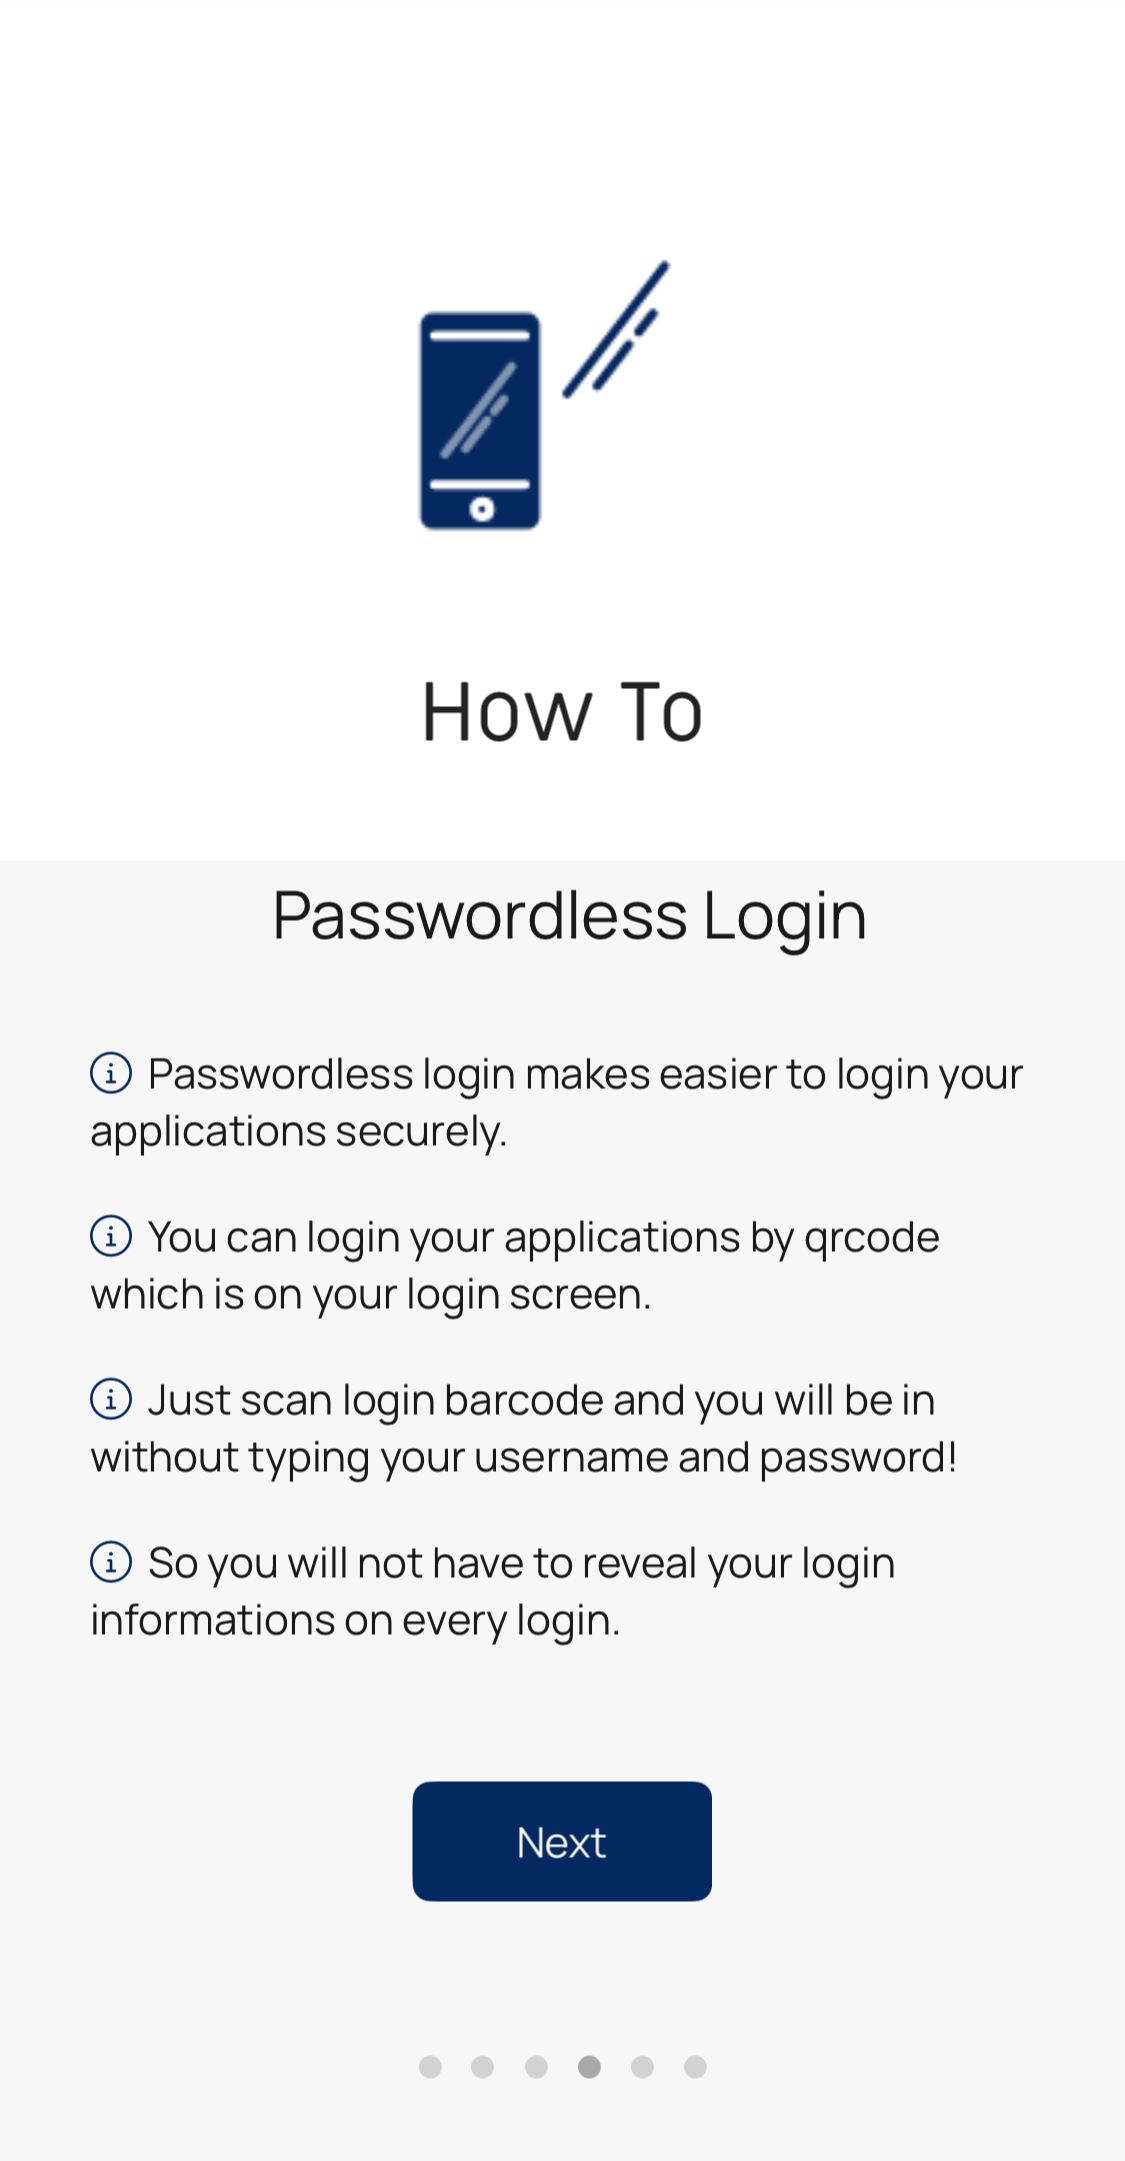
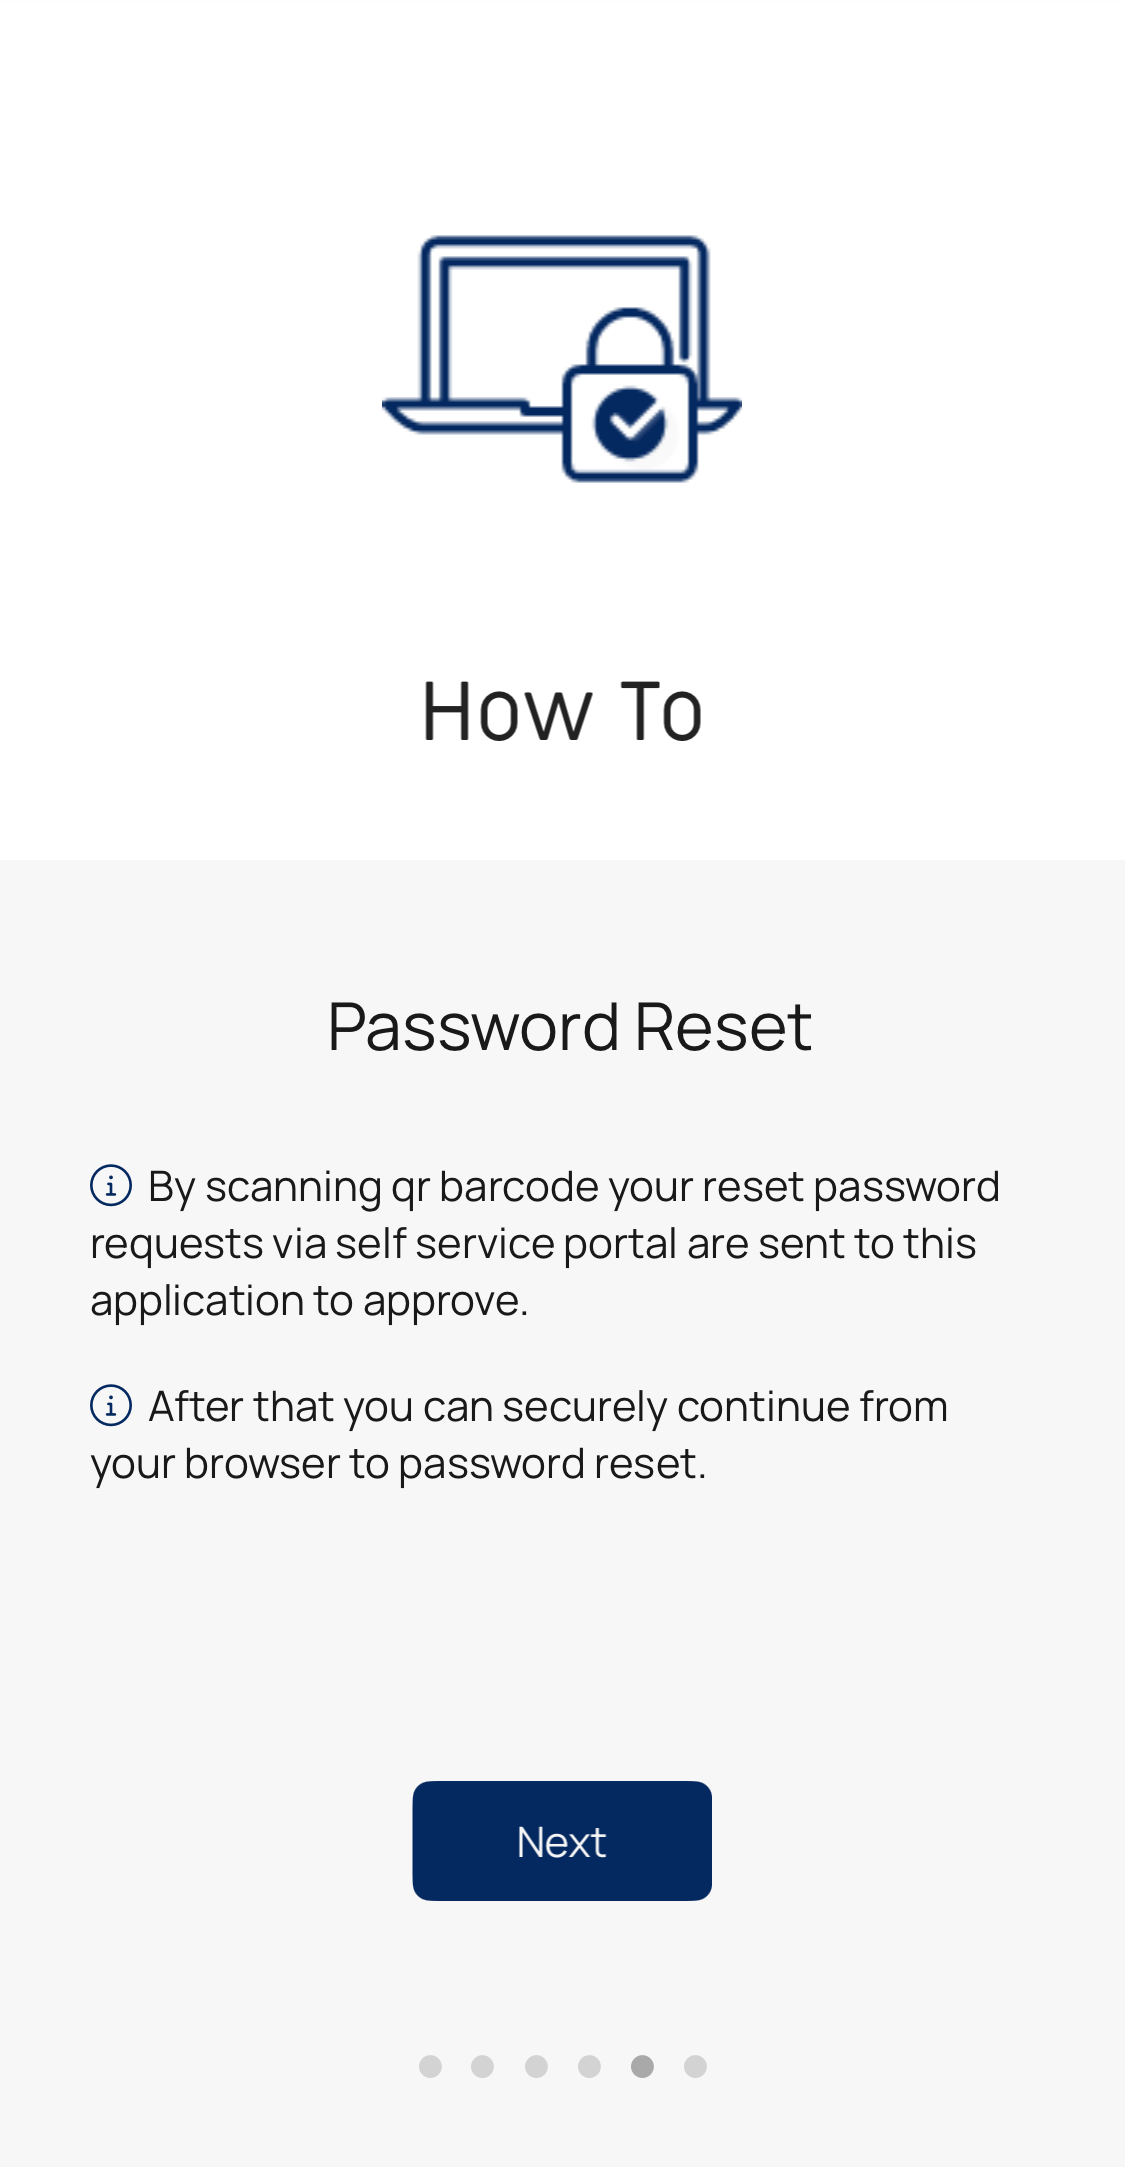
Please follow the instructions and choose “Allow All Permissions”. If you don’t allow for all the permissions, Monosign Authenticator will not perform correctly.
-
|
|
|
|
|
|
-
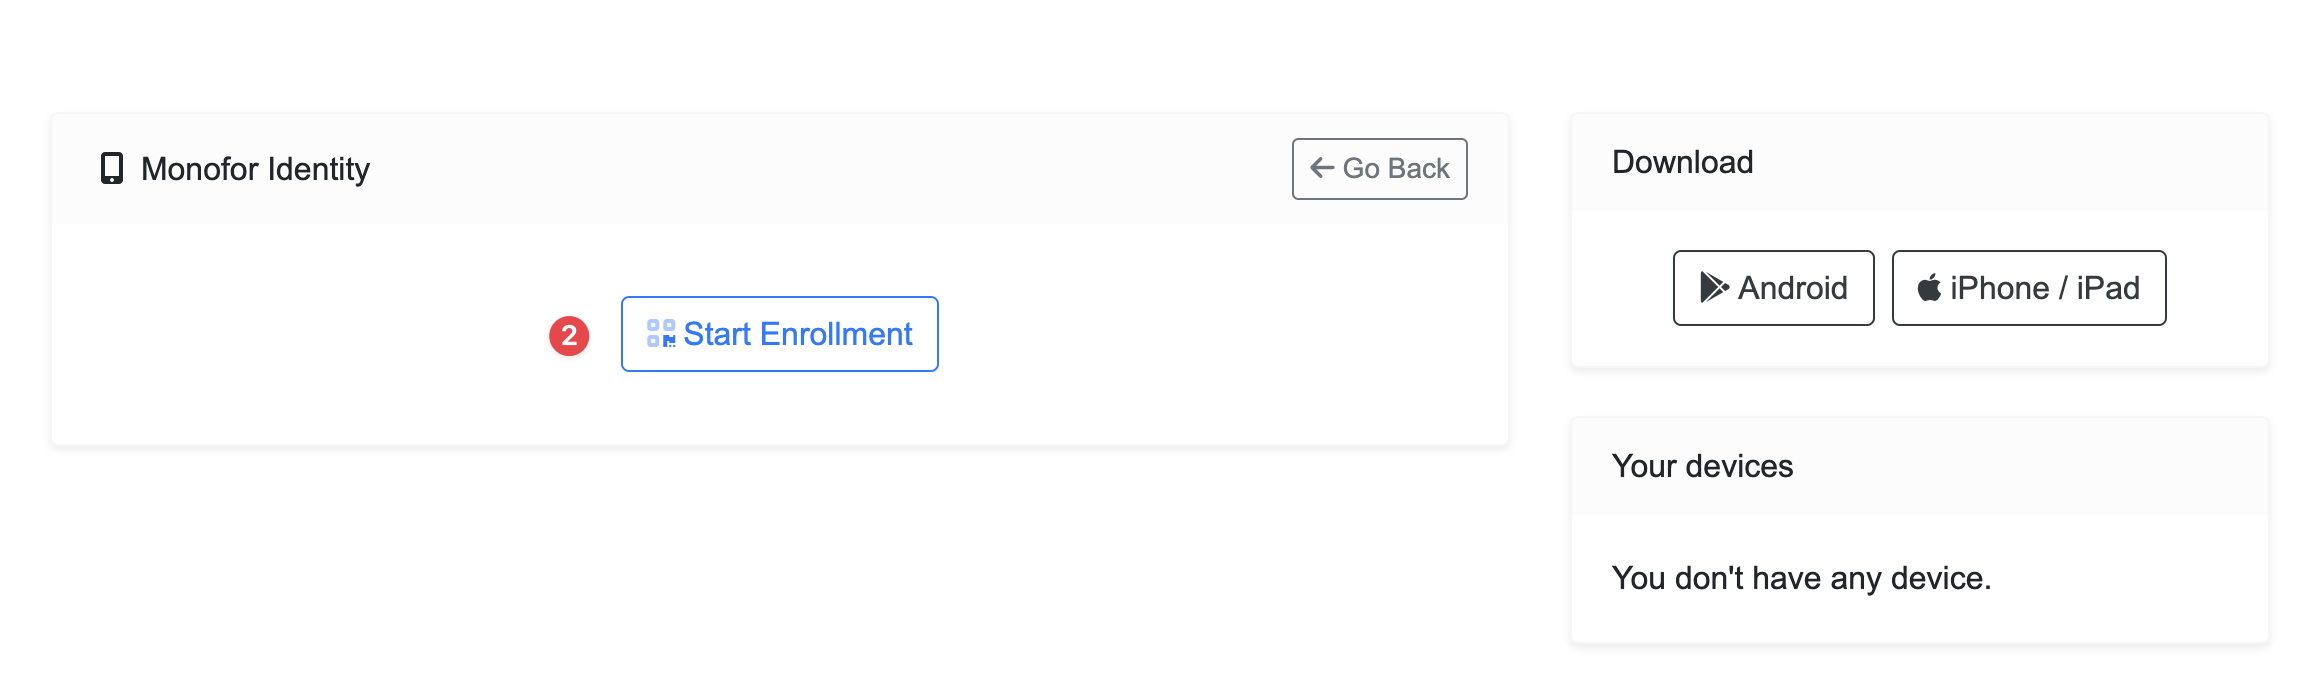
Return to your web browser on your PC and click Start Enrollment
-
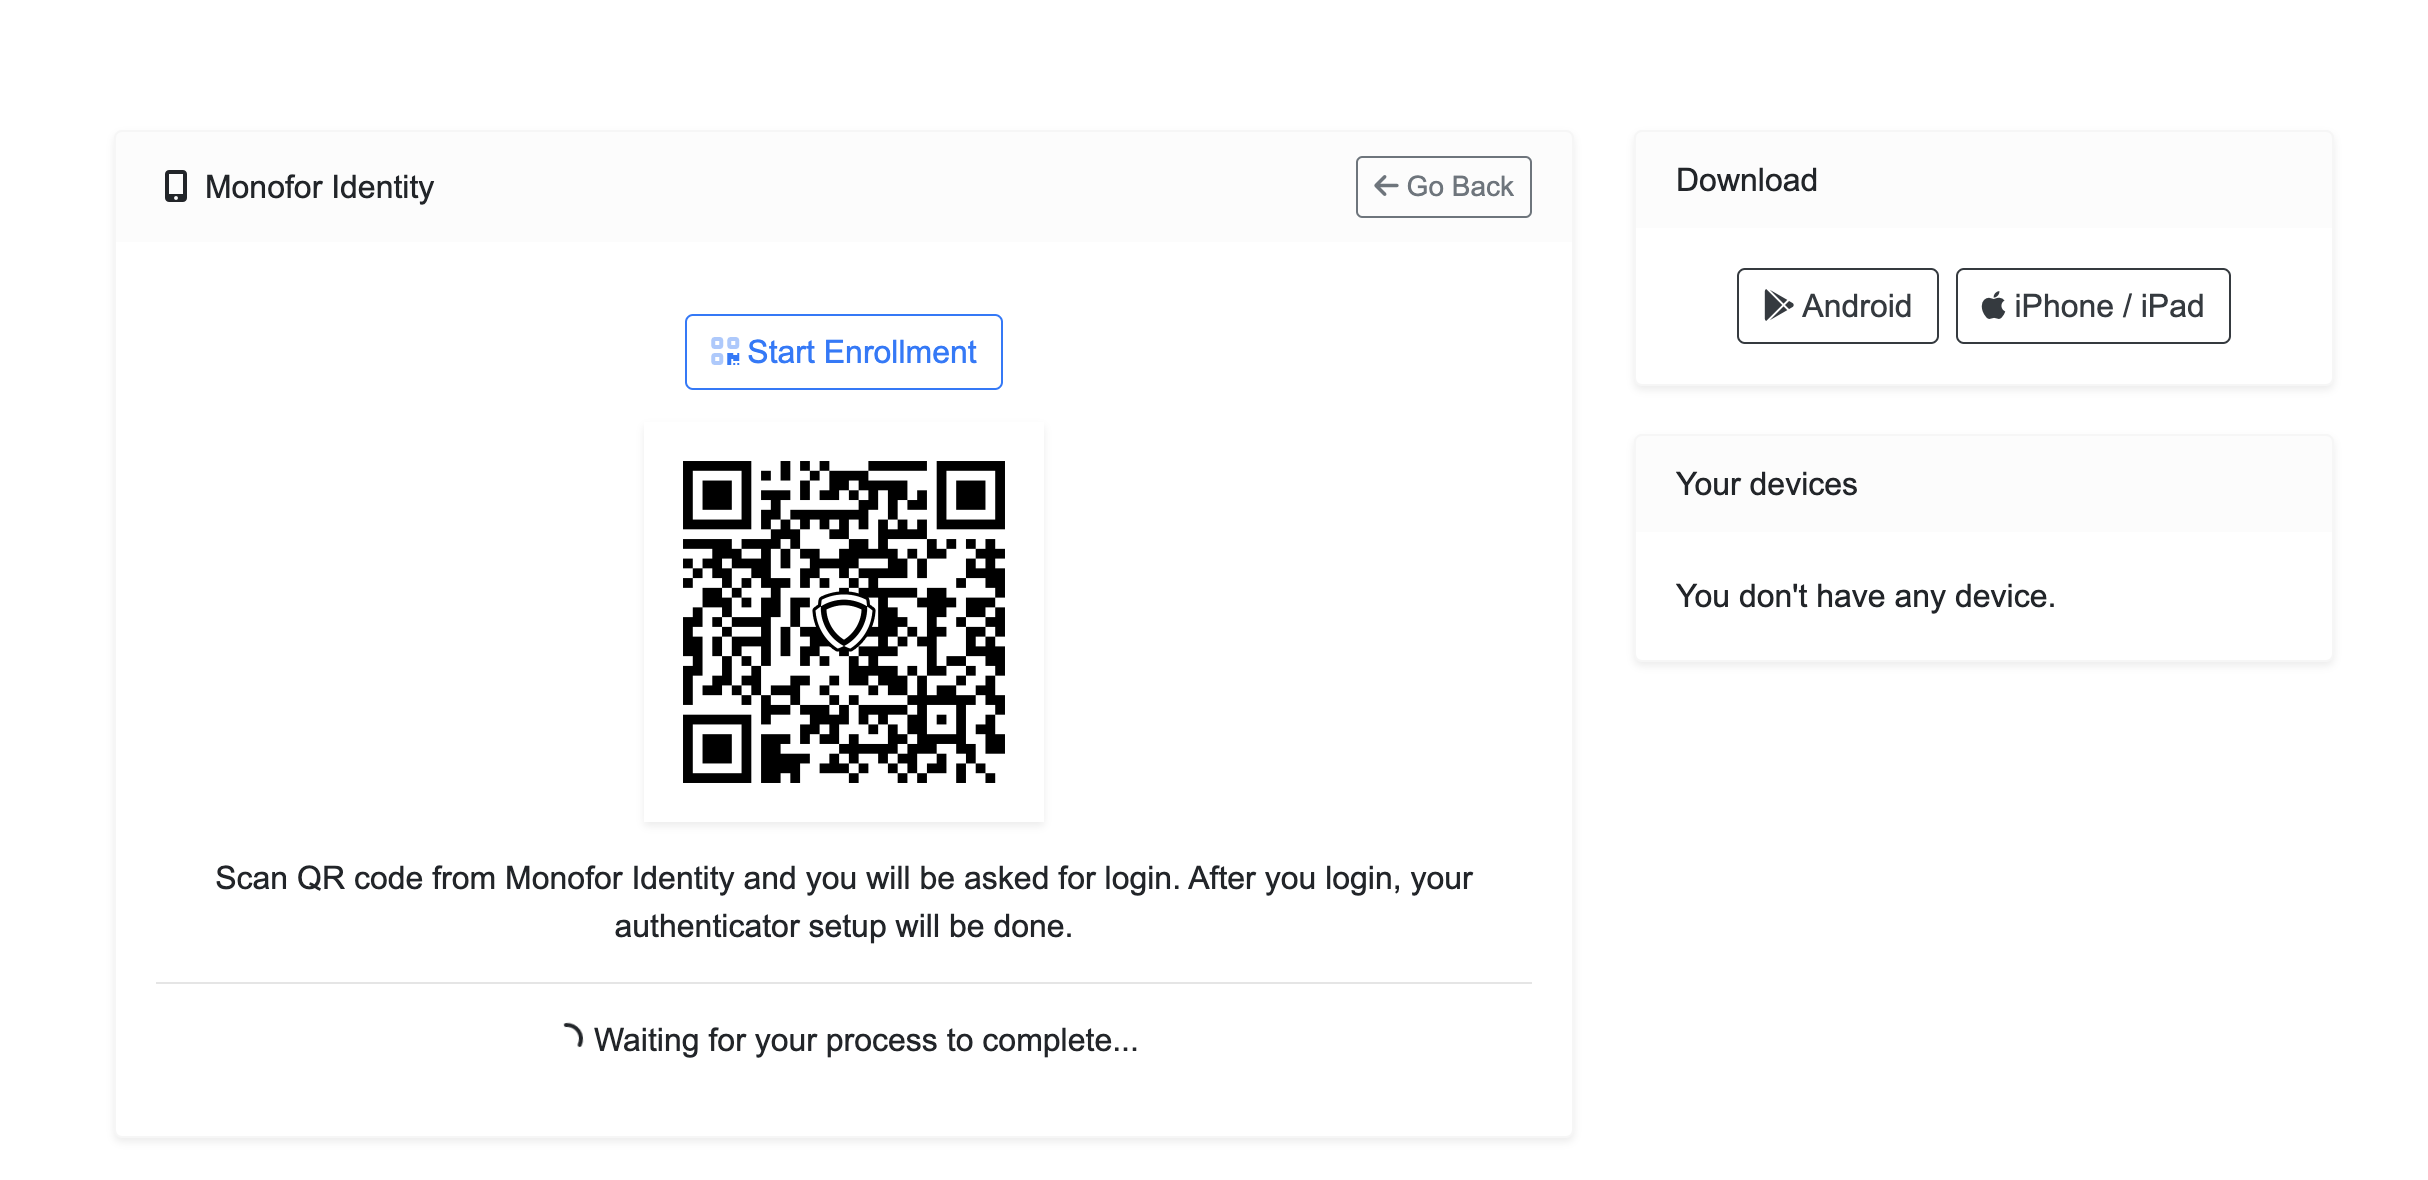
Now you will be able to see a QR Code
-
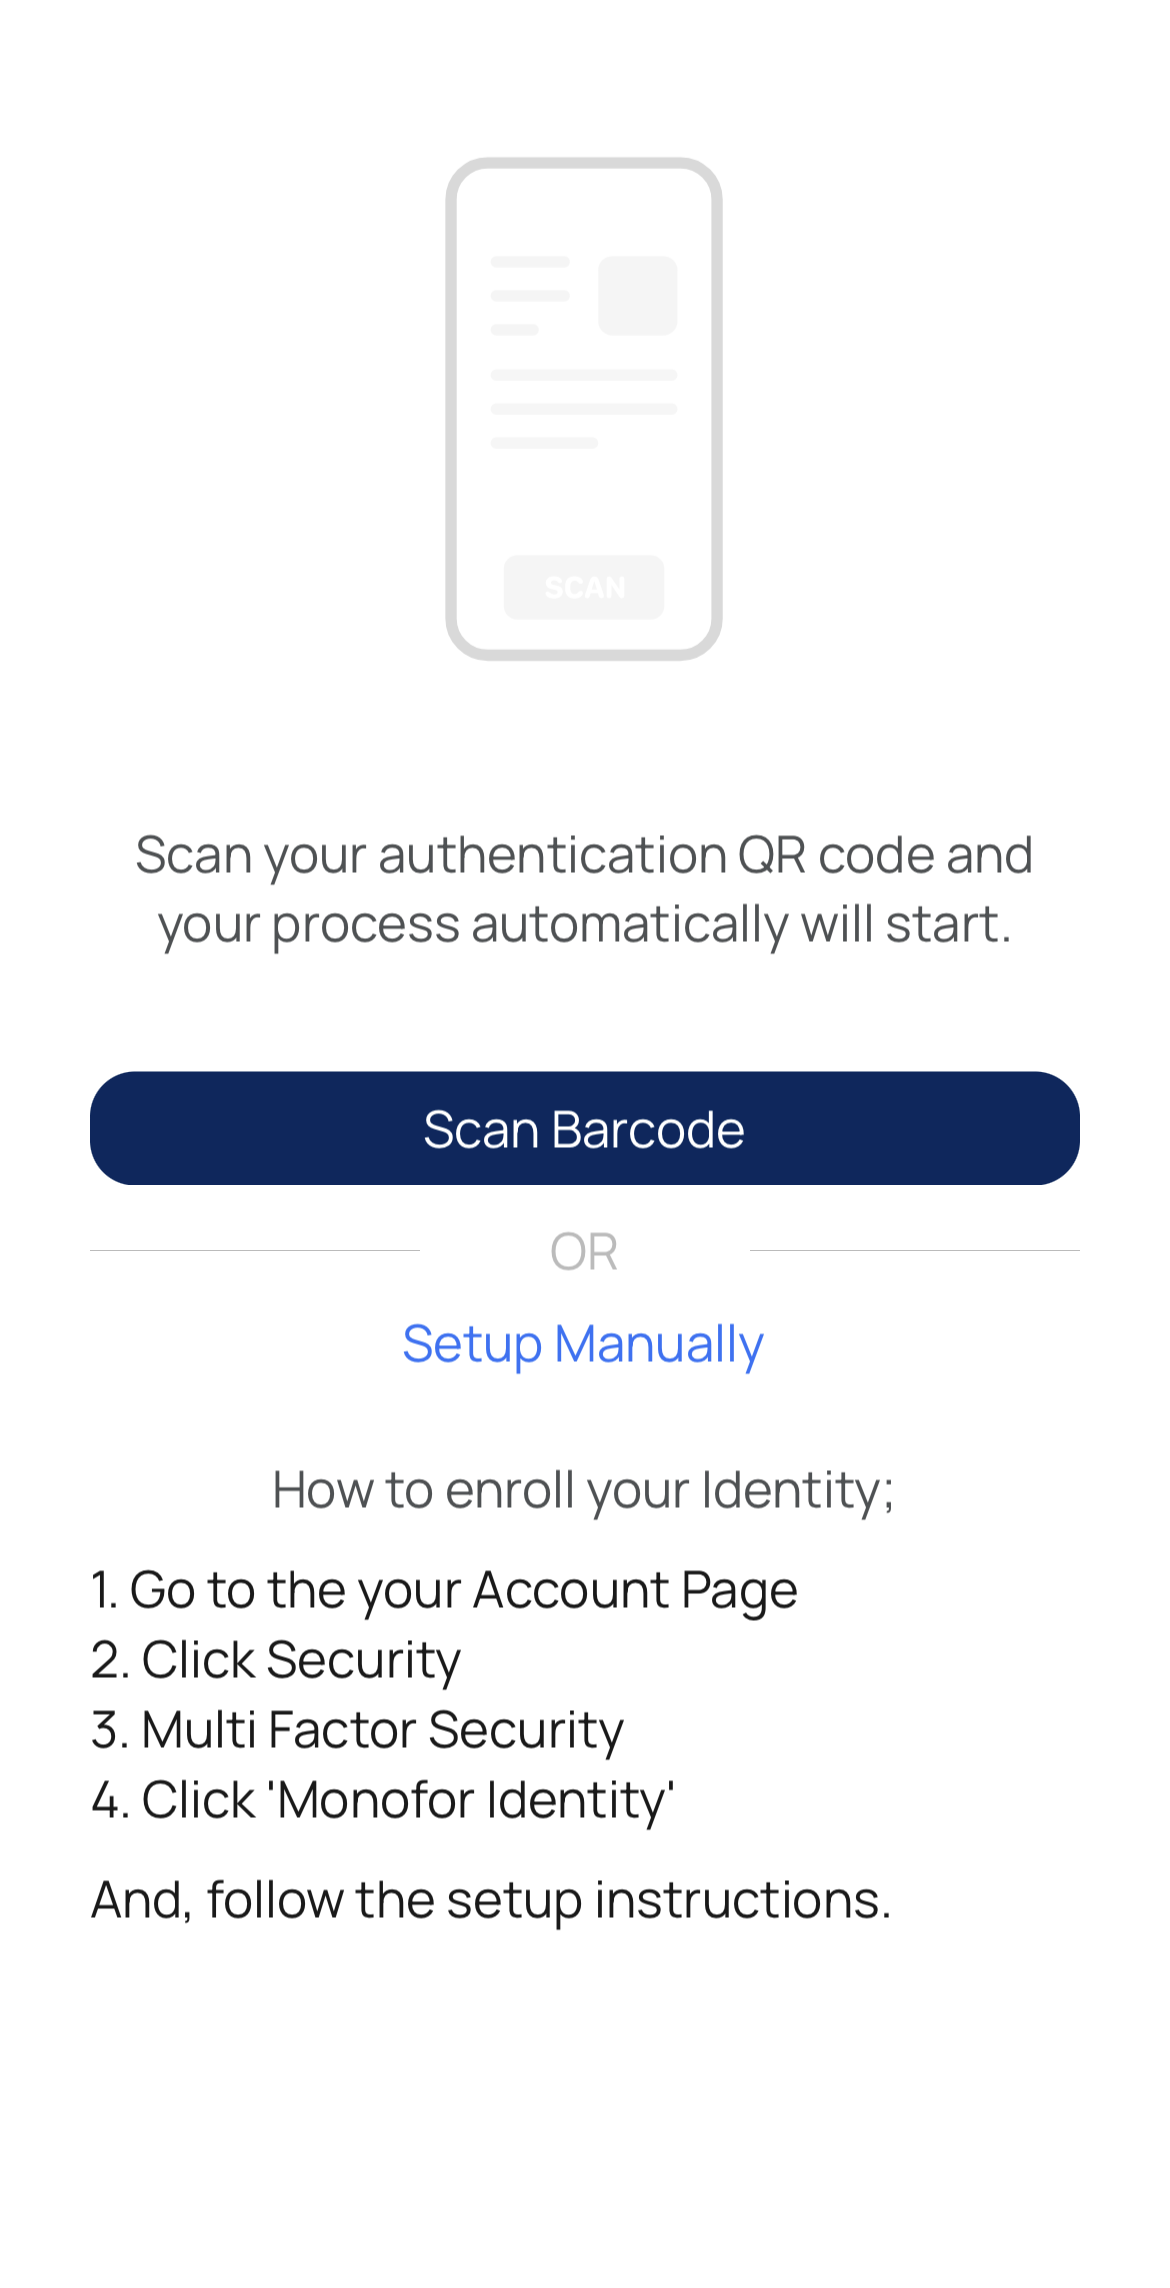
Now click on the Scan Barcode button on the Monofor Identity app on your mobile device. If the Monofor Identity asks to access your mobile device camera, please allow it.
You should give Monofor Identity all permissions on your mobile device, such as notifications, camera access, etc.
-
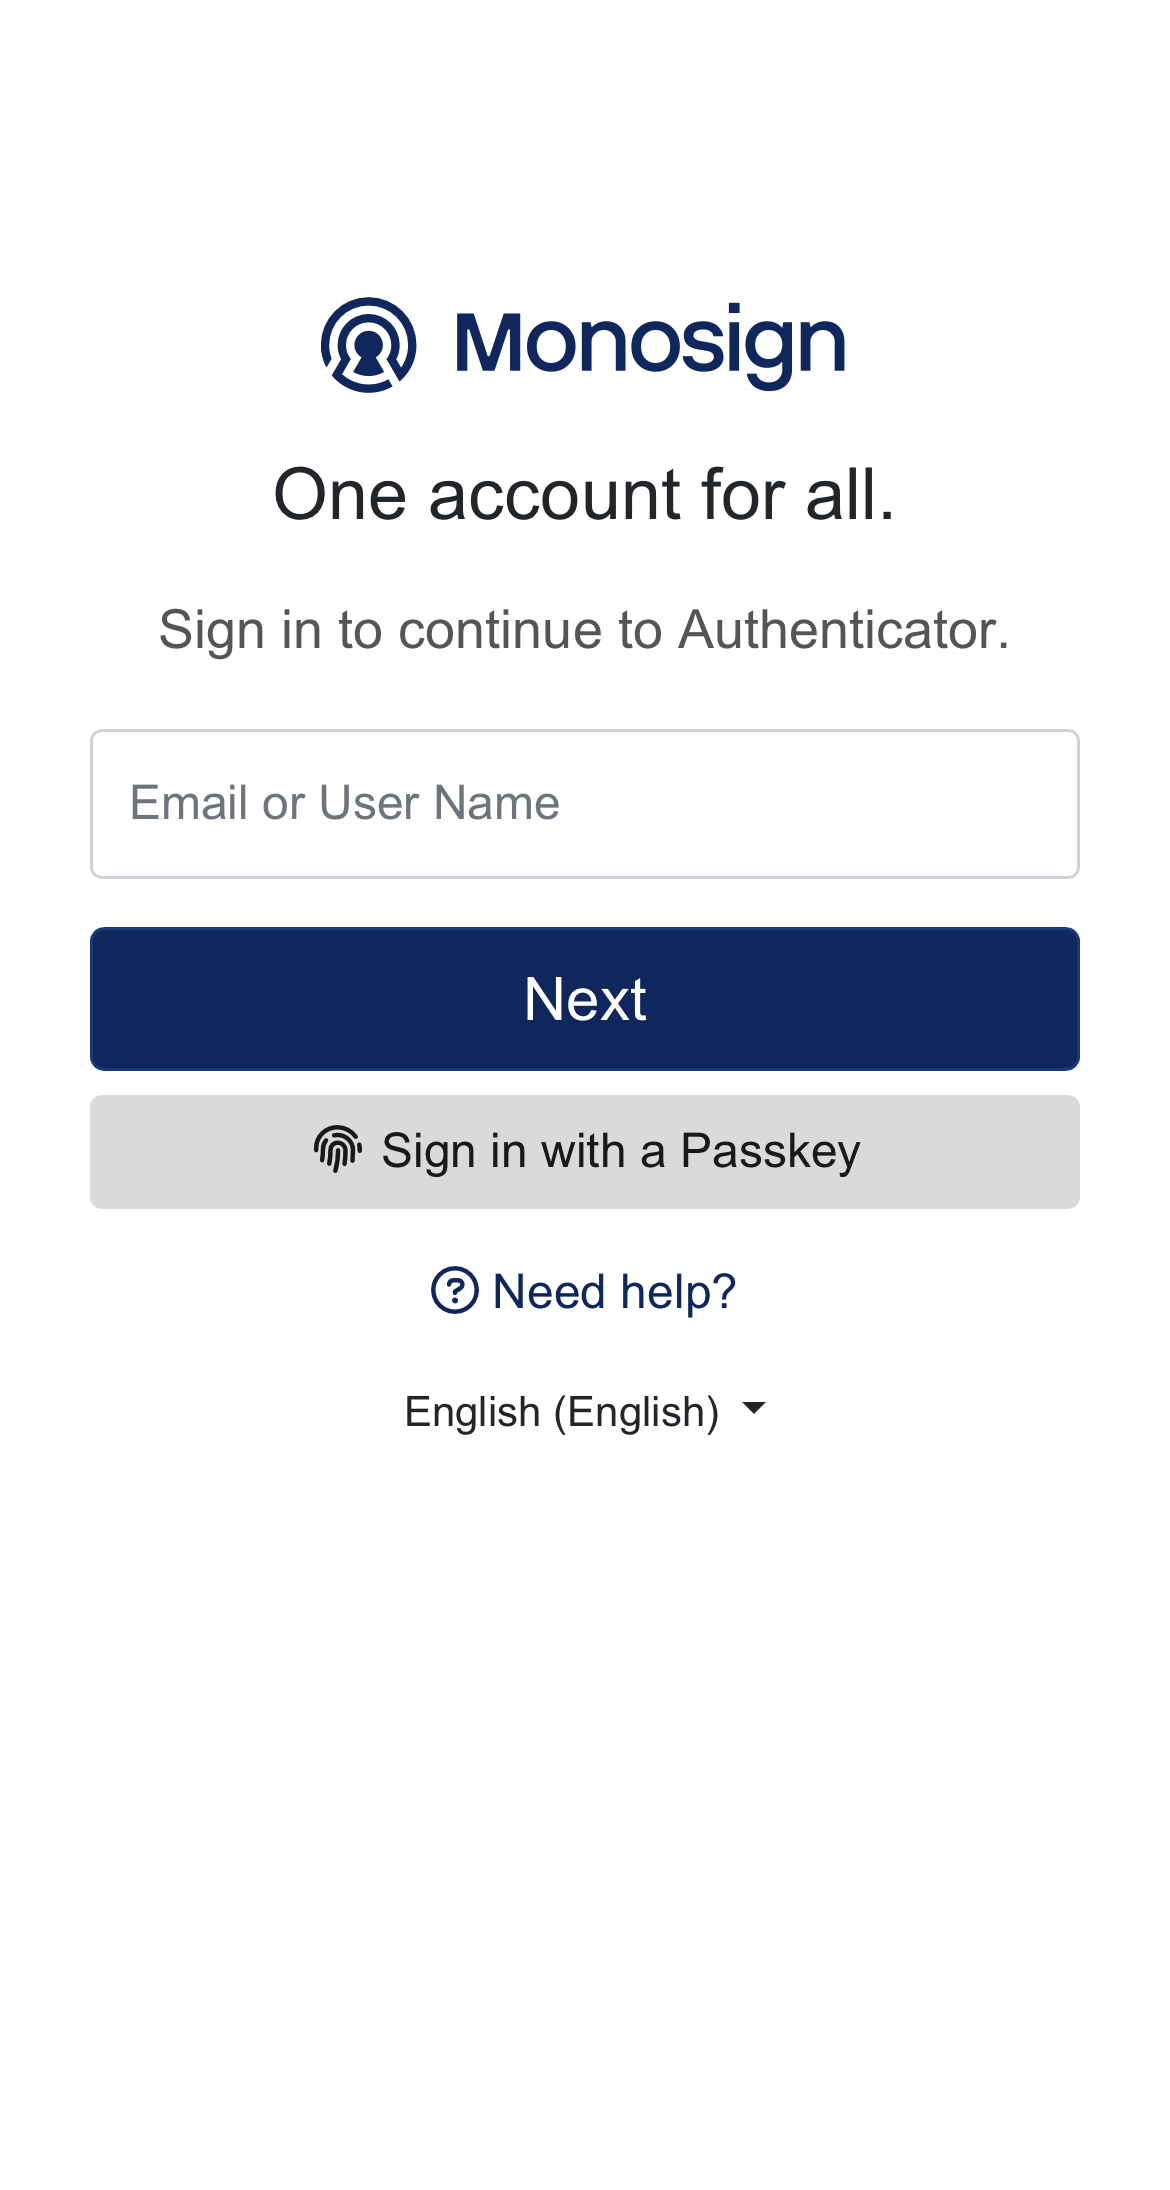
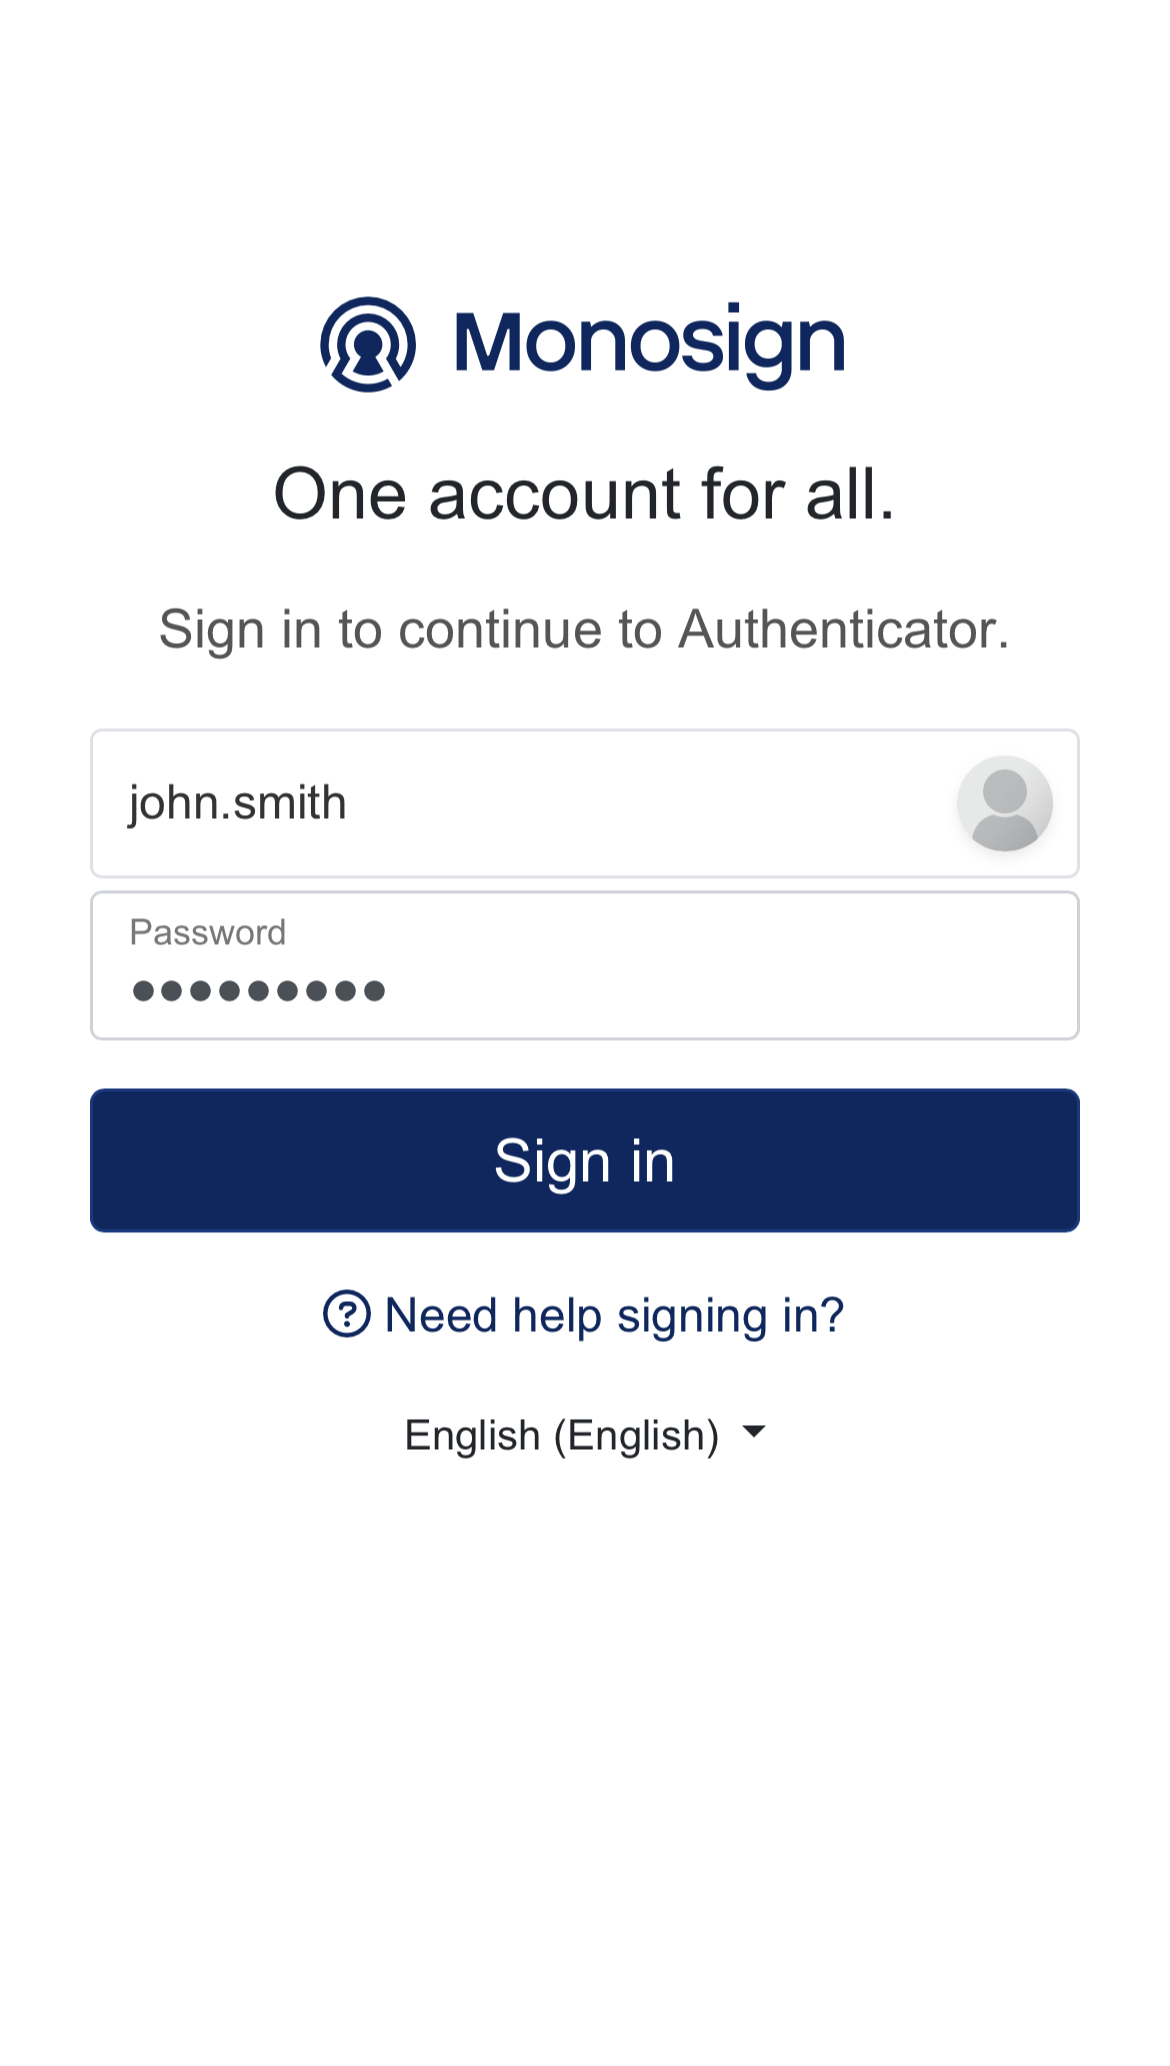
After scanning the barcode successfully, you will see the login page on your mobile device
-
Type your Username/Password as usual
-
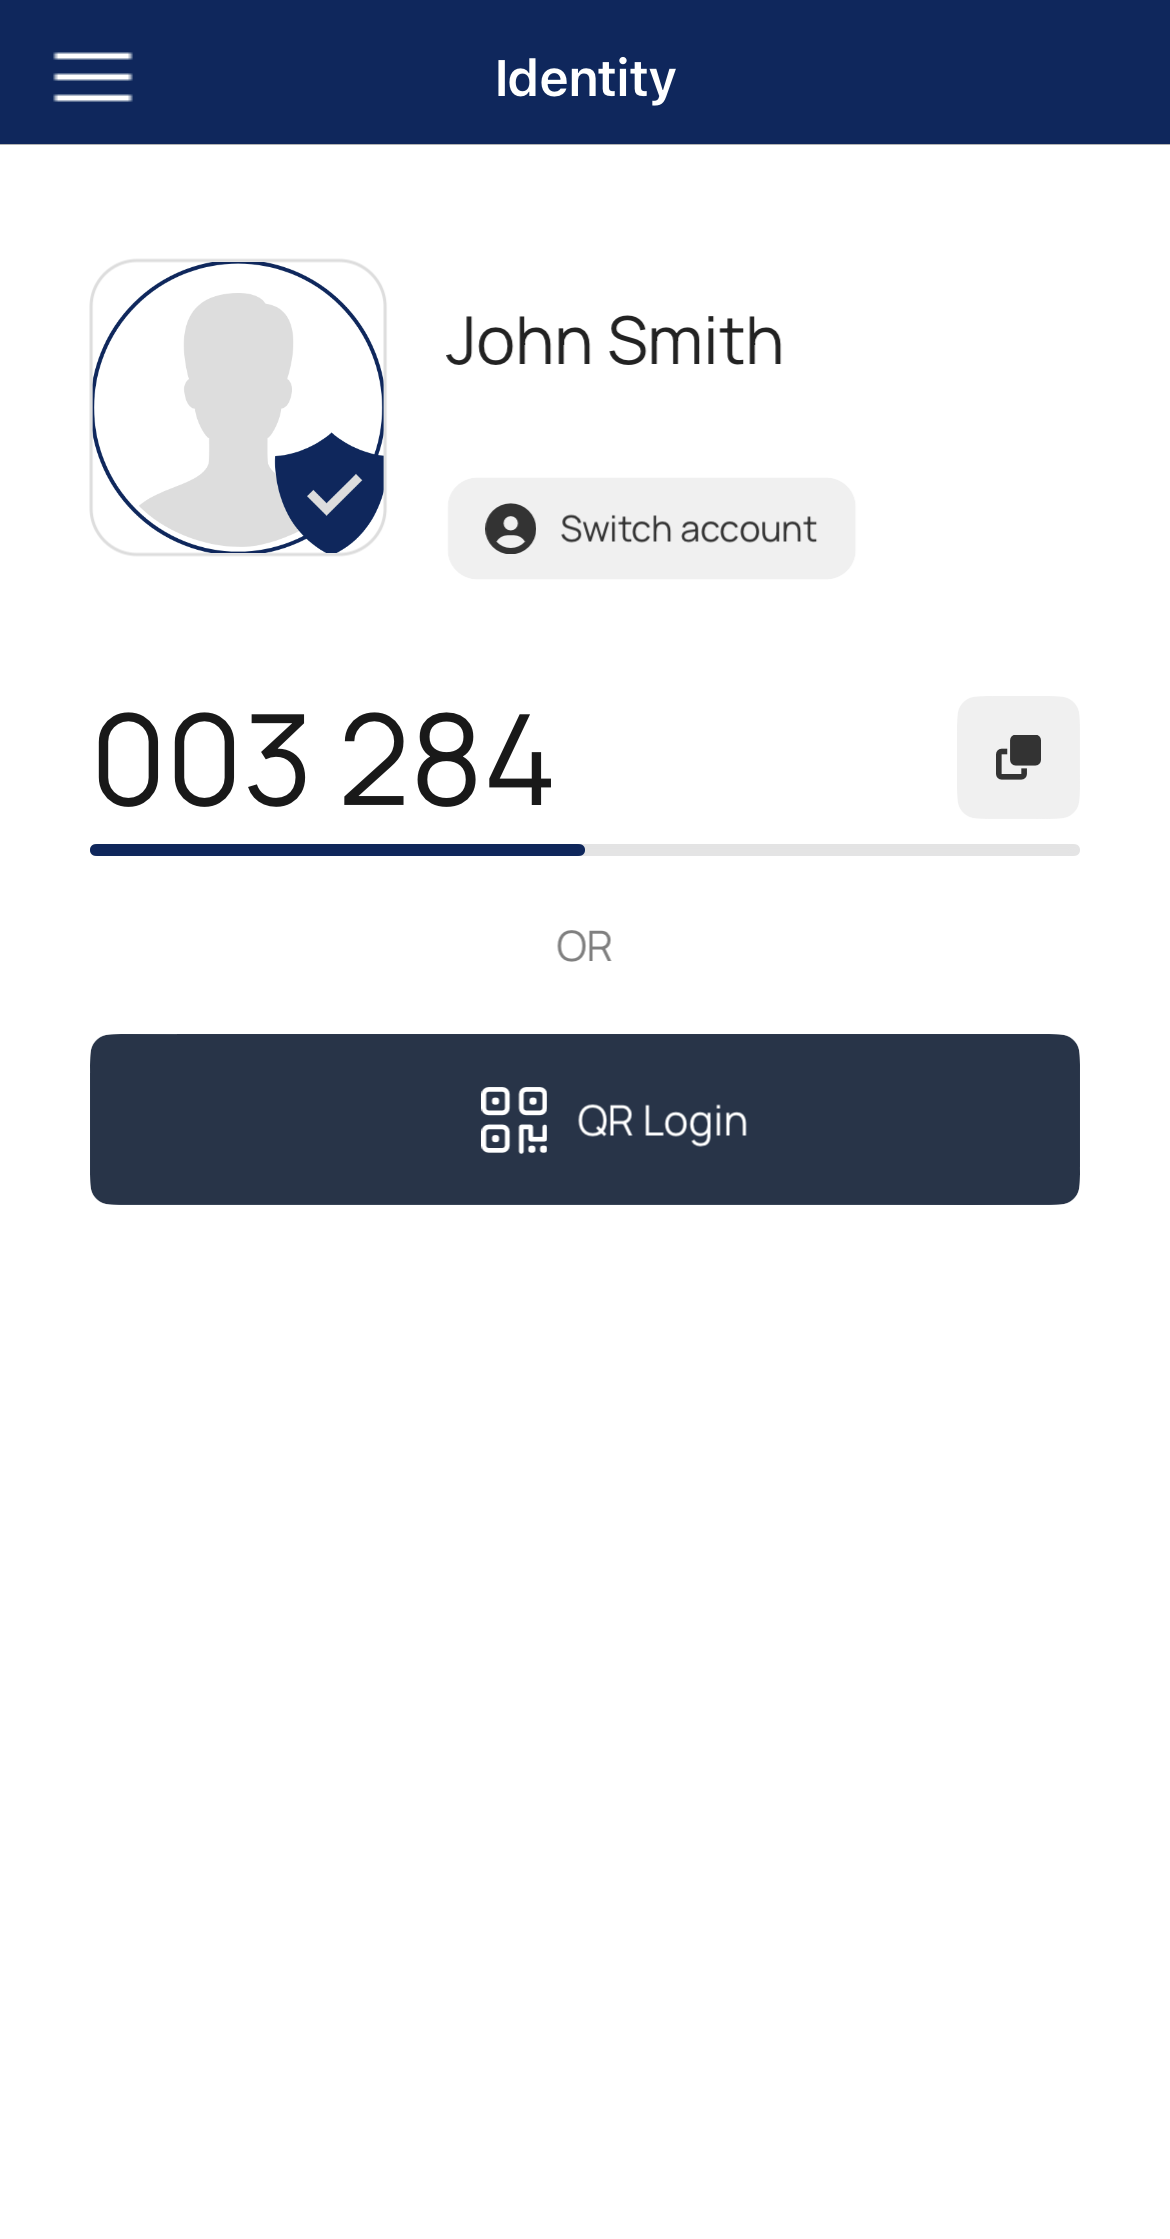
You will successfully be enrolled on your mobile device.
-
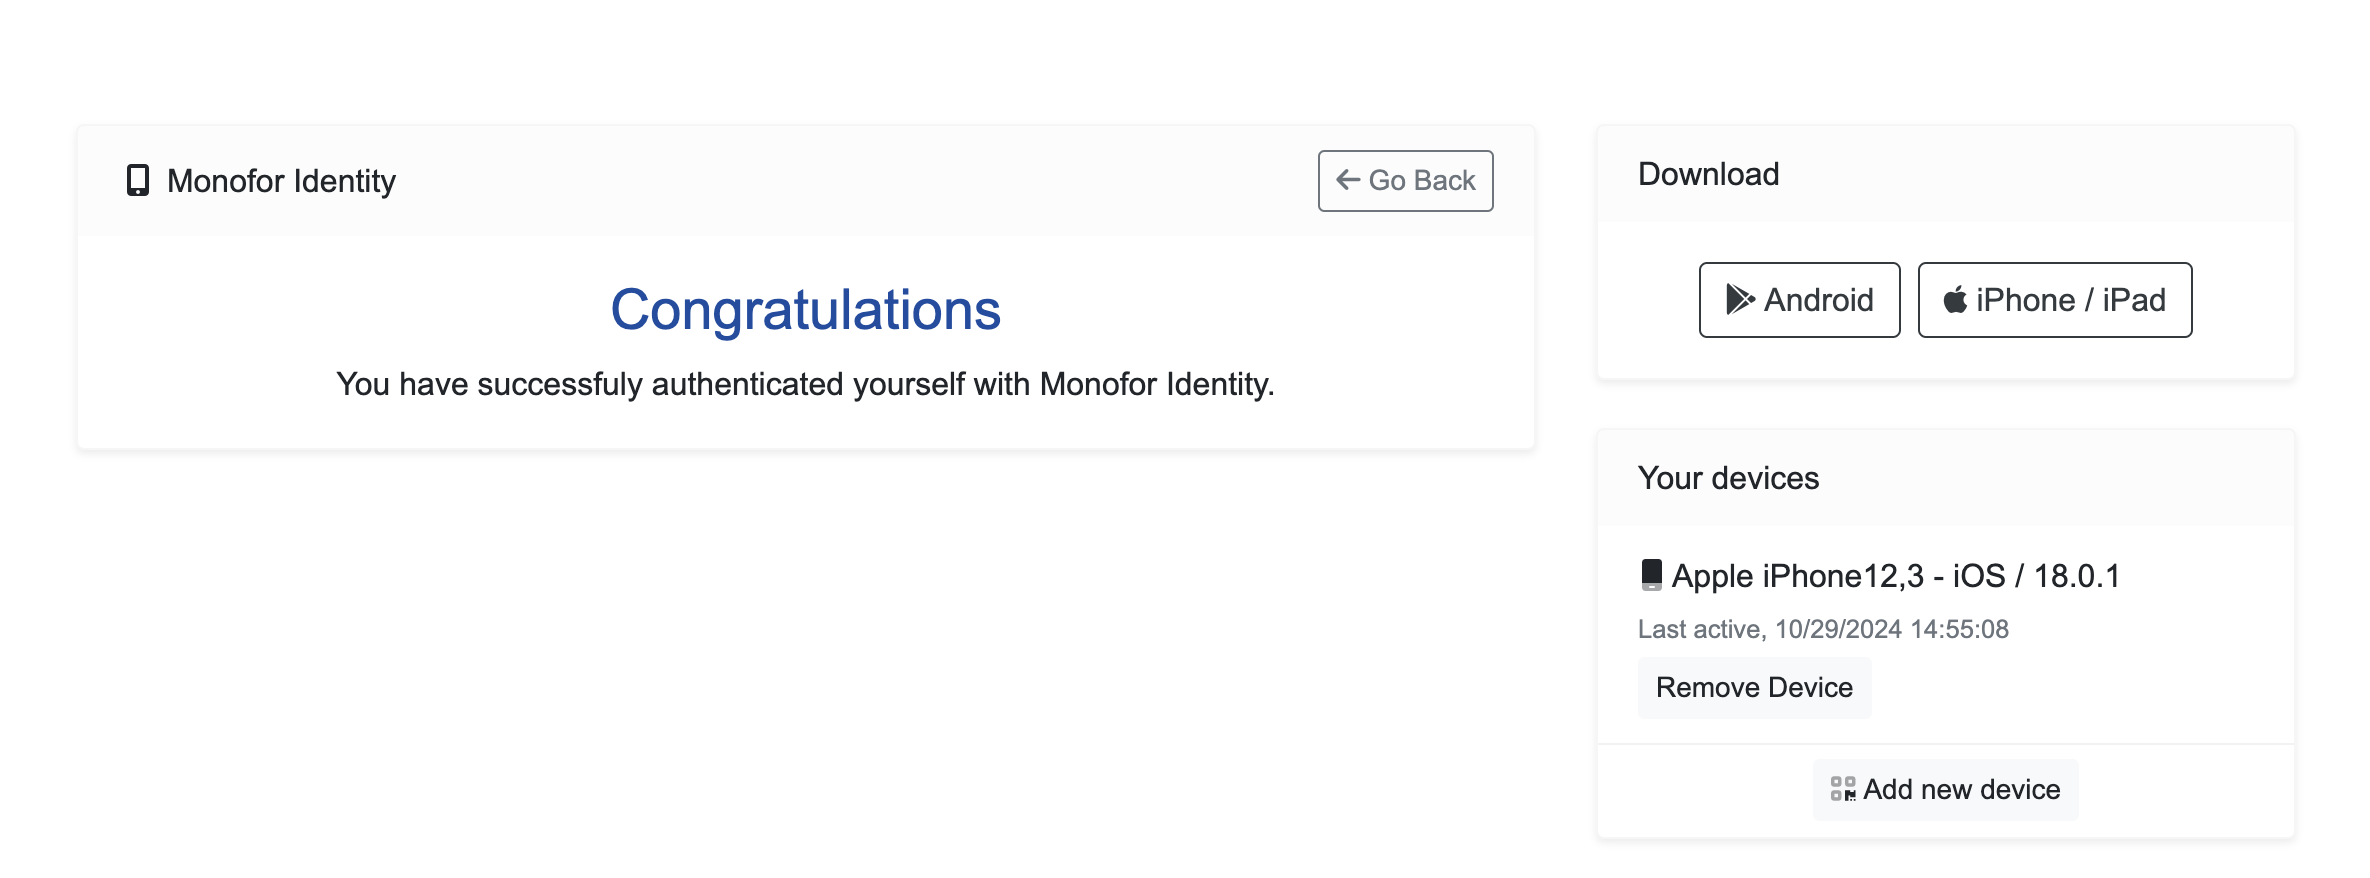
You will get a “Congratulations - You have successfully authenticated yourself with Mobile Authenticator.” message in your web browser.
-
Click on the Go Back button.
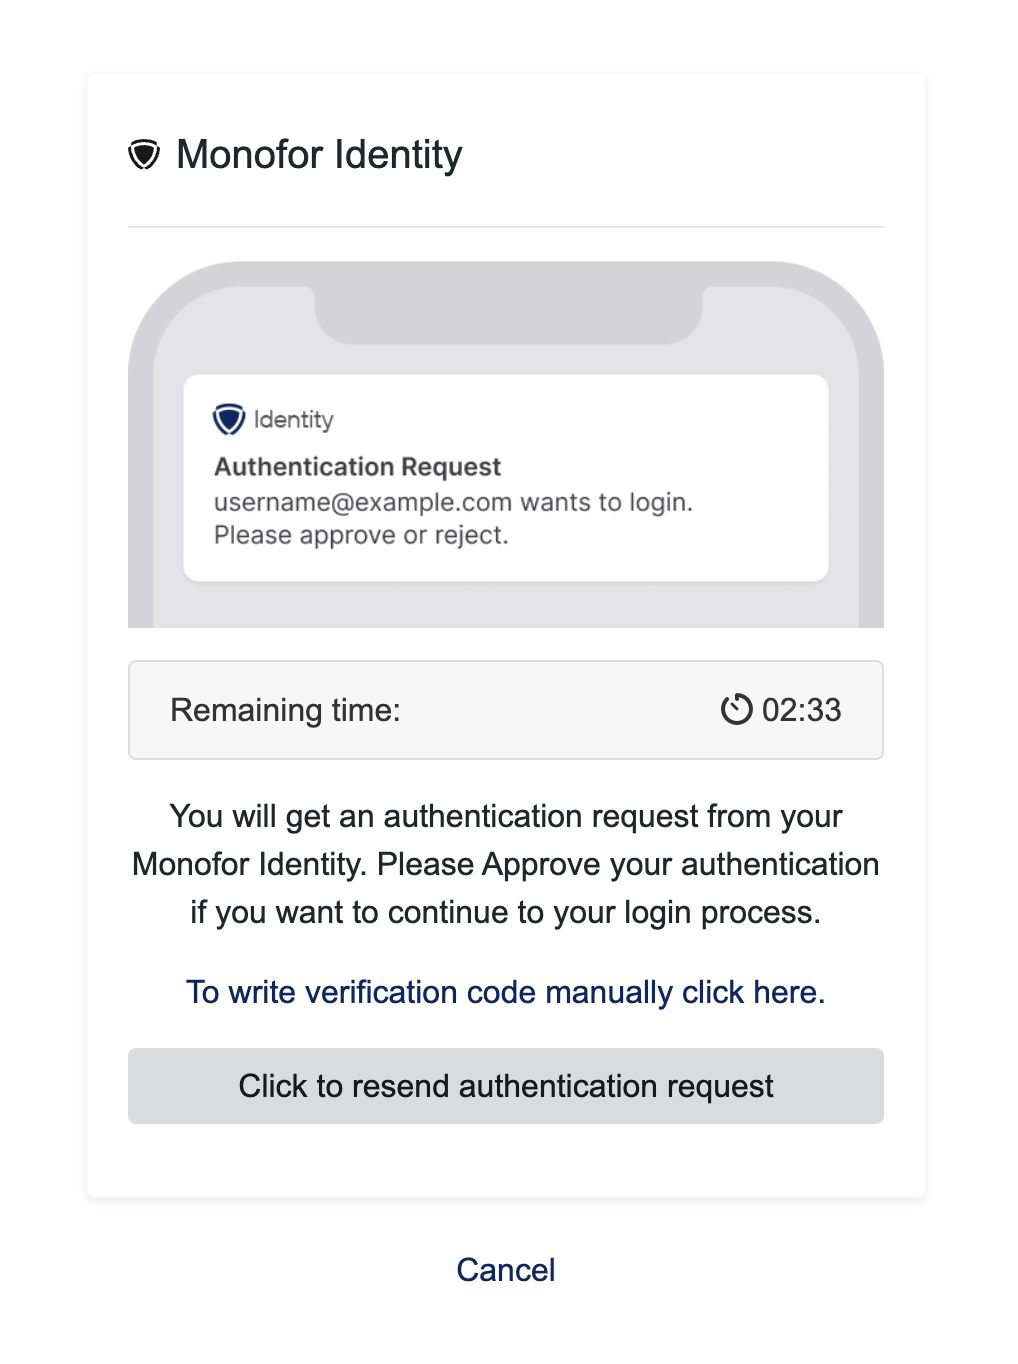
If the system is configured to force users to use MFA, you will be redirected to the MFA approving page as shown. Otherwise, users will be redirected to the MFA configuration page to verify that MFA is activated.
-
After approving the push notification on the mobile device or typing the OTP code, you will be redirected to the MFA configuration page.
-
Please verify that MFA is activated
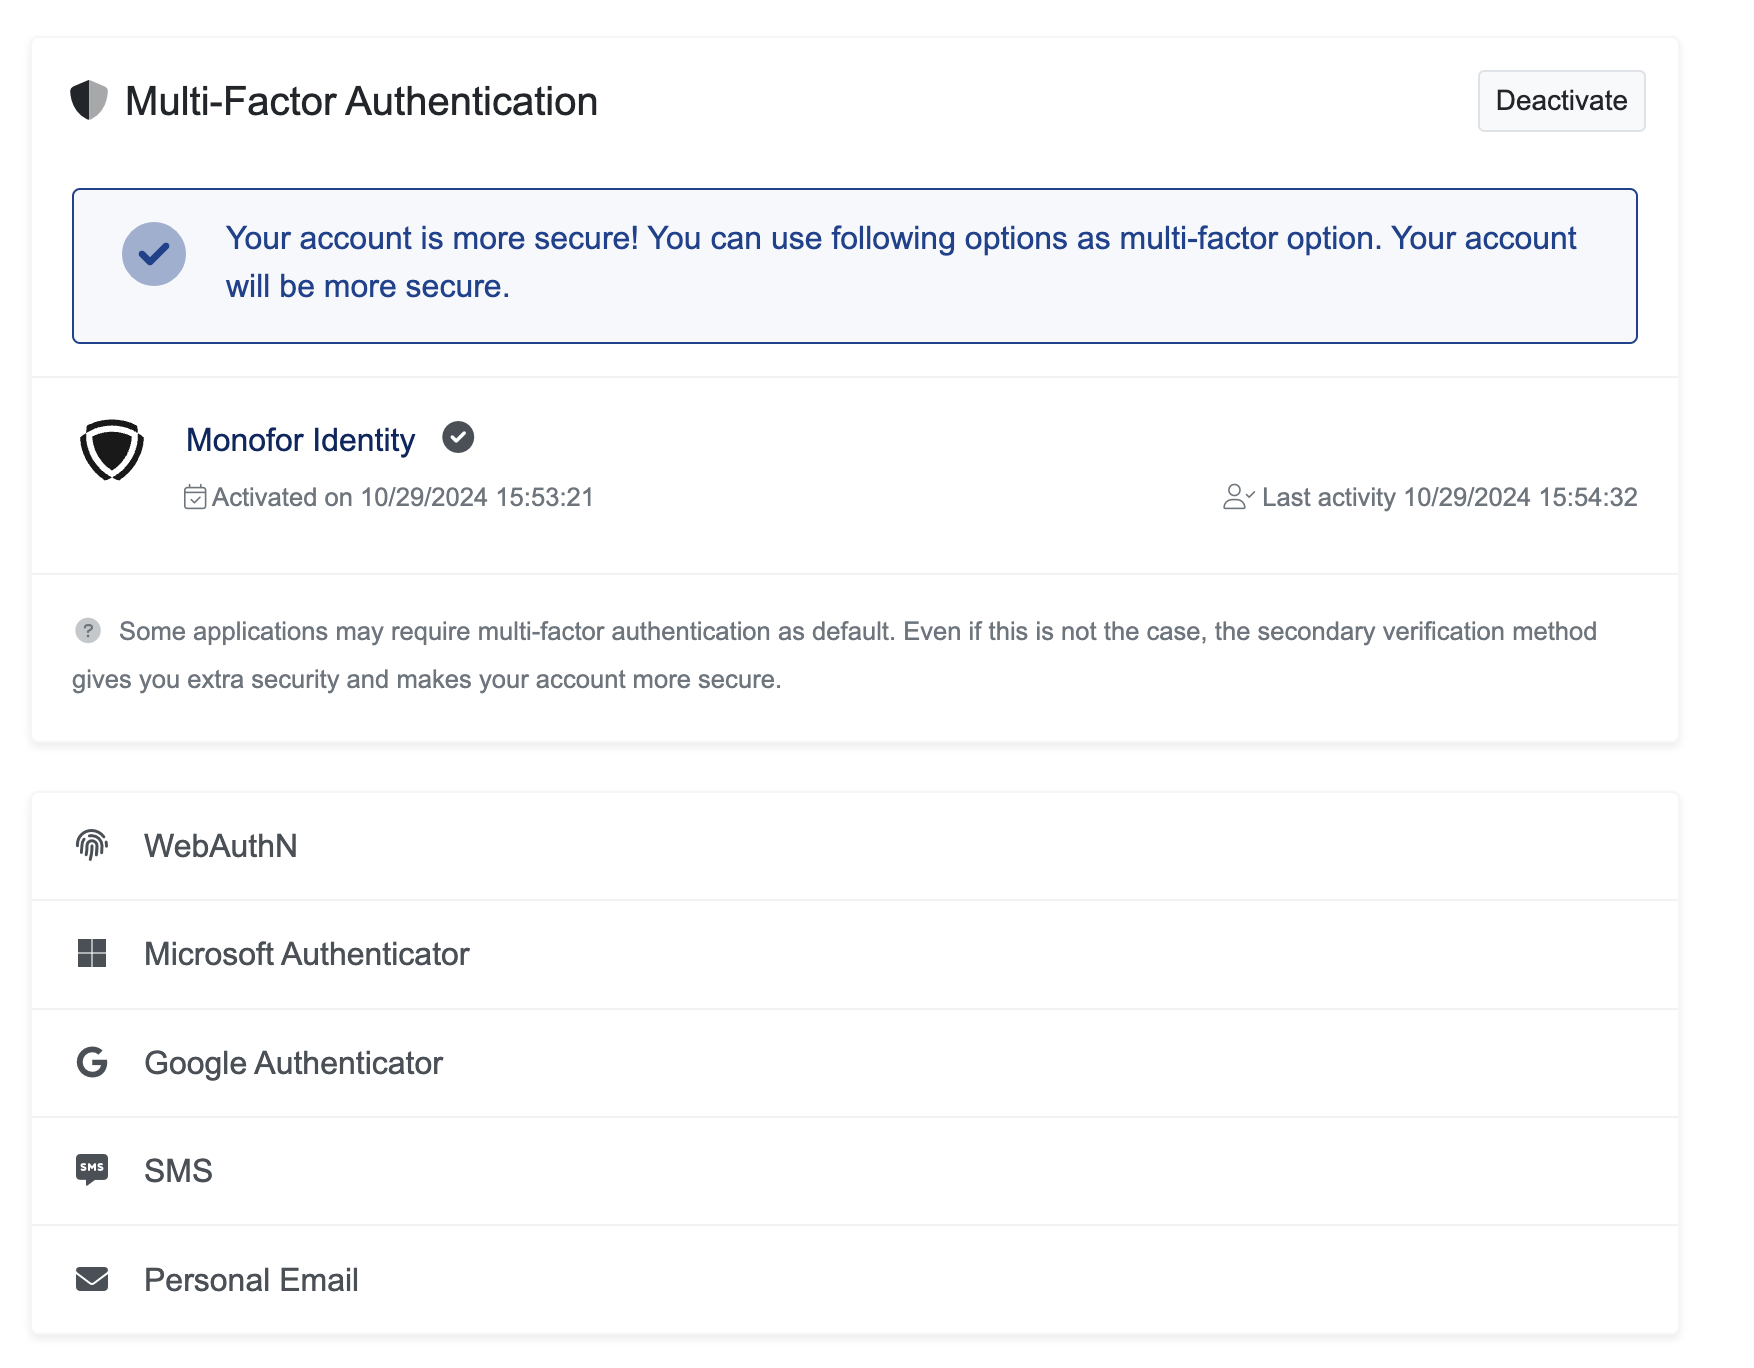
-
If MFA is not enabled automatically, you can enable it manually by clicking on the Activate button
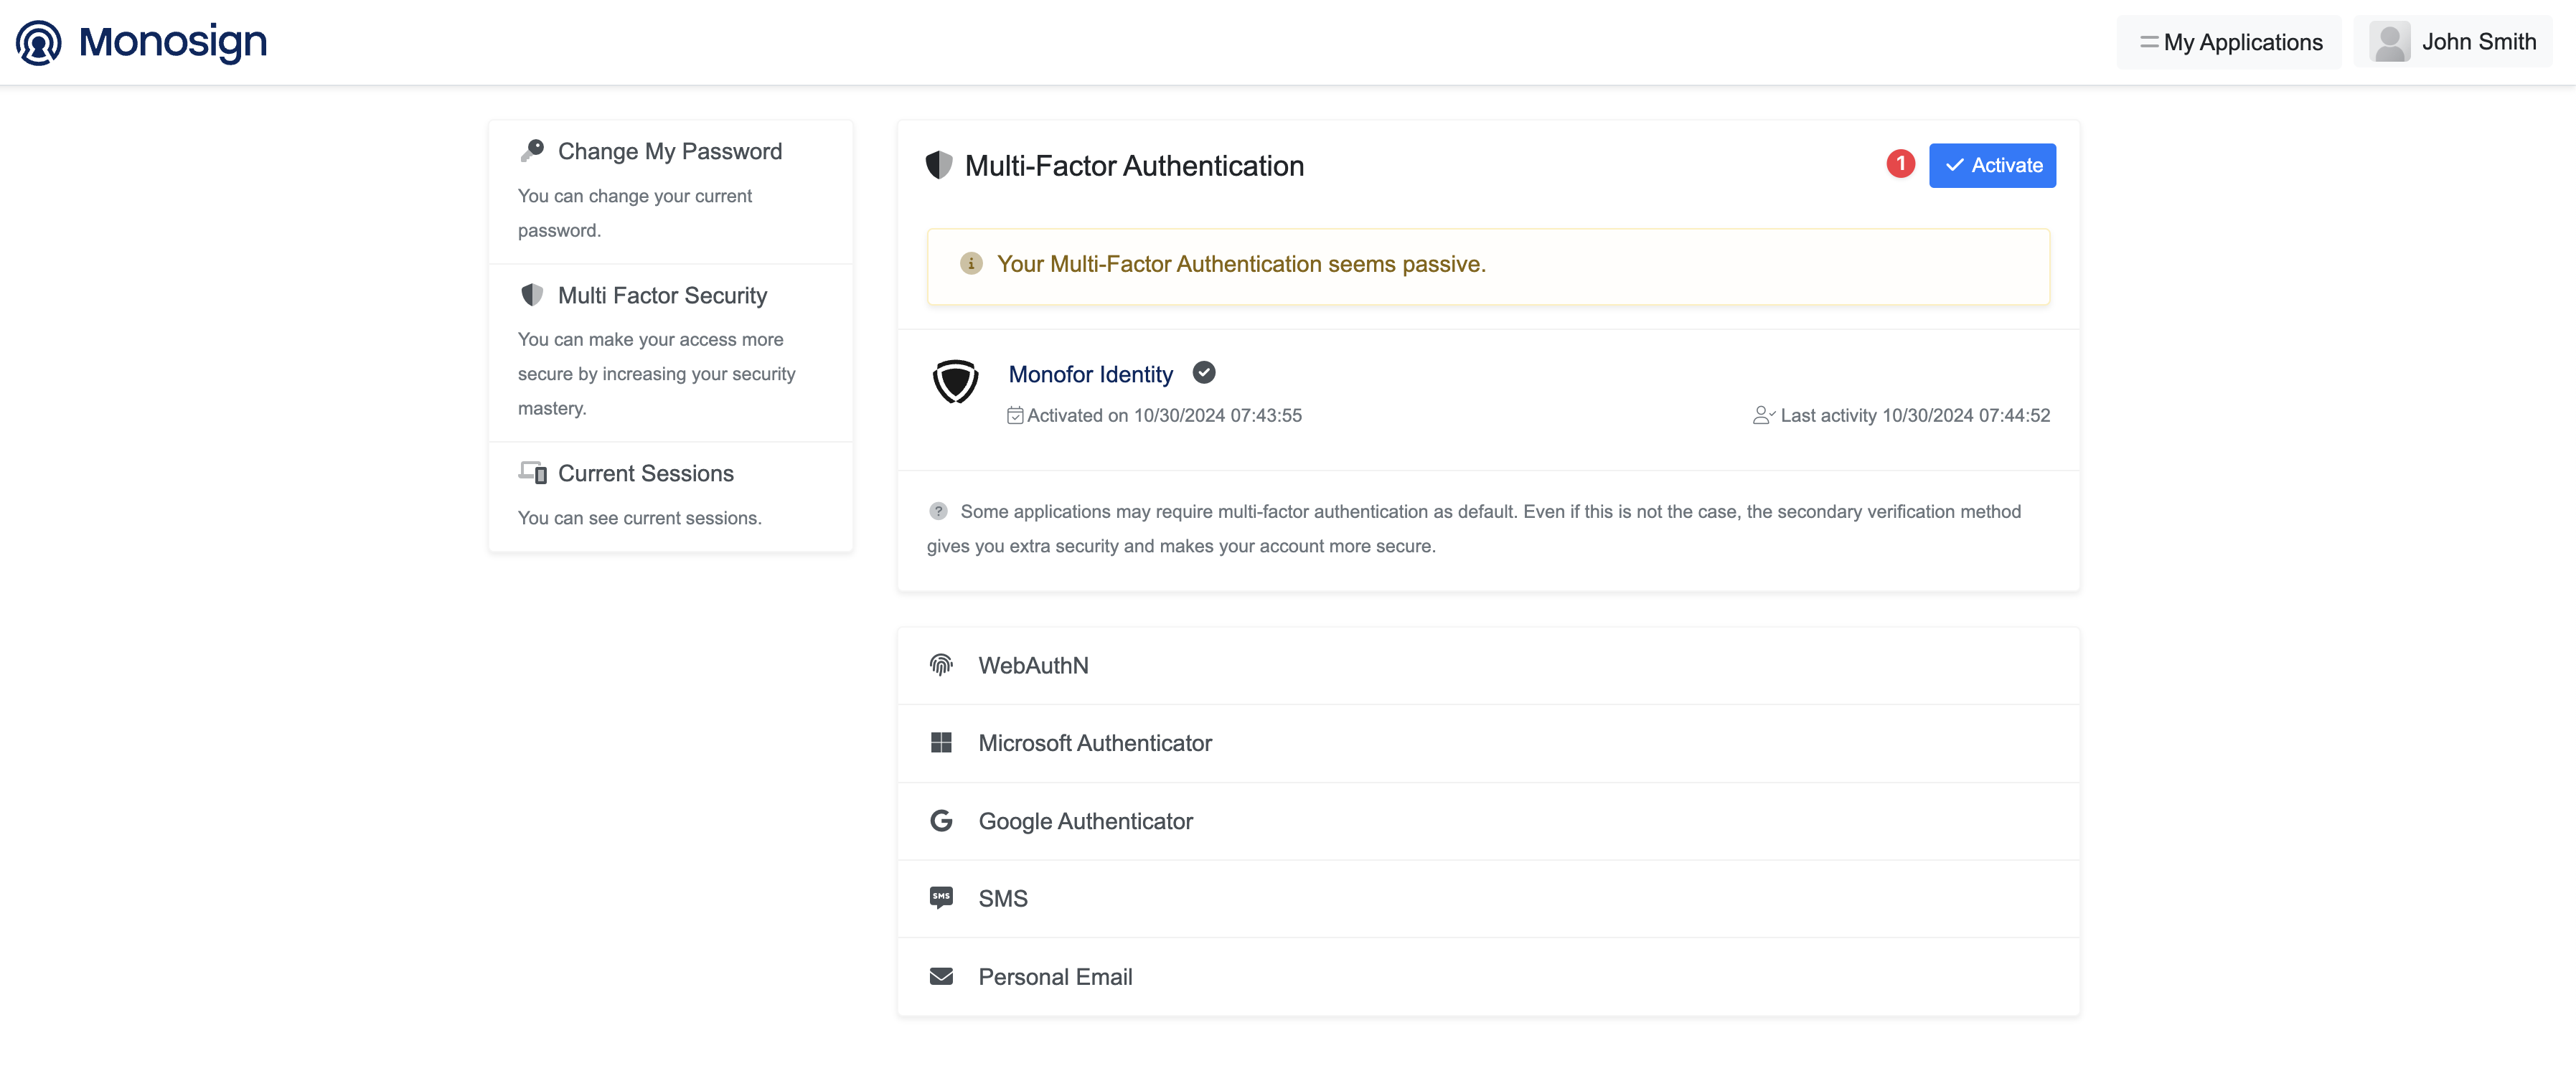
-
That’s it, now you are all set to use the Monofor Identity smoothly! See you in another instruction.