This document explains how to implement Monosign with Redmine. It covers Single Sign-On. Redmine does not support SAML natively — this guide assumes the redmine_saml plugin (and its dependency additionals) is already installed on your Redmine instance, and only covers the SAML/SSO configuration itself.
Instructions
This documentation contains 5 main steps for integration.
-
Creating an Application on Monosign
-
Configuration Single Sign-On for Redmine
-
Assign a user to the Redmine application
-
Sign In Test
-
Optional Settings on Redmine
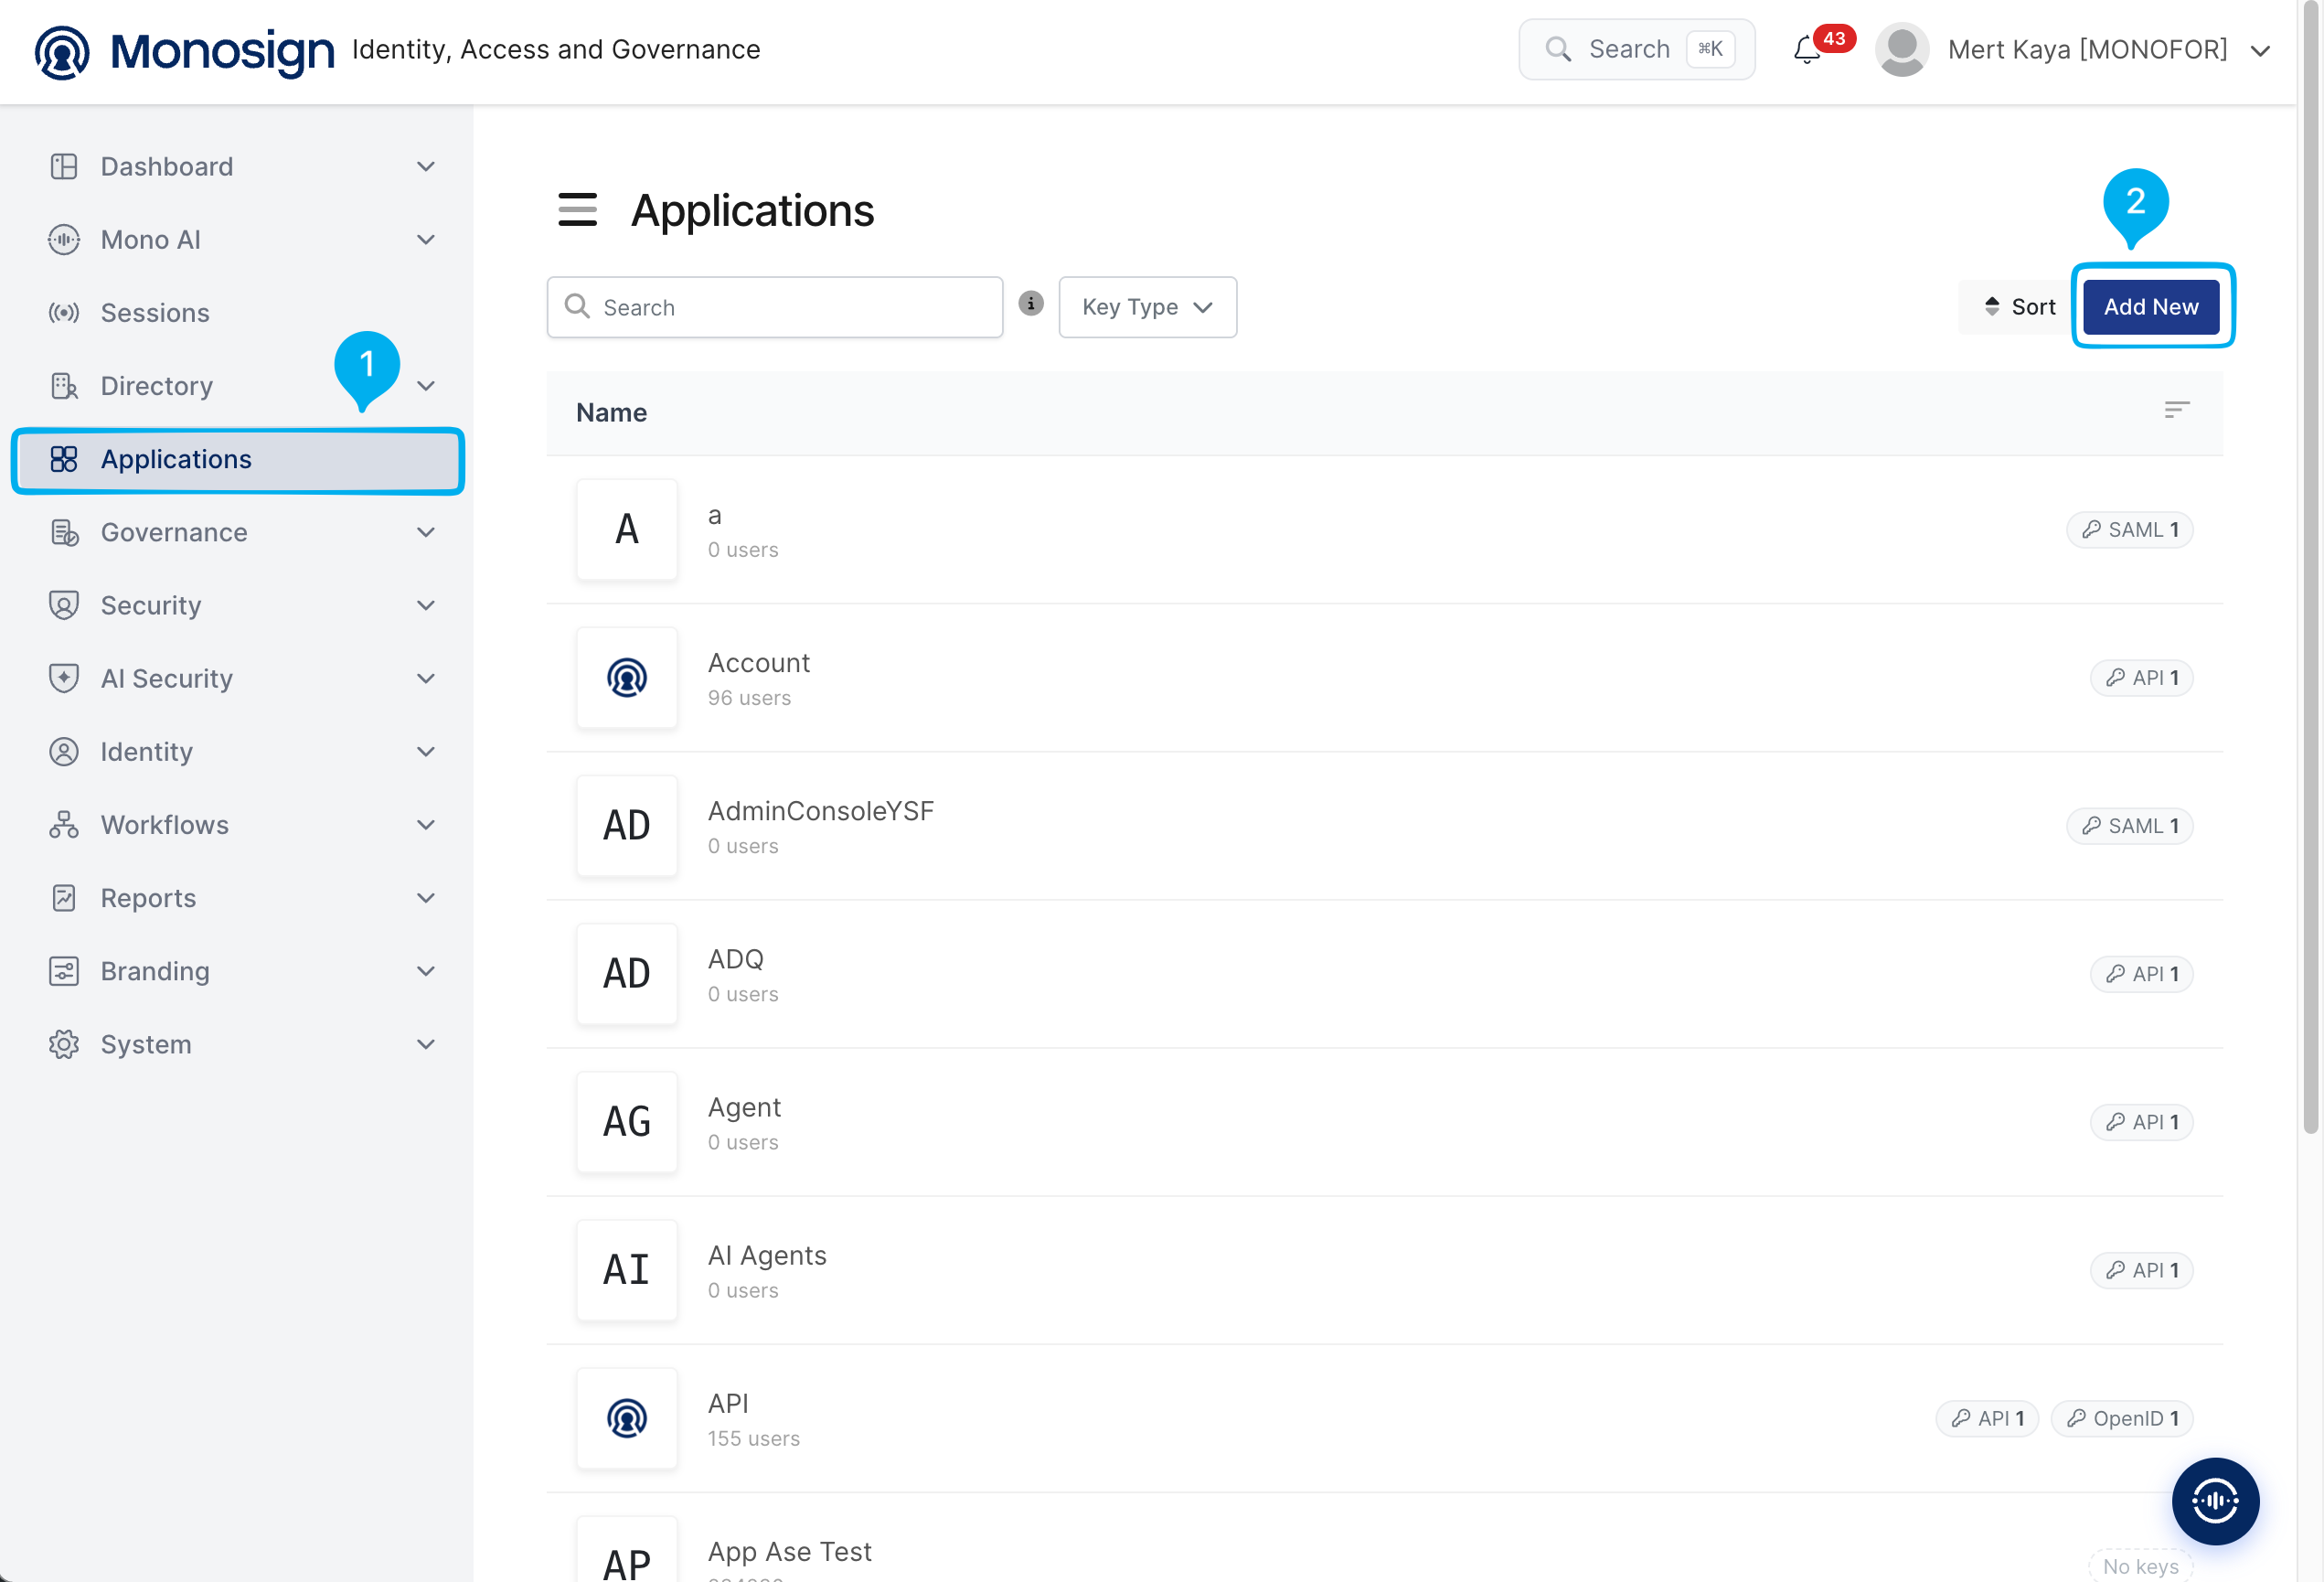
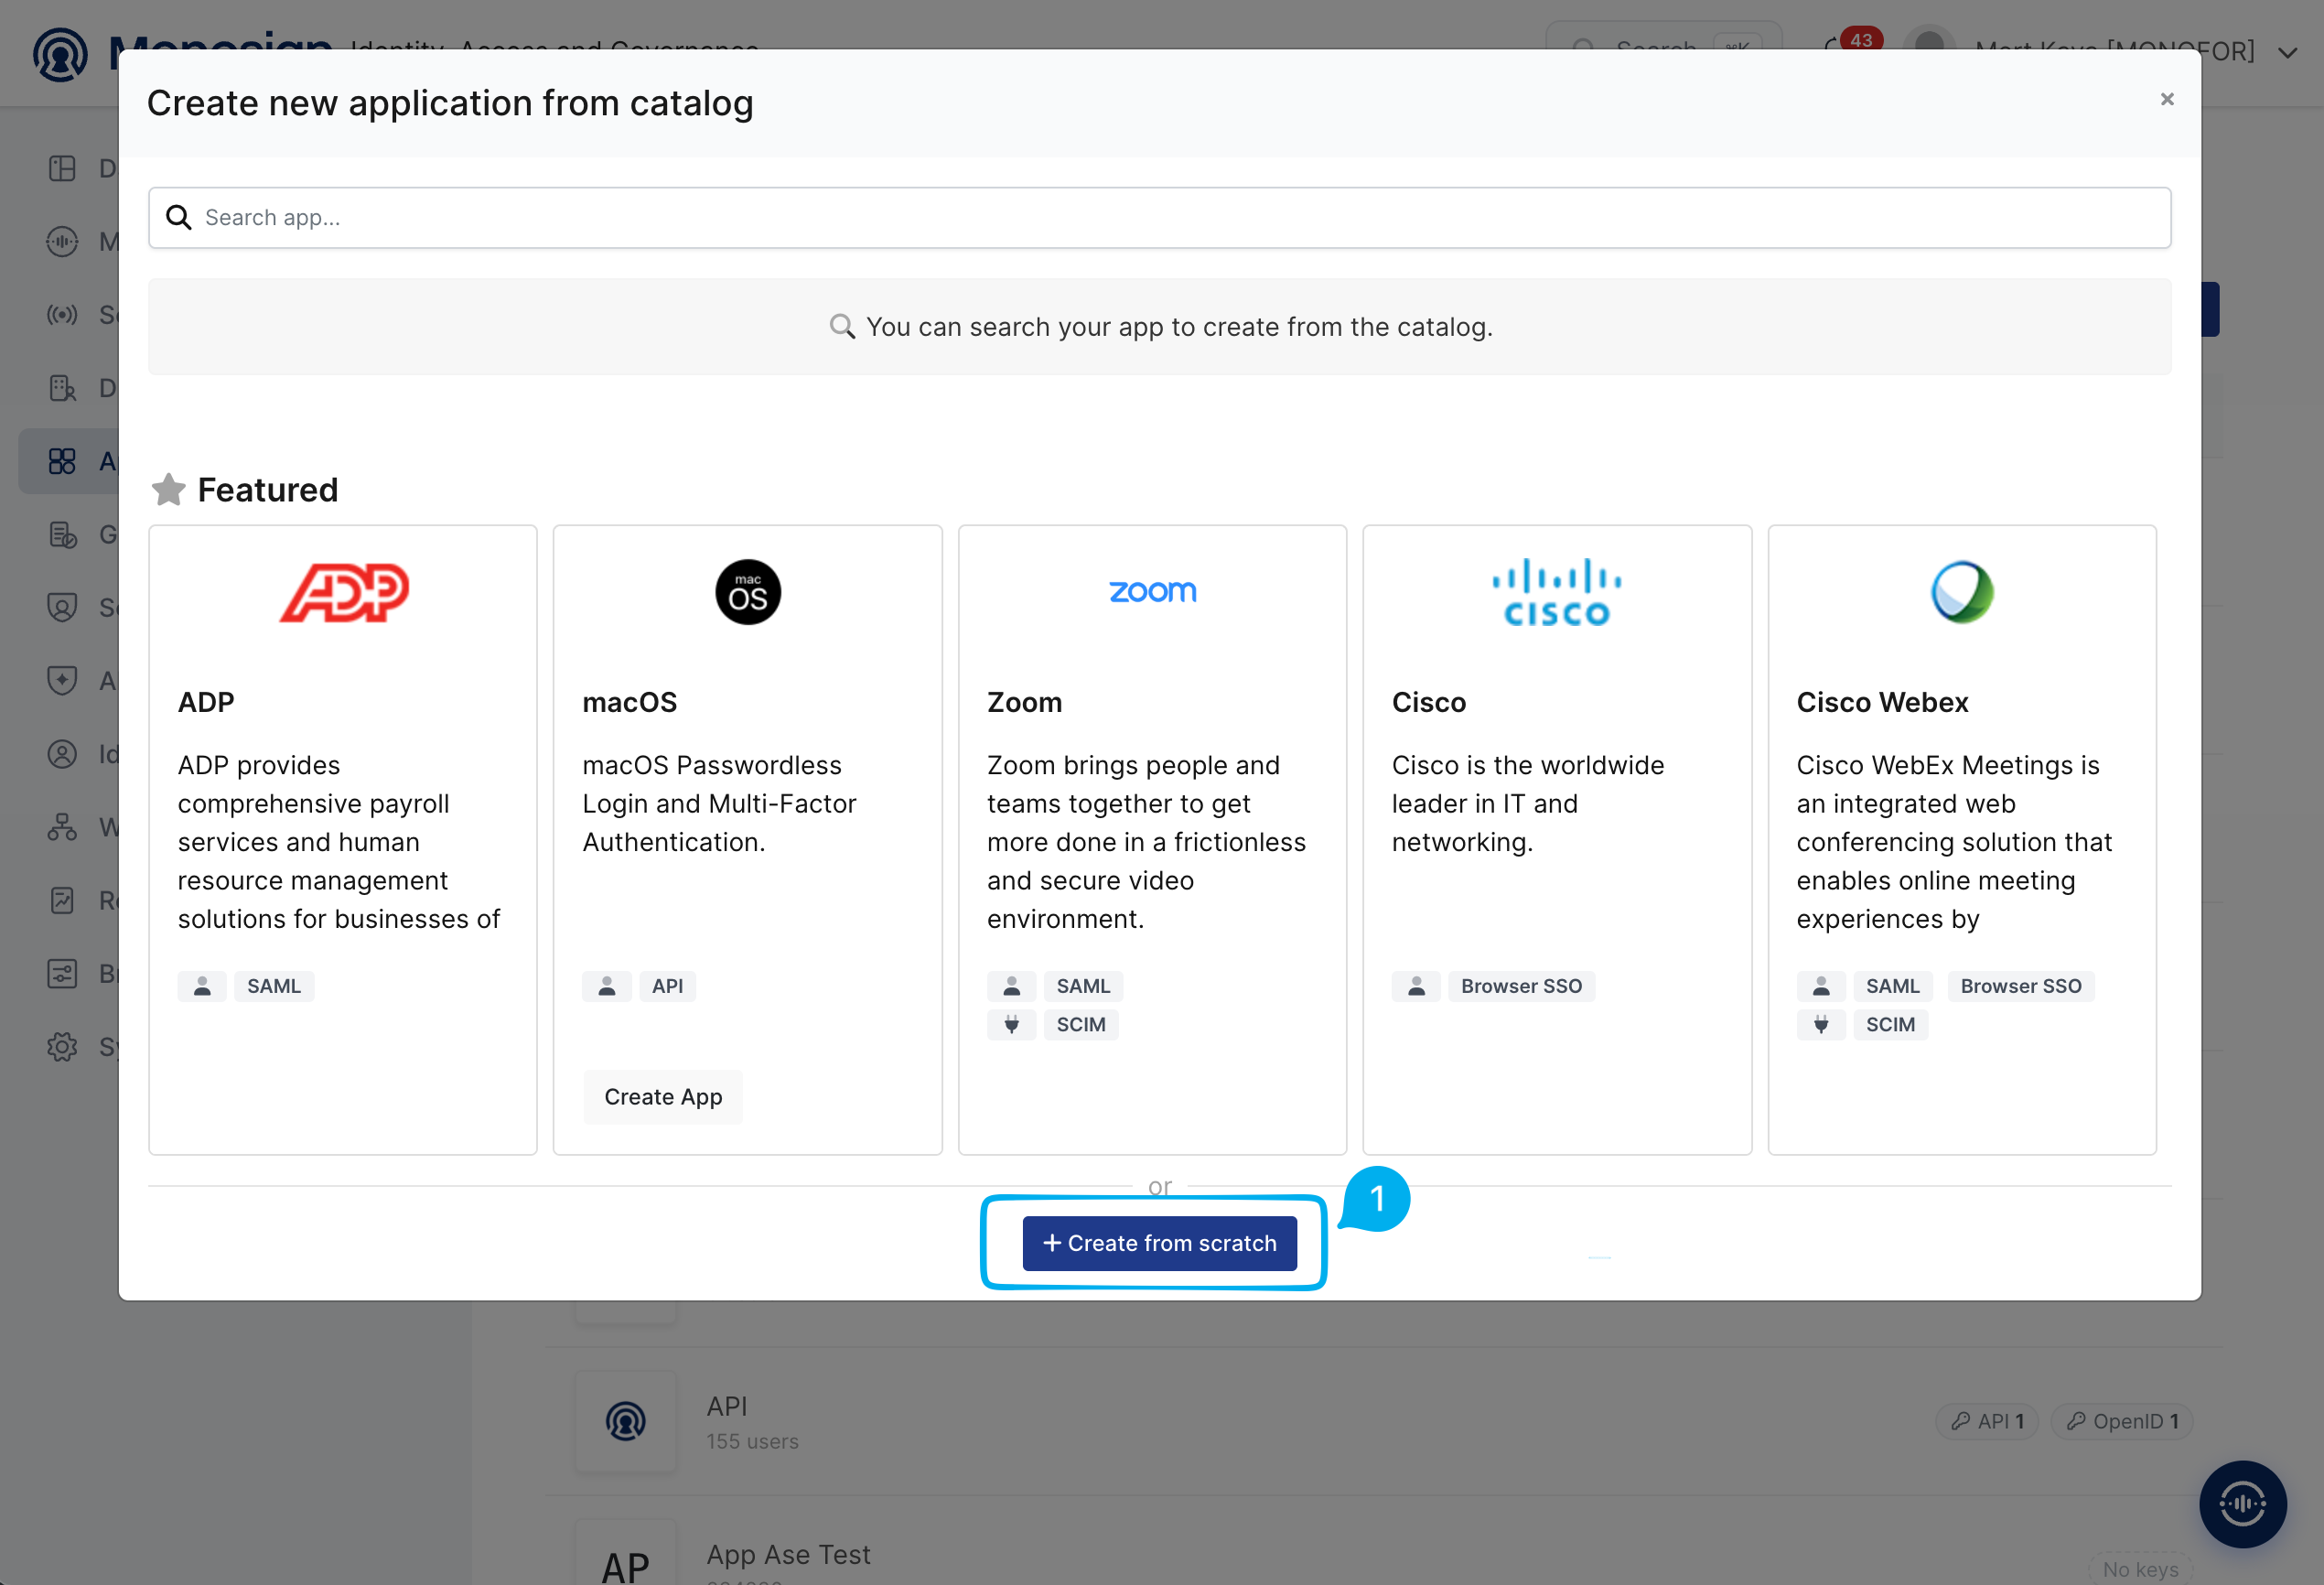
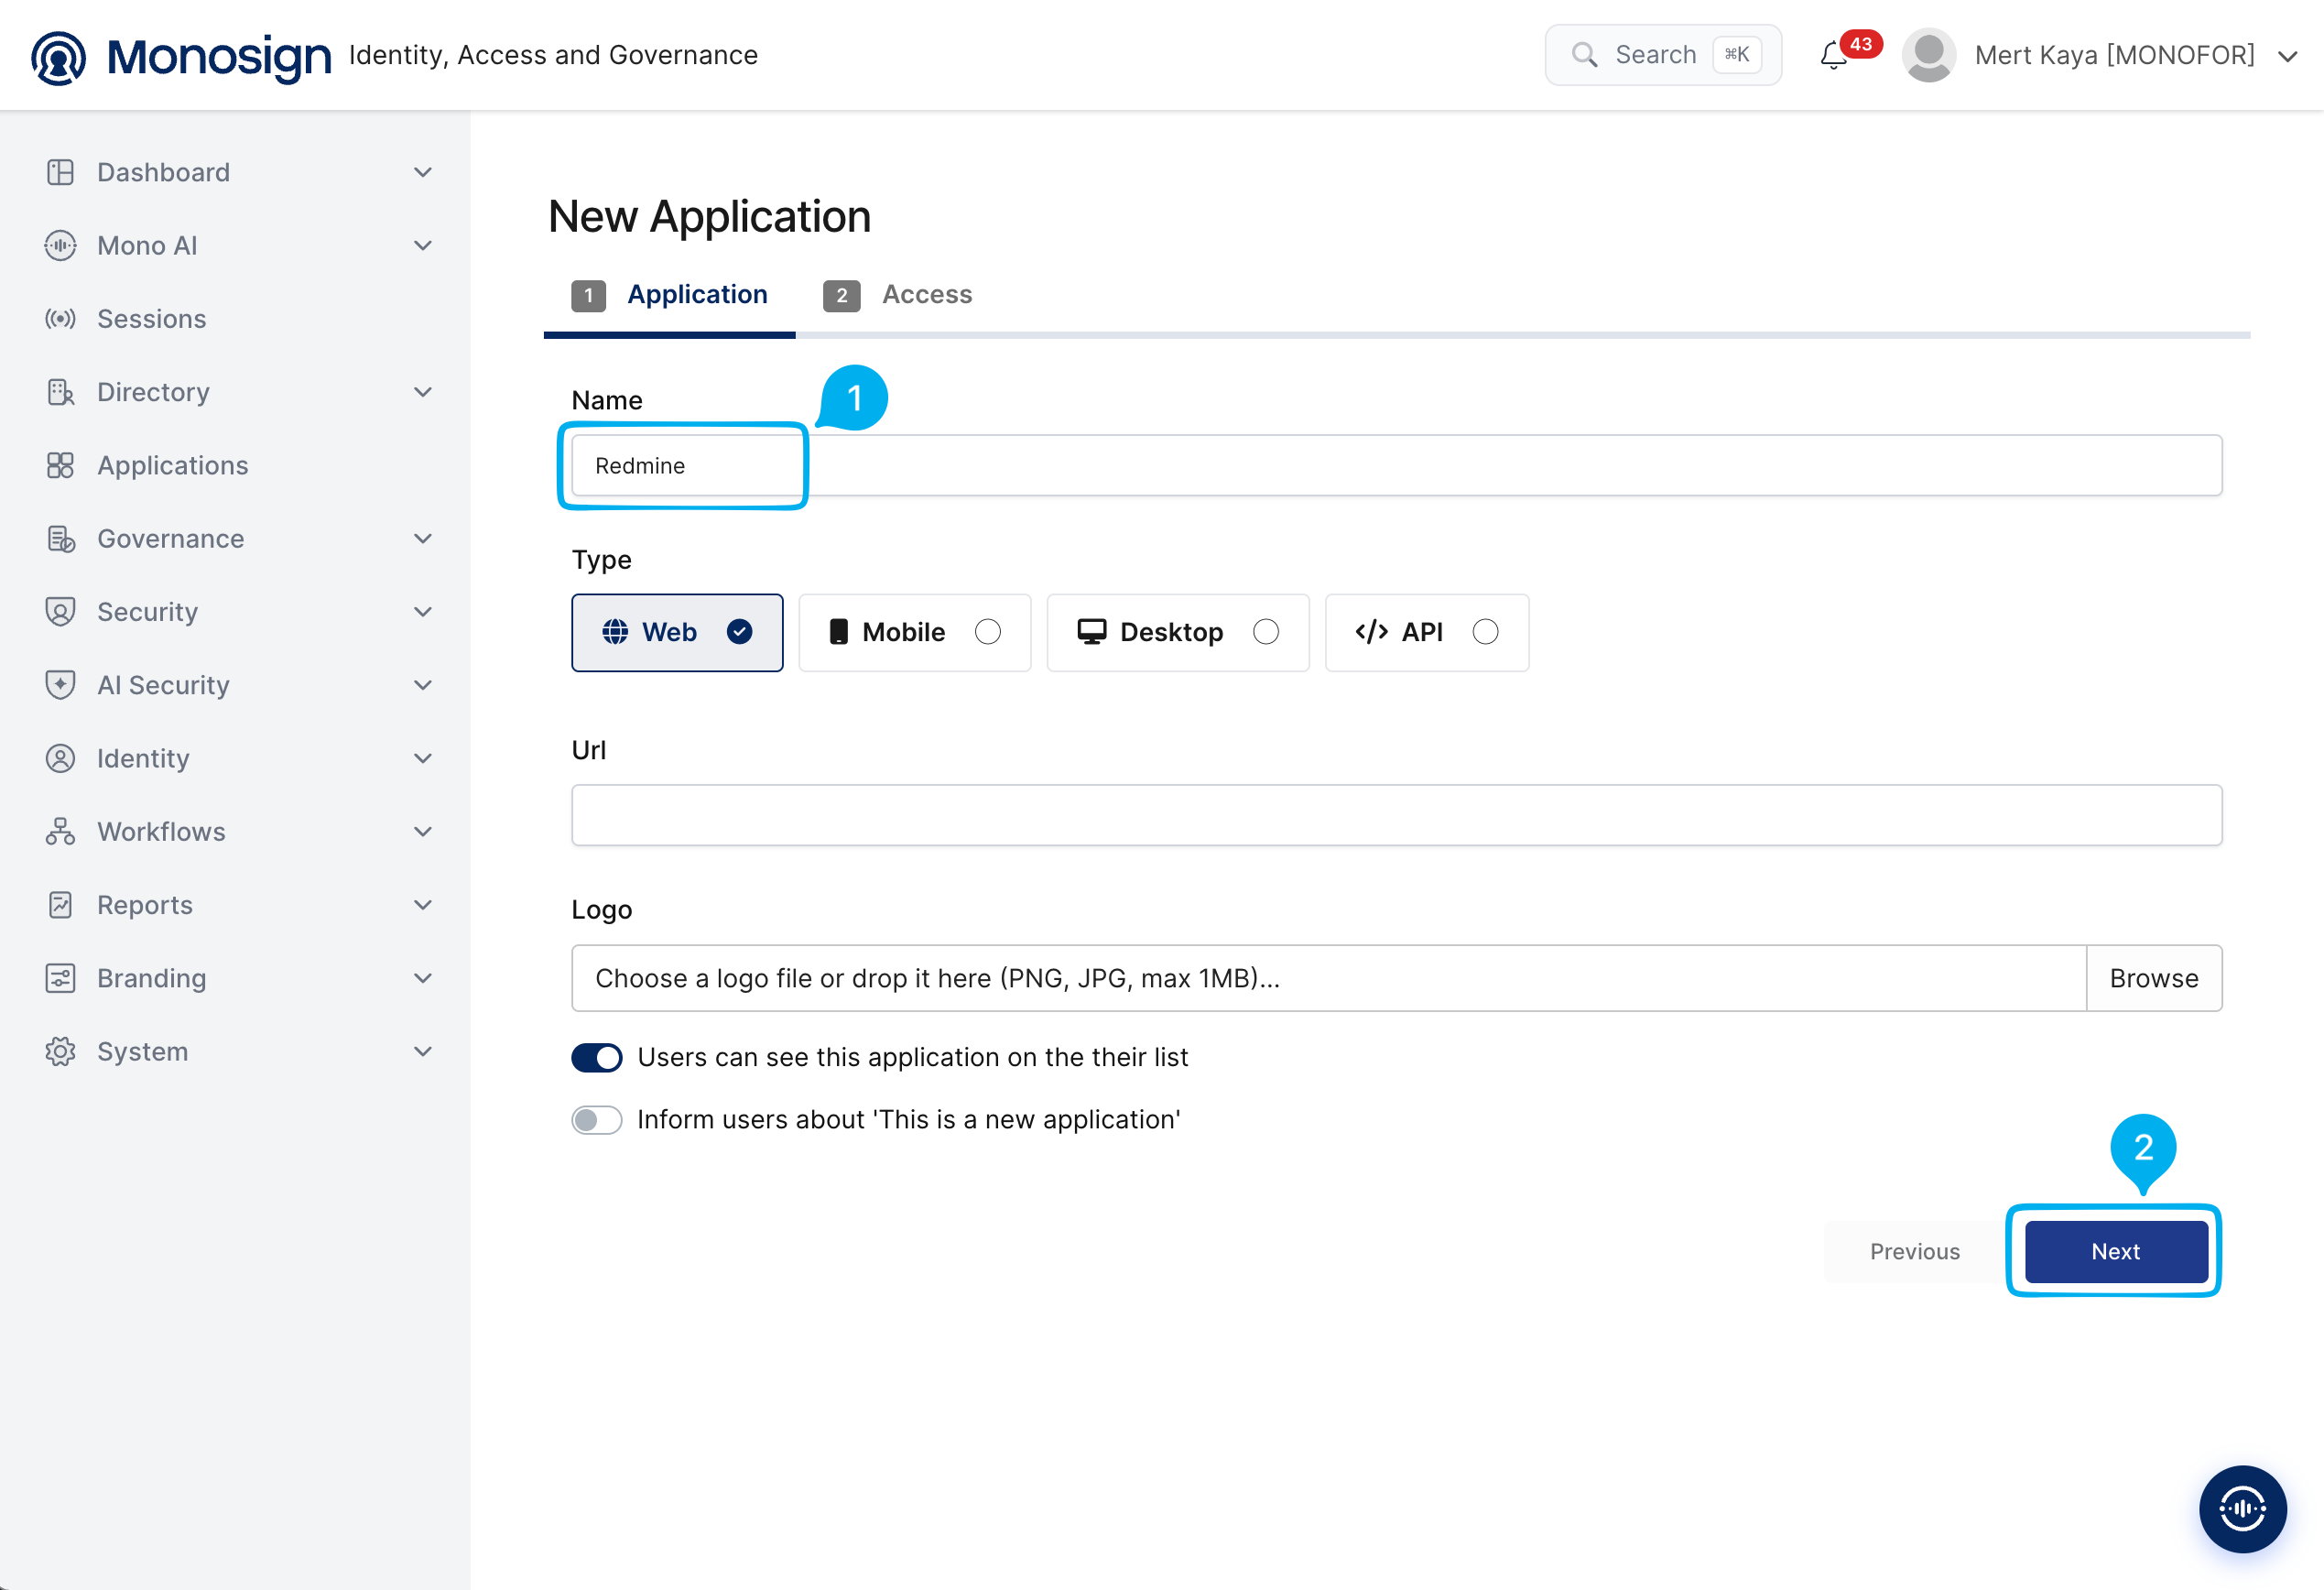
1- Creating an Application on Monosign
Create your application on Monosign and configure your access policy. Once you create, click "Keys" and add a new Access Key for SAML Key for access.
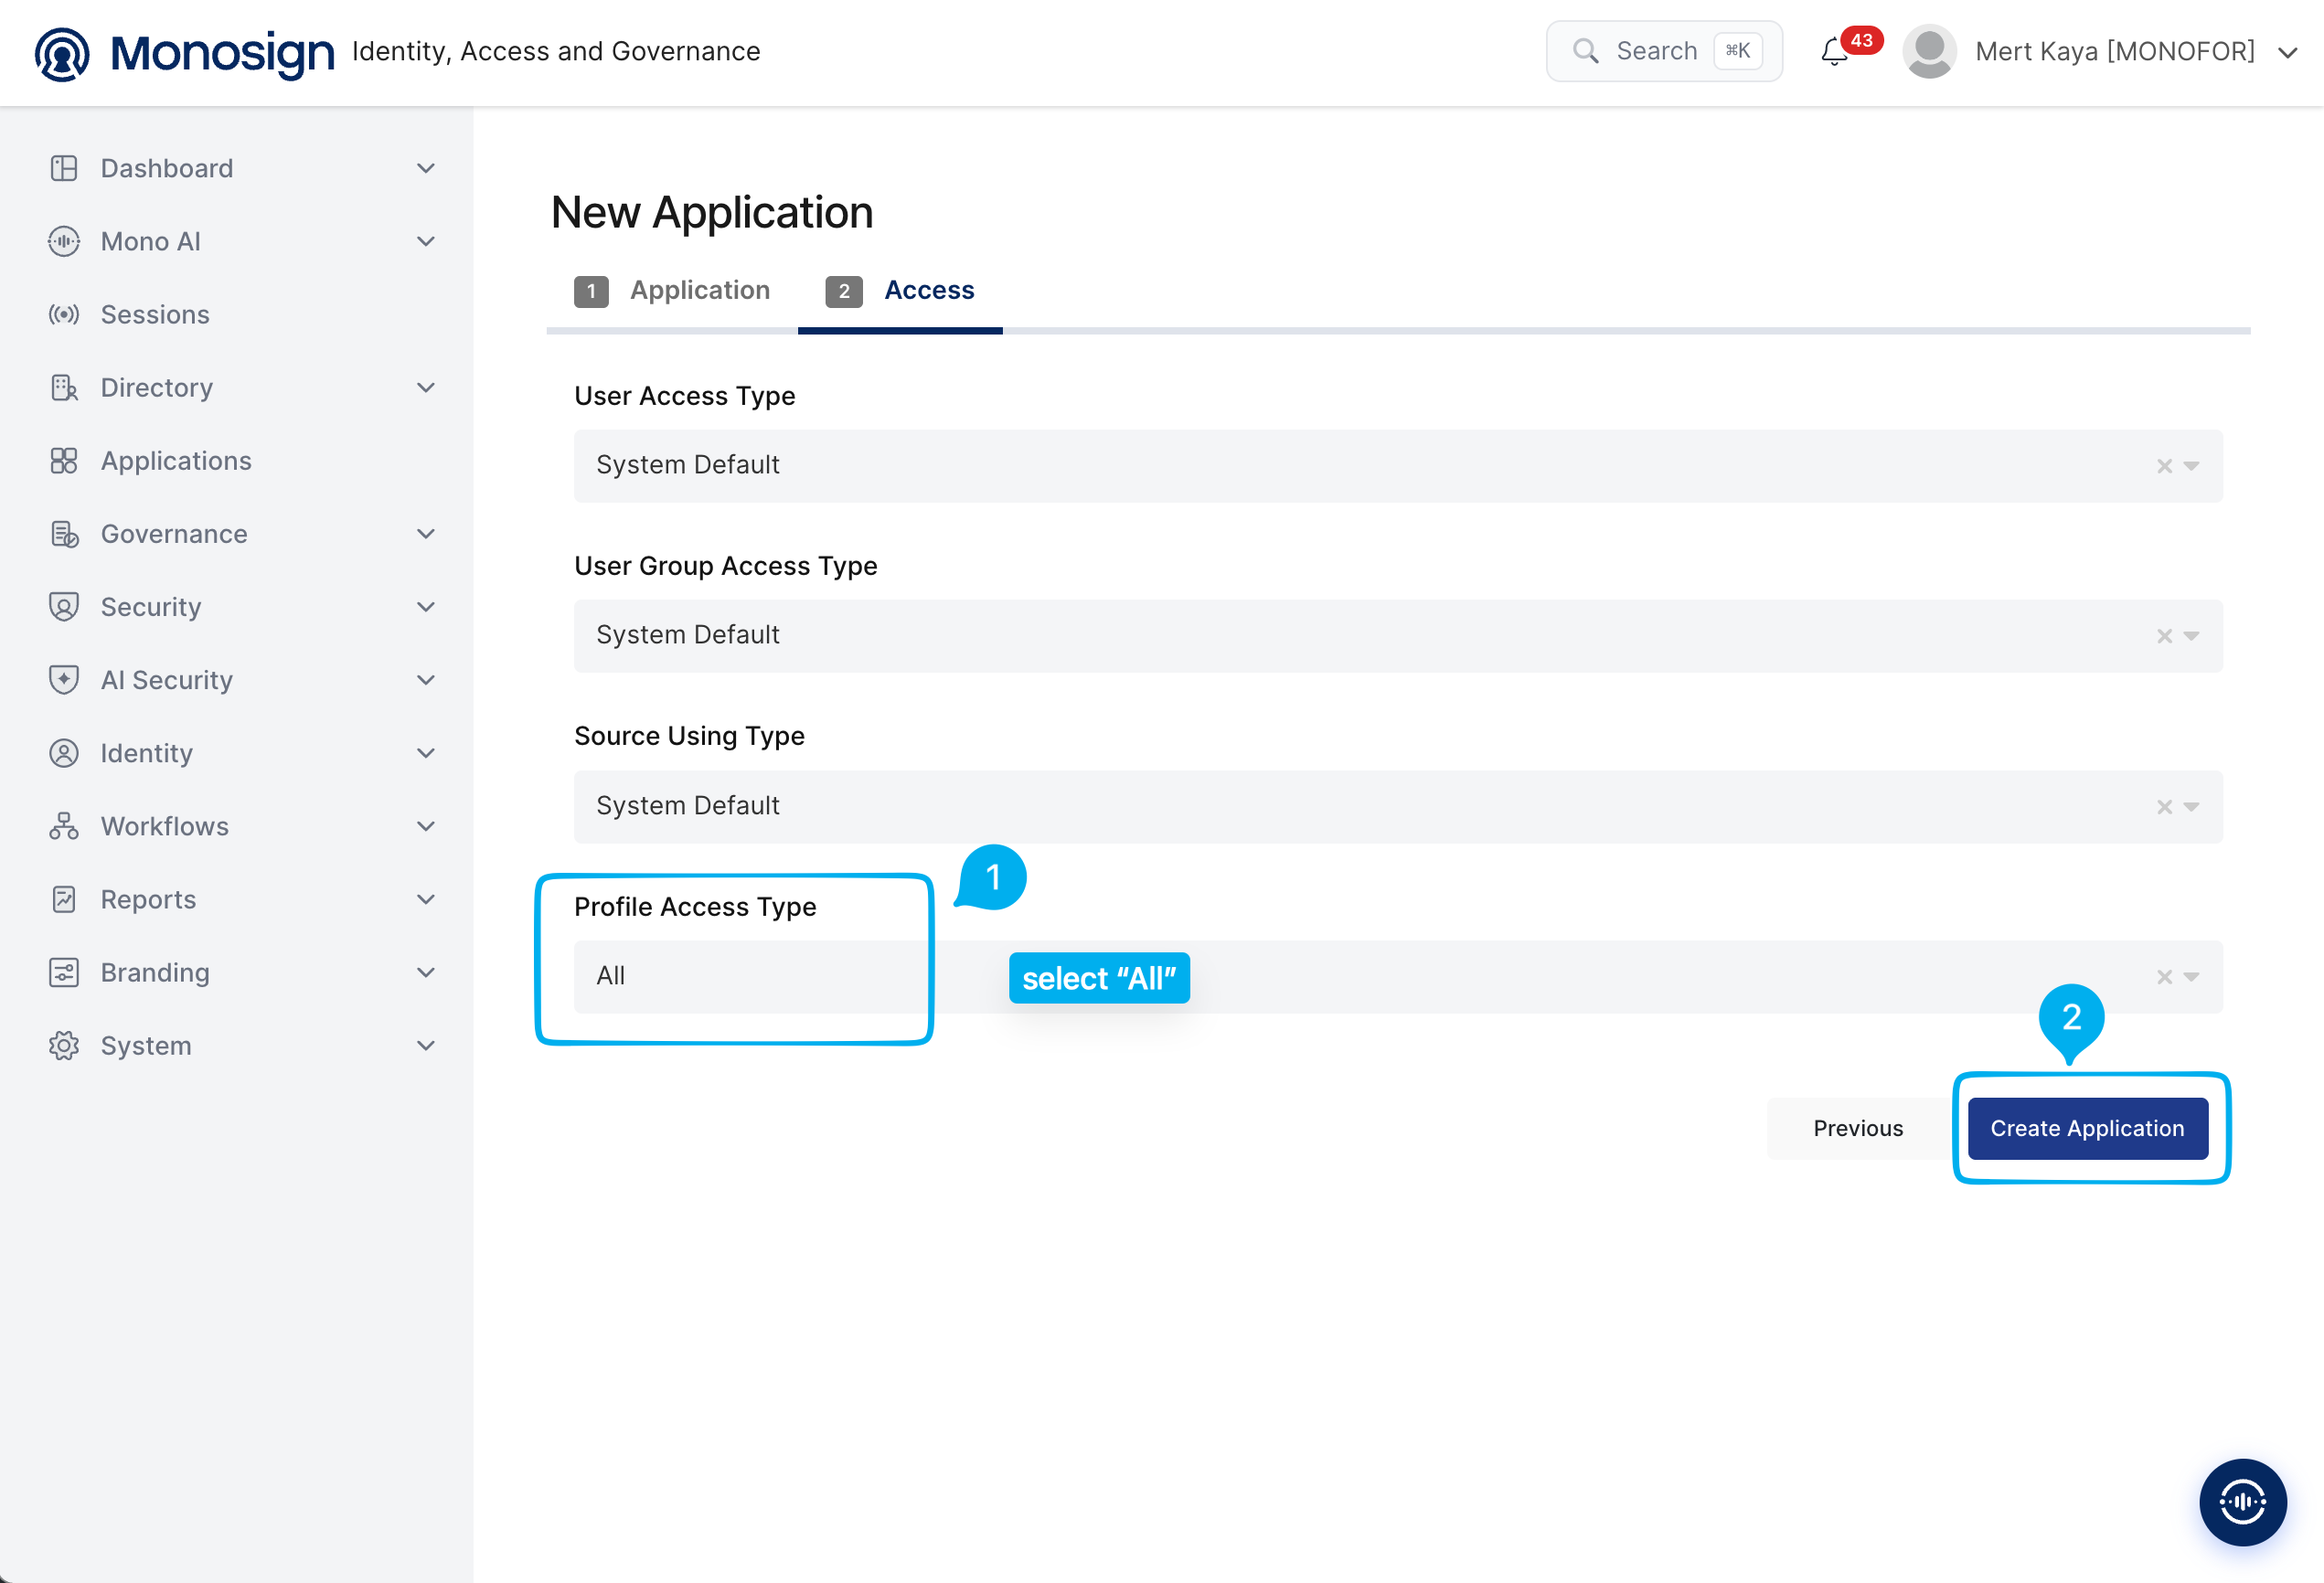
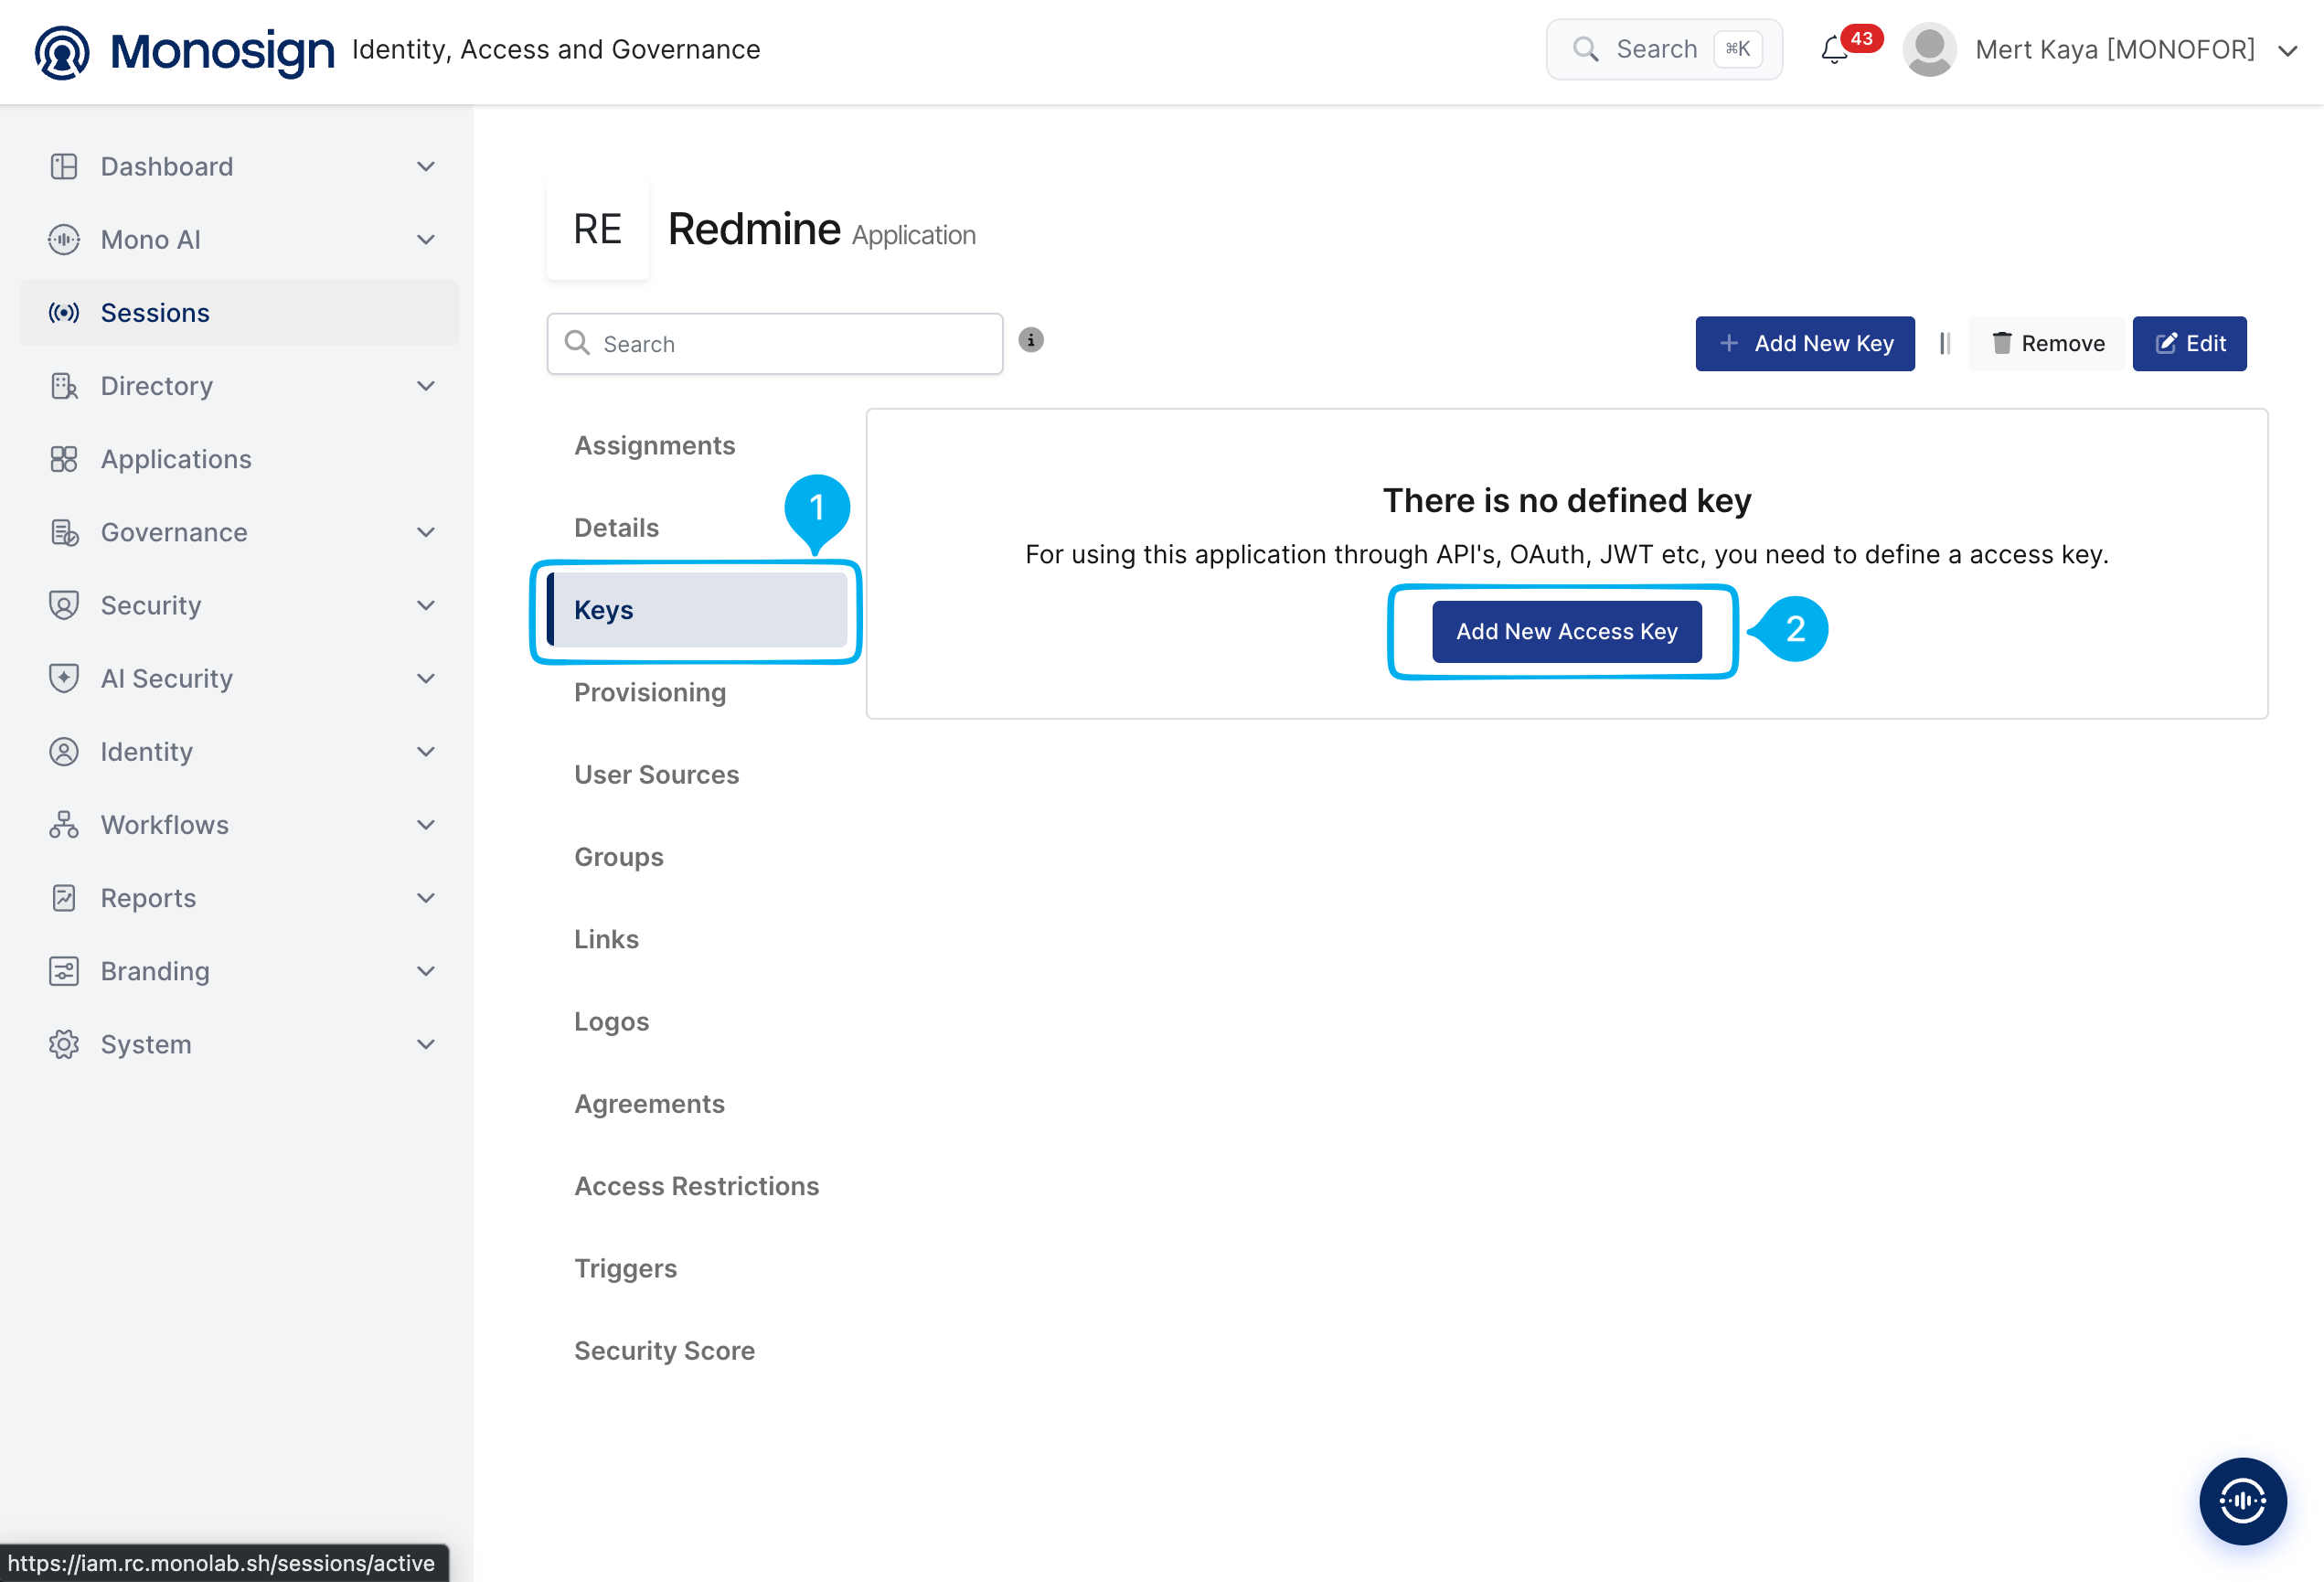
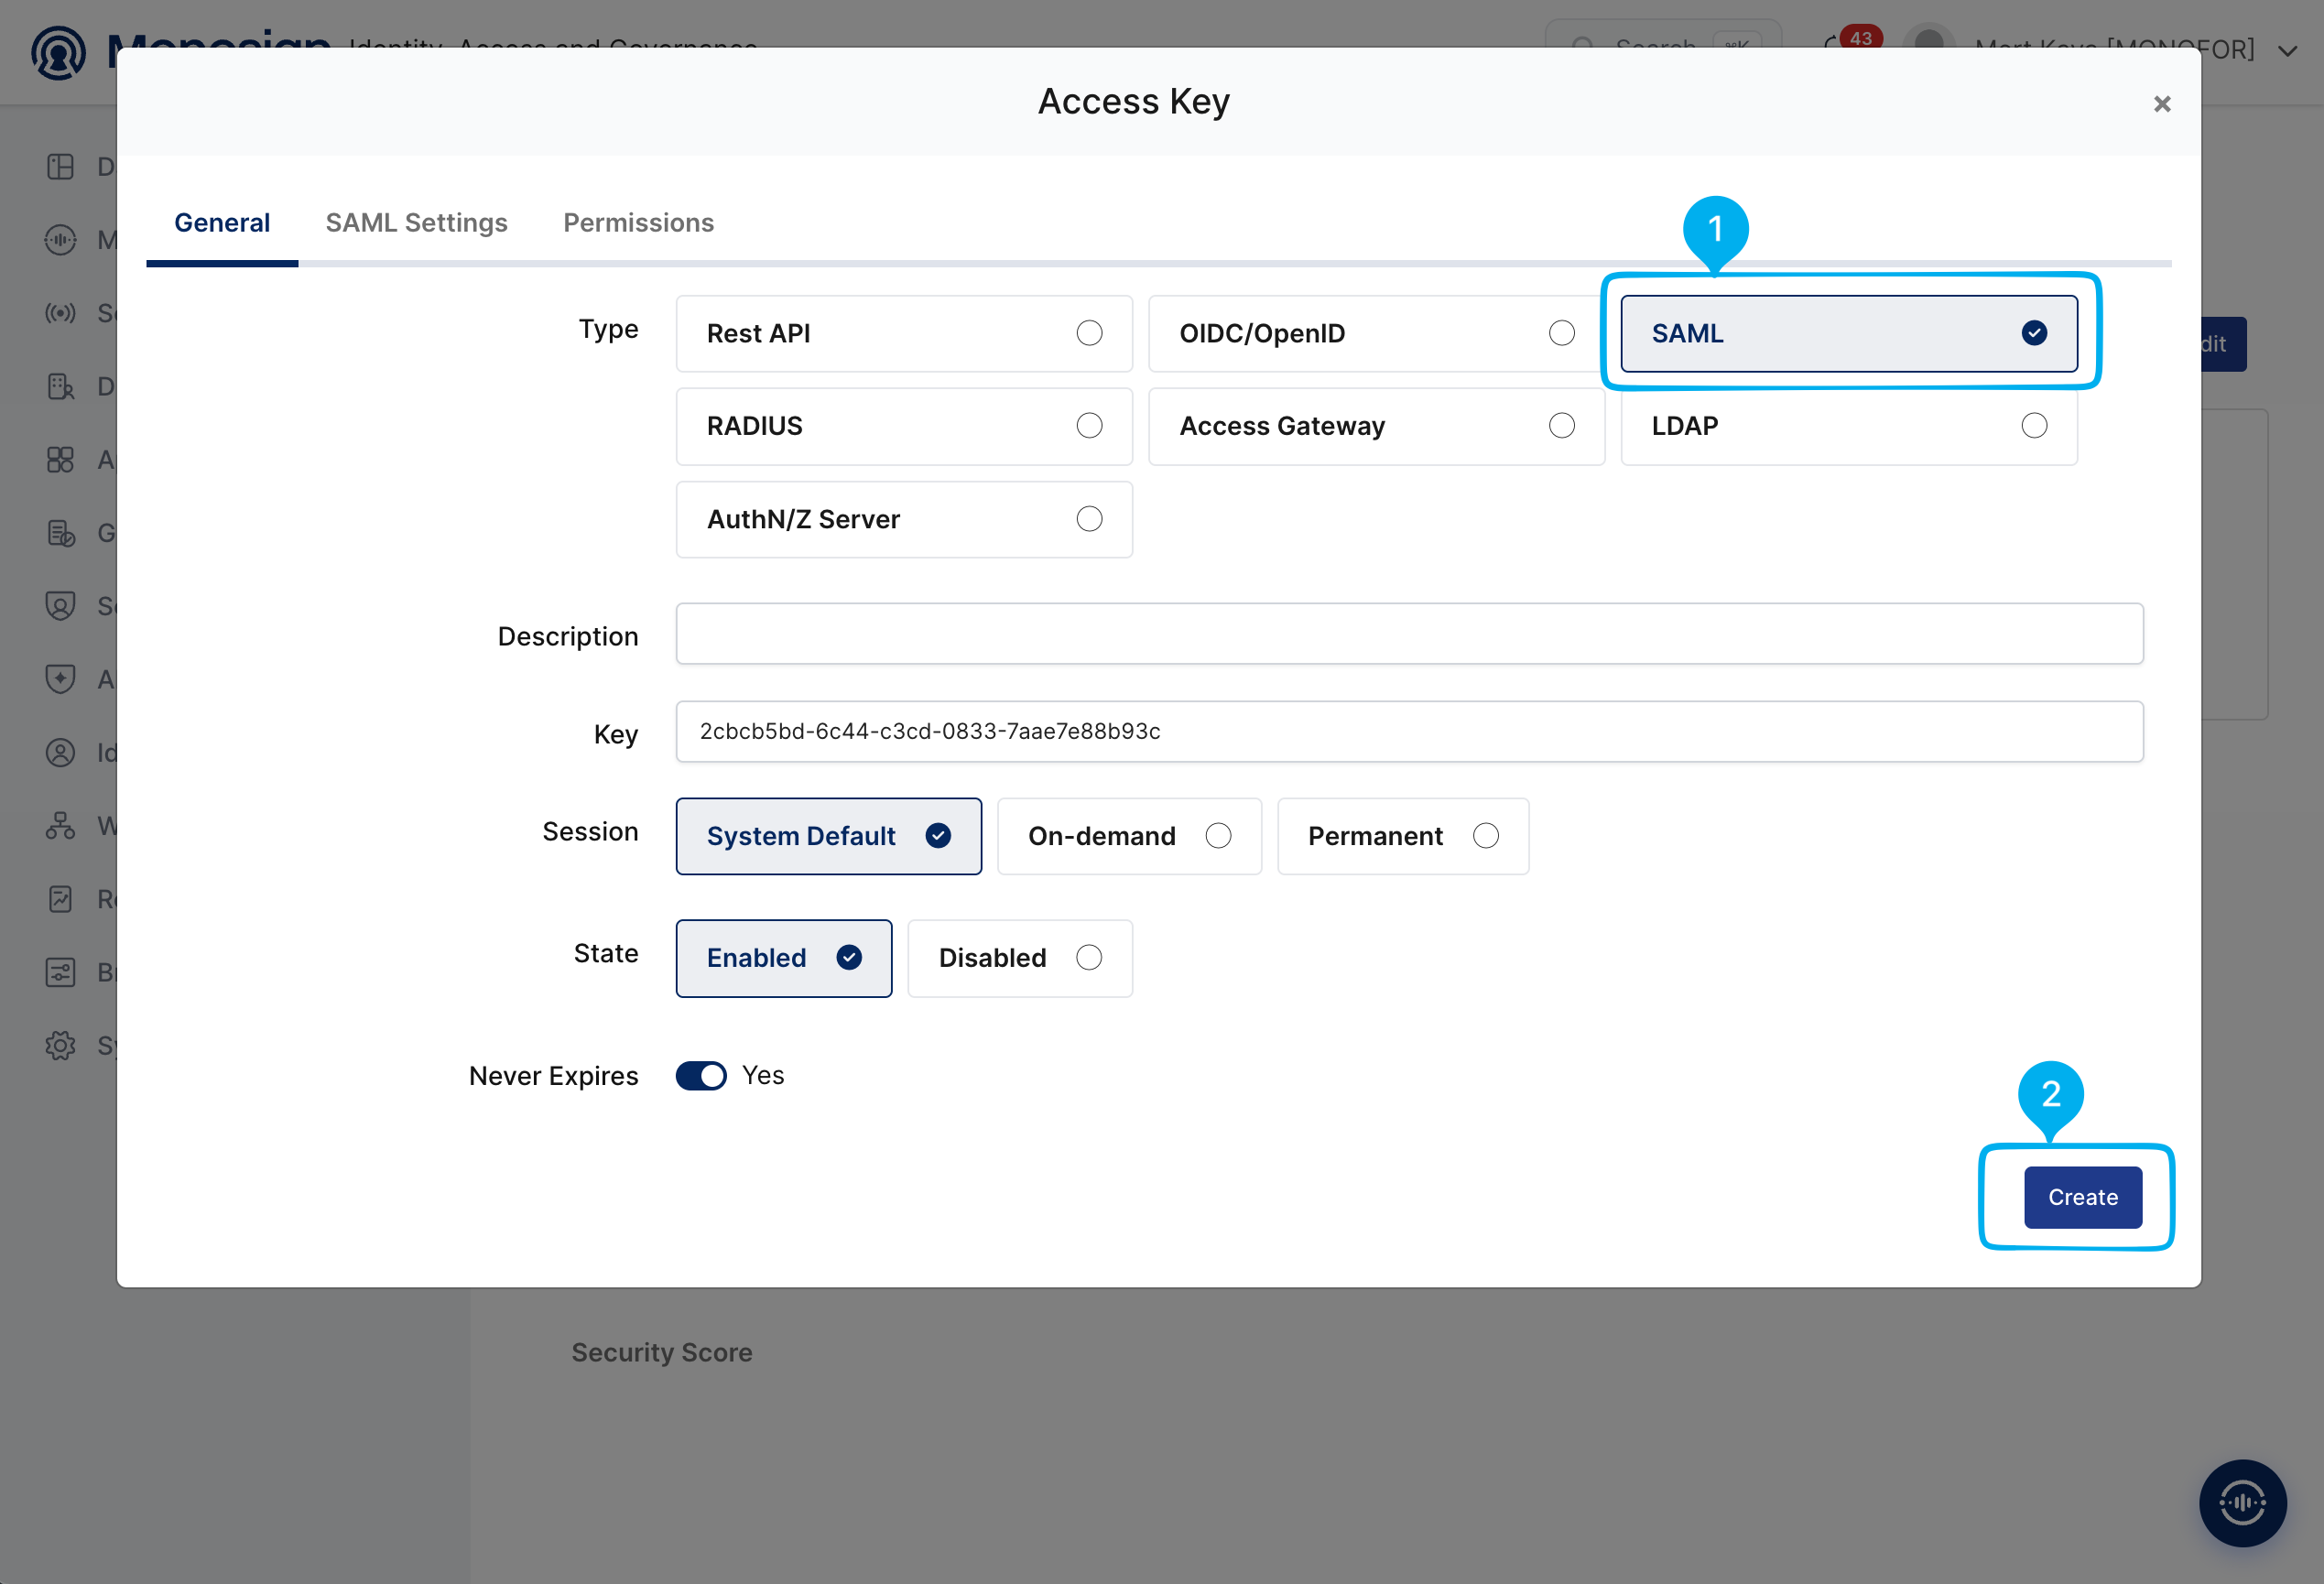
We will need this information while we configure the Redmine application.
|
Property |
Value |
Options |
|---|---|---|
|
Key Type |
SAML |
Rest API, OAuth 2.0, JWT, OIDC/OpenID, SAML, RADIUS, Access Gateway, LDAP, AuthN/Z Server |
|
Expiration |
Lifetime |
Lifetime or Specific Date/Time - By Default Lifetime is Enabled. |
Configuration details for the Redmine application are provided as follows:
Change ACS (Assertion Consumer Url), Entity Id, NameId Format, Name Id, Logout Url and Extra Attributes.
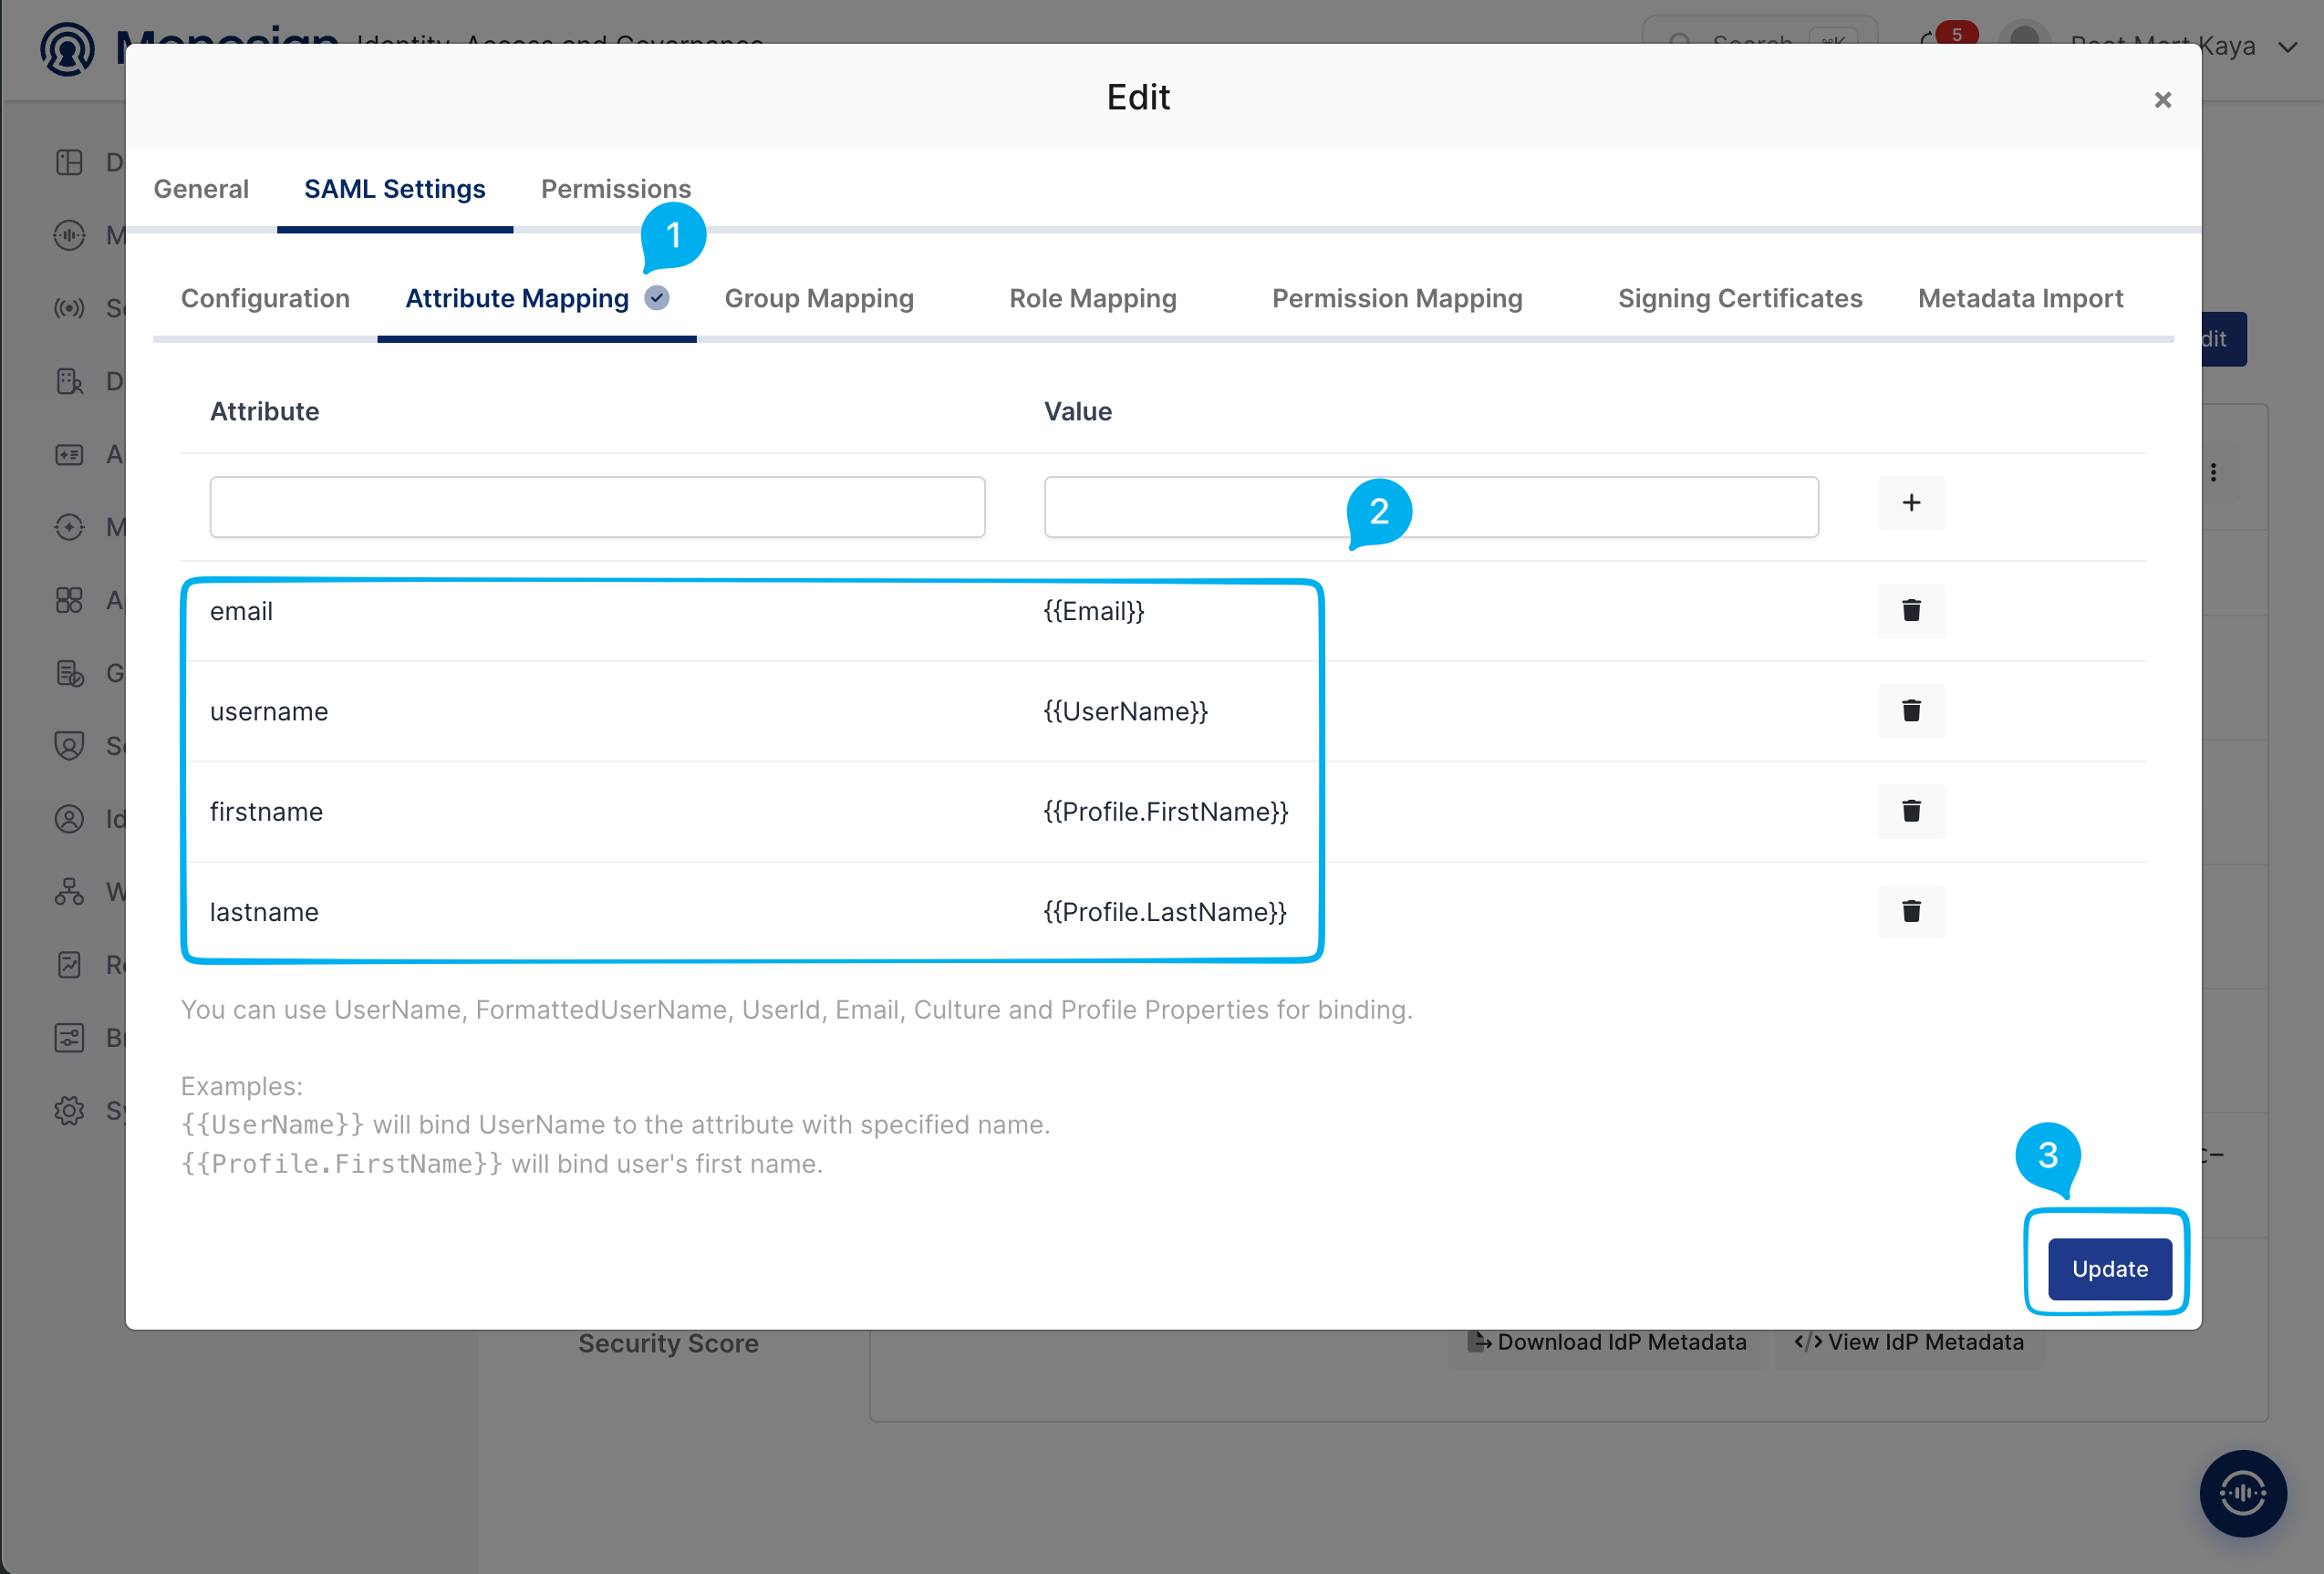
|
Property |
Value |
|---|---|
|
Assertion Consumer Url |
|
|
Entity Id |
|
|
Logout Url |
|
|
NameId Format |
|
|
Name Id |
|
|
Extra Attributes |
|
⚠️ Redmine requires First name and Last name to be non-empty for every user. Make sure the Monosign user profiles used to sign in to Redmine have these fields filled in, otherwise the login will fail with a validation error on first (on-the-fly) creation.
To ensure that the application has access to user groups, follow these steps:
-
If the application hasn't been configured yet, click the "Edit" option for the application.
-
In the application settings, navigate to the "Source, Provider, and Profile" tab.
-
Configure the "User Access Type" and "User Group Access Type" as "Only Assigned Users."
Configuring this setting will allow the application to access by user groups when users sign in.
|
Property |
Description |
Options |
|---|---|---|
|
User Access Type |
Defines which Users will access to this application. |
Only Assigned Users / All Users |
|
User Group Access Type |
Defines application's user group access |
Only Assigned Users / Assigned Users and Defined Sources / All Users |
|
Profile Access Type |
Defines Application's user's profile access |
Restricted - Only restricted user profile attributes / All - All user profile attributes |
2- Configuration Single Sign-On for Redmine
Unlike most plugins, redmine_saml's core SAML settings (IdP URLs, certificate, attribute mapping) are set through a Ruby initializer file, not the admin UI. Only enable/disable style toggles live in Administration > Plugins > Redmine SAML > Configure.
Create config/initializers/saml.rb with the values from your Monosign application key:
# frozen_string_literal: true

require Rails.root.join('plugins/redmine_saml/lib/redmine_saml')
require Rails.root.join('plugins/redmine_saml/lib/redmine_saml/base')

RedmineSaml::Base.configure do |config|
  config.saml = {
    assertion_consumer_service_url: "https://<REDMINE_URL>#{RedmineSaml::CALLBACK_PATH}",
    sp_entity_id: "https://<REDMINE_URL>#{RedmineSaml::METADATA_PATH}",
    single_logout_service_url: "https://<REDMINE_URL>#{RedmineSaml::LOGOUT_SERVICE_PATH}",

    idp_sso_service_url: 'https://<MONOSIGN_URL>/saml/<KEY>/login',
    idp_slo_service_url: 'https://<MONOSIGN_URL>/saml/<KEY>/logout',
    idp_cert: '-----BEGIN CERTIFICATE-----
<CERTIFICATE_FROM_MONOSIGN_KEY>
-----END CERTIFICATE-----',
    name_identifier_format: 'urn:oasis:names:tc:SAML:2.0:nameid-format:persistent',
    name_identifier_value: 'mail',

    attribute_mapping: {
      login: 'extra|raw_info|username',
      mail: 'extra|raw_info|email',
      firstname: 'extra|raw_info|firstname',
      lastname: 'extra|raw_info|lastname',
      admin: 'extra|raw_info|admin'
    }
  }

  config.on_login do |omniauth_hash, user|
  end
end
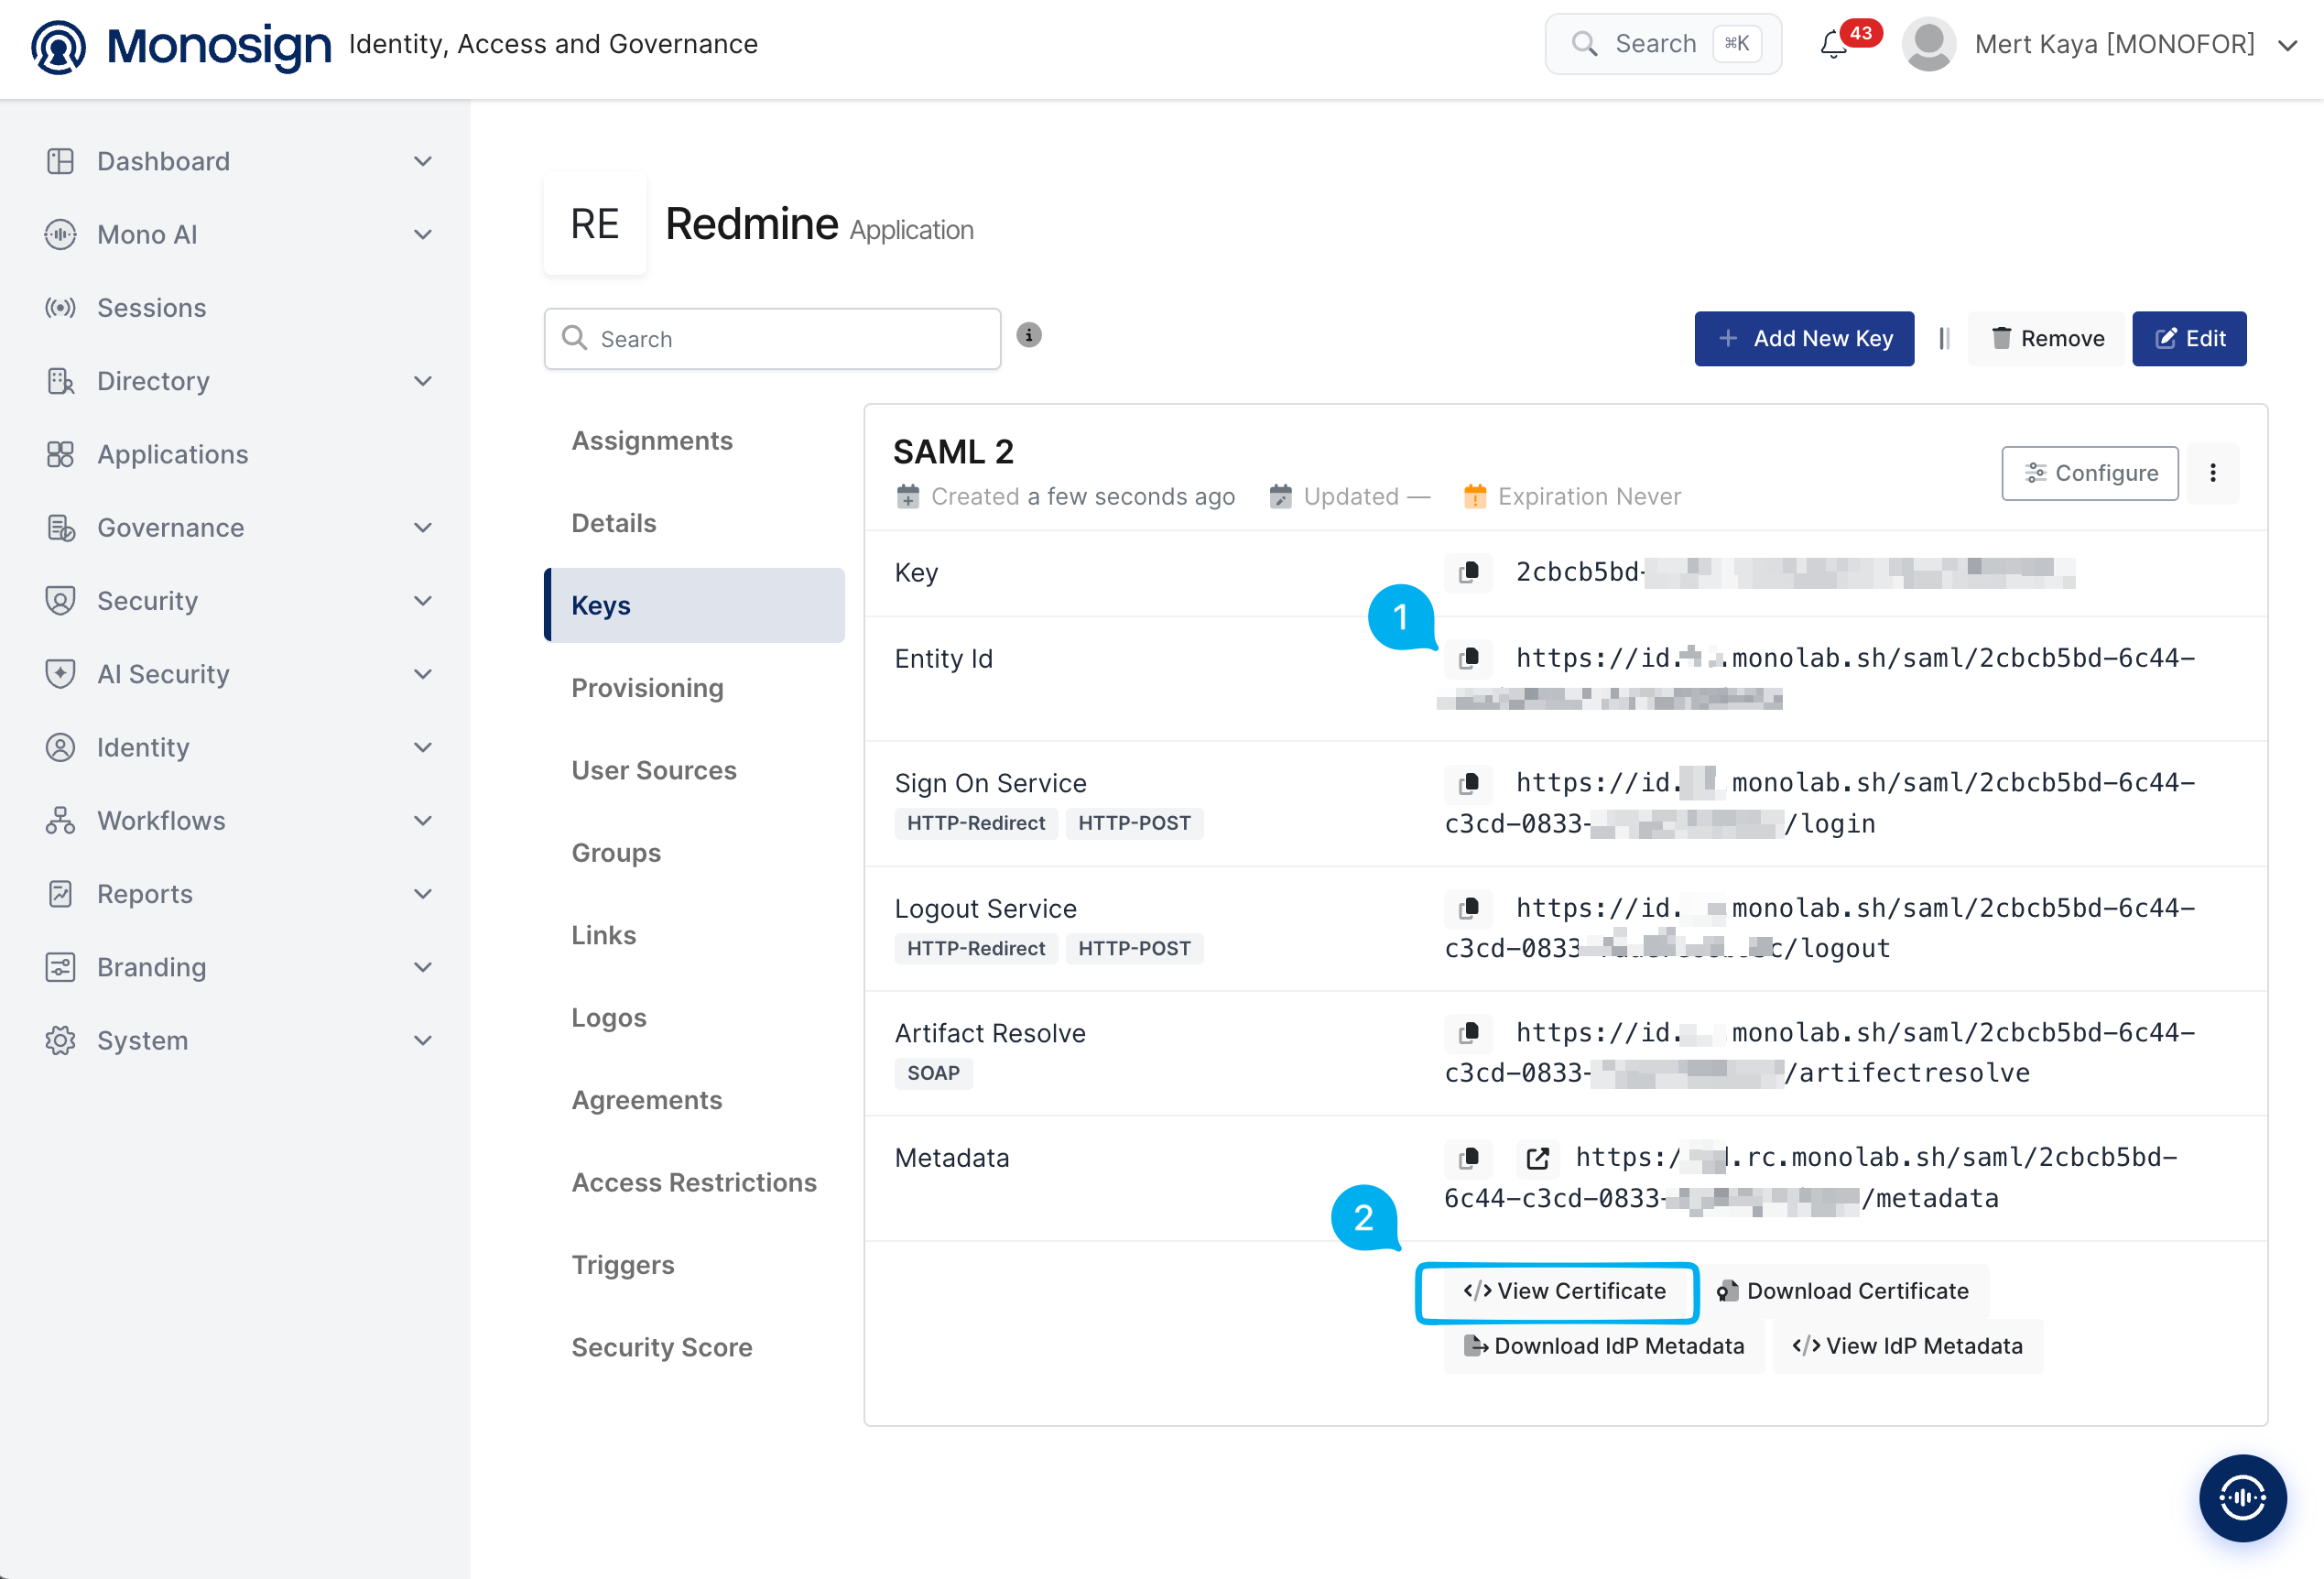
The idp_sso_service_url, idp_slo_service_url and idp_cert values come from the Monosign application key's Sign On Service, Logout Service and View Certificate / Download Certificate entries created in step 1.
Restart Redmine so the initializer is loaded, then verify the SP metadata endpoint responds:
curl -s https://<REDMINE_URL>/auth/saml/metadata
Finally, go to Administration > Plugins > Redmine SAML > Configure and enable:
|
Setting |
Purpose |
|---|---|
|
Enabled |
Turns SAML login on |
|
Login label |
Text shown on the "Login with SSO" button |
|
Replace Redmine login |
Hides the native username/password form, SSO becomes the only login path |
|
On-the-fly user creation |
Creates a Redmine user automatically on first successful SAML login |
3- Assign a user to the Redmine application
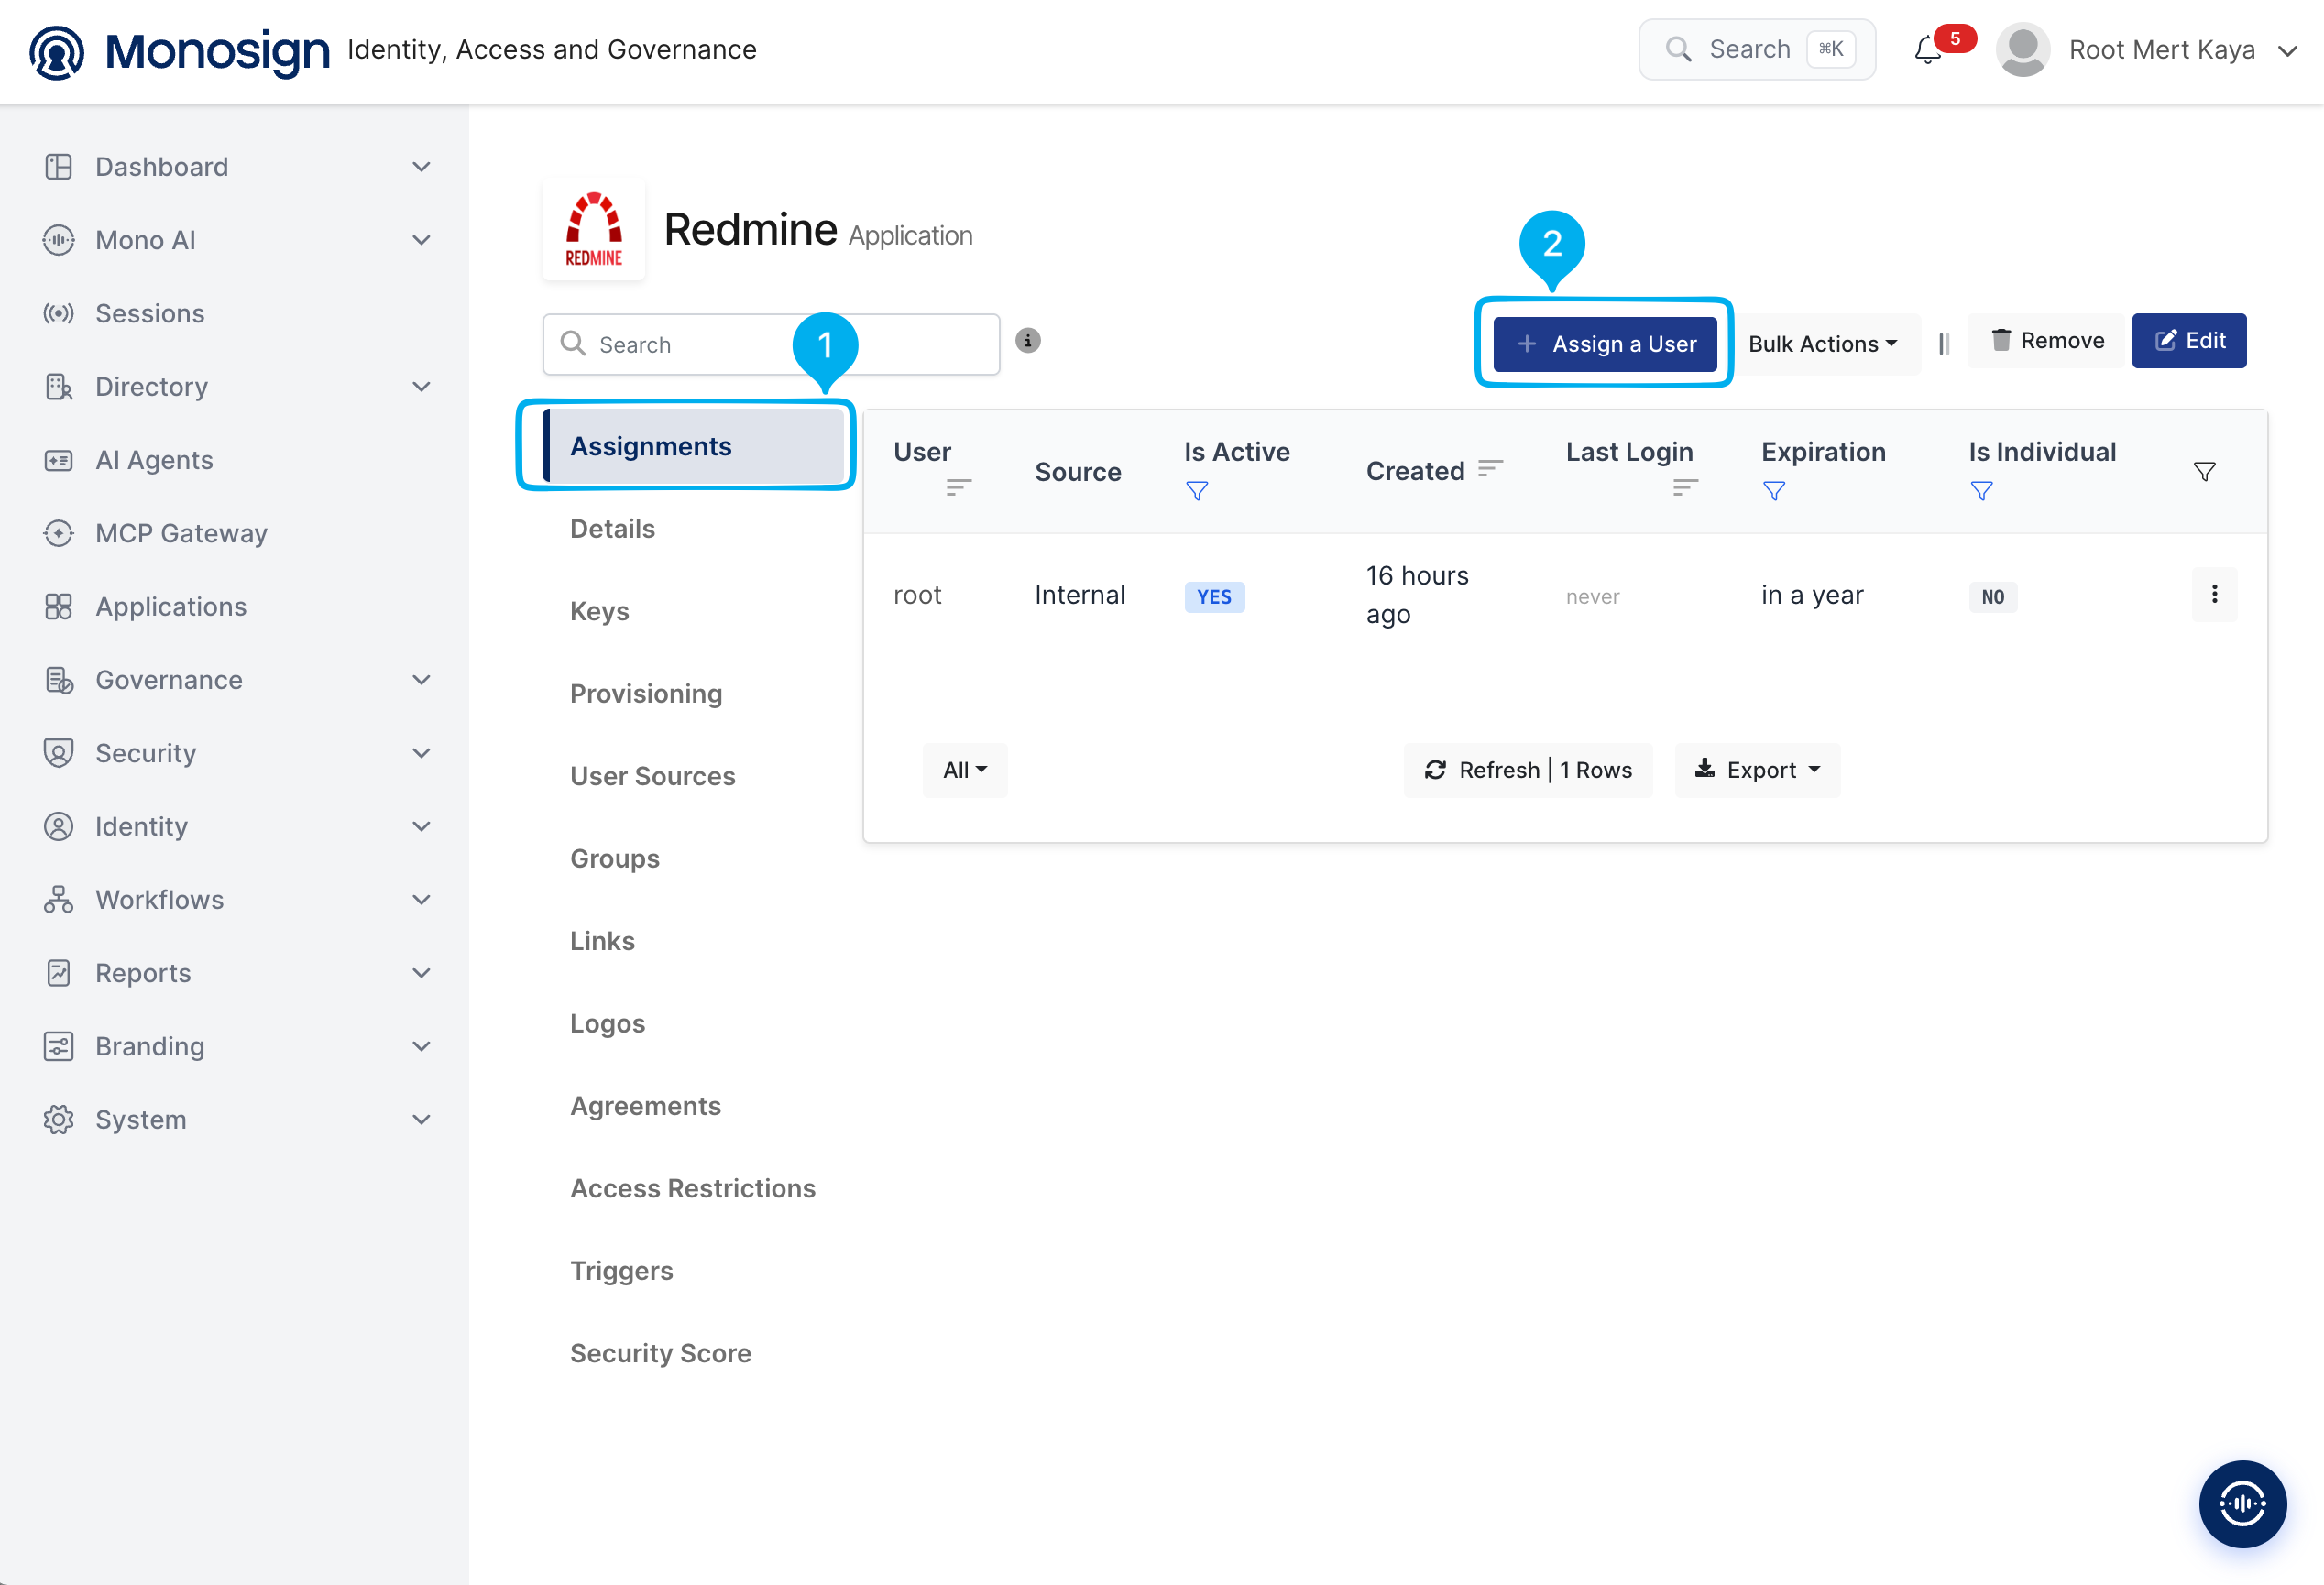
Please follow below instructions on how to assign a user to the Redmine application. Give the user access from the application's Access tab, and make sure their Monosign profile has First name, Last name and Email filled in — Redmine will refuse to create the account otherwise.
4- Sign In Test
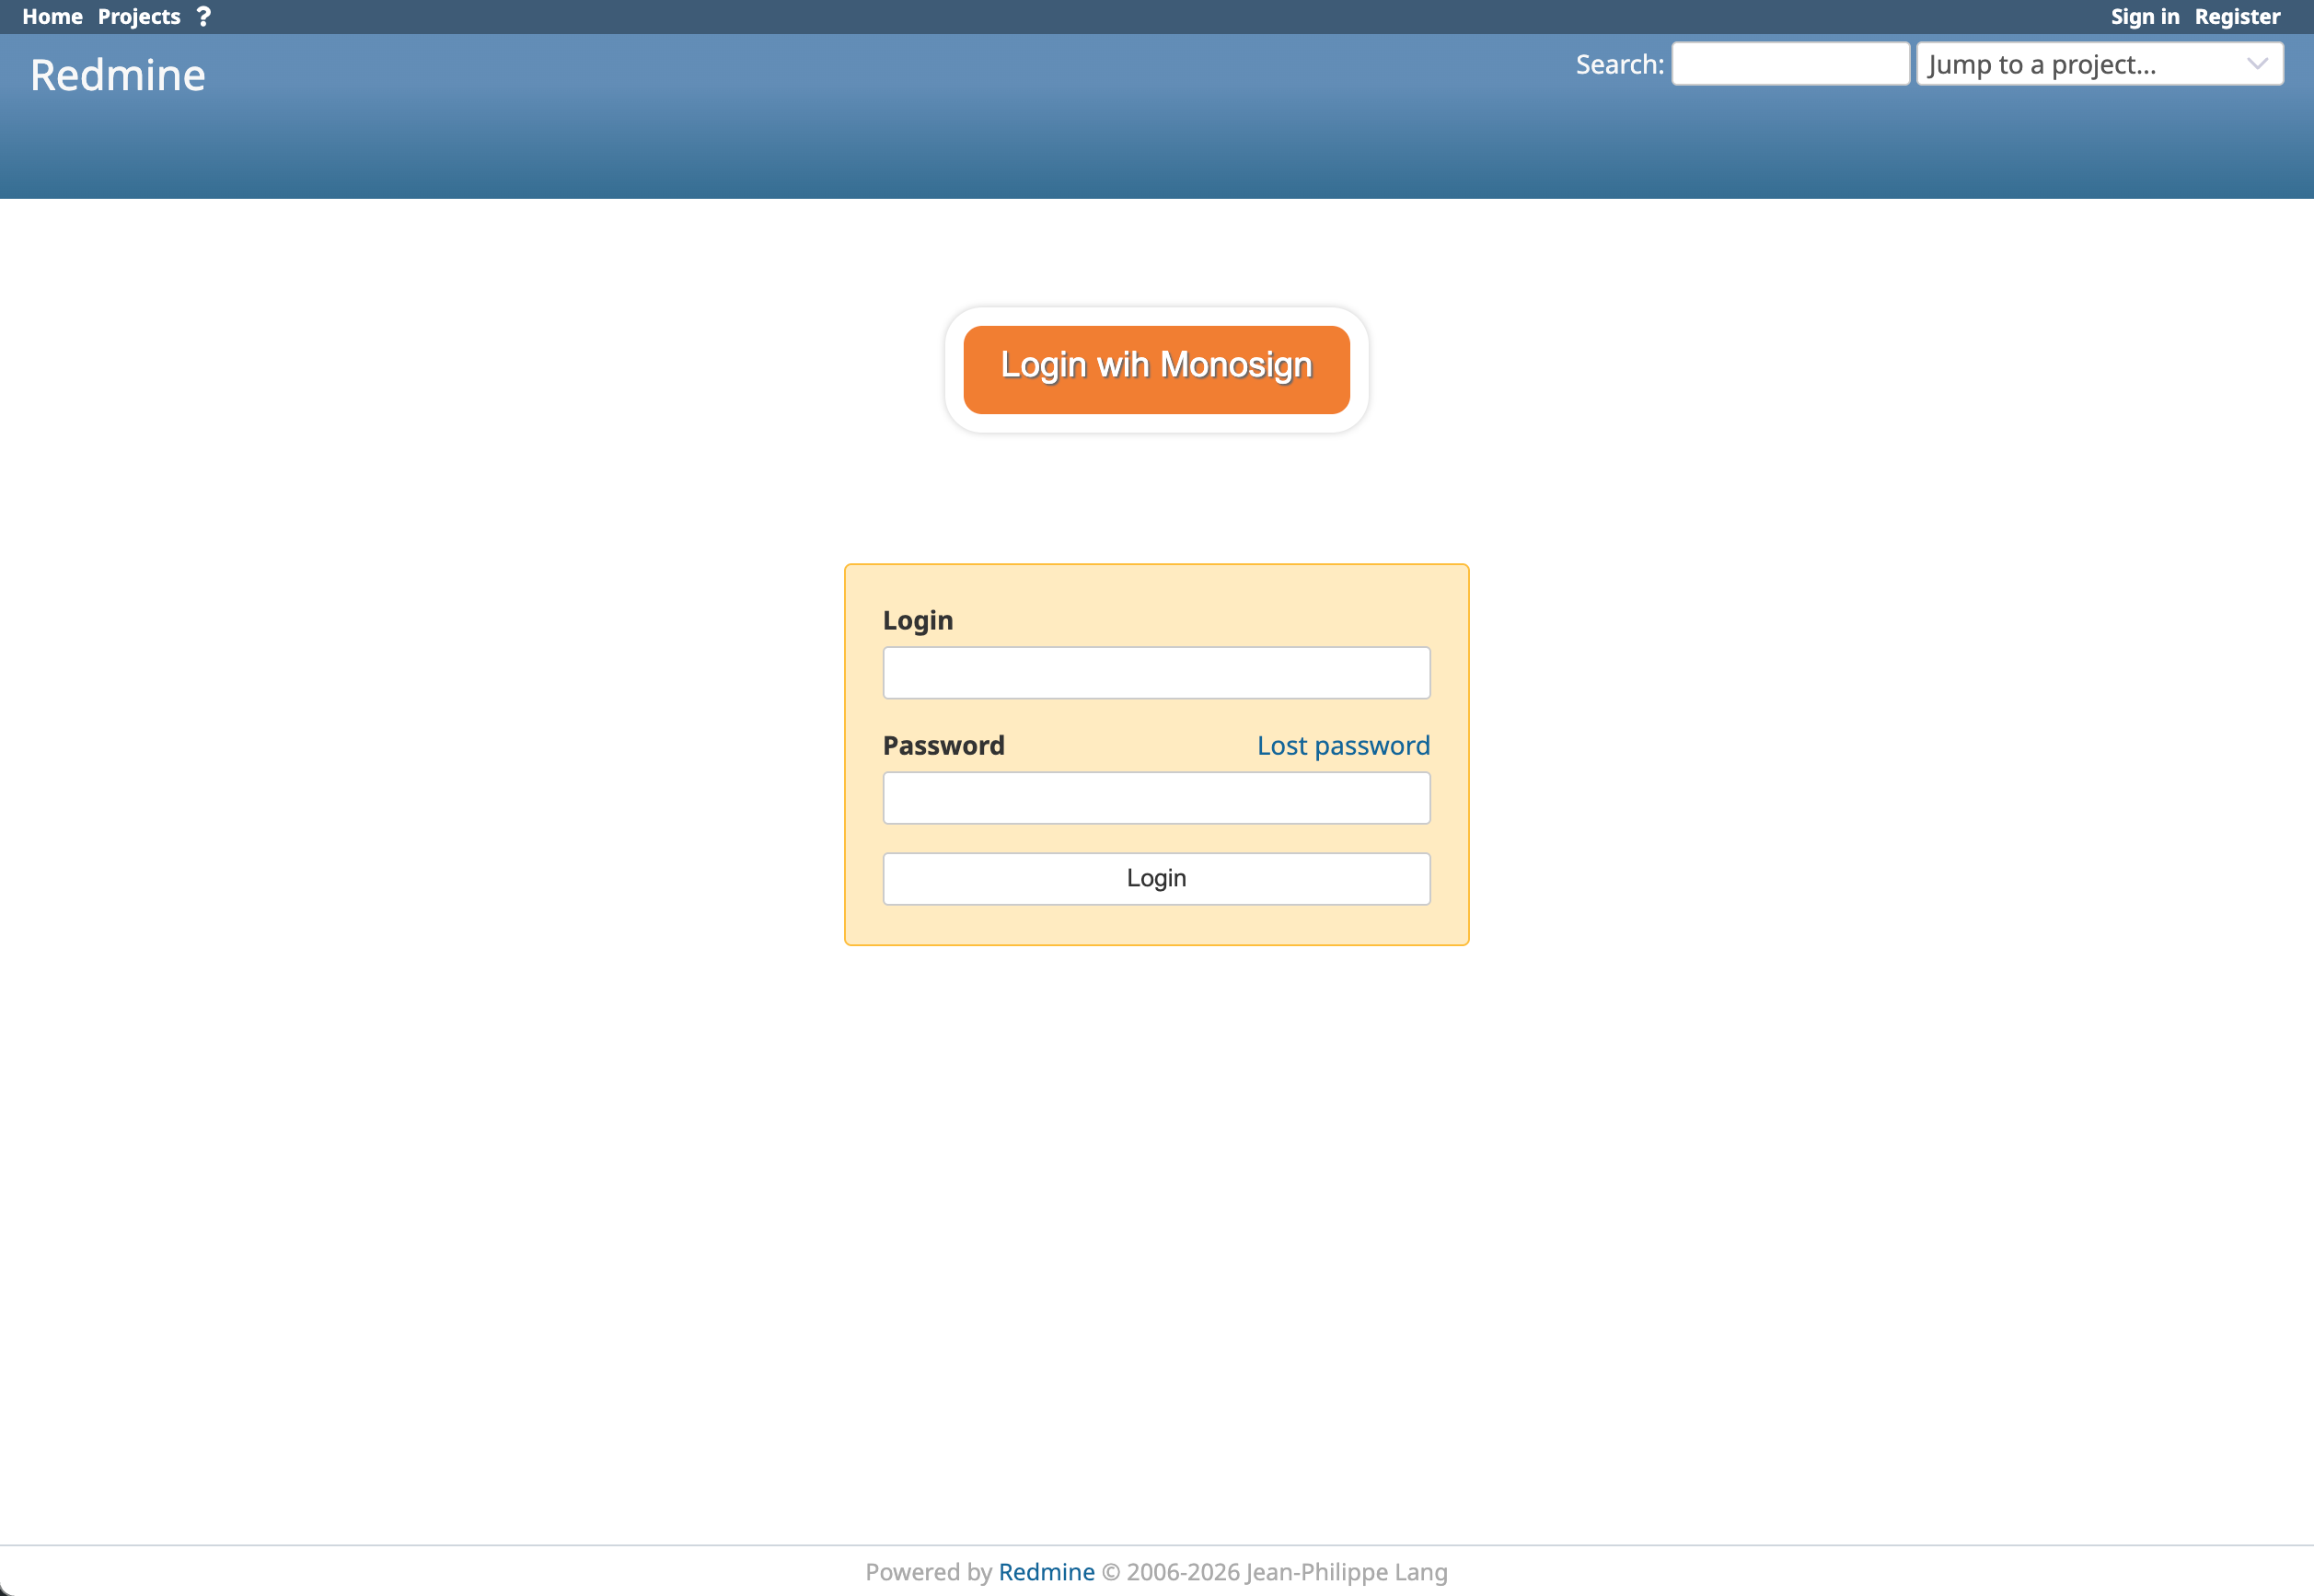
Now try to login. Navigate to your Redmine login page — you will see a Login with SSO button in addition to (or instead of, if "Replace Redmine login" is enabled) the local login form.
Click Login with SSO. If everything is well configured, you will be redirected to the Monosign login page. Log in passwordless with your QR code or with your username and password.
Once authenticated, you will be redirected back to Redmine already logged in as the mapped user.