
This document explains how to implement Monosign with Dynatrace. It covers Single Sign-On using SAML, where Monosign acts as the Identity Provider (IdP) and Dynatrace as the Service Provider (SP).
Instructions
This documentation contains 5 main steps for integration.
-
Creating an Application on Monosign
-
Configuration Single Sign-On for Dynatrace
-
Assign a user to the Dynatrace application
-
Sign In Test
-
Troubleshooting
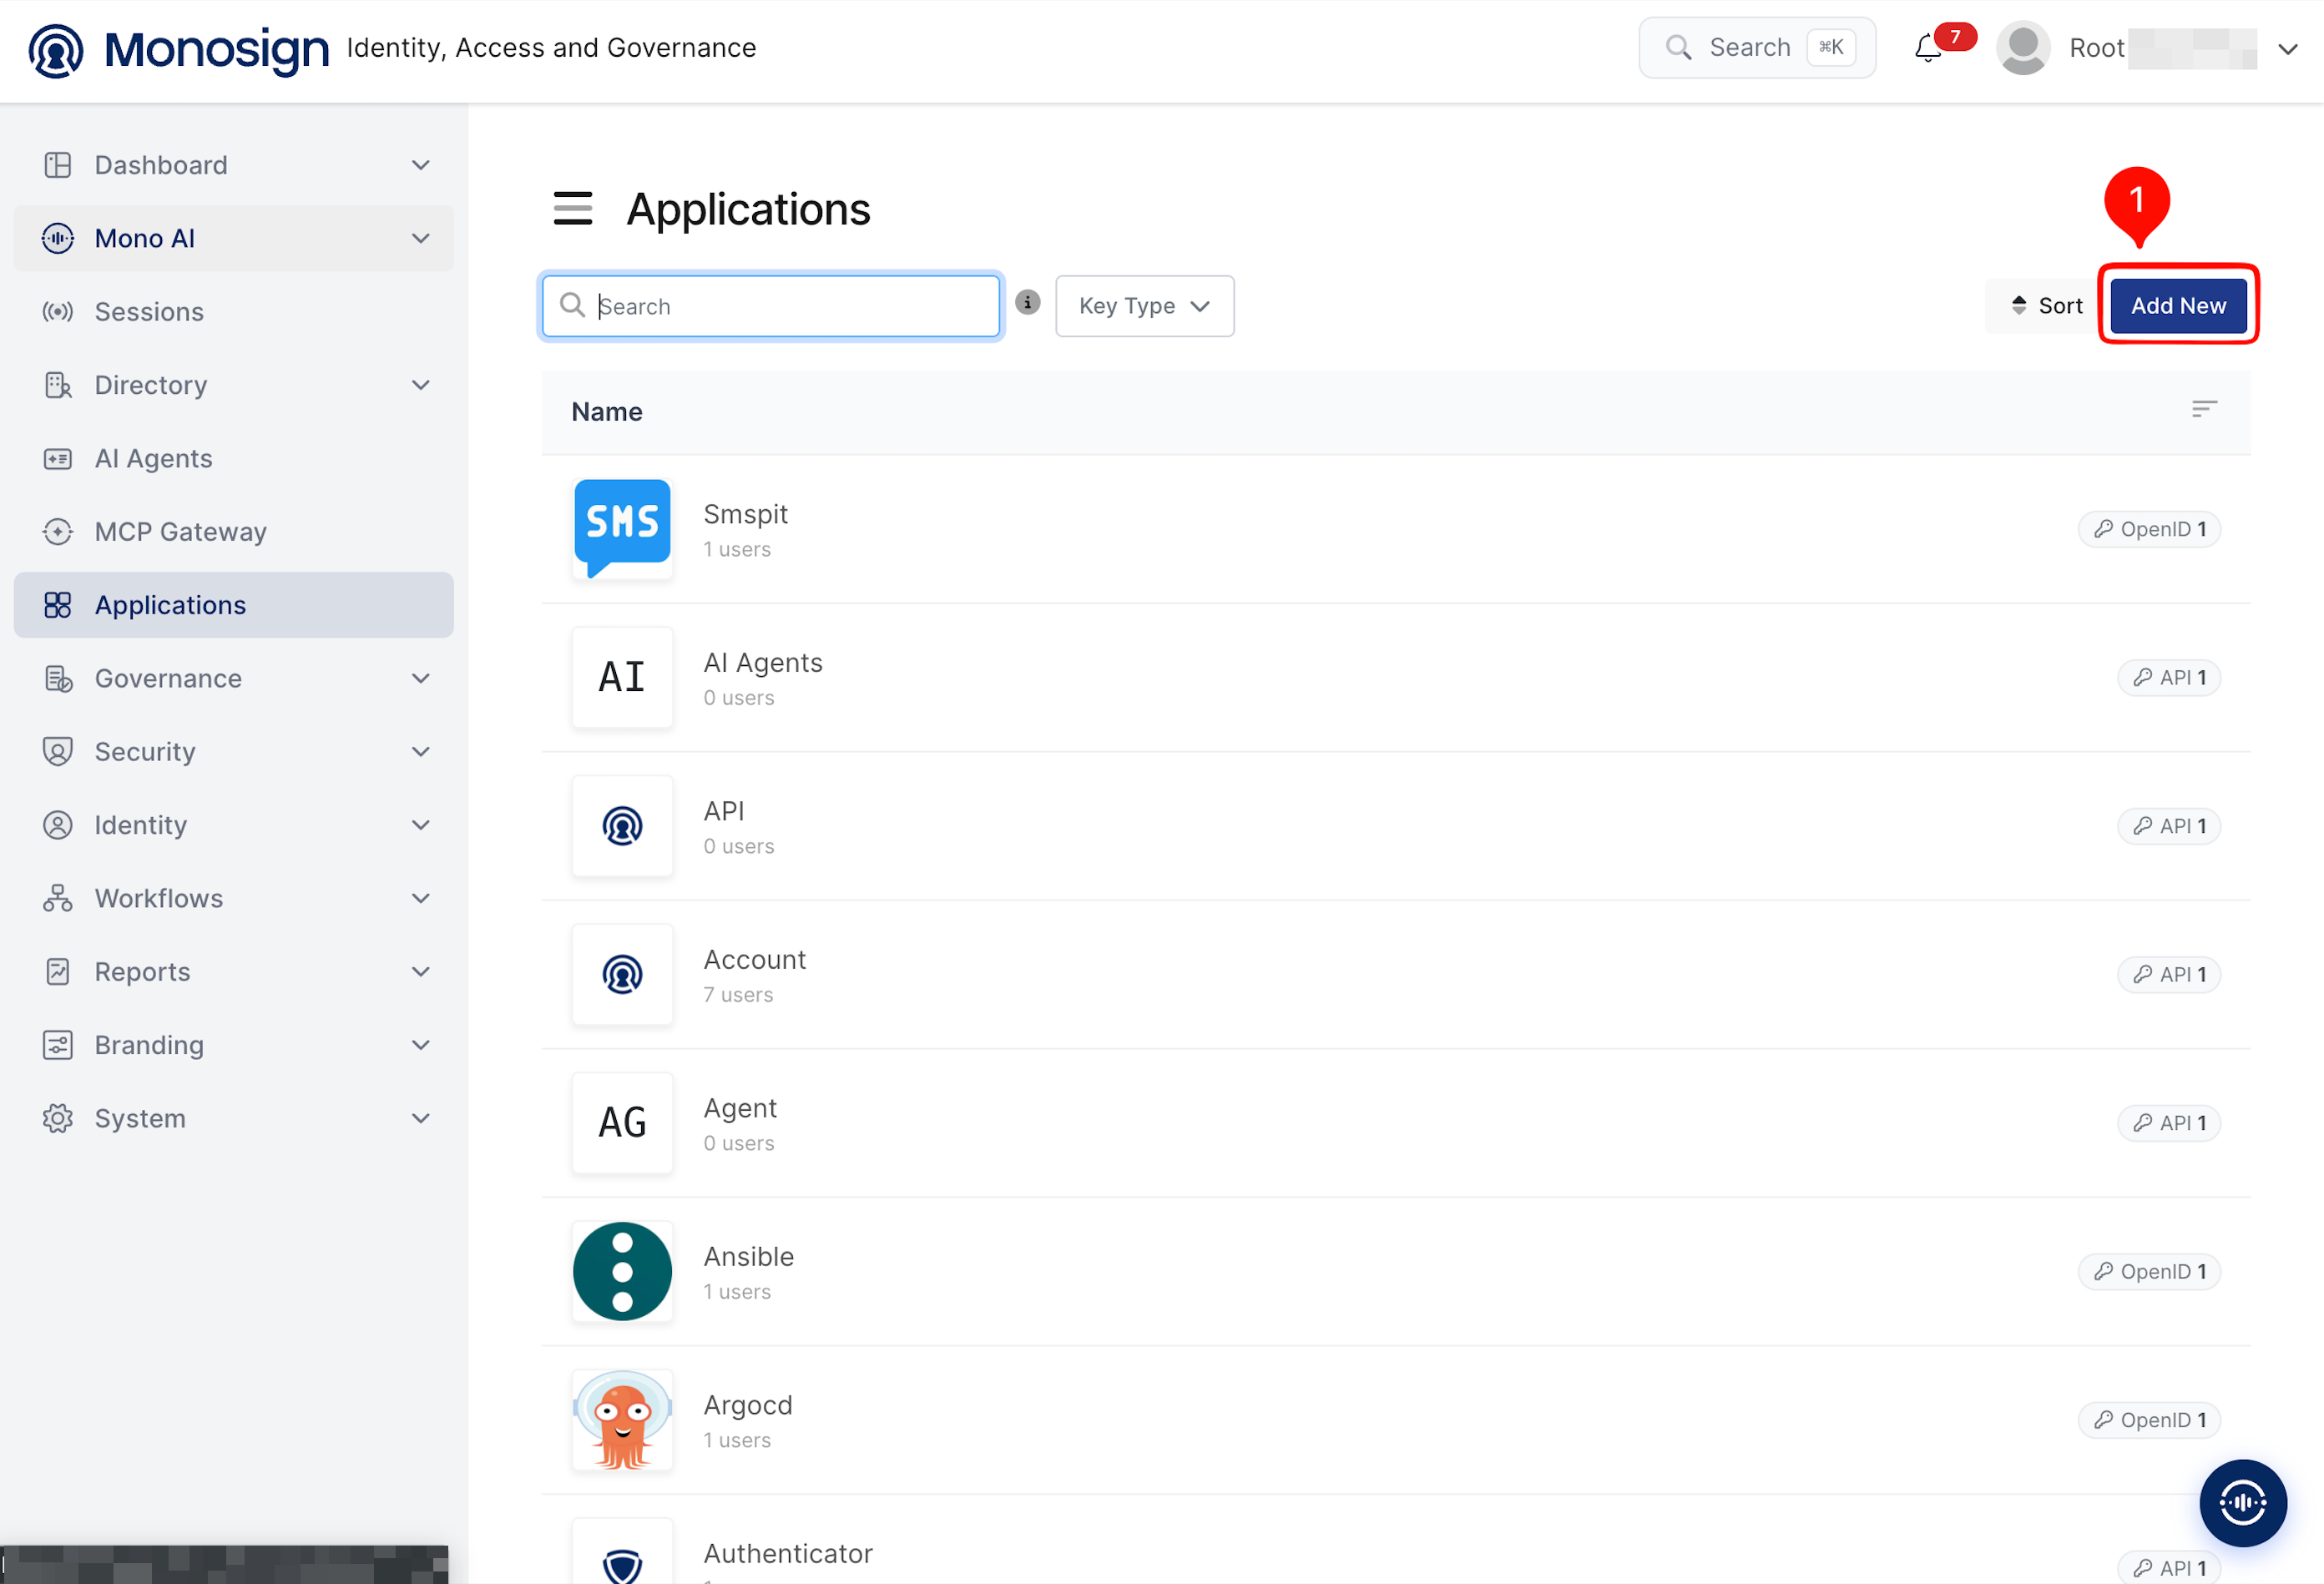
1- Creating an Application on Monosign
Create your application on Monosign and configure your access policy. Once you create, click "Keys" and add a new Access Key for SAML Key for access.
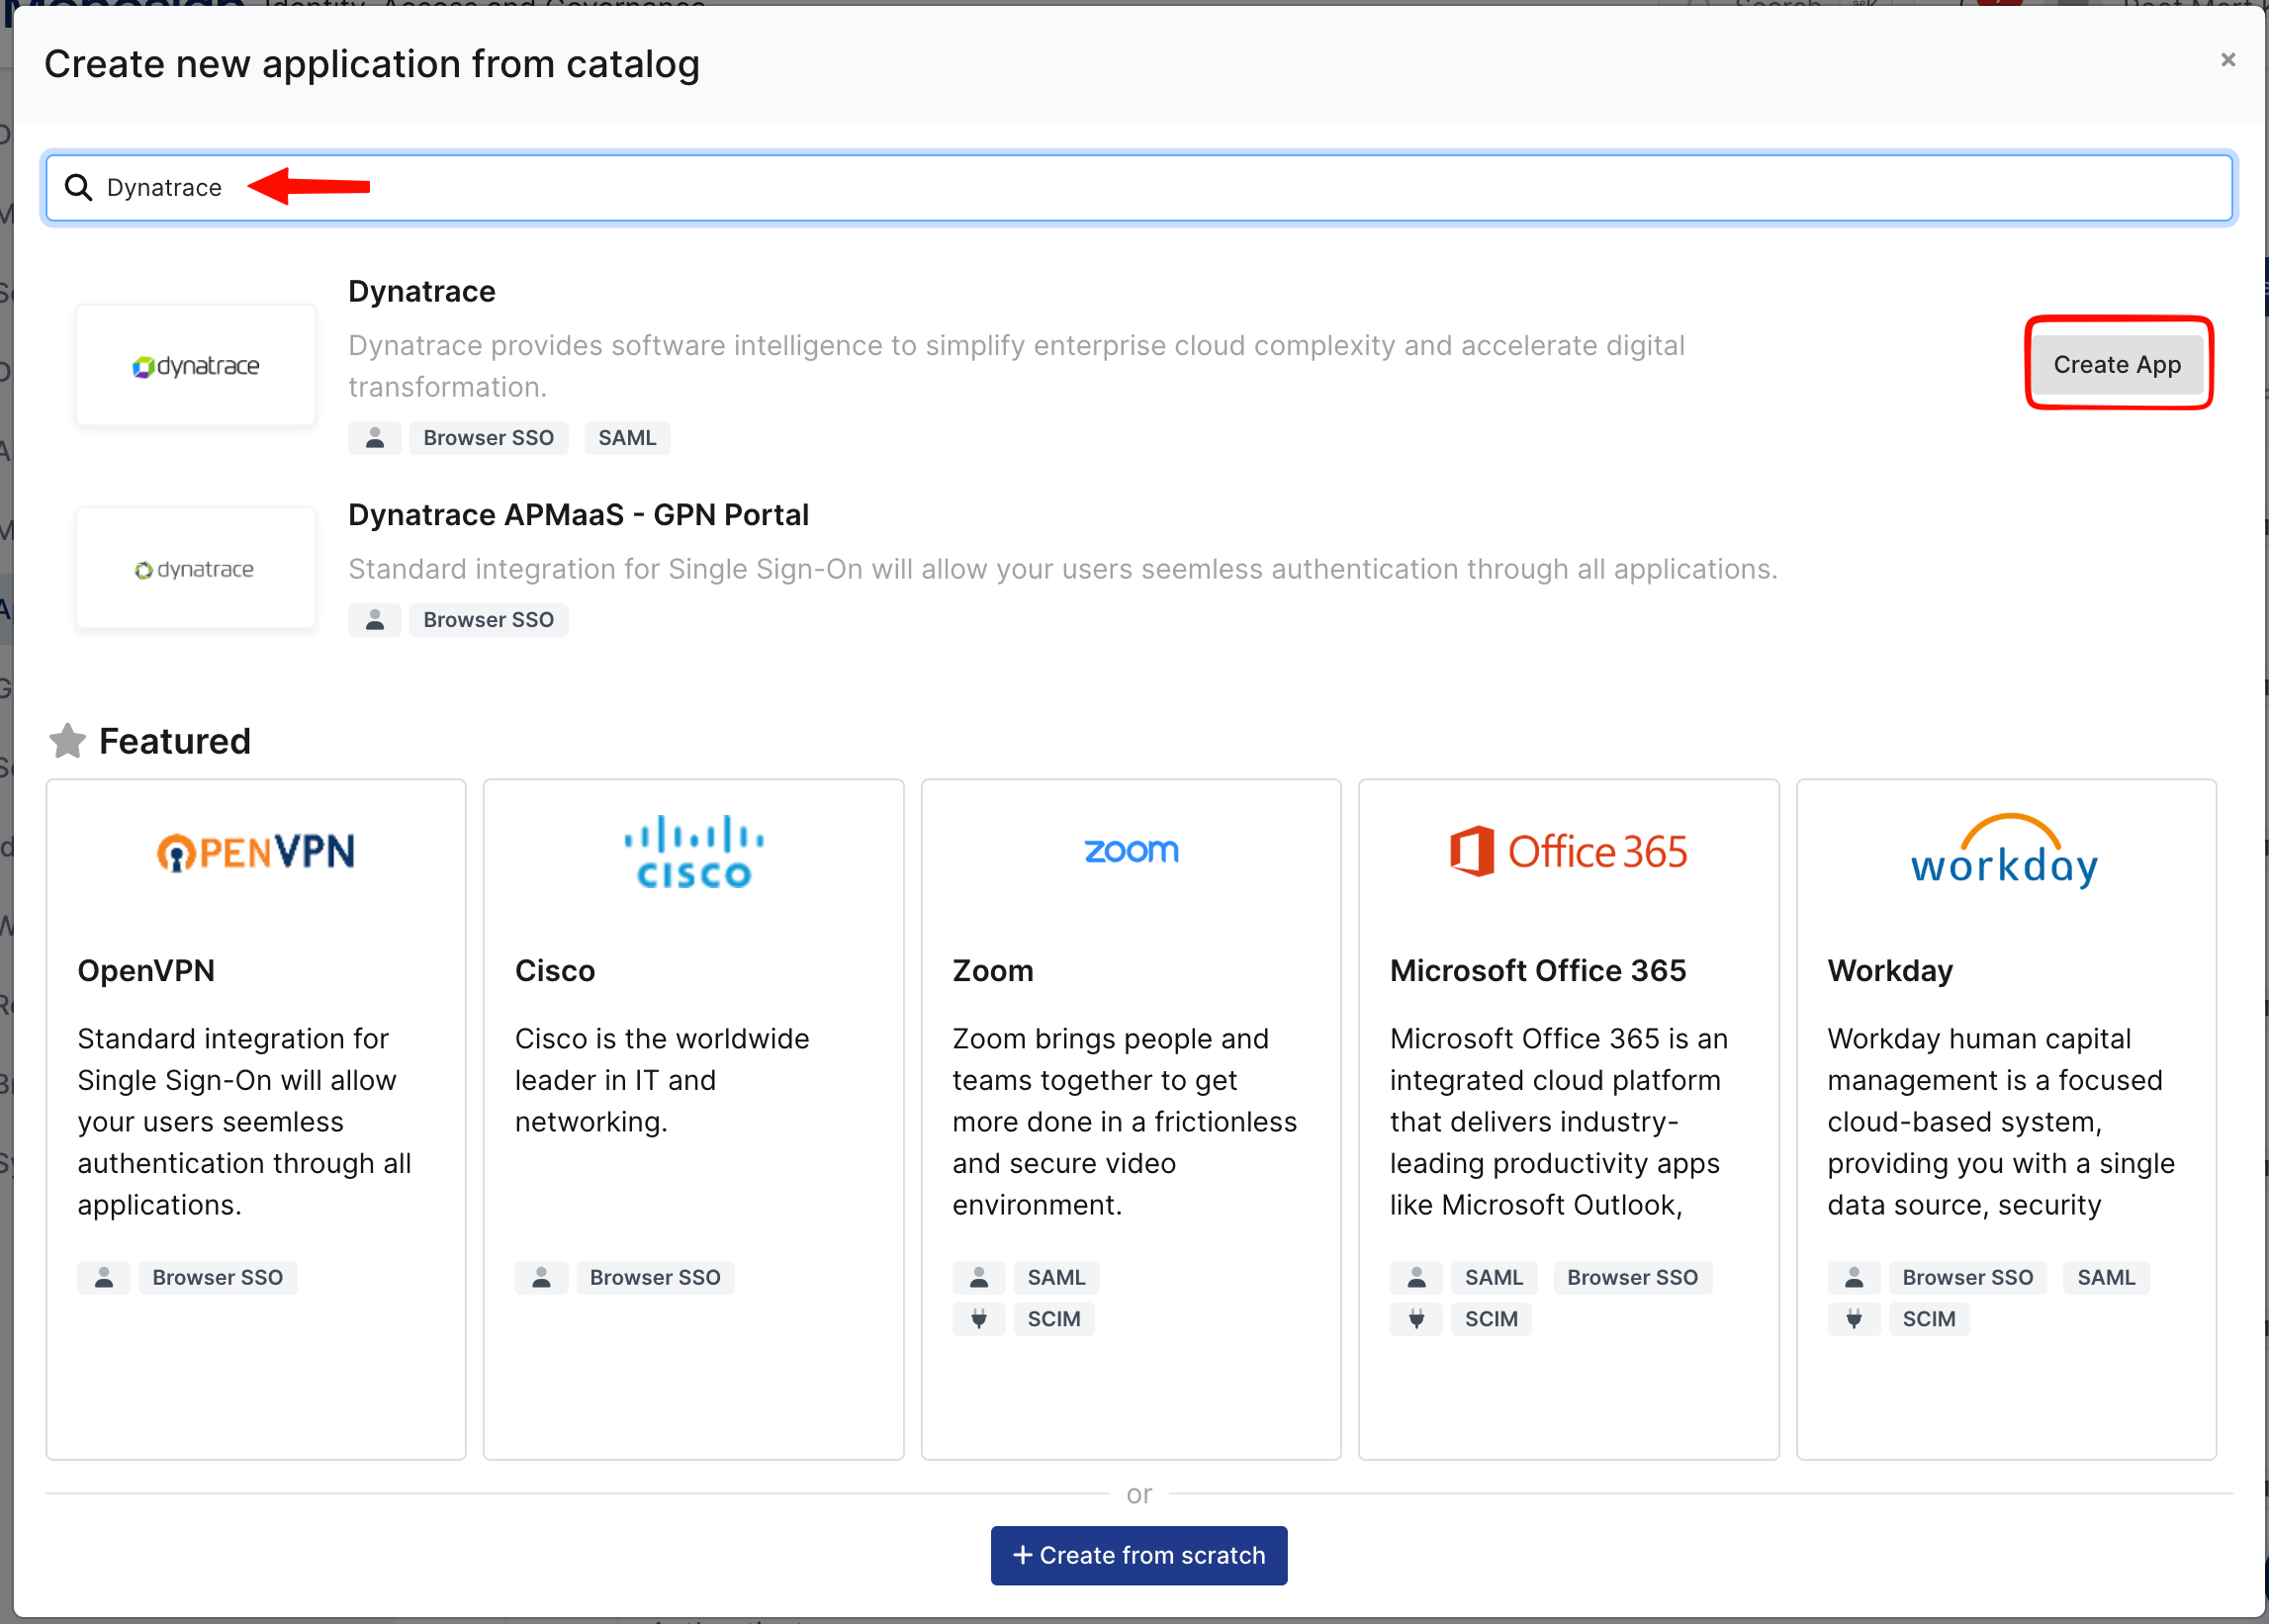
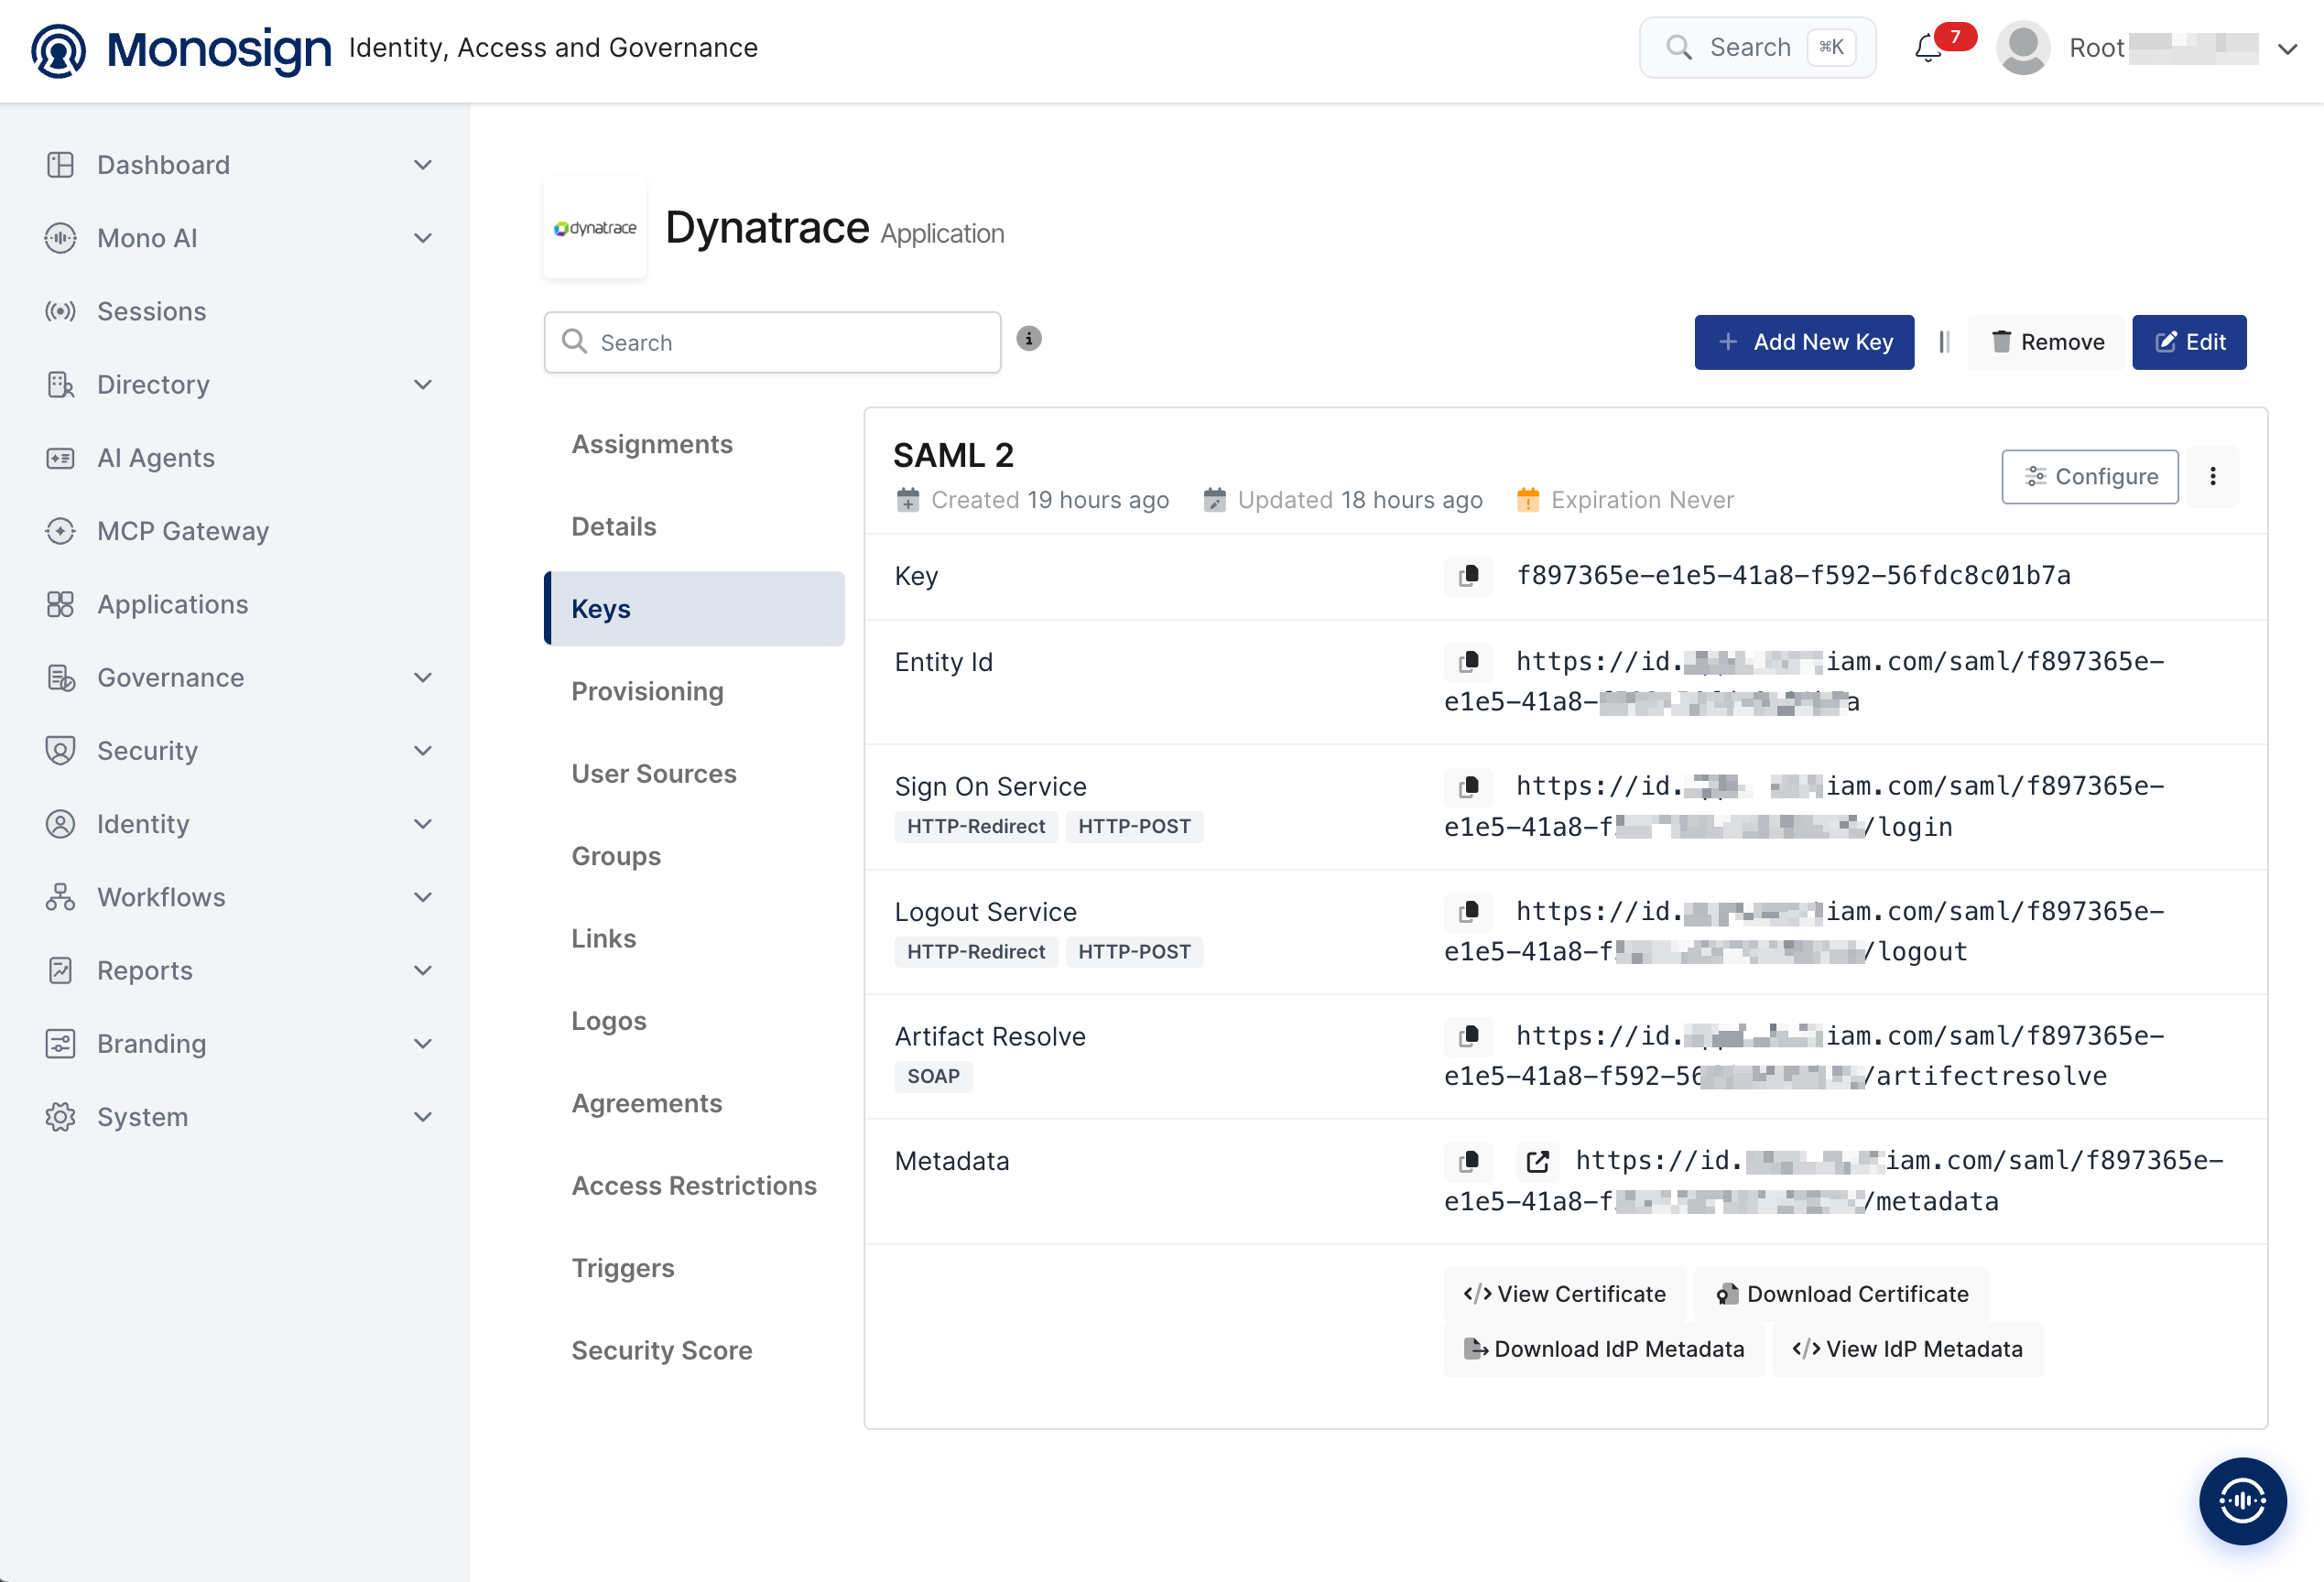
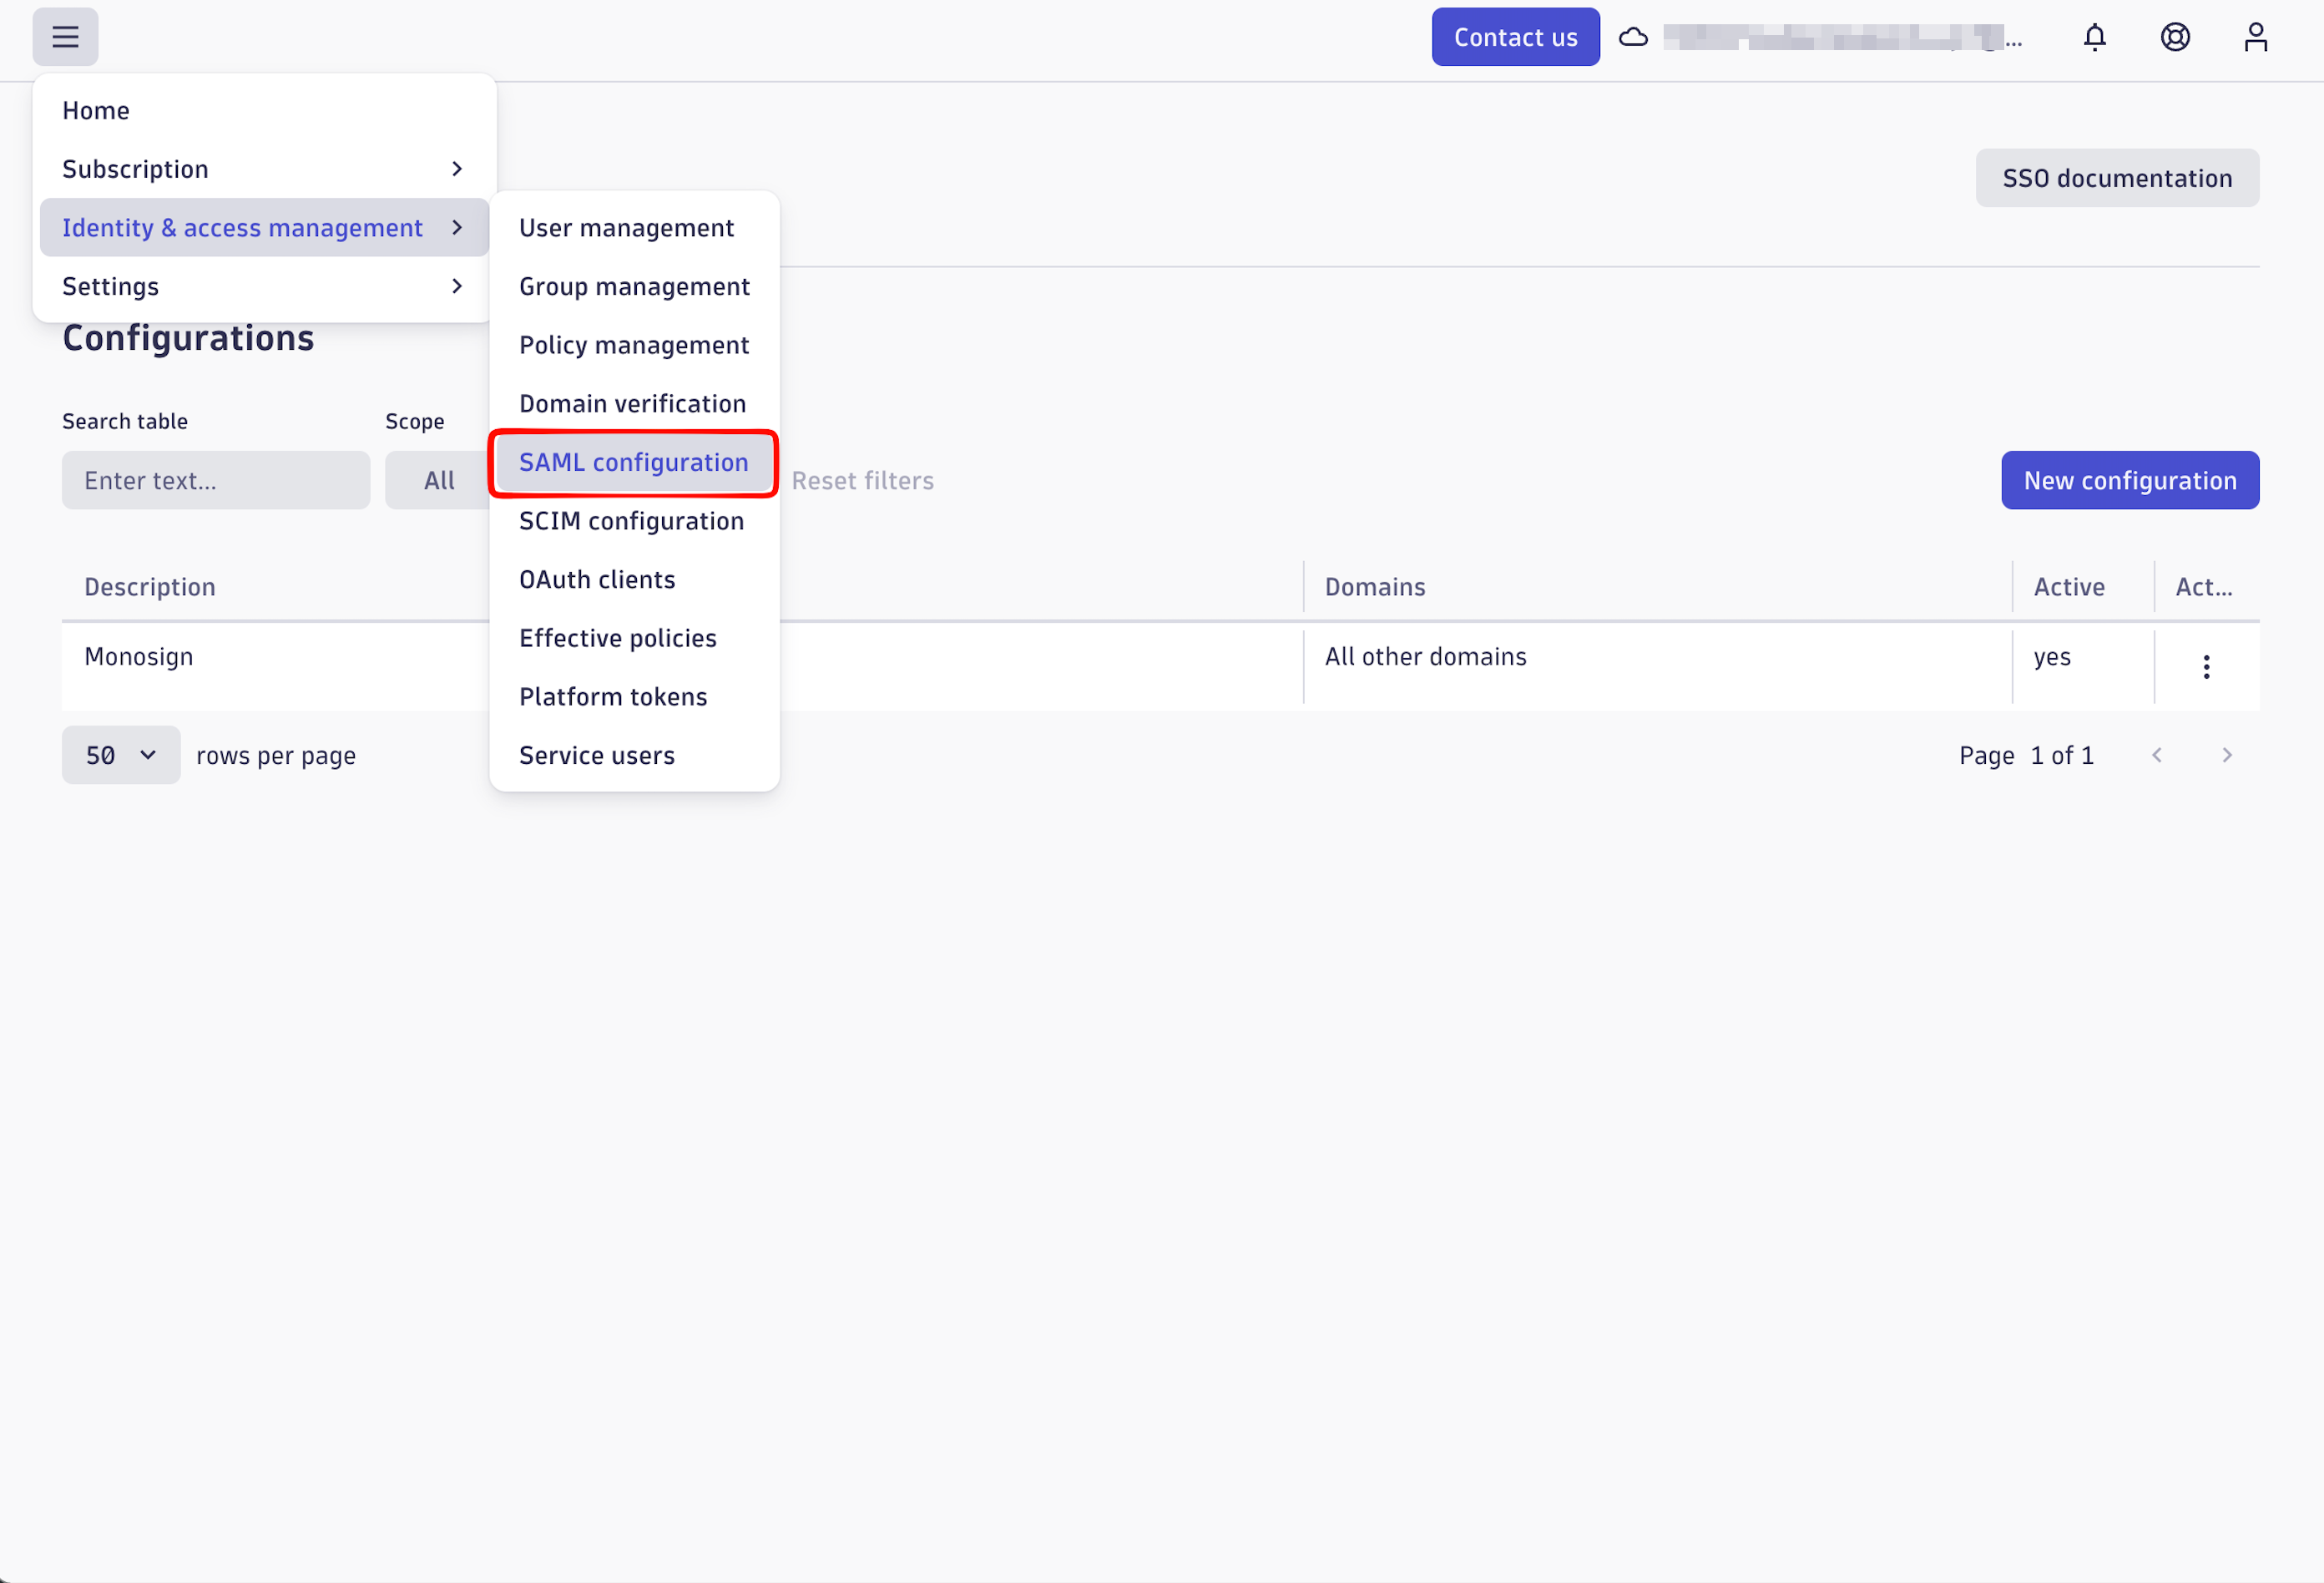
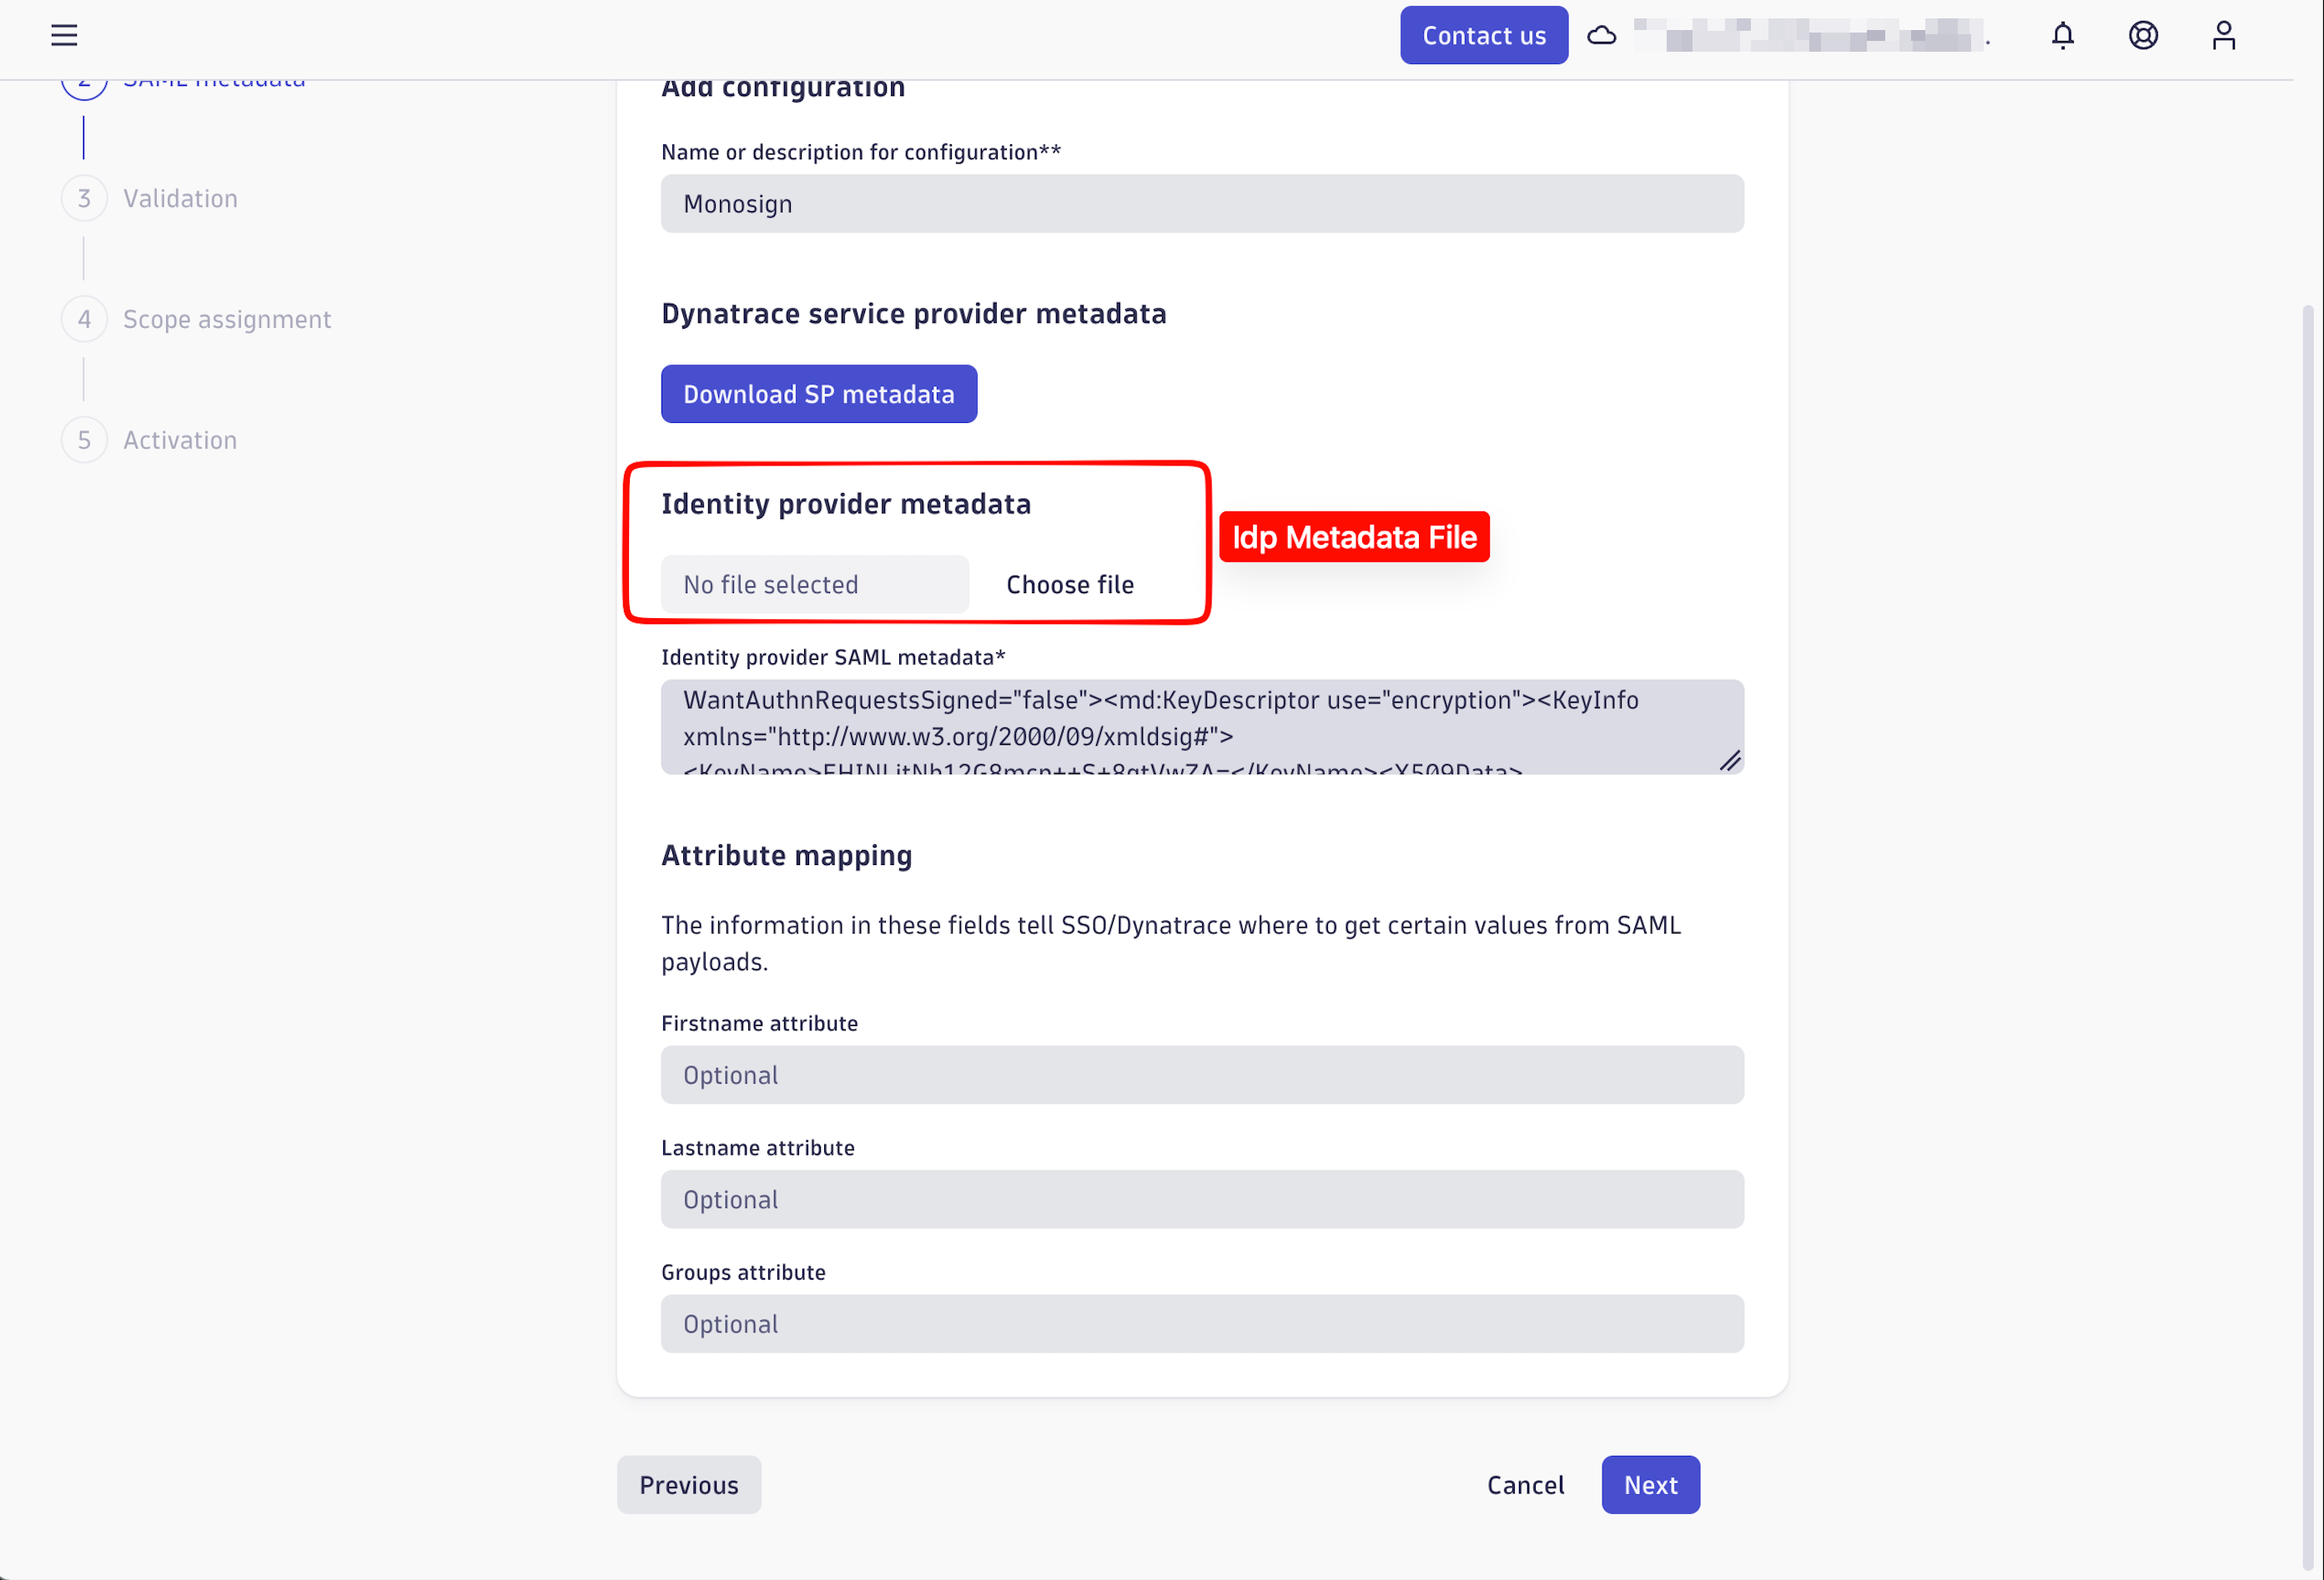
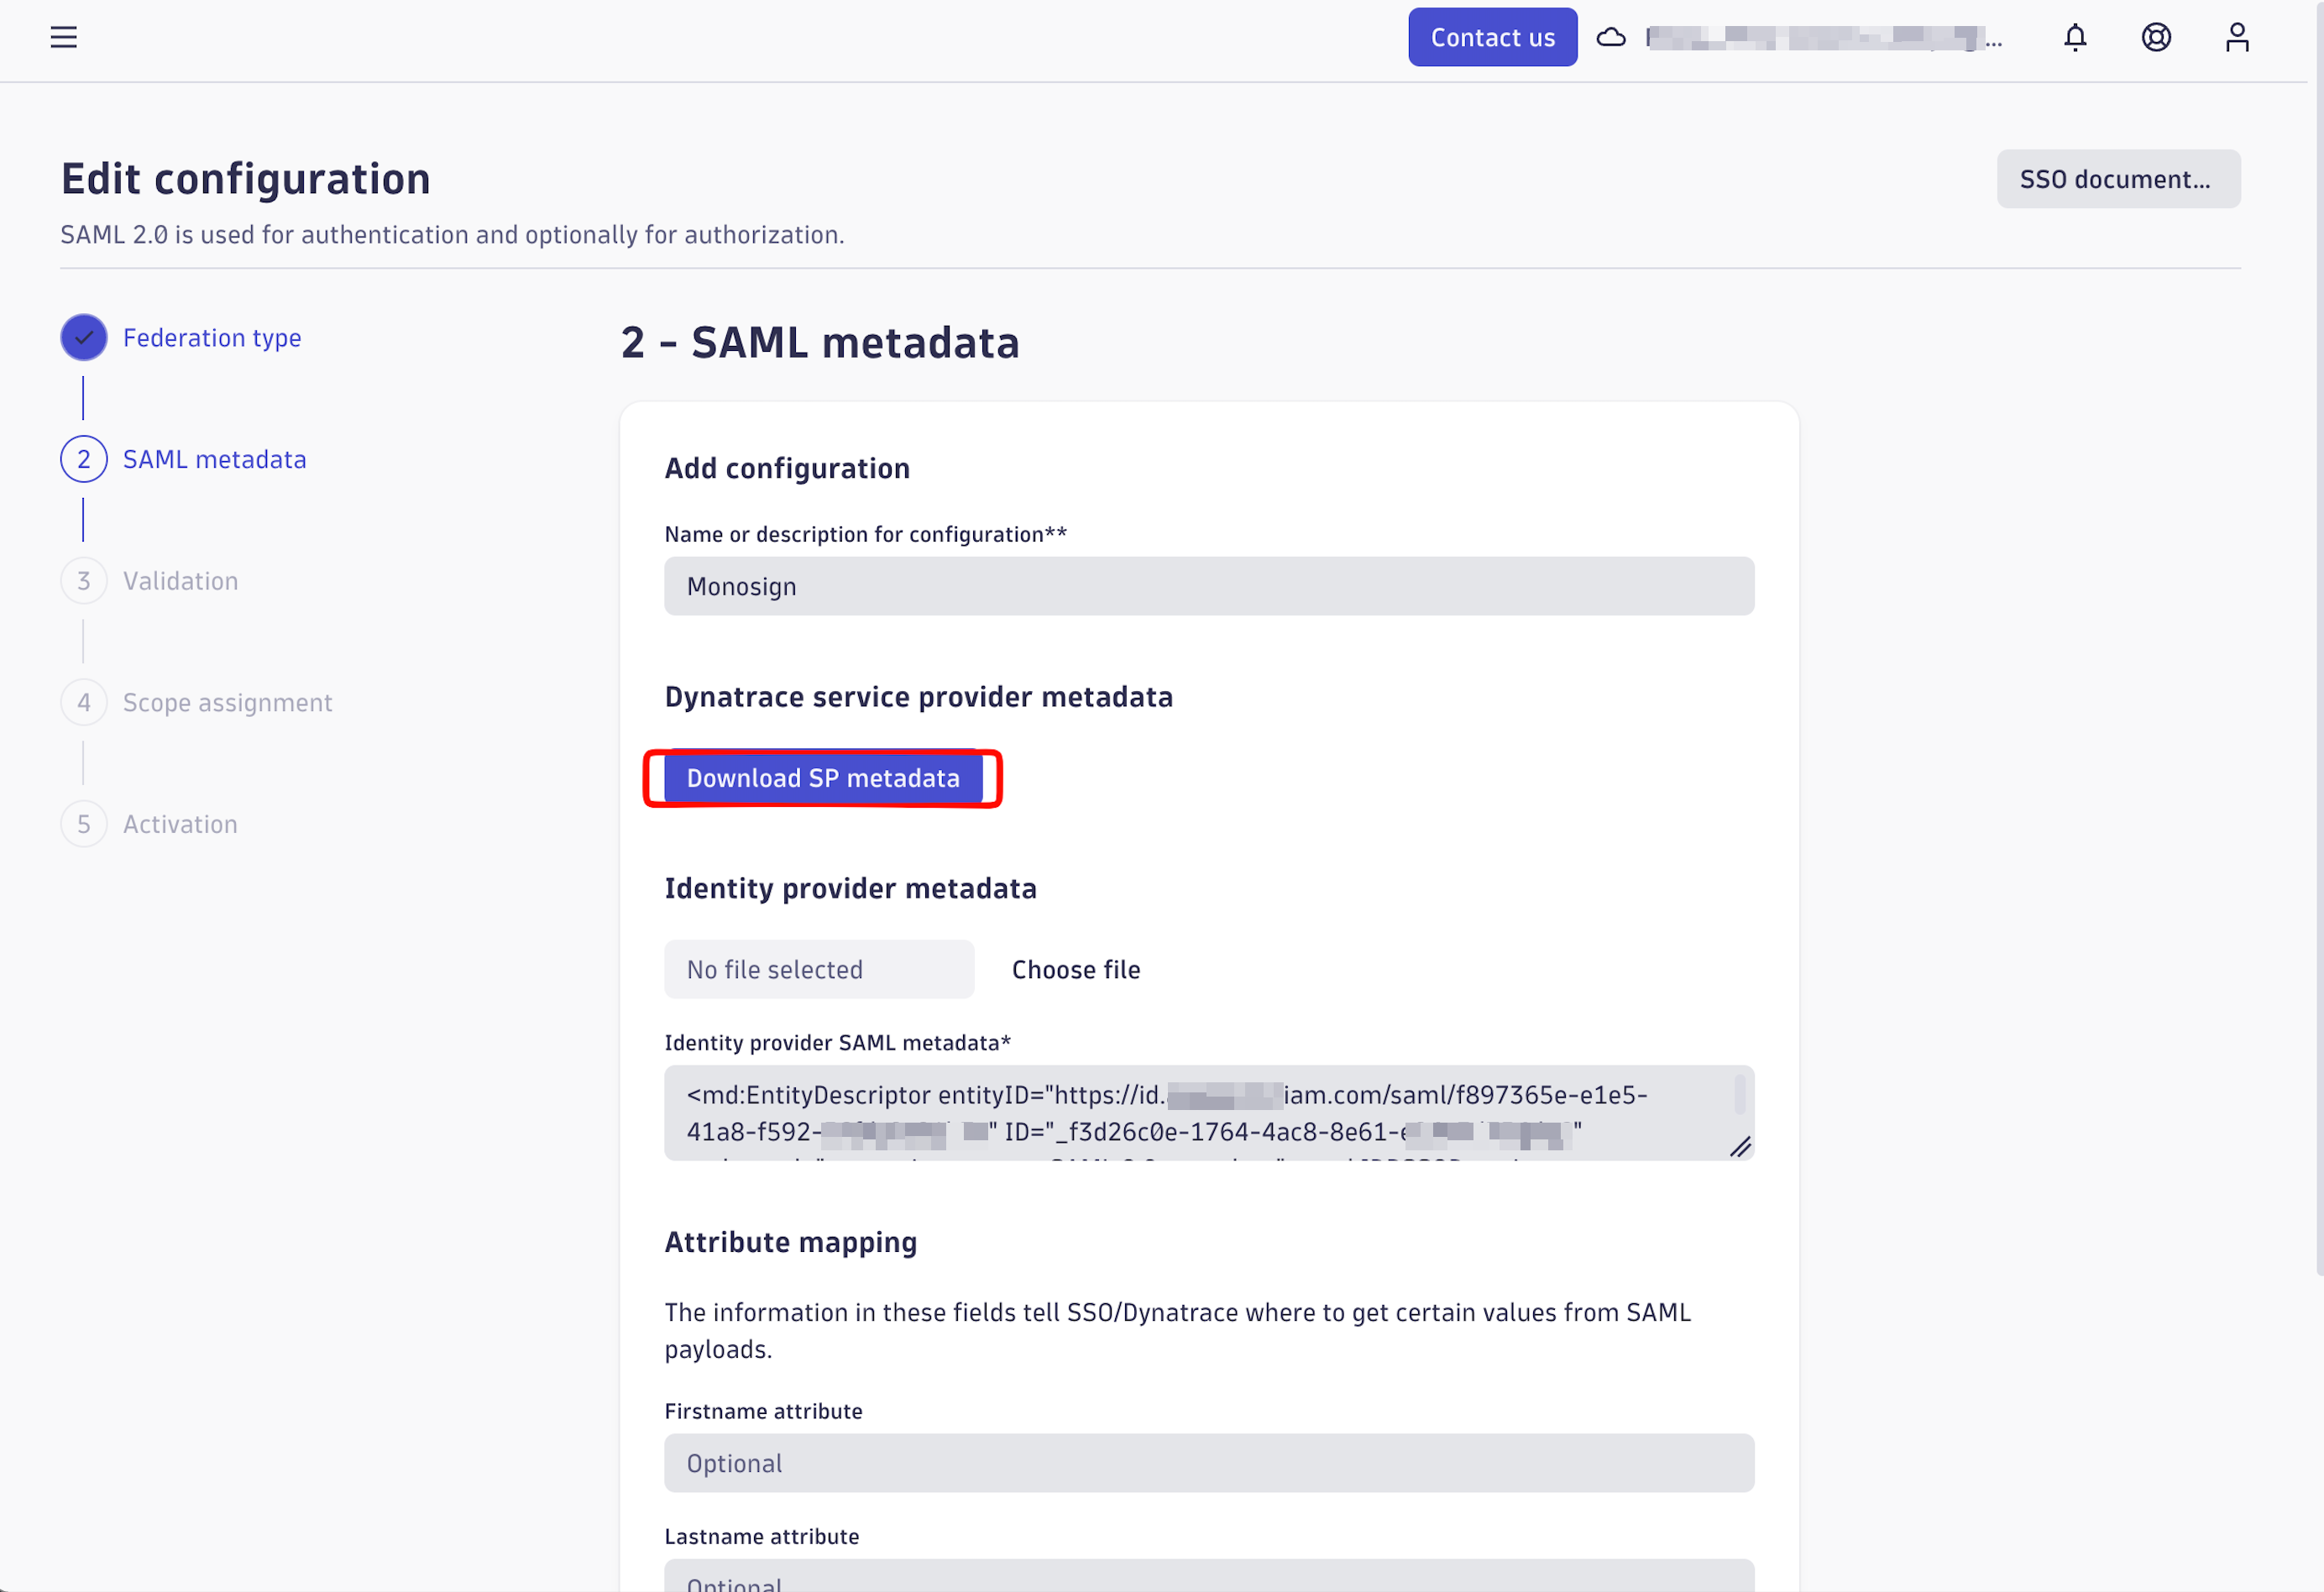
Import the metadata XML file from the Dynatrace configuration settings.
(Heading 2 – Image 3 – “Download SP Metadata” button)
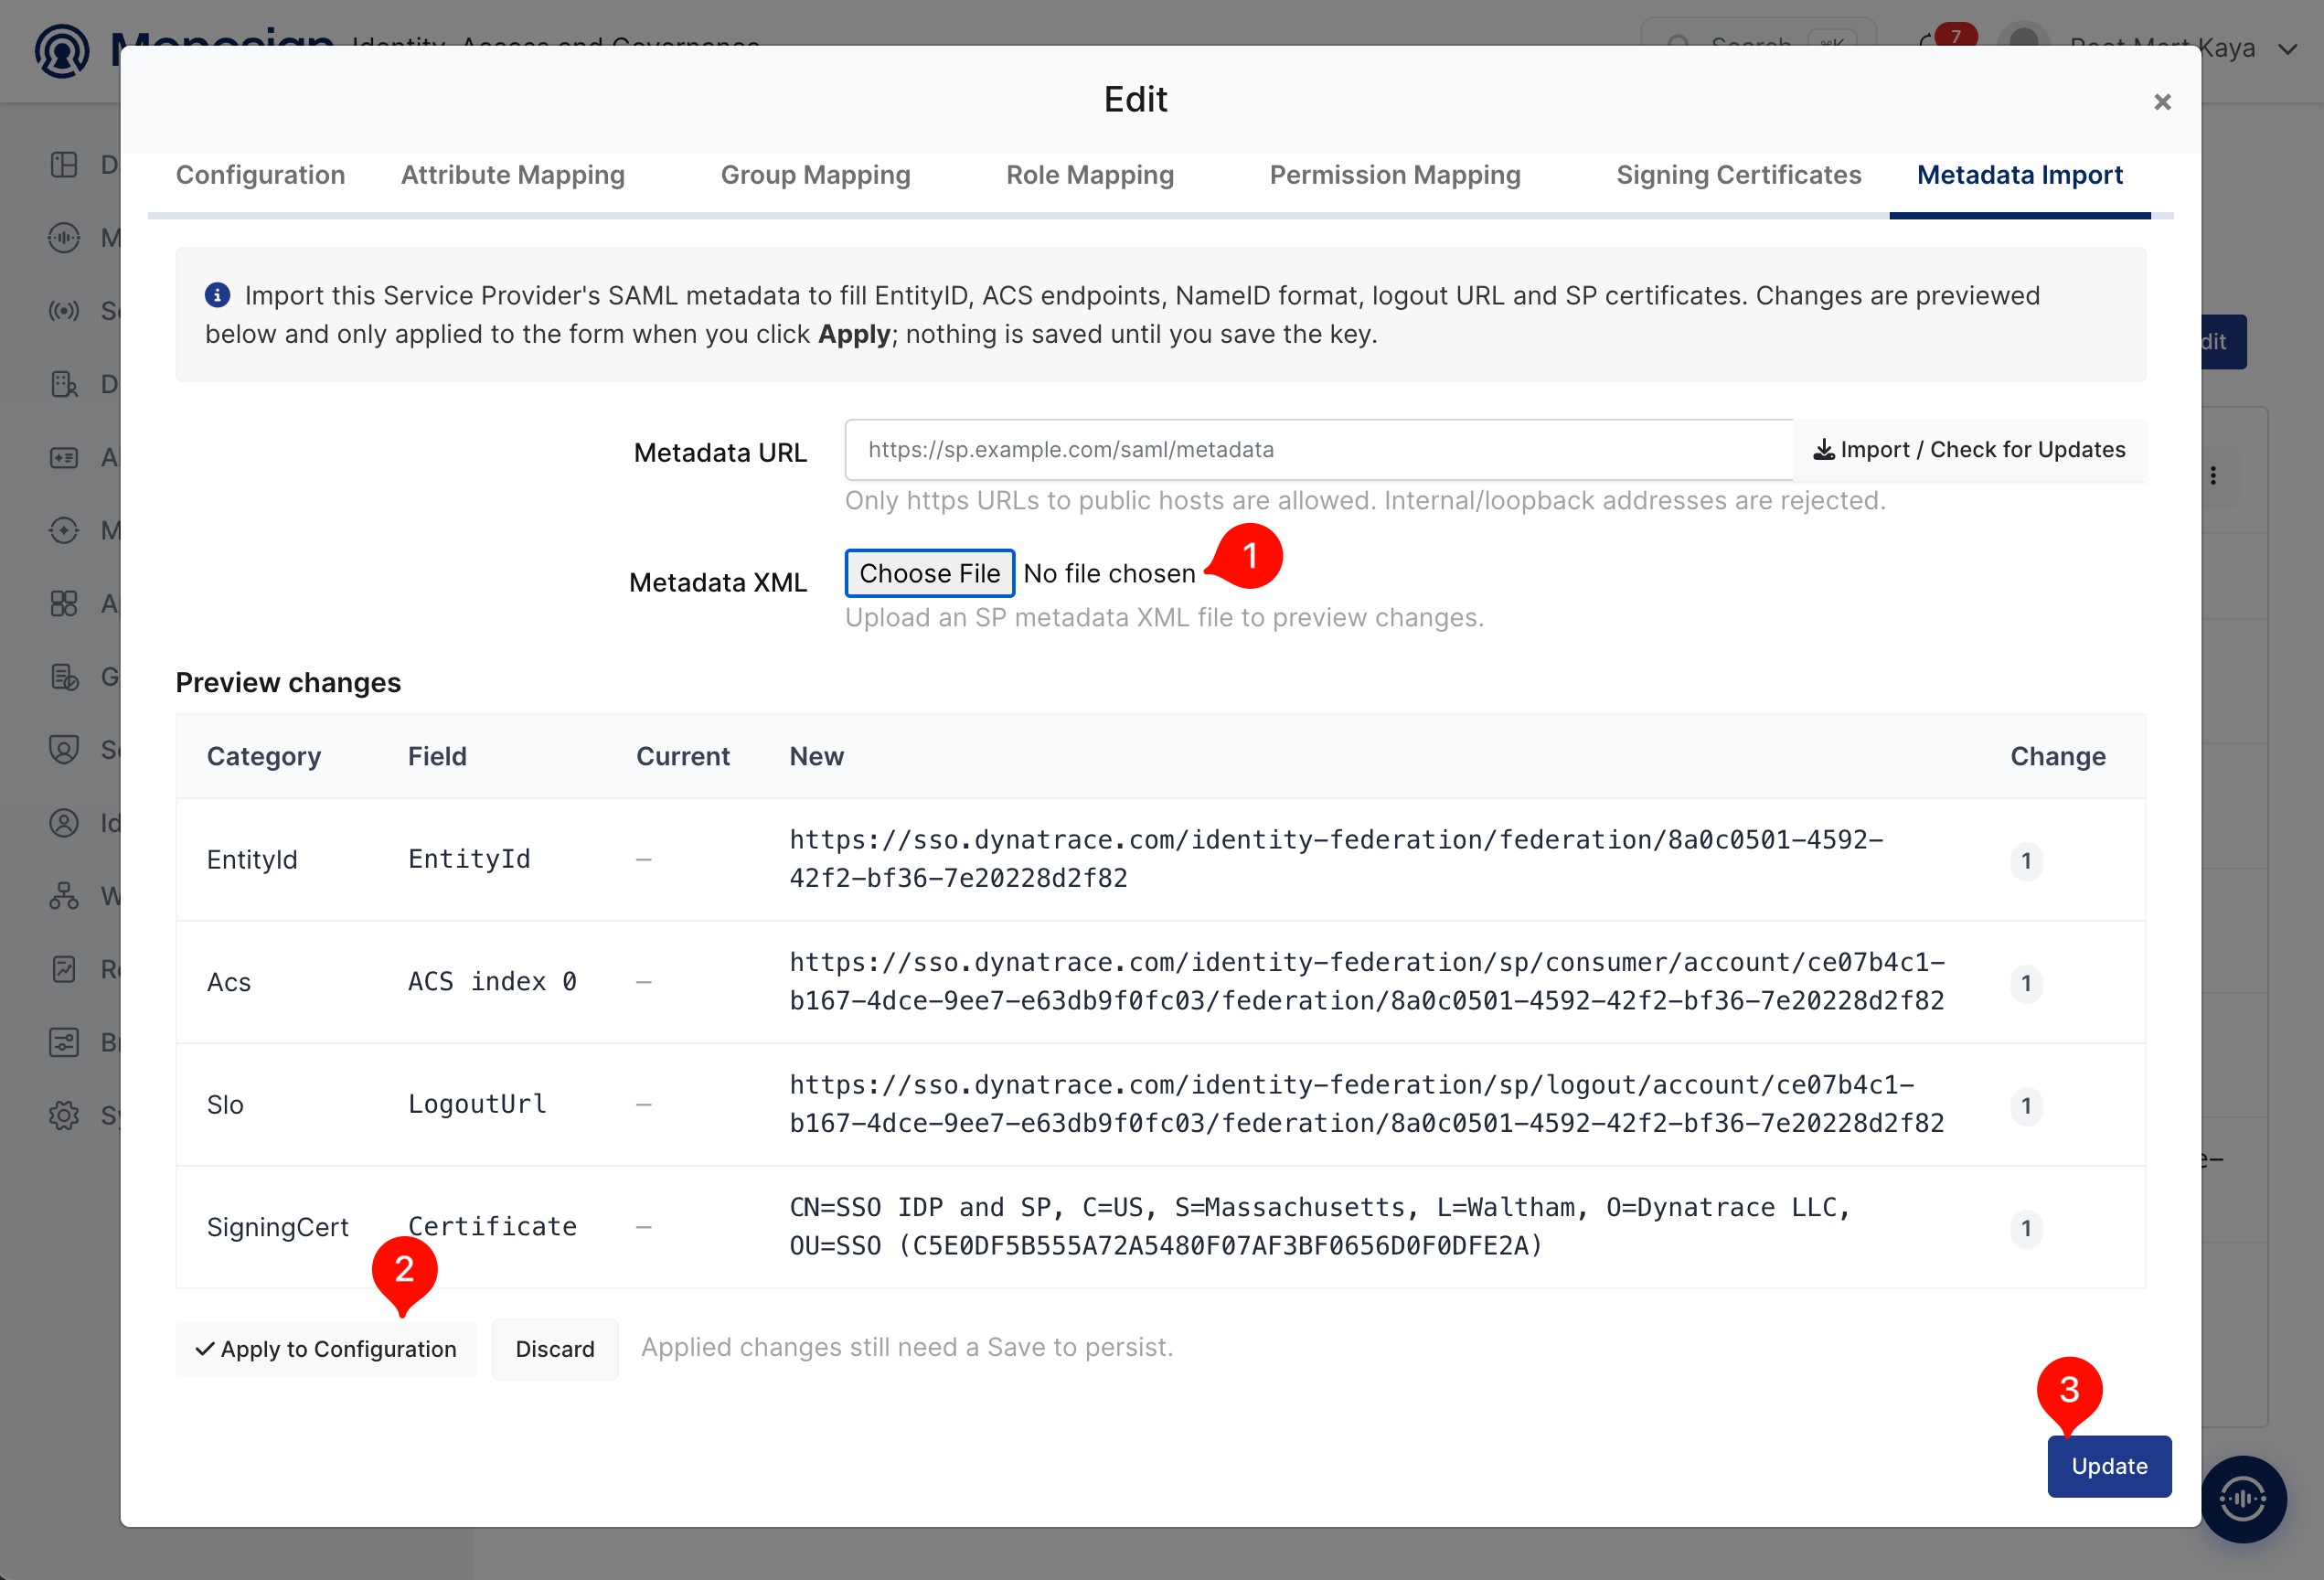
We will need this information while we configure the Dynatrace federation.
|
Property |
Value |
Options |
|---|---|---|
|
Key Type |
SAML |
Rest API, OAuth 2.0, JWT, OIDC/OpenID, SAML, RADIUS, Access Gateway, LDAP, AuthN/Z Server |
|
Expiration |
Lifetime |
Lifetime or Specific Date/Time - By Default Lifetime is Enabled. |
Configuration details for the Dynatrace application are provided as follows:
Change ACS (Assertion Consumer Url), Entity Id, NameId Format, Name Id and Extra Attributes. Use the values shown on the Dynatrace federation screen (see step 2).
|
Property |
Value |
|---|---|
|
Assertion Consumer Url |
|
|
Entity Id |
|
|
NameId Format |
|
|
Name Id |
|
|
Extra Attributes |
|
⚠️ Dynatrace compares the e-mail address entered on the sign-in screen with the identity returned by the IdP. Name Id must be the user's e-mail address, not the username, otherwise the login is rejected with a 400 error (see Troubleshooting).
To ensure that the application has access to user groups, follow these steps:
-
If the application hasn't been configured yet, click the "Edit" option for the application.
-
In the application settings, navigate to the "Source, Provider, and Profile" tab.
-
Configure the "User Access Type" and "User Group Access Type" as "Only Assigned Users."
2- Configuration Single Sign-On for Dynatrace
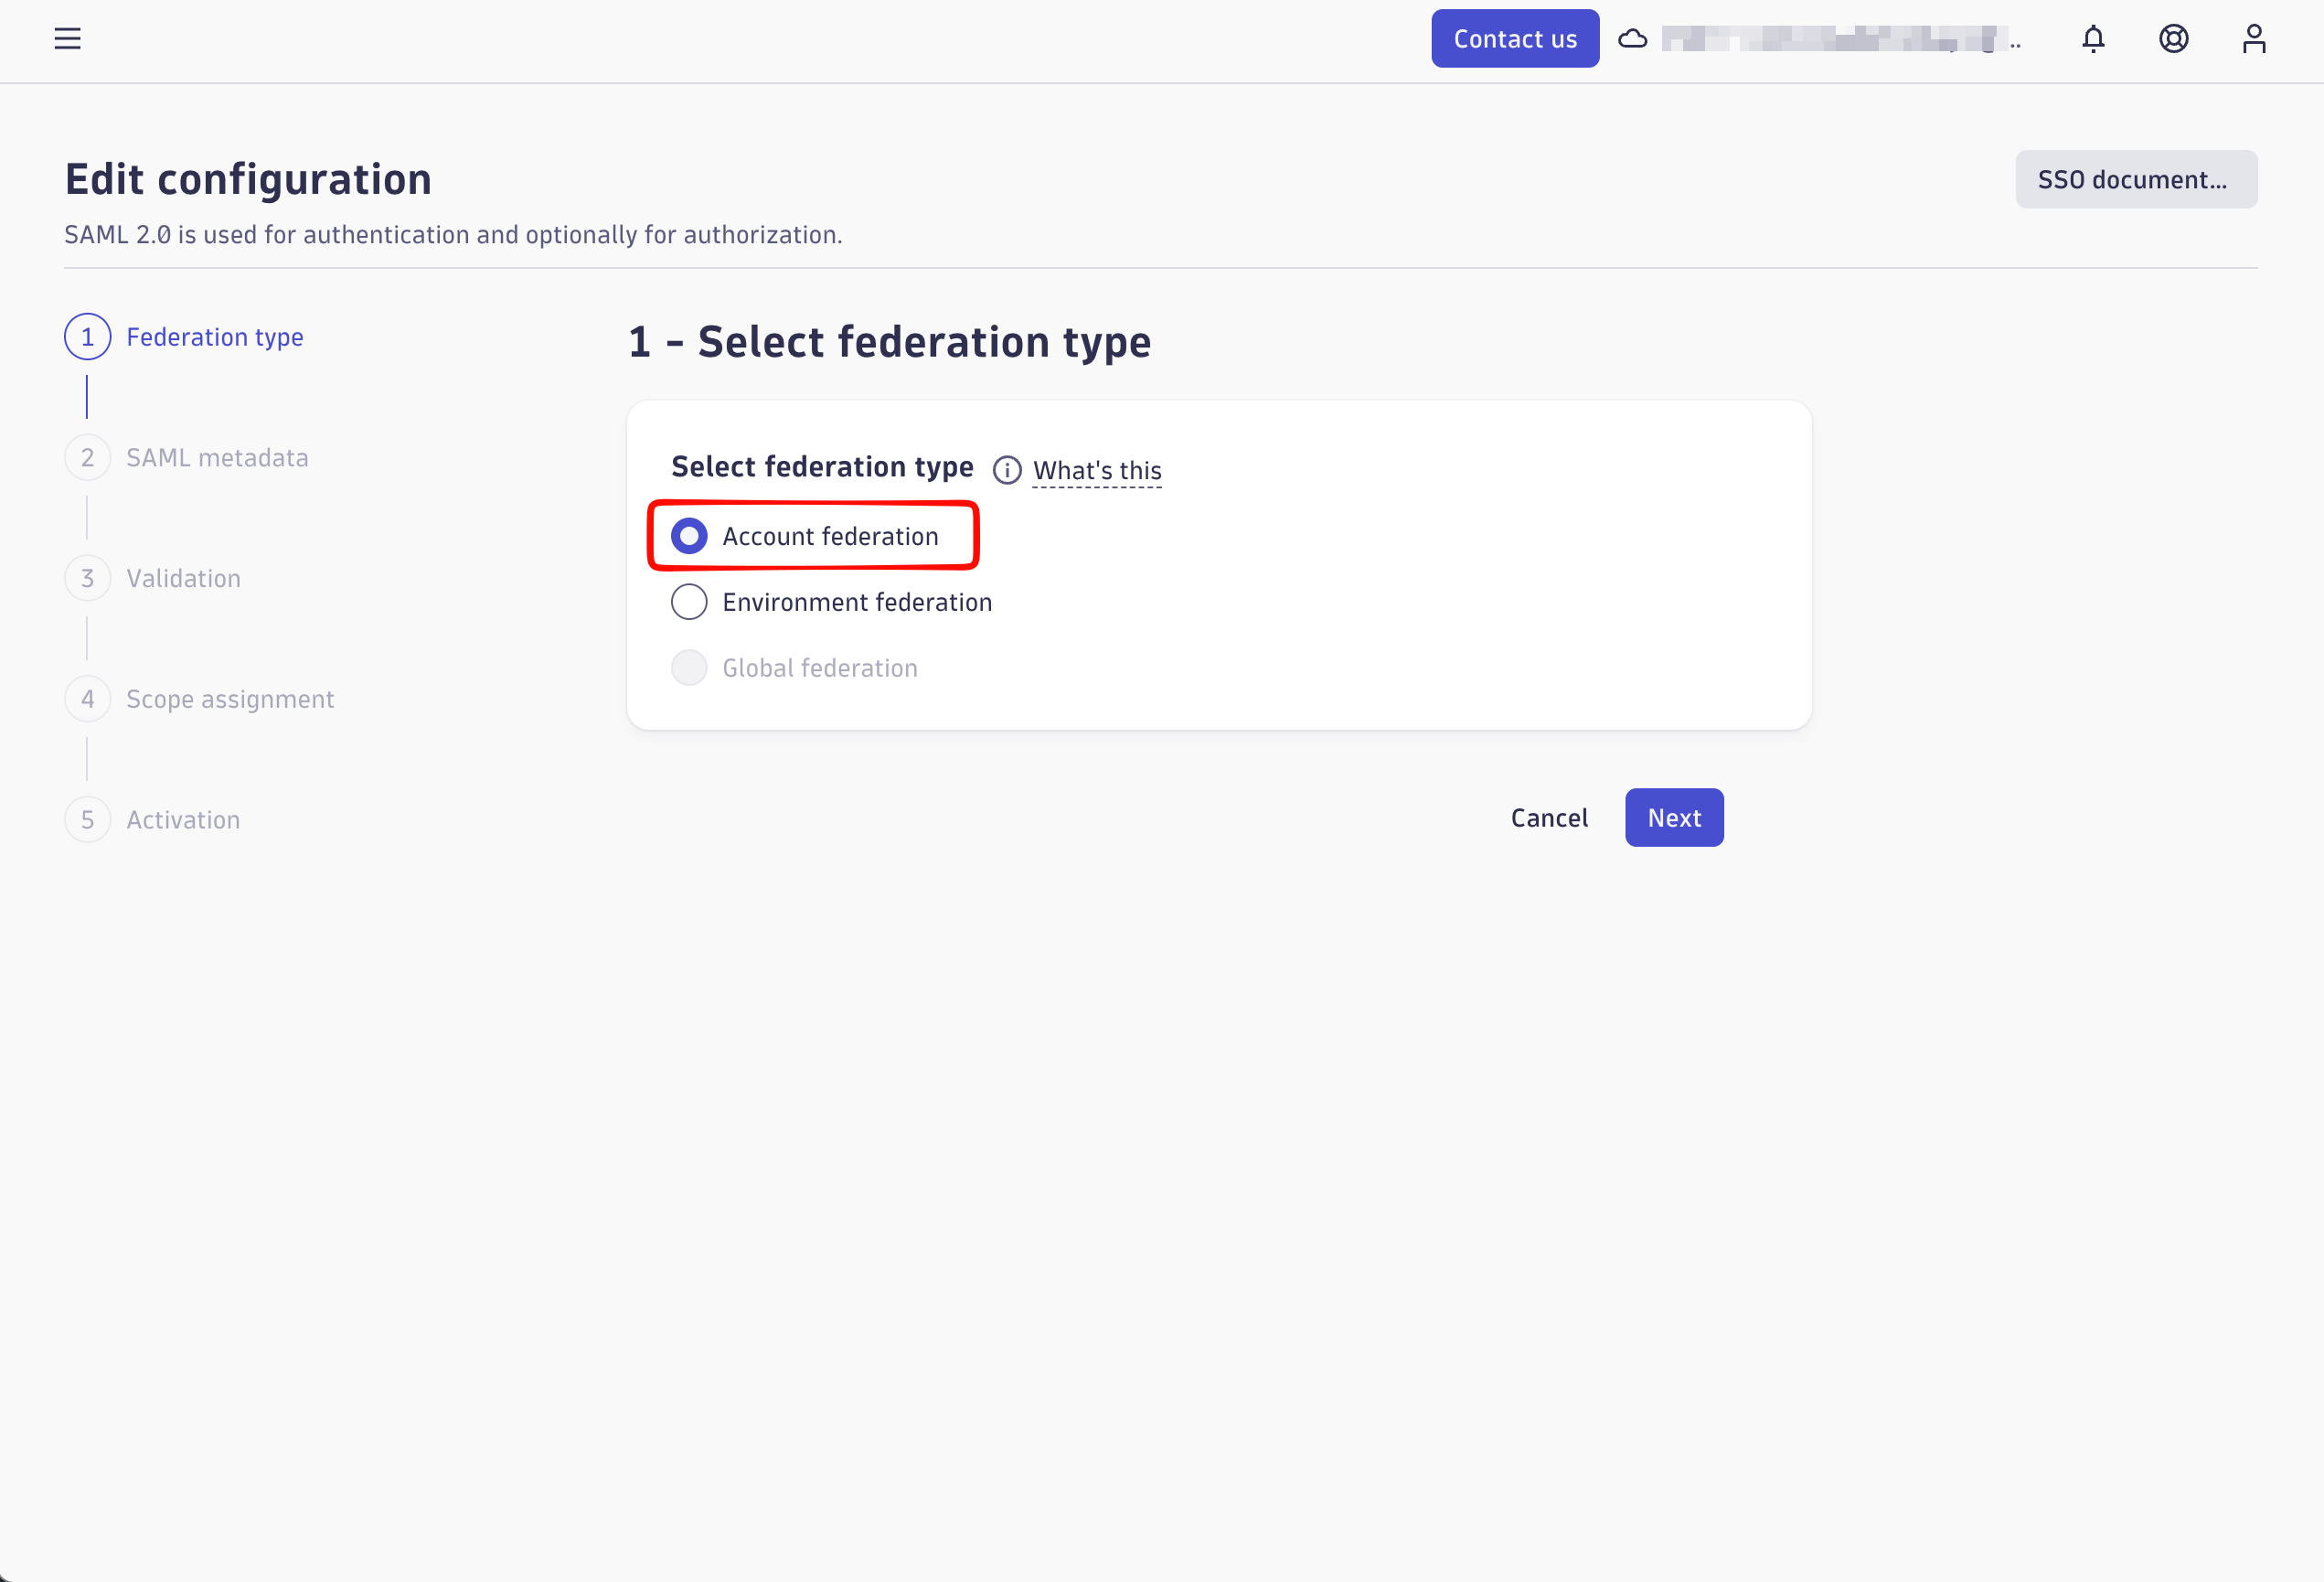
In Dynatrace, open Account Management and start a new SAML federation. When asked for the federation type, select Account federation.
|
Federation type |
Scope |
|---|---|
|
Account federation |
The whole Dynatrace account (all environments). Recommended for a single account. |
|
Environment federation |
A single environment only. |
|
Global federation |
Based on the e-mail domain, applies across multiple accounts. |
Enter the IdP details from the Monosign application key created in step 1 (Sign On Service, Logout Service and View Certificate / Download Certificate), or upload the Monosign SAML metadata if Dynatrace asks for it.
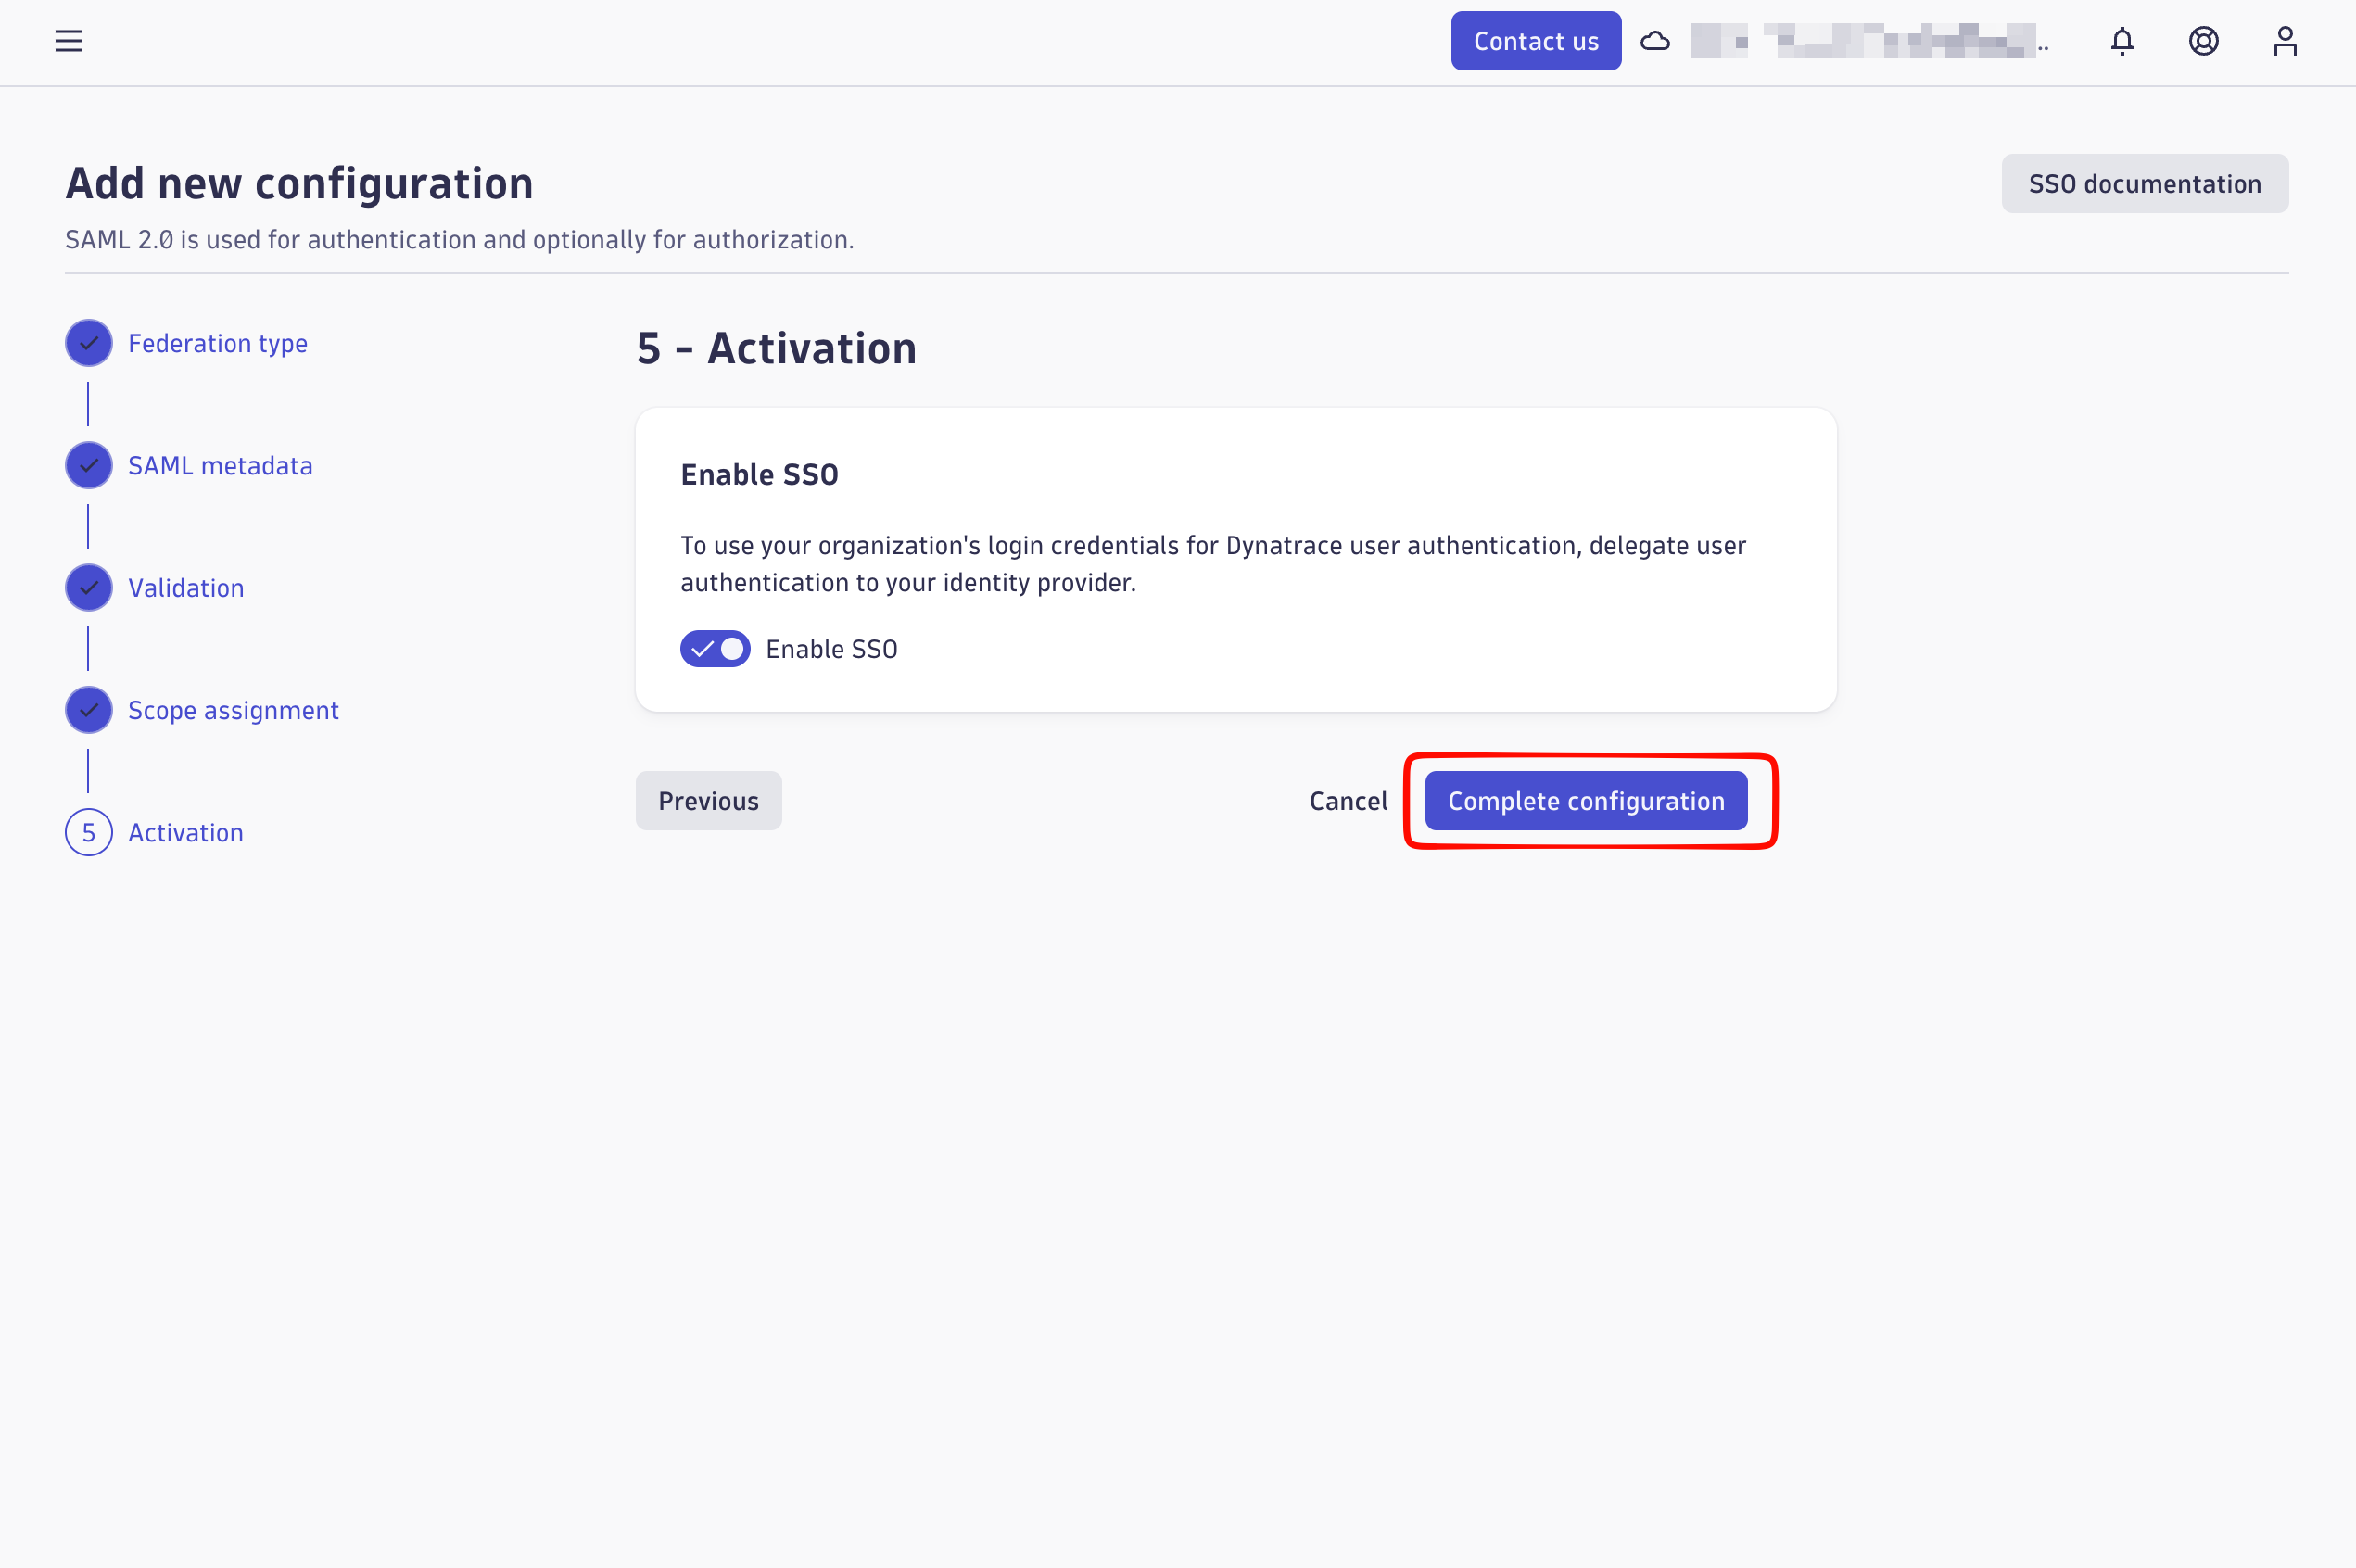
Dynatrace creates users on their first successful SAML login, but permissions are granted through groups. Create a group under Identity & access management > Groups, assign a policy to it and scope the policy to the environment the users should reach.
|
Setting |
Purpose |
|---|---|
|
Group |
Container for permissions. The group name must match the value sent in the group attribute of the SAML assertion exactly. |
|
Policy |
Defines what the group members can do. A group without a policy gives the user no access. |
|
Policy scope |
The environment (or account) the policy applies to. |
If the group attribute is not sent by Monosign, either add the user to a group manually from Account Management > Users after the first login, or grant the permission to the built-in Default group with all users as described below.
Dynatrace Permission Settings
A user created by SAML has no permissions until a group with a policy applies to them. Without one, the first login ends with a 403 You don't have permission to view this page error. The quickest way to give every federated user access is to attach a policy to the built-in Default group with all users (group type ALL_USERS). Every user in the account is a member of this group automatically, so no group attribute has to be sent by Monosign.
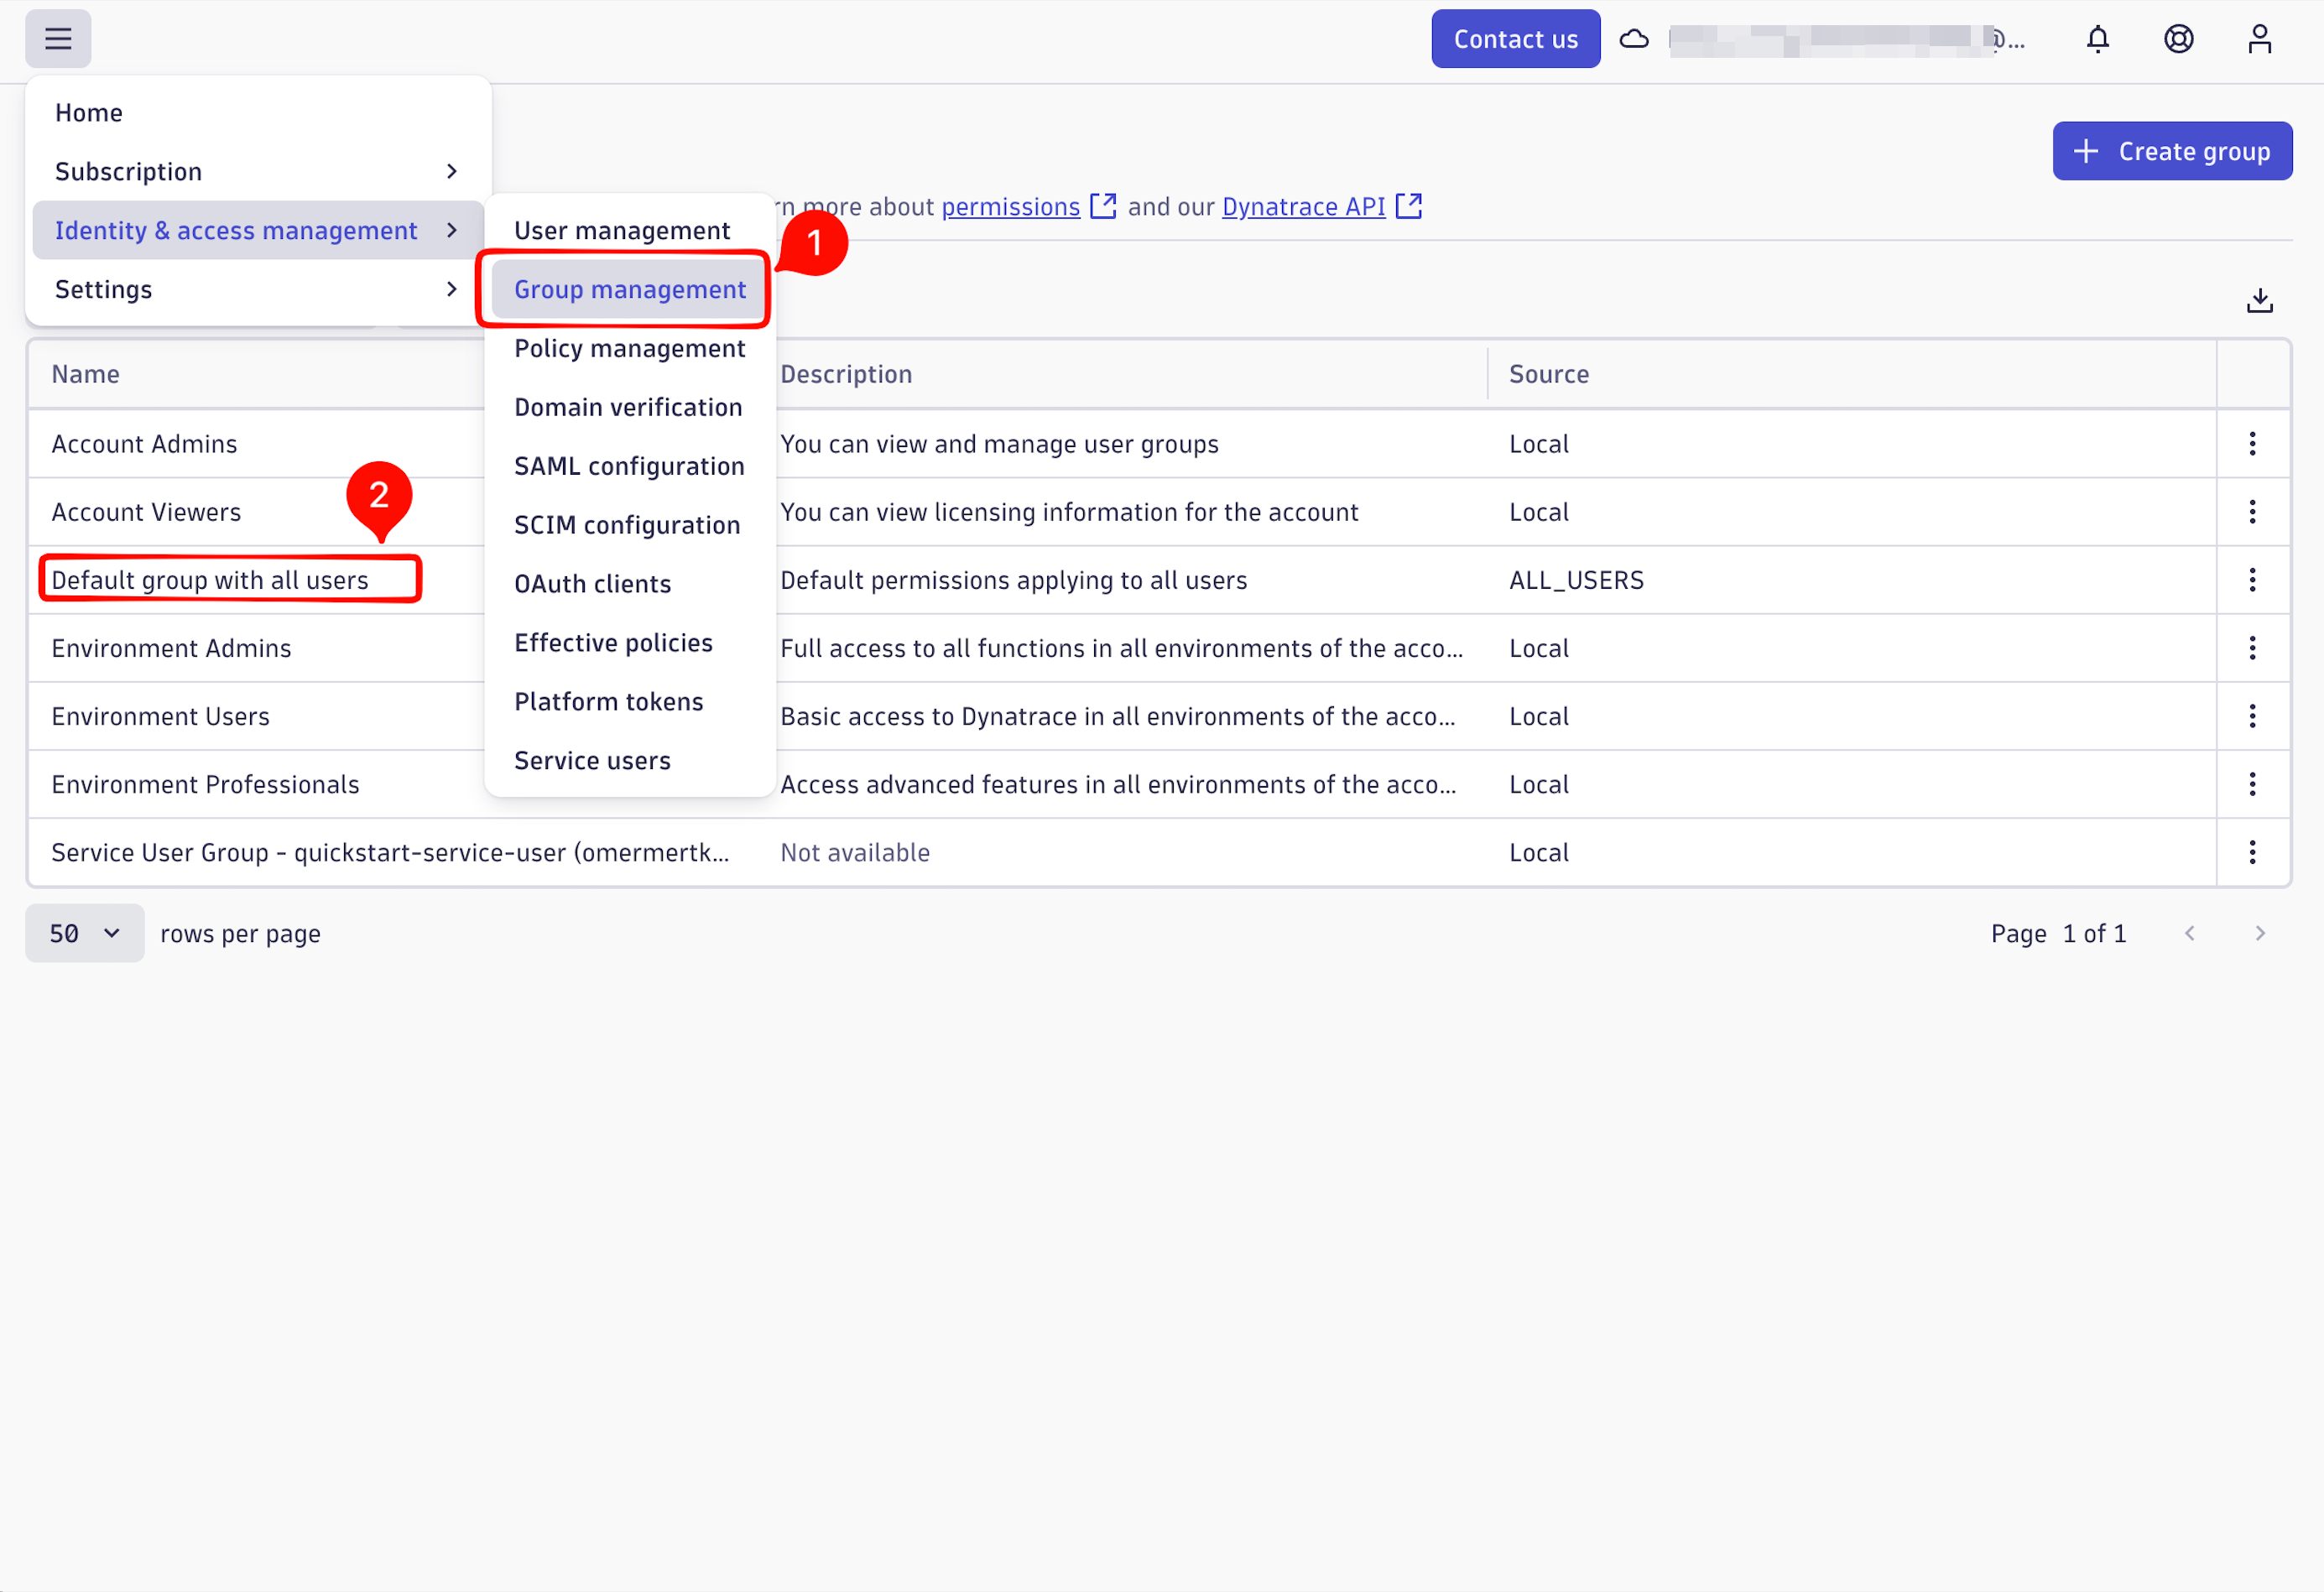
Open the default group
-
In Dynatrace, open the menu in the top-left corner and go to Identity & access management > Group management (marked 1 in the screenshot).
-
In the group list, click Default group with all users (marked 2). The other built-in groups (Account Admins, Account Viewers, Environment Admins, Environment Users, Environment Professionals) can be used for role-based access, see the note below.
Add the permission
-
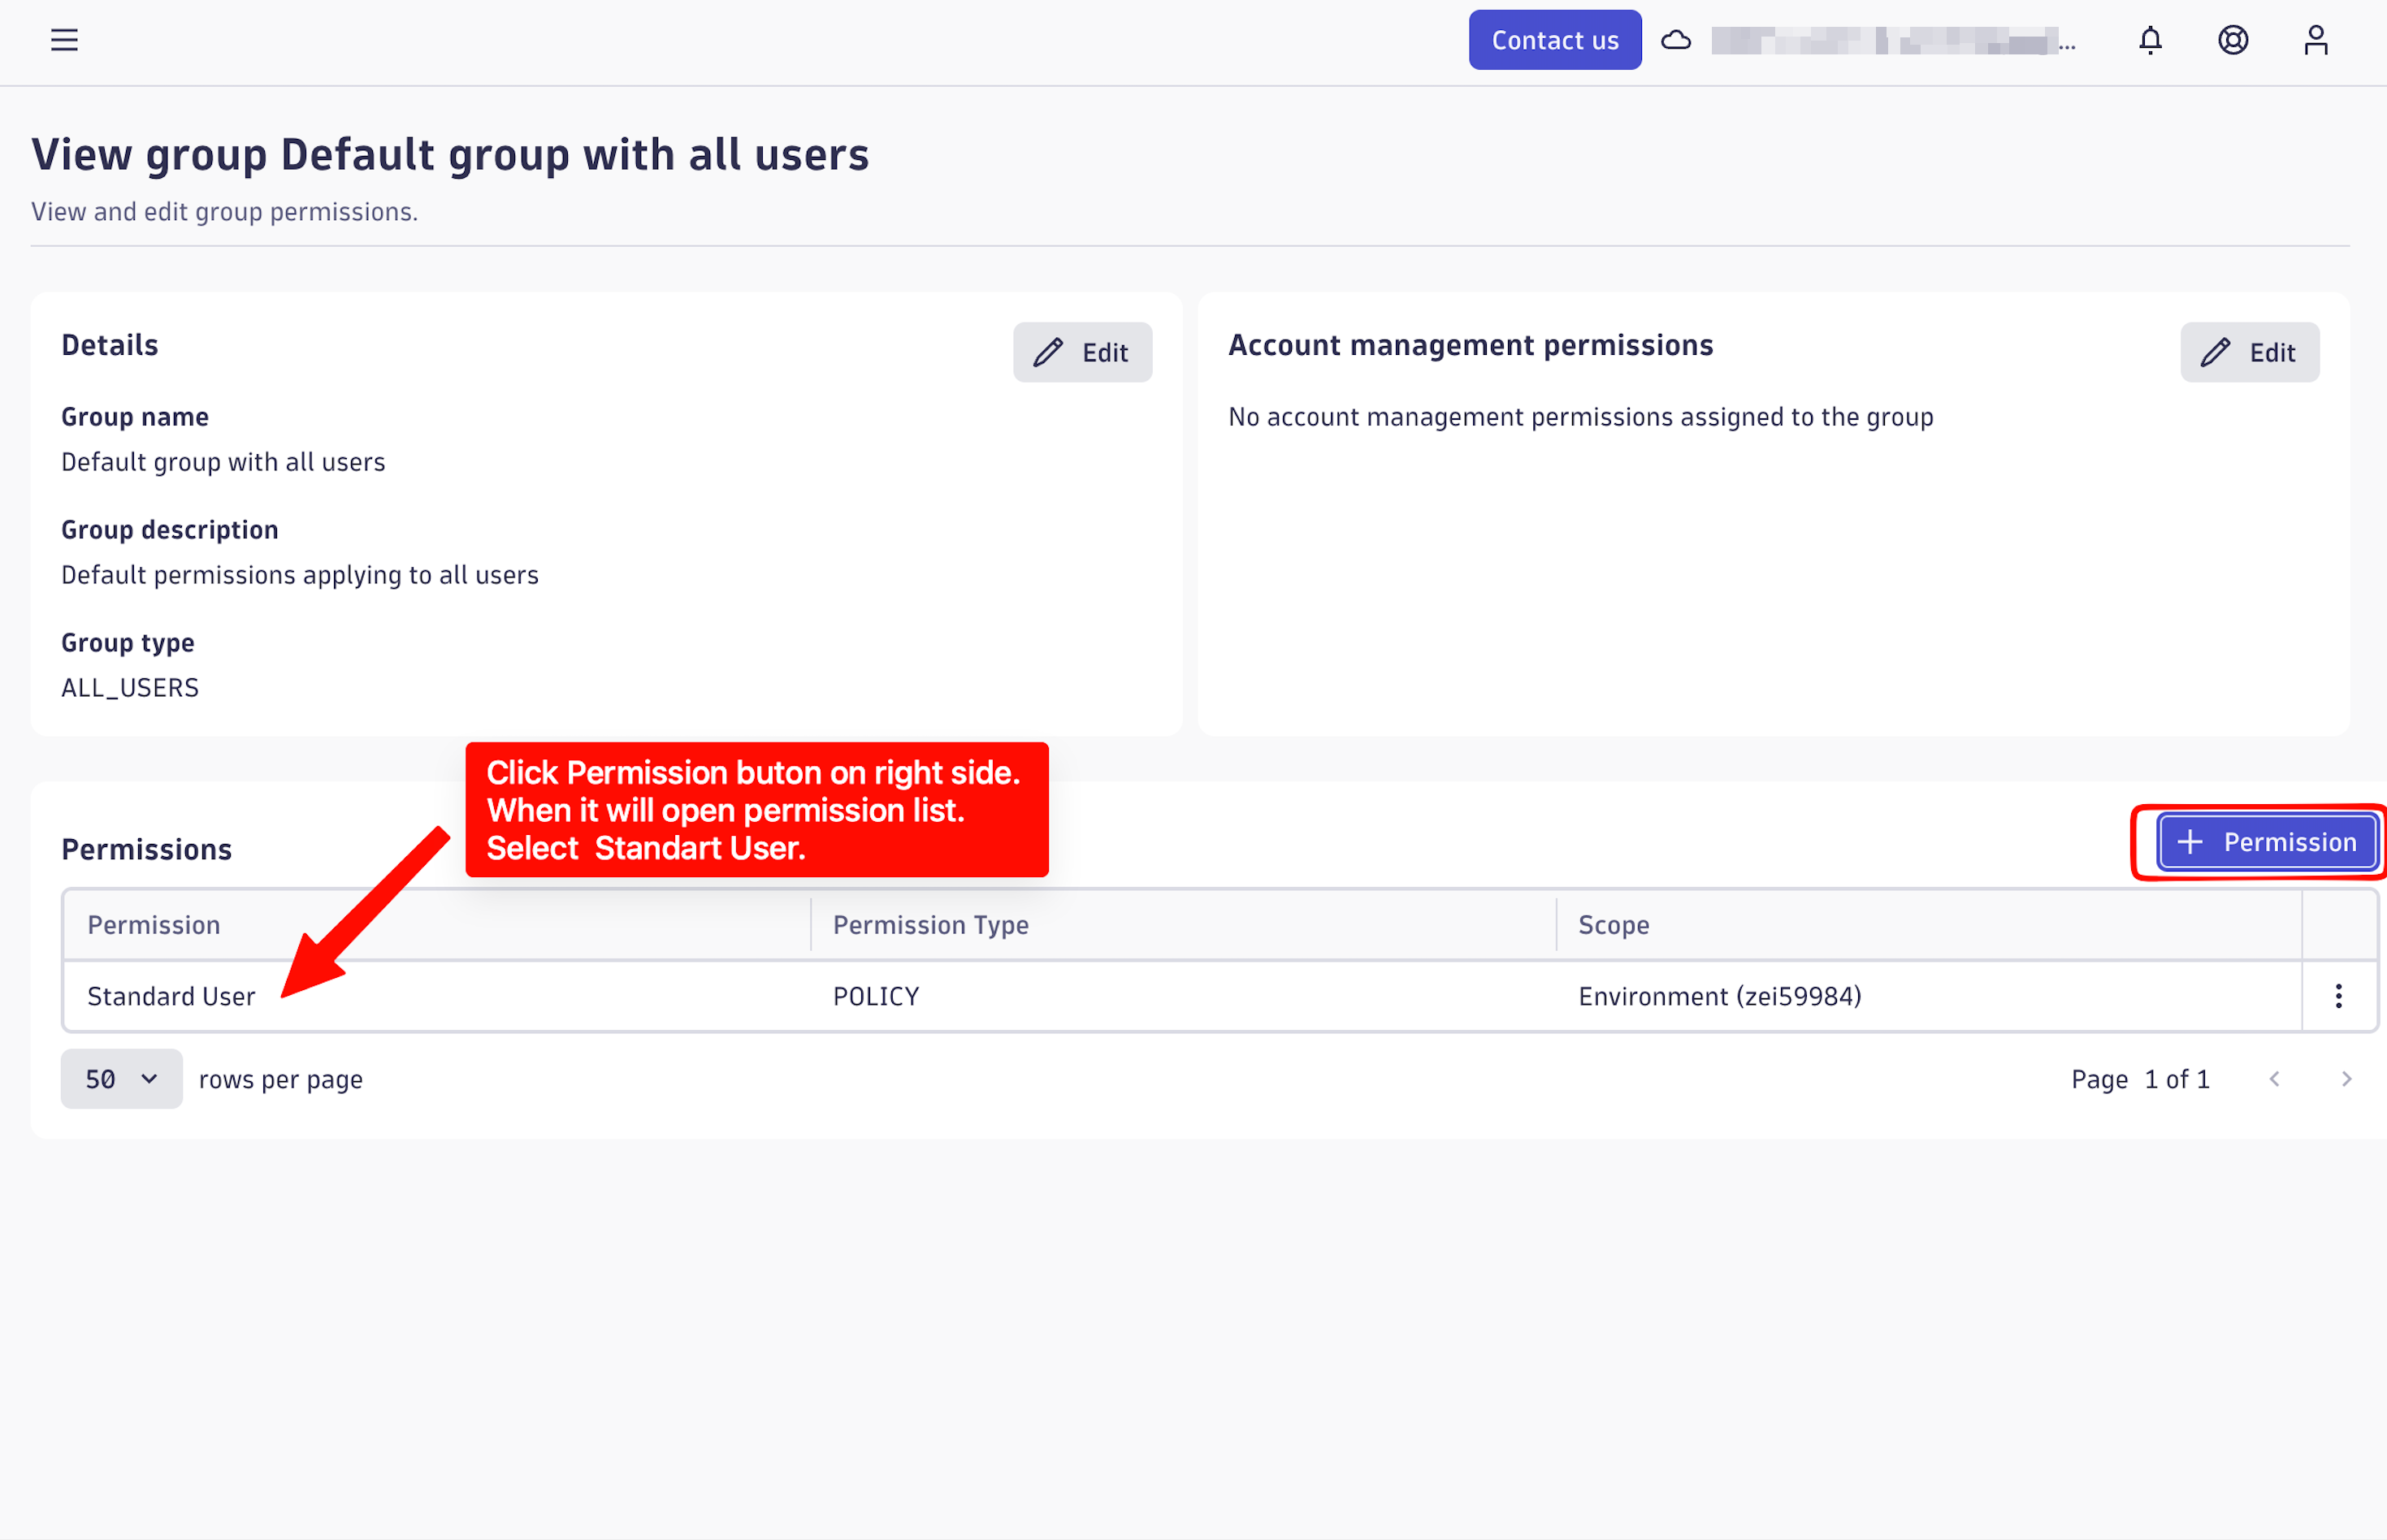
On the View group Default group with all users page, find the Permissions section and click the + Permission button on the right side.
-
In the permission list, select the Standard User policy and set its scope to your Dynatrace environment.
-
Save. The Permissions table now shows the new entry, as in the screenshot below.
|
Field |
Value |
|---|---|
|
Group |
Default group with all users ( |
|
Permission |
|
|
Permission Type |
|
|
Scope |
Environment ( |
Scope of the default group: a policy on Default group with all users applies to every user in the Dynatrace account, not only to Monosign users. Because access is already restricted on the Monosign side with Only Assigned Users (see step 1), this is acceptable when all assigned users should get the same level of access. For different roles or customer-specific separation, use dedicated groups instead.
Role-based access (optional): create separate groups (for example an admin group and a read-only group), attach the matching policy to each (for example Environment Admins or Standard User) and send the group name from Monosign in the group attribute. The group name in Dynatrace must match the attribute value exactly, including case.
After saving the permission, ask the user to sign out of Dynatrace and sign in again. Permissions are only evaluated at login.
3- Assign a user to the Dynatrace application
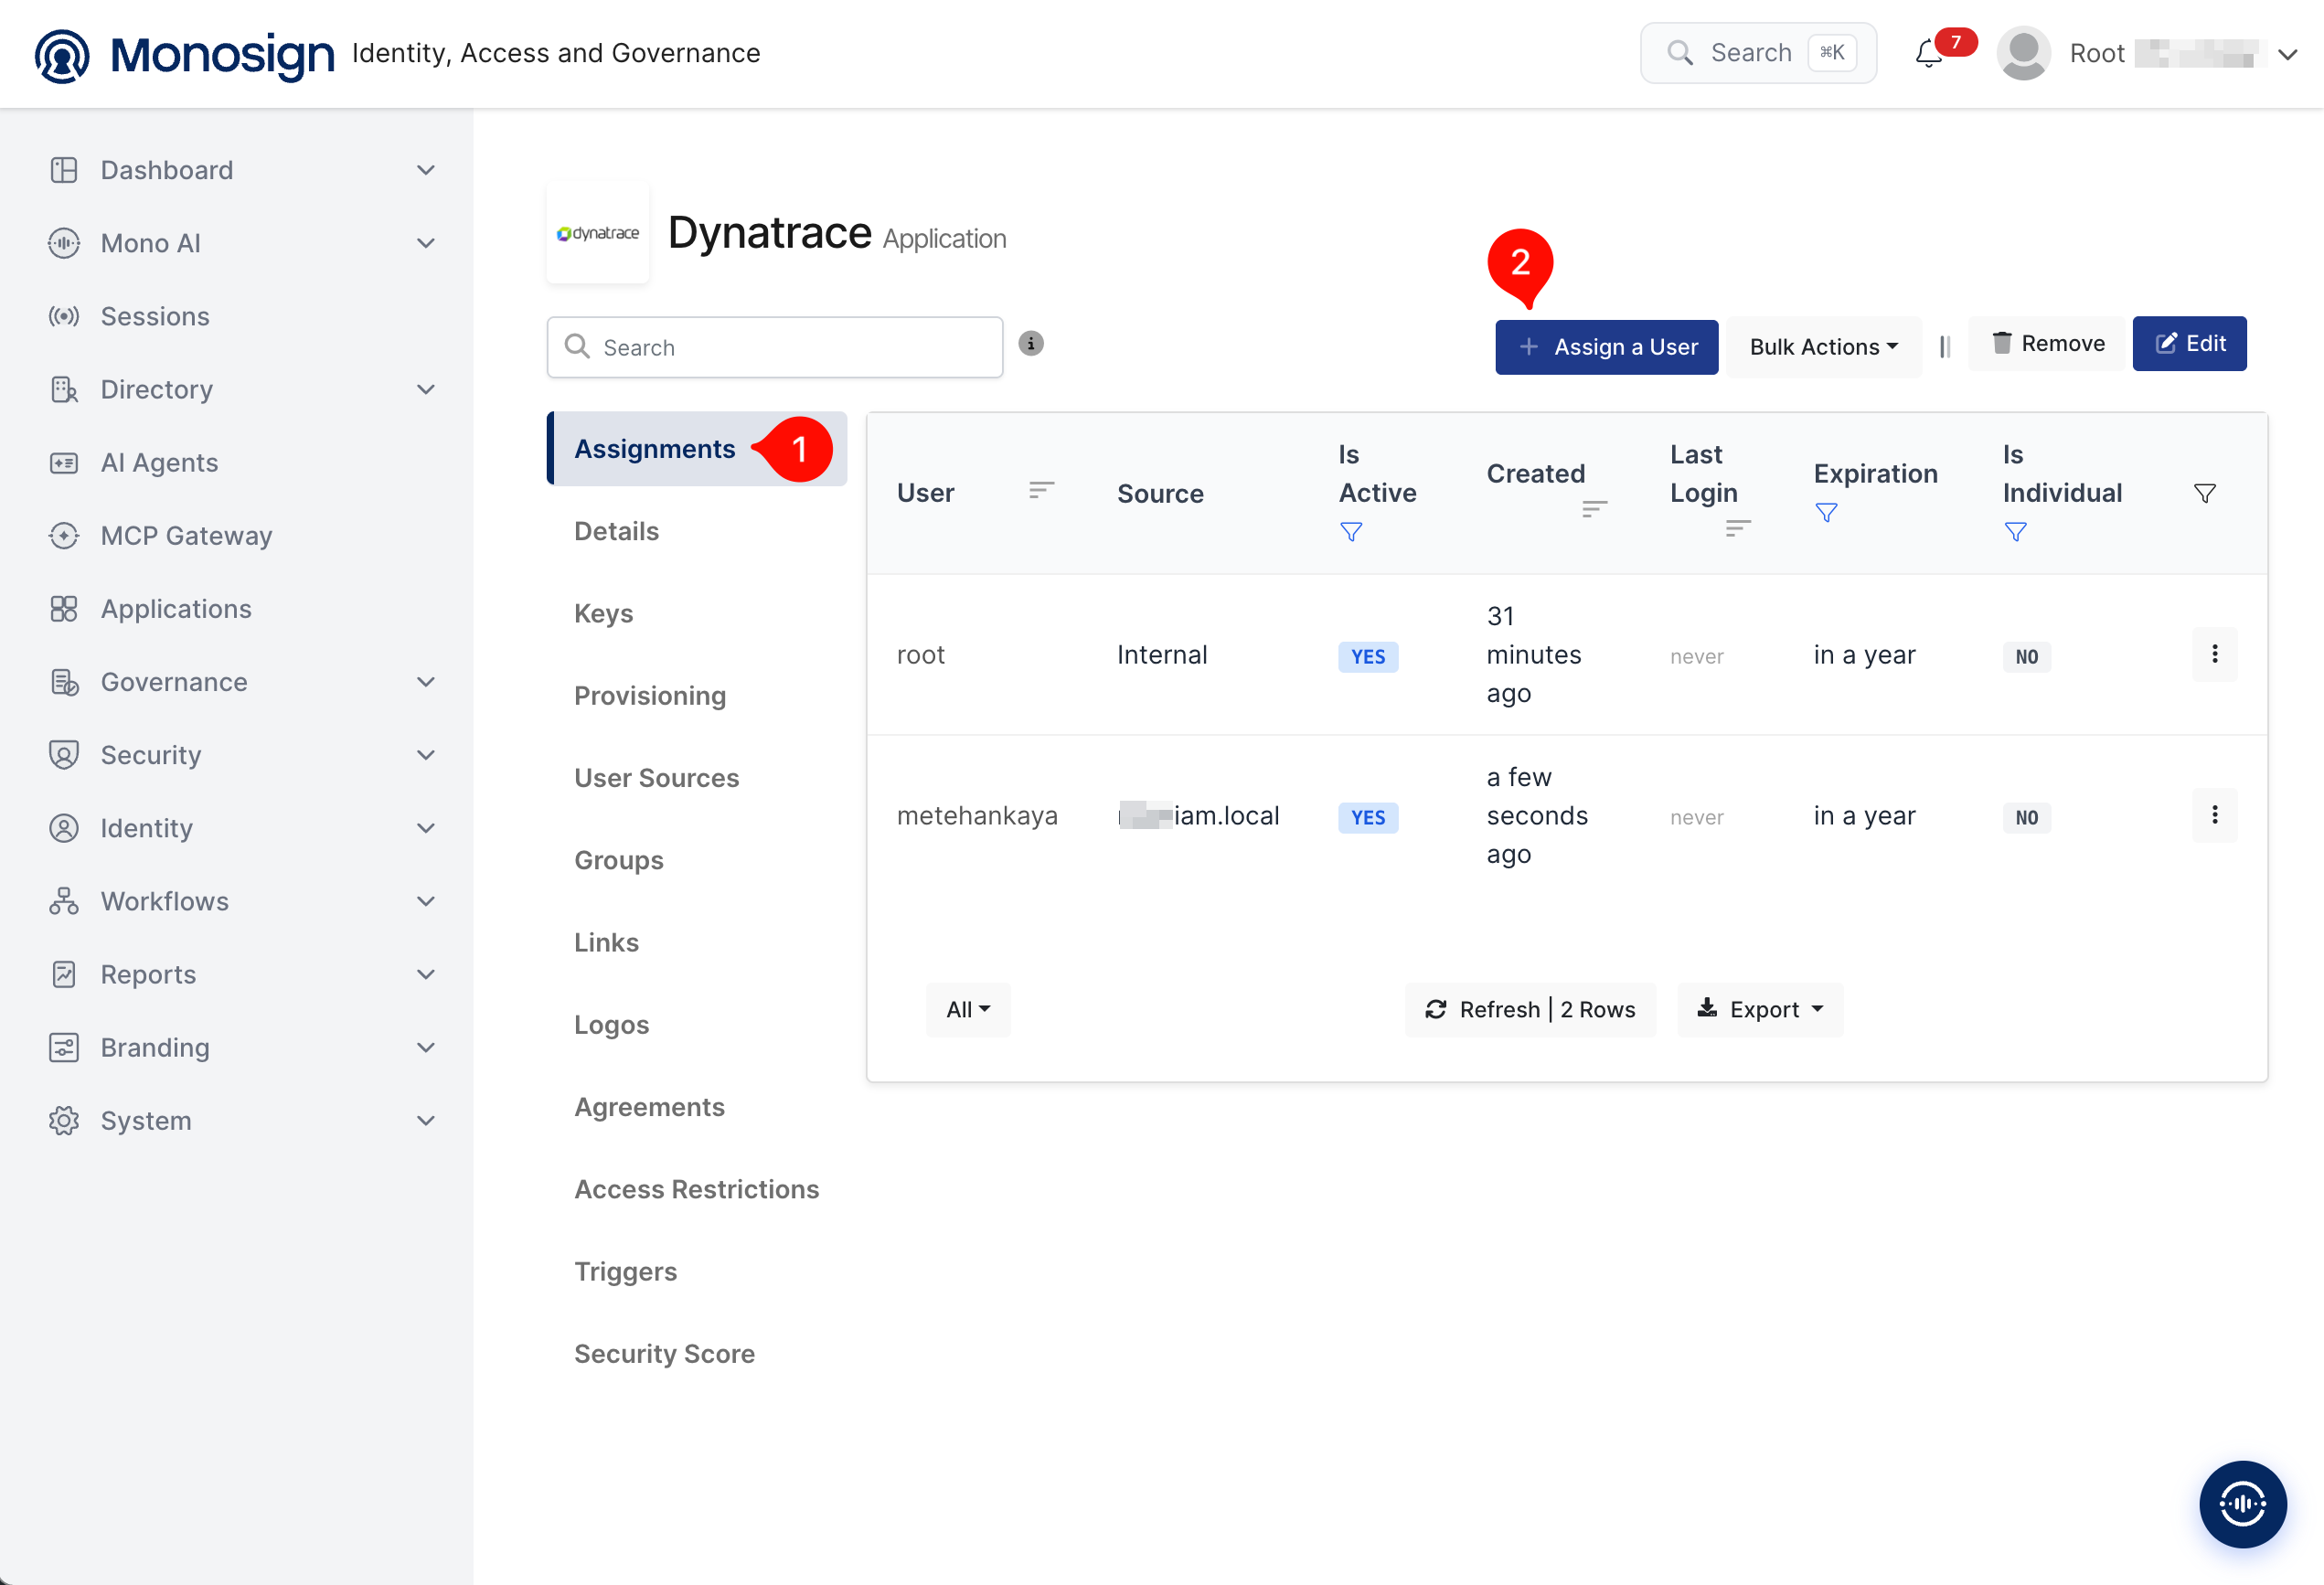
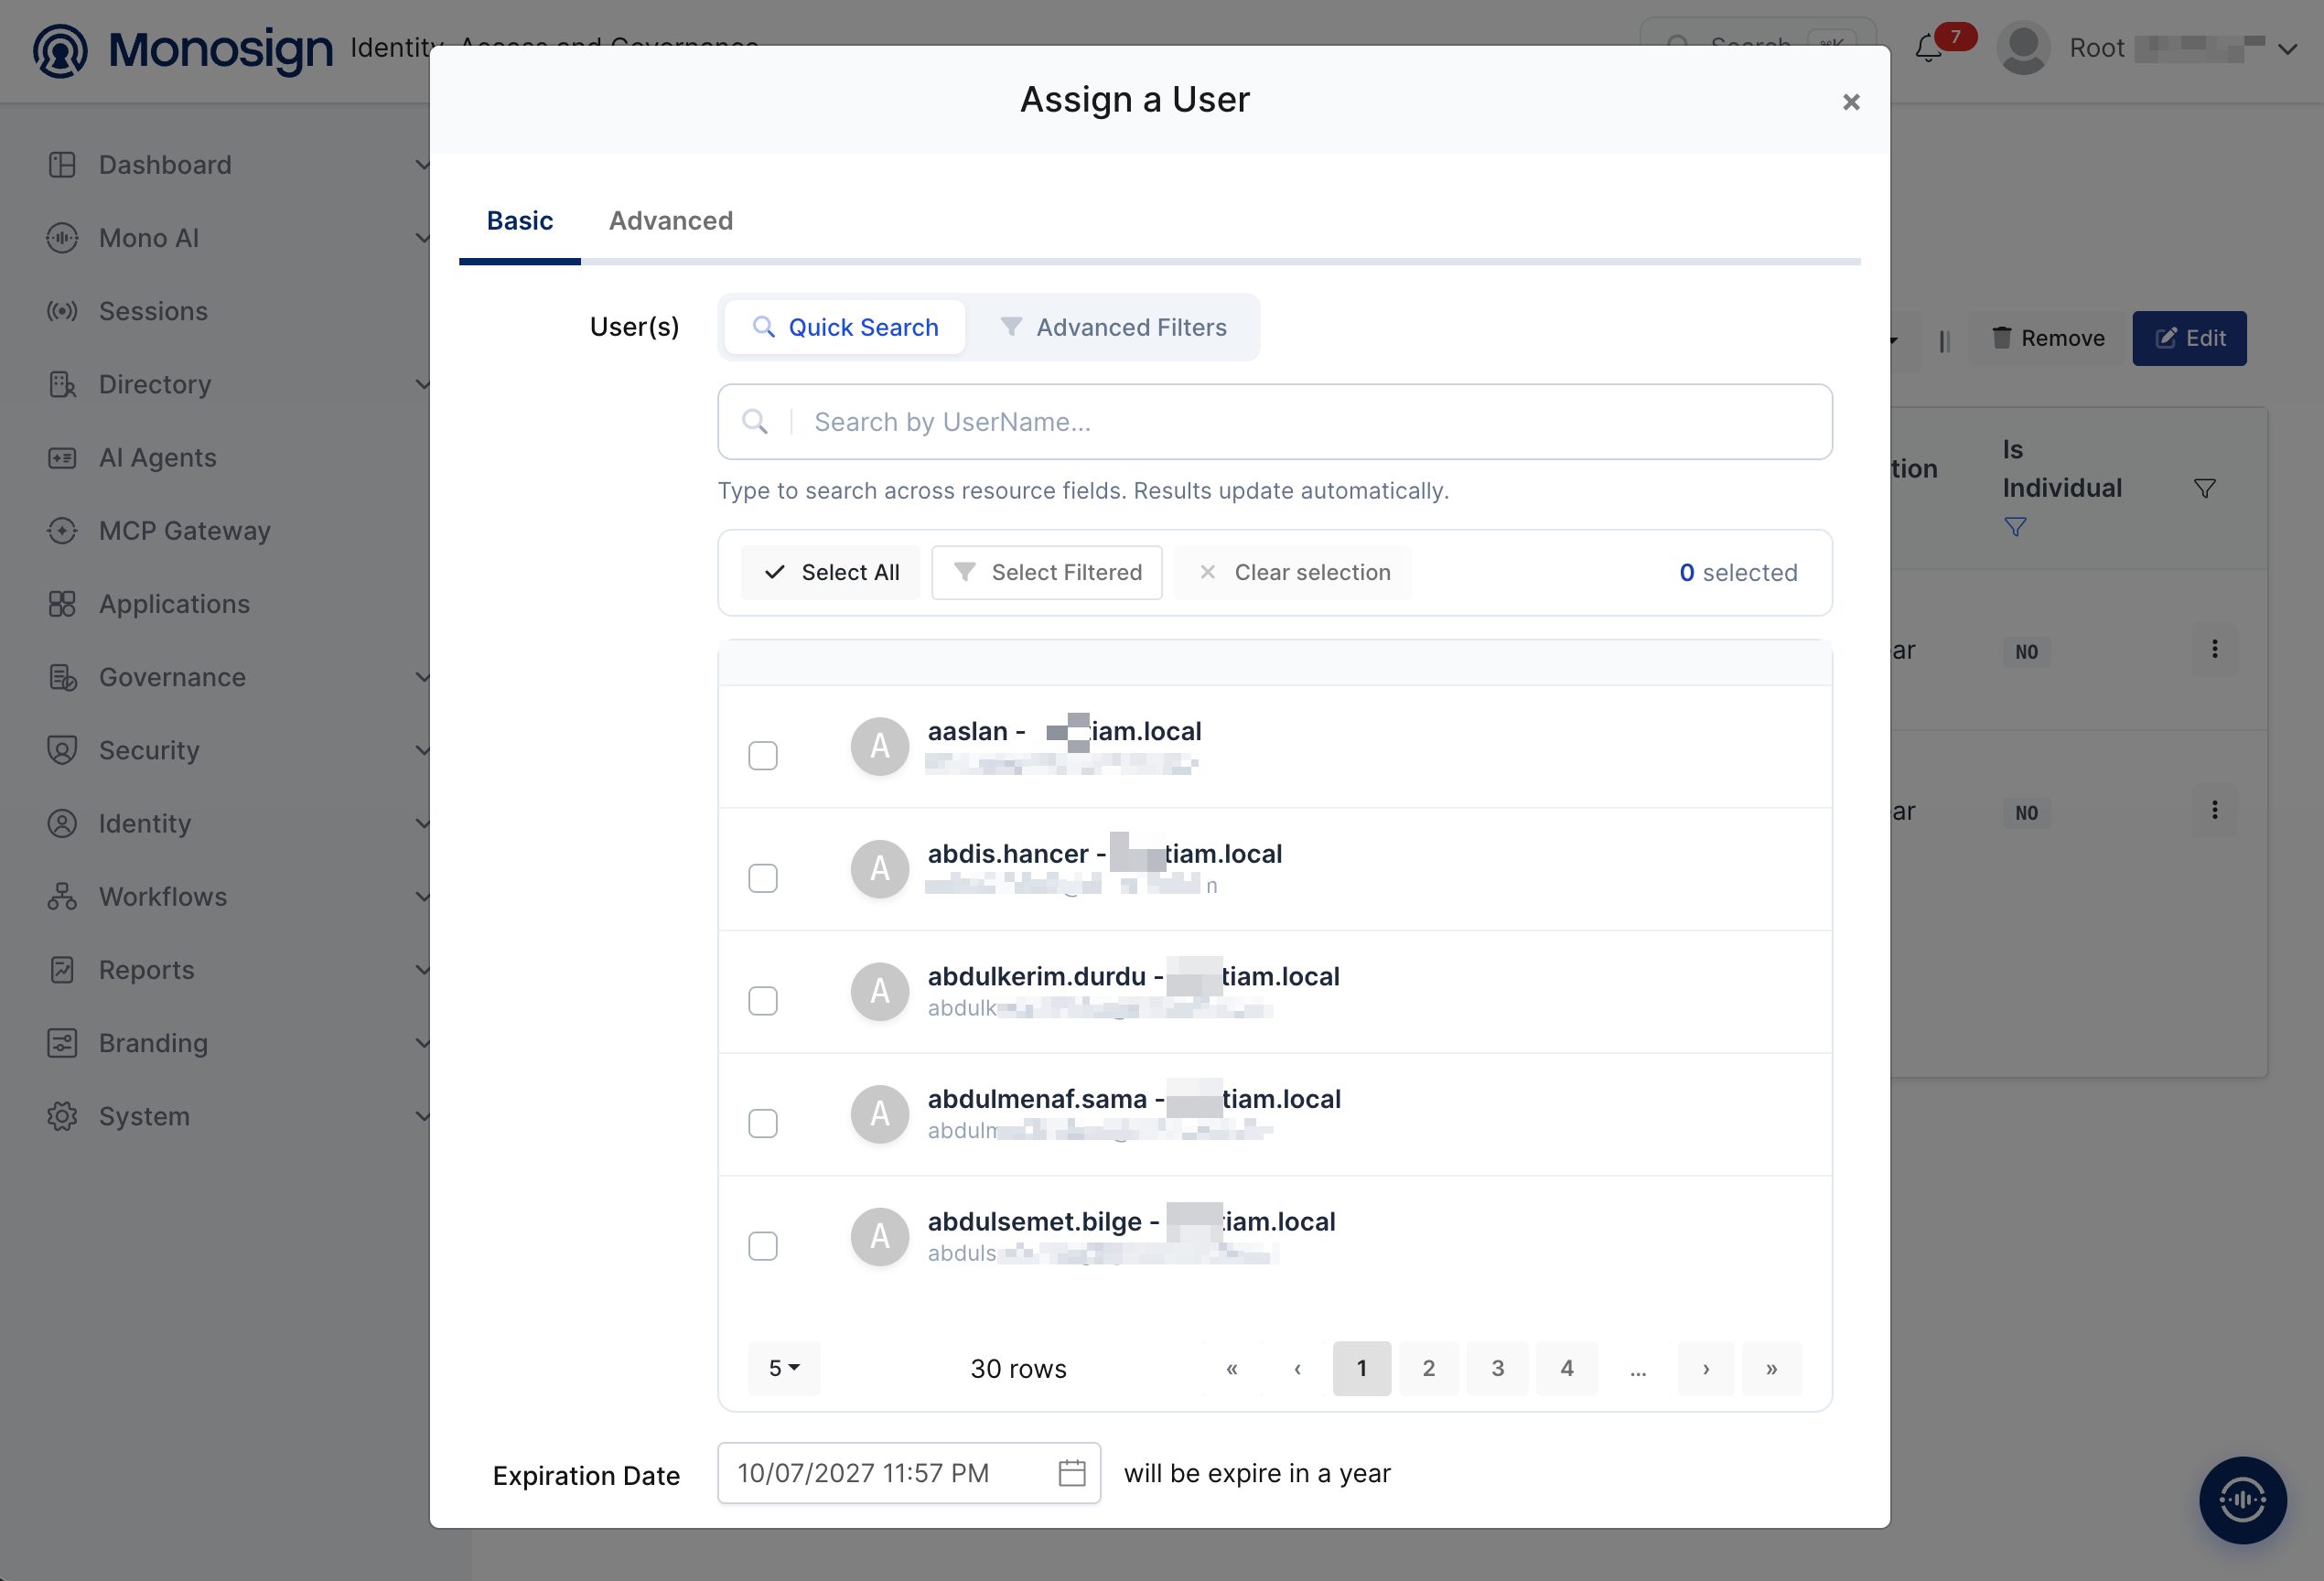
Please follow below instructions on how to assign a user to the Dynatrace application. Give the user access from the application's Access tab, and make sure their Monosign profile has Email filled in. The e-mail must be exactly the address the user types on the Dynatrace sign-in screen.
4- Sign In Test
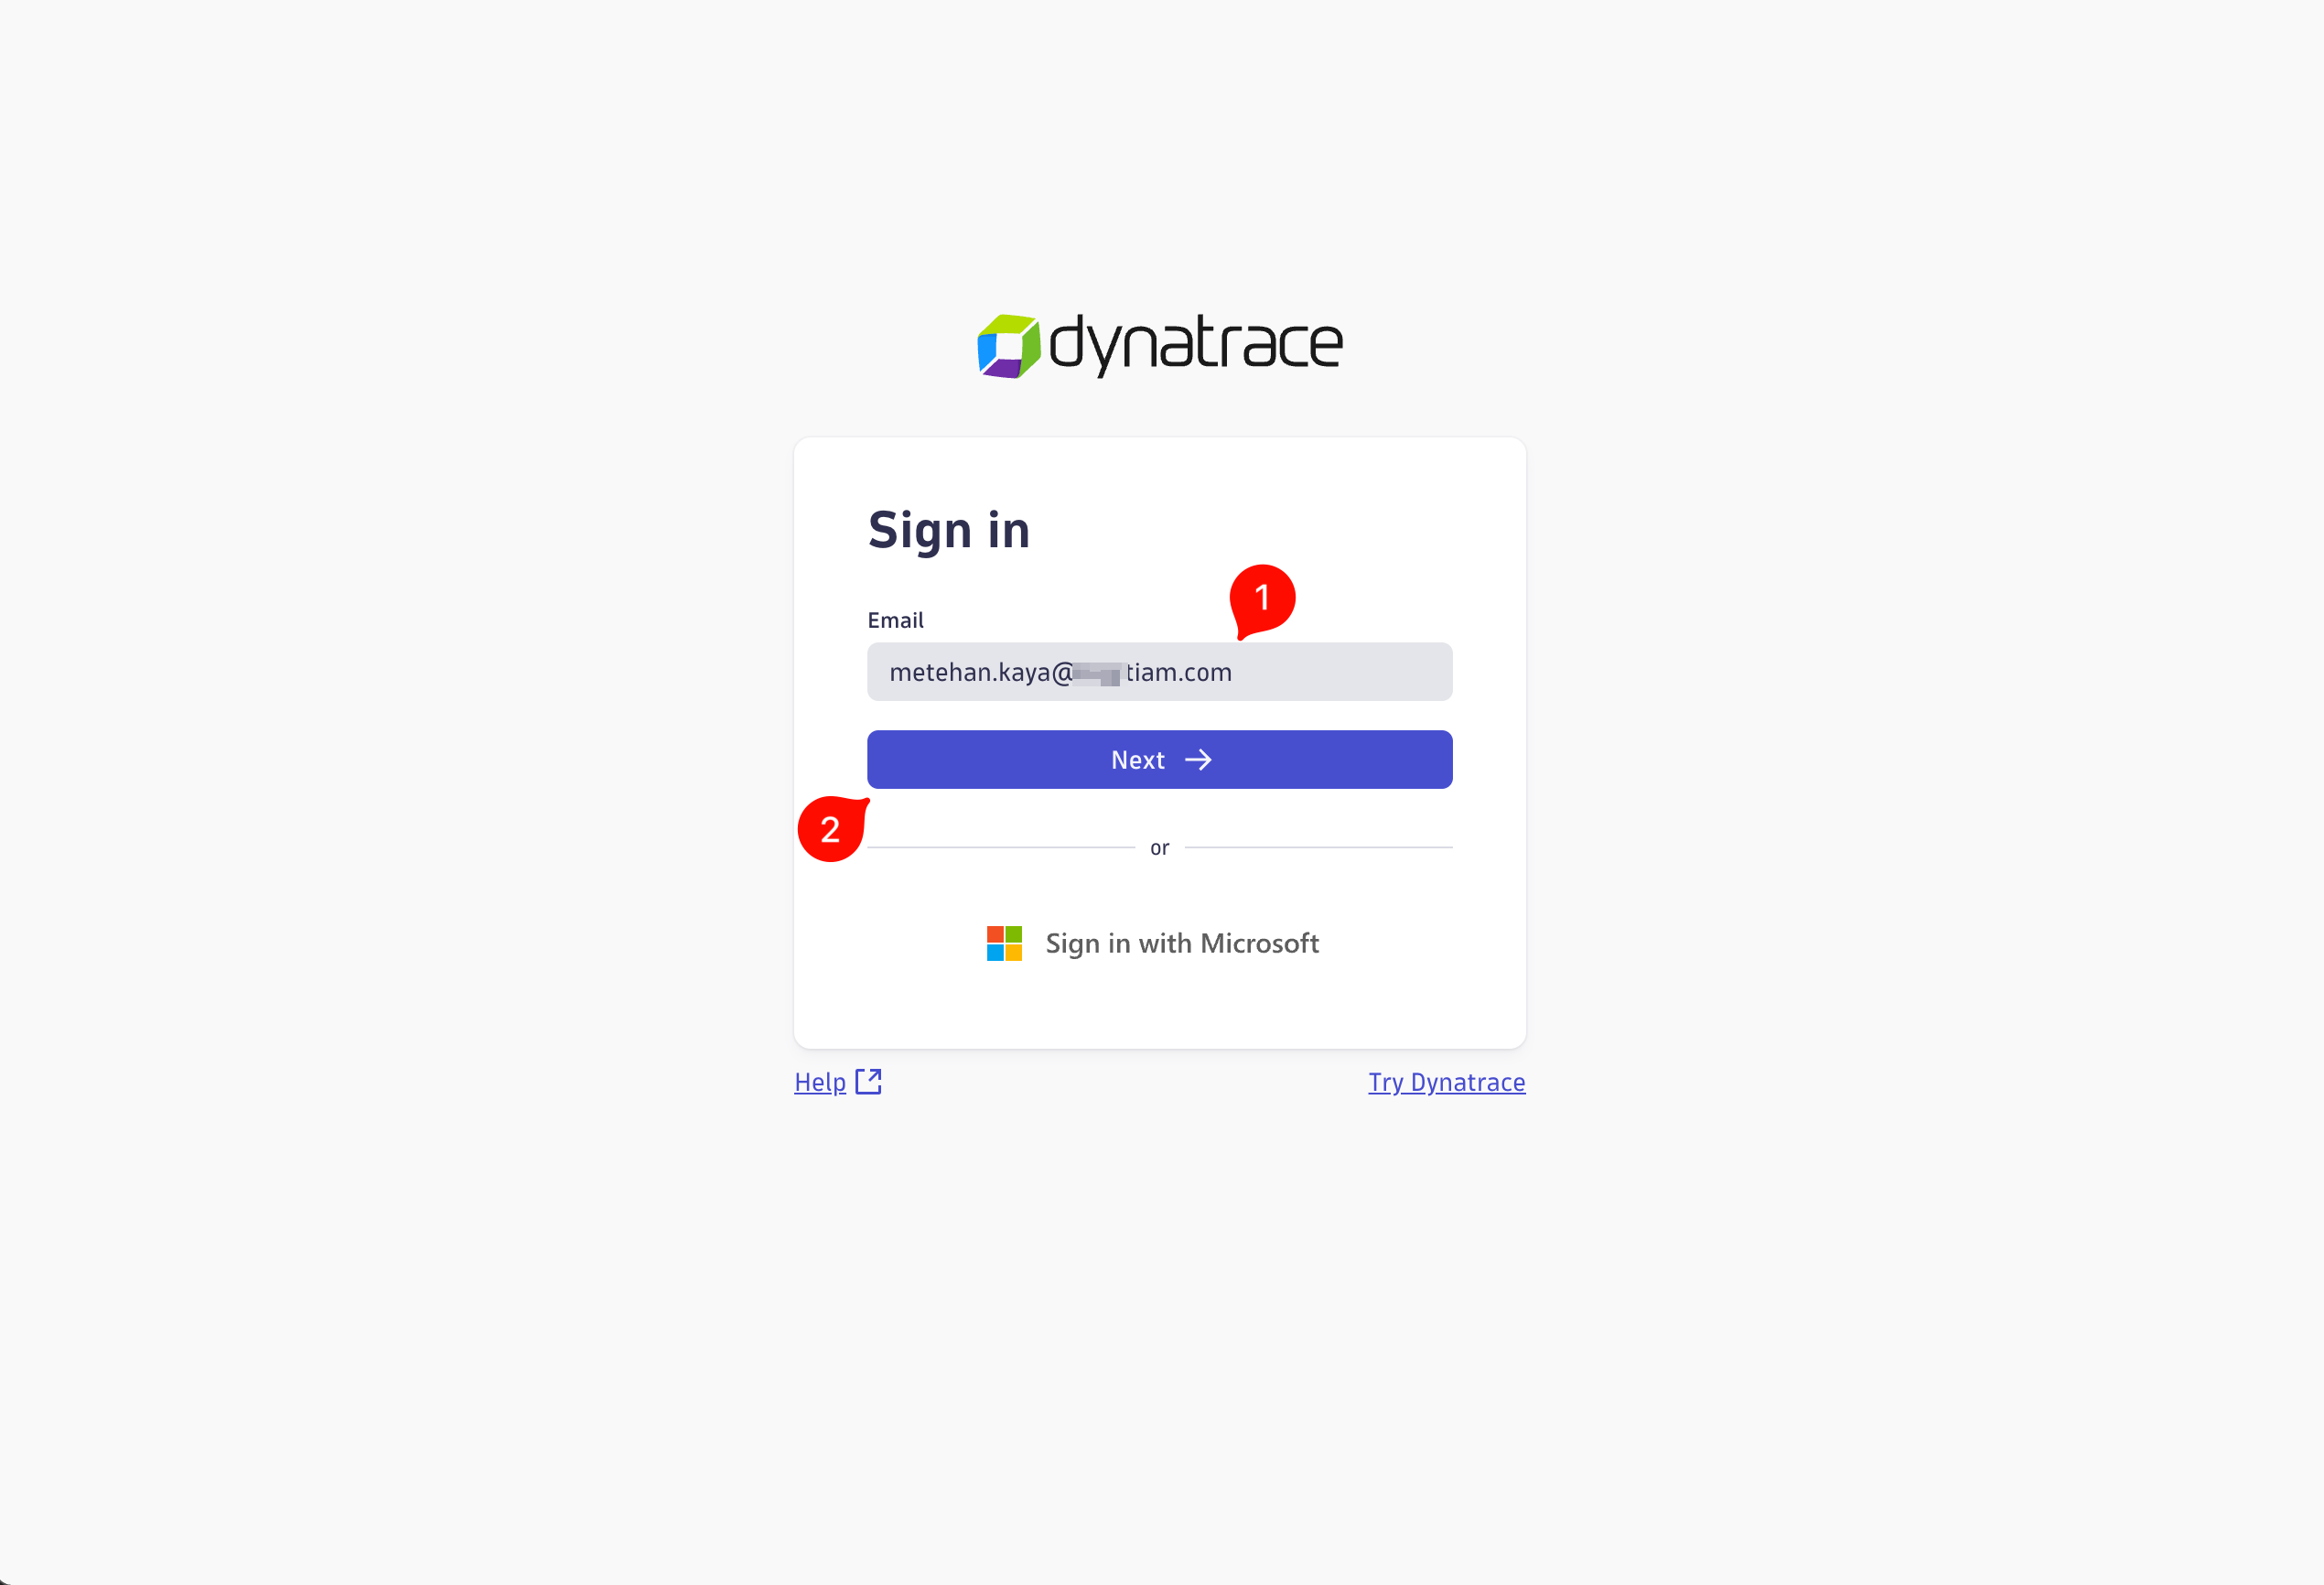
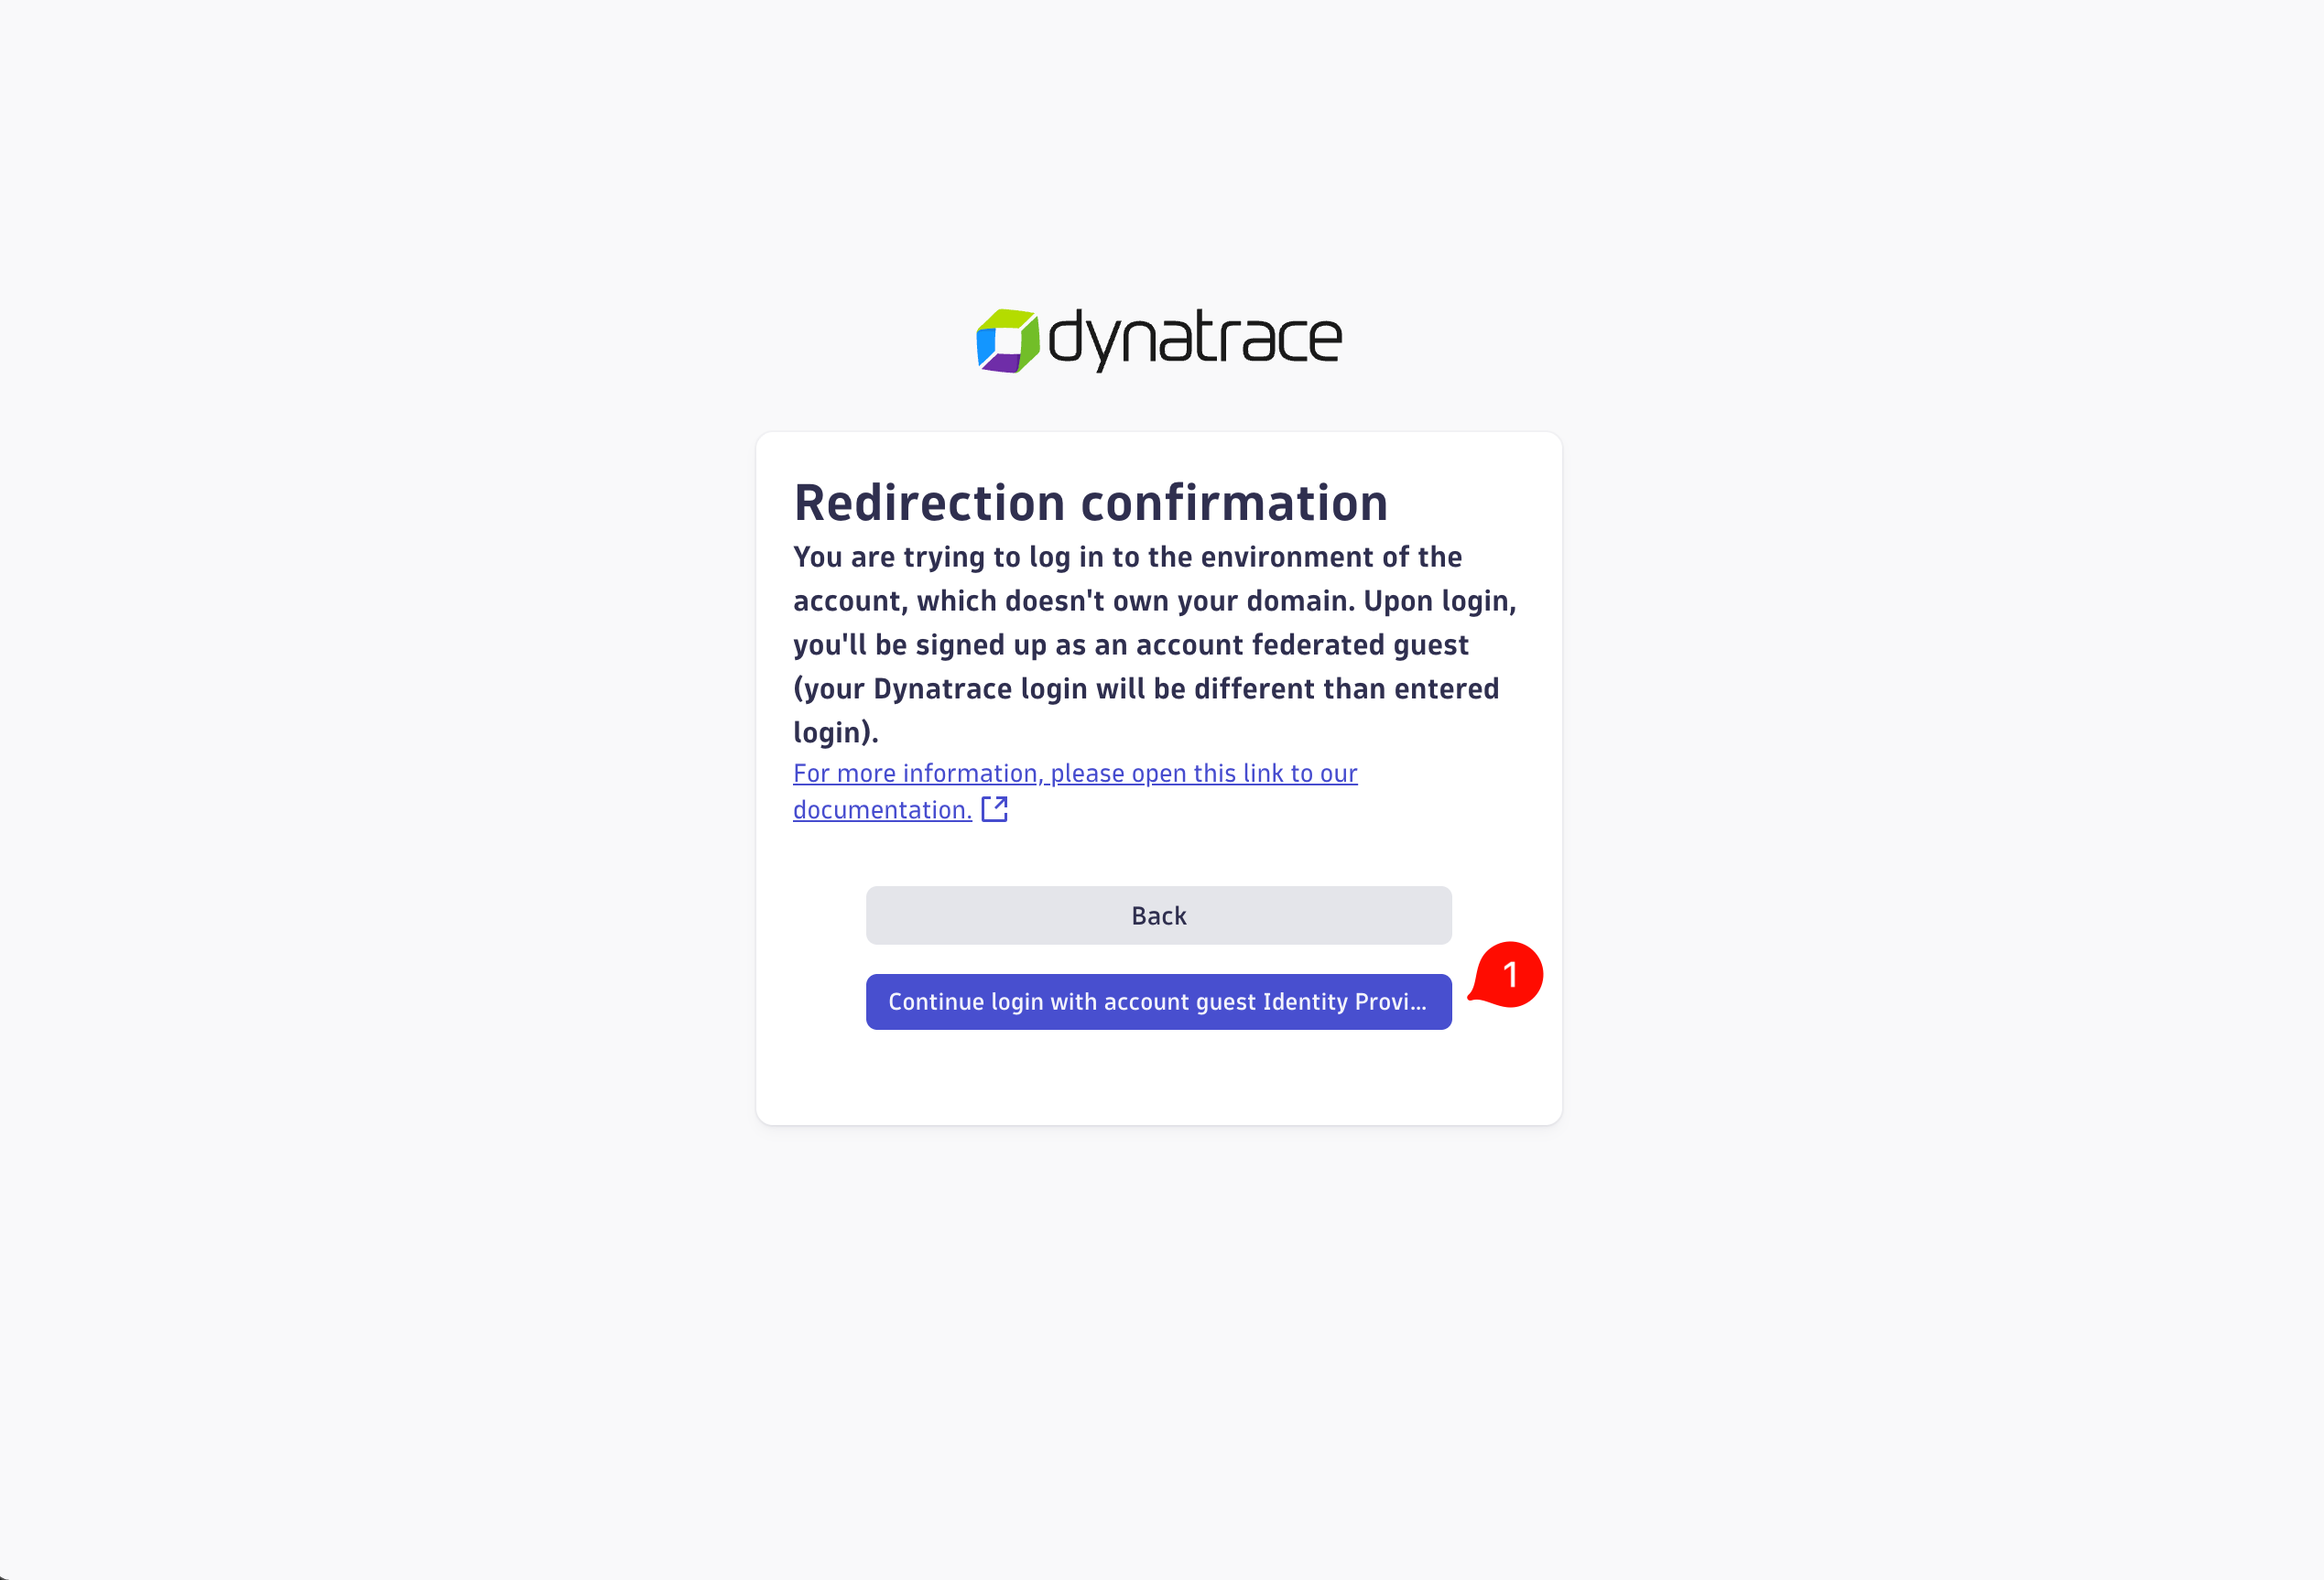
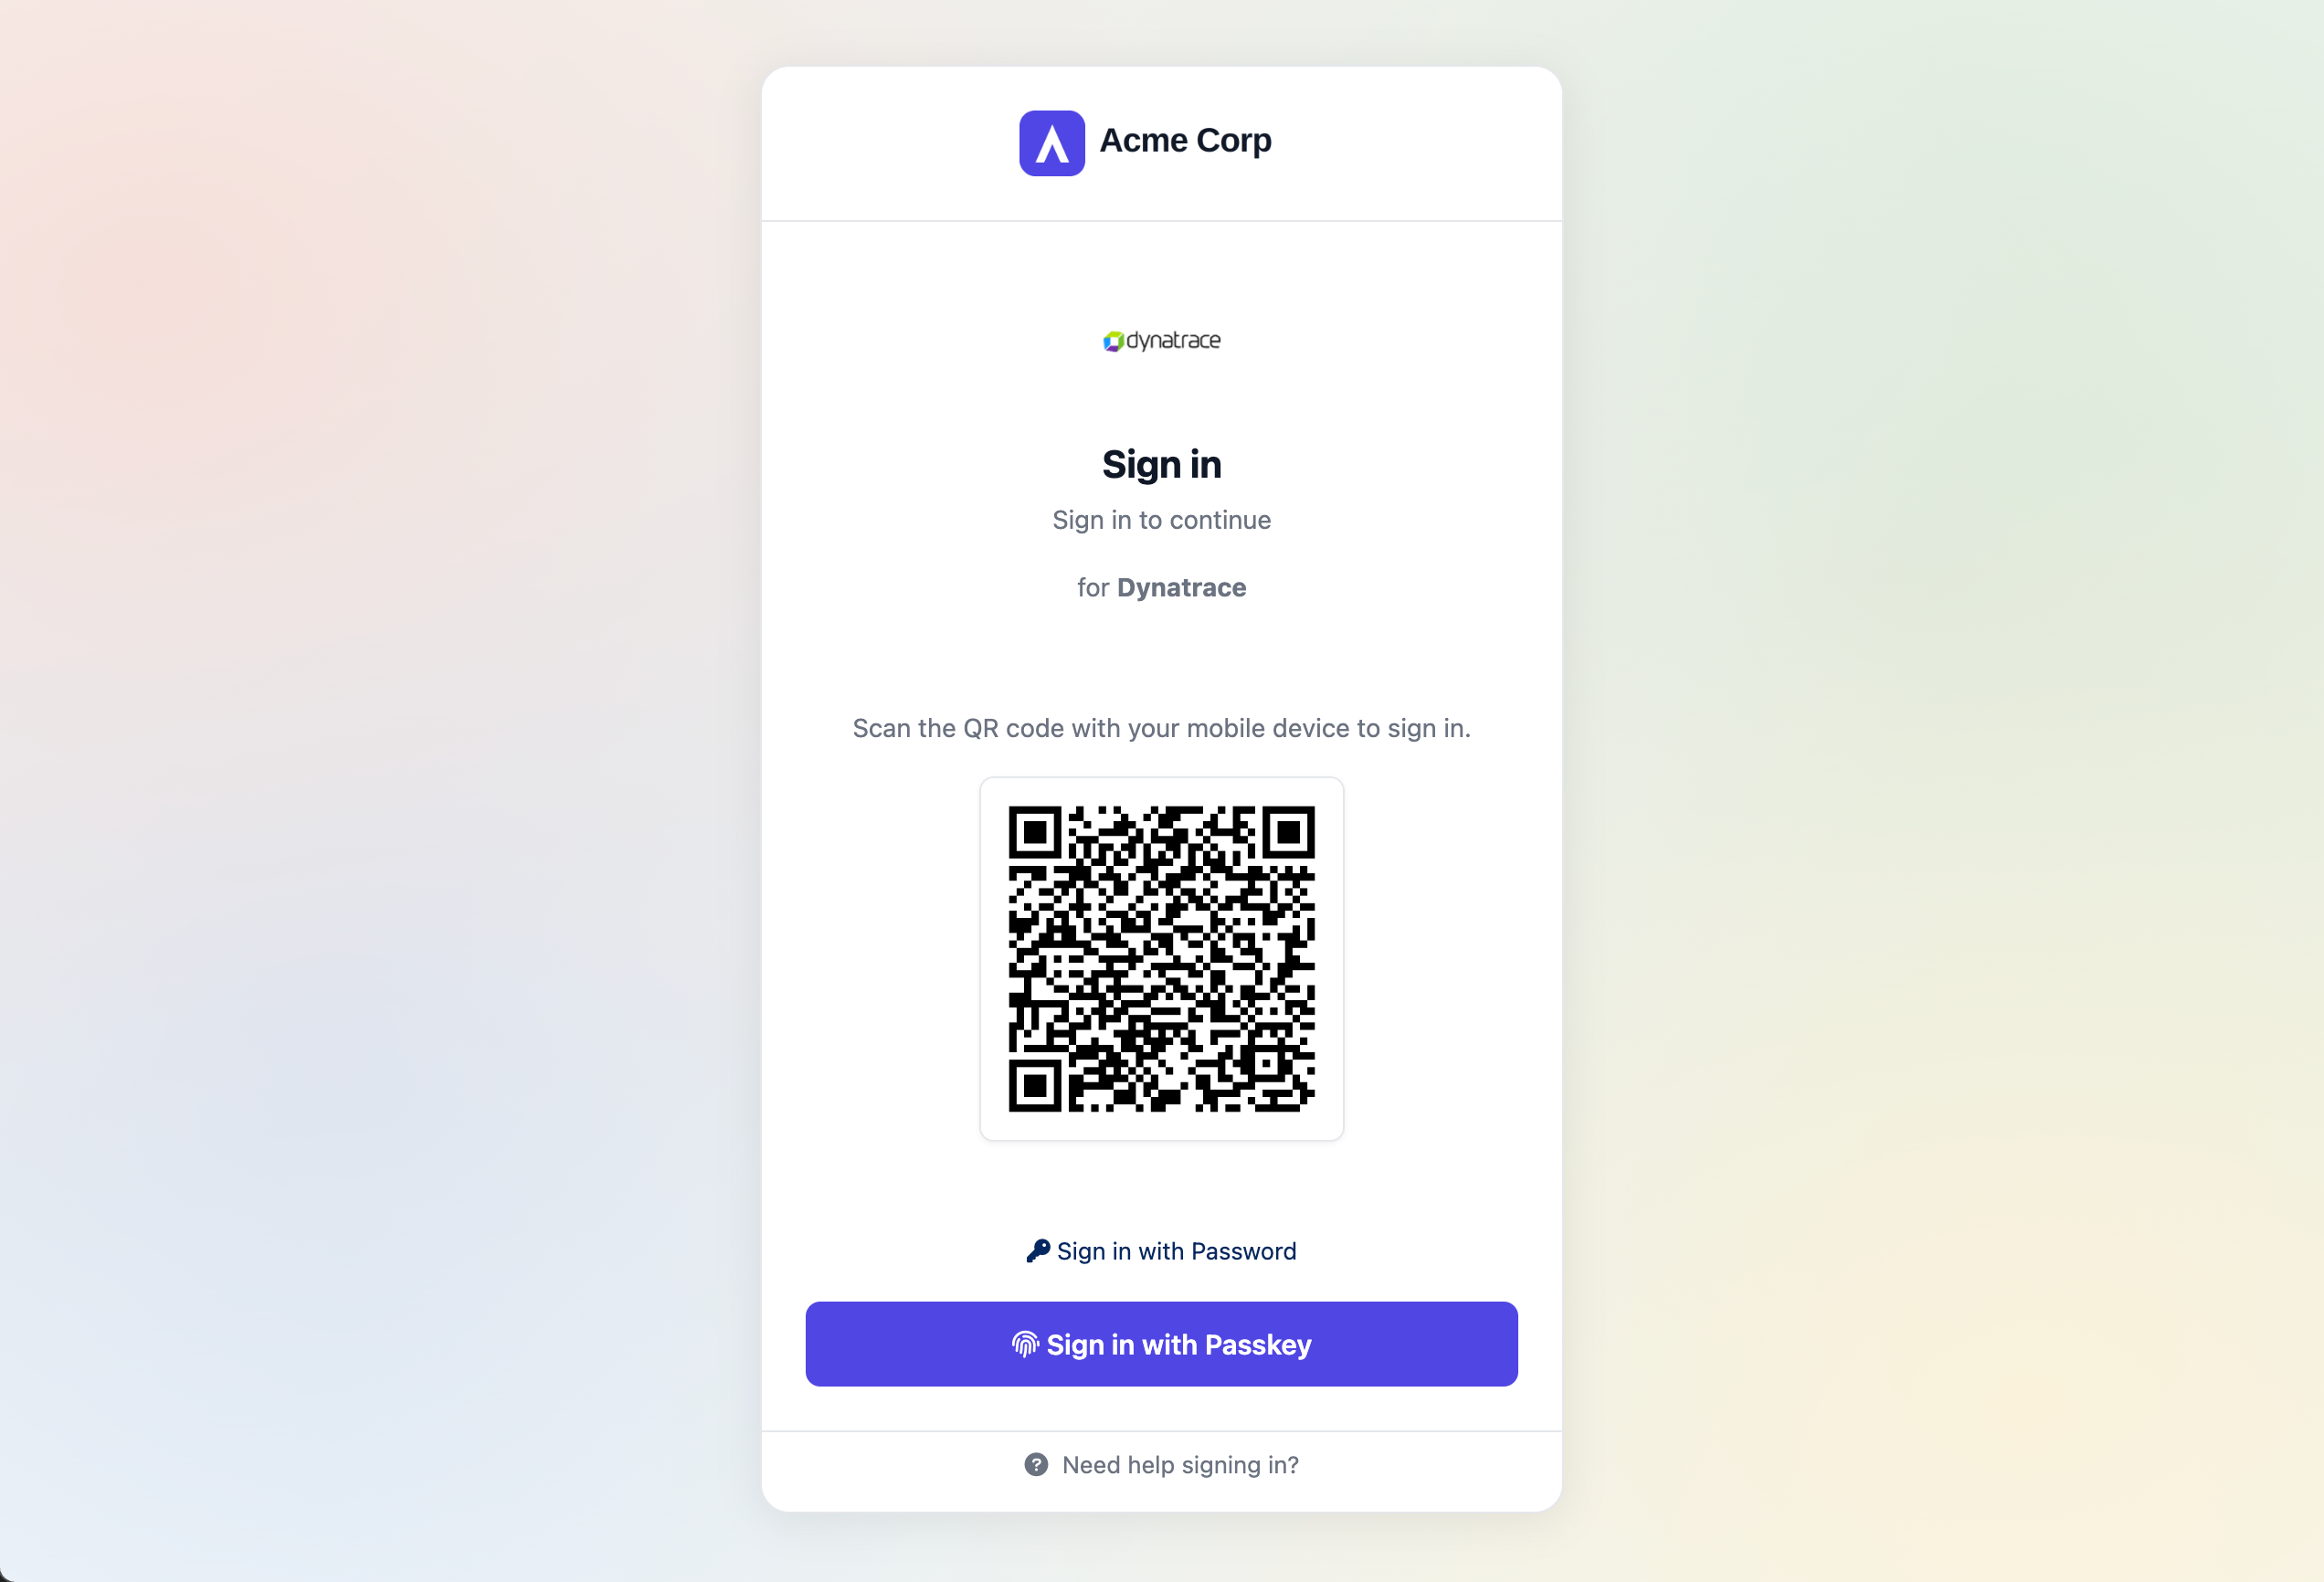
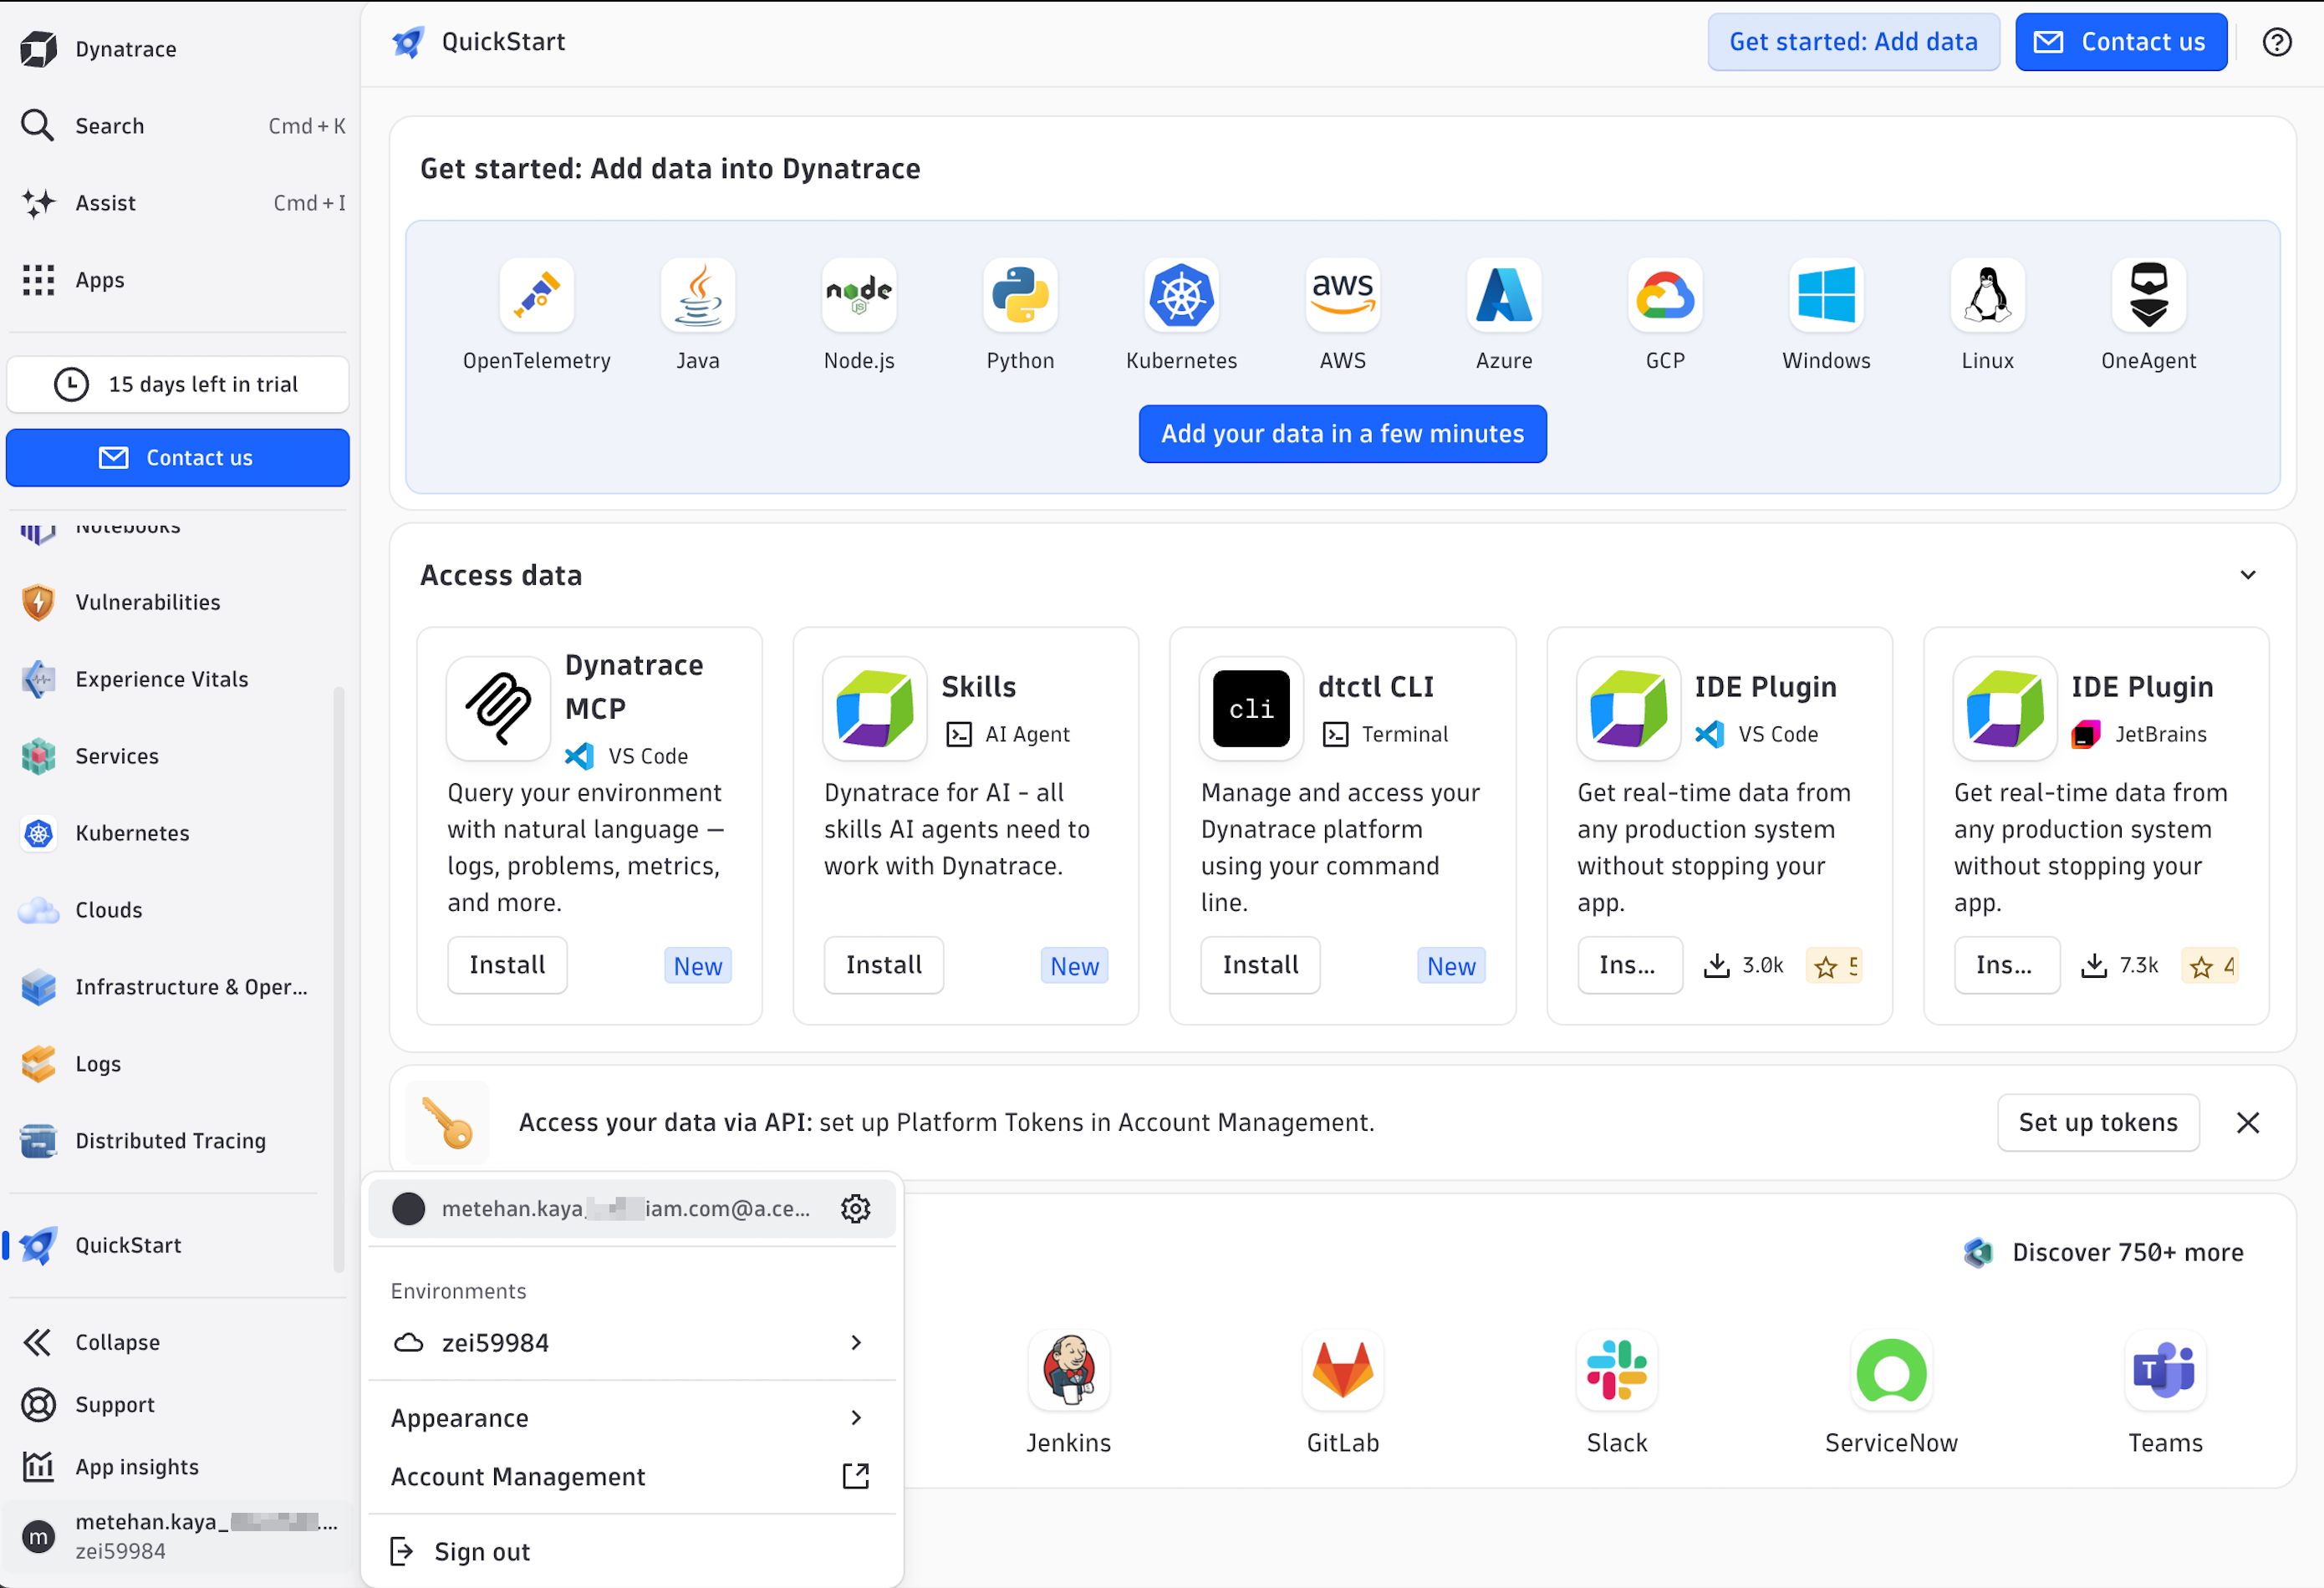
Now try to login. Navigate to the Dynatrace sign-in page and enter your e-mail address. You will be redirected to the Monosign login page. Log in passwordless with your QR code or with your username and password.
Once authenticated, you will be redirected back to Dynatrace as the mapped user. If the user does not belong to a group with a policy yet, Dynatrace shows a 403 page; add the user to the group (or apply the permission to the default group, see Dynatrace Permission Settings) and sign in again.
5- Troubleshooting
|
Error |
Cause |
Solution |
|---|---|---|
|
400 Request denied: Your IdP returned different user root than user root@example.com you entered into Dynatrace |
Monosign sends the username (for example |
Set NameId Format to |
|
403 You don't have permission to view this page ([empty email address]) |
The e-mail attribute is empty in the assertion and/or the user is not a member of any group with a policy. |
Add the |